


新建一个Maven-Spring工程
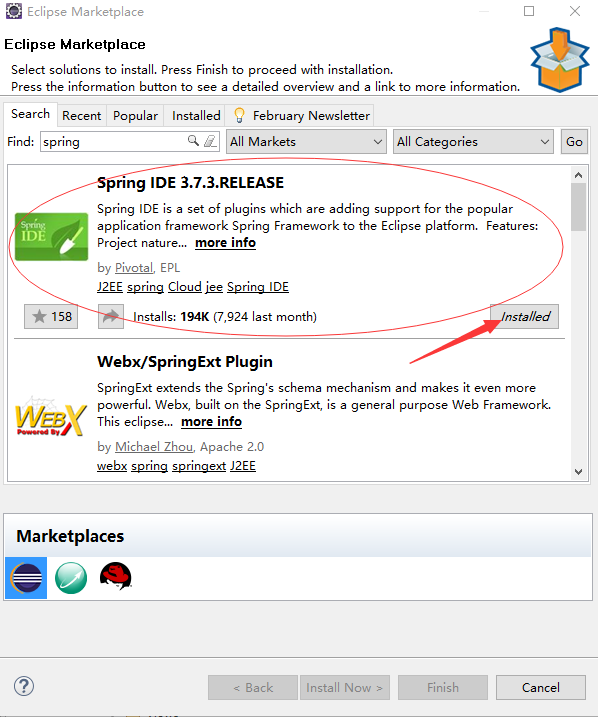
一、下载eclipse-Spring插件
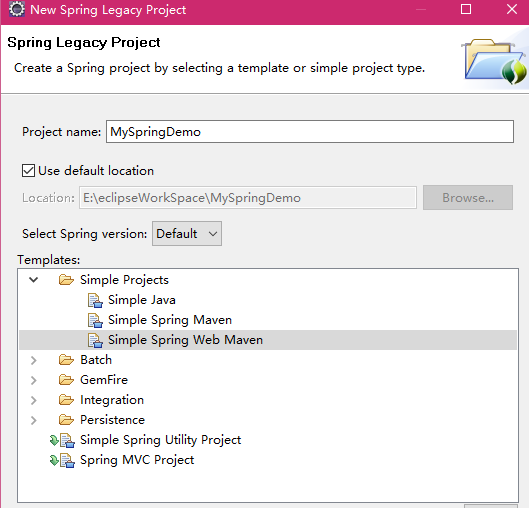
二、新建一个SpringLagacyProject
三、添进各种依赖jar包
1.jackson的jar包,用于解析json文档
        <dependency>
            <groupId>com.fasterxml.jackson.core</groupId>
            <artifactId>jackson-annotations</artifactId>
            <version>2.4.0</version>
        </dependency>
        <dependency>
            <groupId>com.fasterxml.jackson.core</groupId>
            <artifactId>jackson-core</artifactId>
            <version>2.4.3</version>
        </dependency>
        <dependency>
            <groupId>com.fasterxml.jackson.core</groupId>
            <artifactId>jackson-databind</artifactId>
            <version>2.4.3</version>
        </dependency>
2.spring-web,spring-oxm和spring-context
        <dependency>
            <groupId>org.springframework</groupId>
            <artifactId>spring-web</artifactId>
            <version>4.1.4.RELEASE</version>
        </dependency>
        <dependency>
            <groupId>org.springframework</groupId>
            <artifactId>spring-oxm</artifactId>
            <version>4.1.4.RELEASE</version>
        </dependency>

        <dependency>
            <groupId>org.springframework</groupId>
            <artifactId>spring-context</artifactId>
            <version>4.1.4.RELEASE</version>
        </dependency>
三、设置取消静态资源的过滤
在mvc-config中添加进如下代码:
<!-- Spring框架静态资源的处理,mapping实在地址栏上访问的路径,location对应资源的物理路径 -->
<mvc:resources location="/js/" mapping="/js/**" />
<mvc:resources location="/css/" mapping="/css/**" />
<mvc:resources location="/images/" mapping="/images/**" />
<mvc:resources location="/html/" mapping="/html/**" />
四、设置相应字符串的编码
<!-- 设置相应字符串编码 -->
<bean id="stringConverter" class="org.springframework.http.converter.StringHttpMessageConverter">
    <property name="supportedMediaTypes">
        <list>
            <value>text/plain;charset=UTF-8</value>
            <value>text/html;charset=UTF-8</value>
        </list>
    </property>
</bean>
五、配置json的存取
<!-- 用于将对象转换为 JSON -->
    <bean id="jsonConverter"
class="org.springframework.http.converter.json.MappingJackson2HttpMessageConverter" />

<!-- Message文件转换器 -->
    <bean
class="org.springframework.web.servlet.mvc.annotation.AnnotationMethodHandlerAdapter">
        <property name="messageConverters">
            <list>
                <ref bean="stringConverter" />
                <ref bean="jsonConverter" />
            </list>
        </property>
    </bean>

<!-- date的解析 -->
    <bean id="conversion-service"
class="org.springframework.format.support.FormattingConversionServiceFactoryBean" />

<!-- ContentNegotiatingViewResolver视图解析器,利用他就可以配置多种返回值 -->
    <bean
class="org.springframework.web.servlet.view.ContentNegotiatingViewResolver">
        <!-- 这里是否忽略掉accept header,默认就是false -->
        <property name="ignoreAcceptHeader" value="true" />
        <!-- 如果所有的mediaType都没匹配上,就会使用defaultContentType -->
        <property name="defaultContentType" value="text/html" />
        <property name="mediaTypes">
            <map>
                <entry key="json" value="application/json" />
                <entry key="xml" value="application/xml" />
            </map>
        </property>
        <!-- 默认使用MappingJacksonJsonView生成jsonview -->
        <property name="defaultViews">
            <list>
                <bean
                    class="org.springframework.web.servlet.view.json.MappingJackson2JsonView">
                    <property name="extractValueFromSingleKeyModel" value="true" />
                </bean>
                <bean class="org.springframework.web.servlet.view.xml.MarshallingView">
                    <property name="marshaller">
                        <bean class="org.springframework.oxm.xstream.XStreamMarshaller" />
                    </property>
                </bean>
            </list>
        </property>
    </bean>
六、配置一个带json输出的helloworld
在新建一个Control类中写上@control表示为控制层
/**
  * Copyright (c) 2000-2011 杭州天丽科技有限公司
  * All rights reserved.
  *
  * spring    1.00
  *
  * Date         Author       Changes    Remark
  * 2016年3月1日        WangLifeng      Created     创建
  */


package com.springspringspring.controller;

import java.text.SimpleDateFormat;
import java.util.ArrayList;
import java.util.Date;
import java.util.HashMap;
import java.util.List;
import java.util.Map;

import org.springframework.beans.propertyeditors.CustomDateEditor;
import org.springframework.stereotype.Controller;
import org.springframework.ui.Model;
import org.springframework.ui.ModelMap;
import org.springframework.web.bind.ServletRequestDataBinder;
import org.springframework.web.bind.annotation.InitBinder;
import org.springframework.web.bind.annotation.RequestMapping;
import org.springframework.web.bind.annotation.RequestMethod;
import org.springframework.web.bind.annotation.RequestParam;
import org.springframework.web.bind.annotation.ResponseBody;
import org.springframework.web.servlet.ModelAndView;

import com.springspringspring.model.Student;


/**
 * Class description goes here.
 *
 * @date  2016.3.1
 * @verison 1.00
 * @author WangLifeng
 * @see
 */
@Controller
public class HelloControl {
    @RequestMapping(value="/xml",method=RequestMethod.GET)
    @ResponseBody
    public ModelAndView xml(Model model){
        Map<String, Object> map=new HashMap<String, Object>();
        Student stu=new Student();
        stu.setId(1232);
        map.put("asdfasdfd", "asdfsdf");
        map.put("student", stu);
        List list=new ArrayList<String>();
        list.add("asdfasdf");
        list.add("sdasd");
        ModelAndView model2=new ModelAndView("showMessage",map);
        return model2;
    }
    // At the time of initialization,convert the type "String" to type "date"
    @InitBinder
    public void initBinder(ServletRequestDataBinder binder){
        binder.registerCustomEditor(Date.class, new CustomDateEditor(new SimpleDateFormat("yyyy-MM-dd"),true));
    }
}
七、新建一个jsp页面来进行显示
在WEB-INF的view文件夹下面加一个showMessage.jsp并加入以下代码
<!DOCTYPE html>
<%@ page language="java" contentType="text/html; charset=UTF-8" pageEncoding="UTF-8"%>
<html>
<head>
<meta charset="utf-8">
<title>Welcome</title>
</head>
<body>
<h2>${message}</h2>
</body>
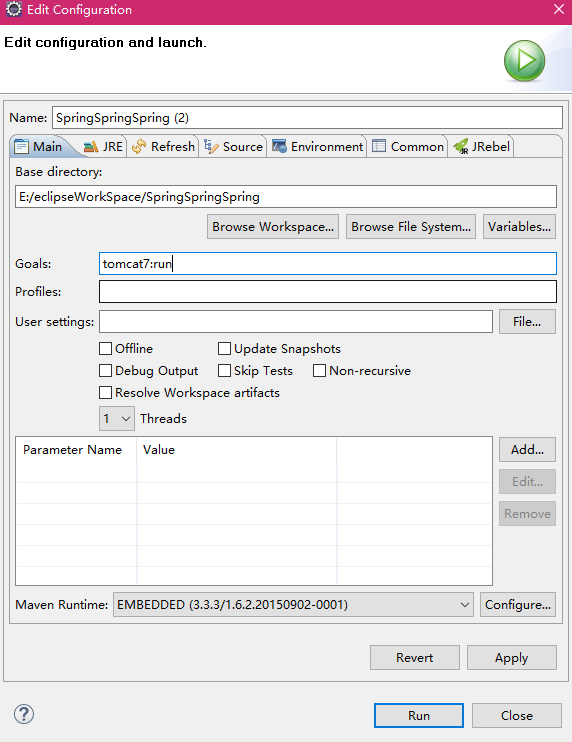
</html>八、将工程配置到tomcat上并查看结果
右键工程,run as Maven Build,中的运行参数中写tomcat7:run


 5899
5899

 被折叠的 条评论
为什么被折叠?
被折叠的 条评论
为什么被折叠?
 到【灌水乐园】发言


