


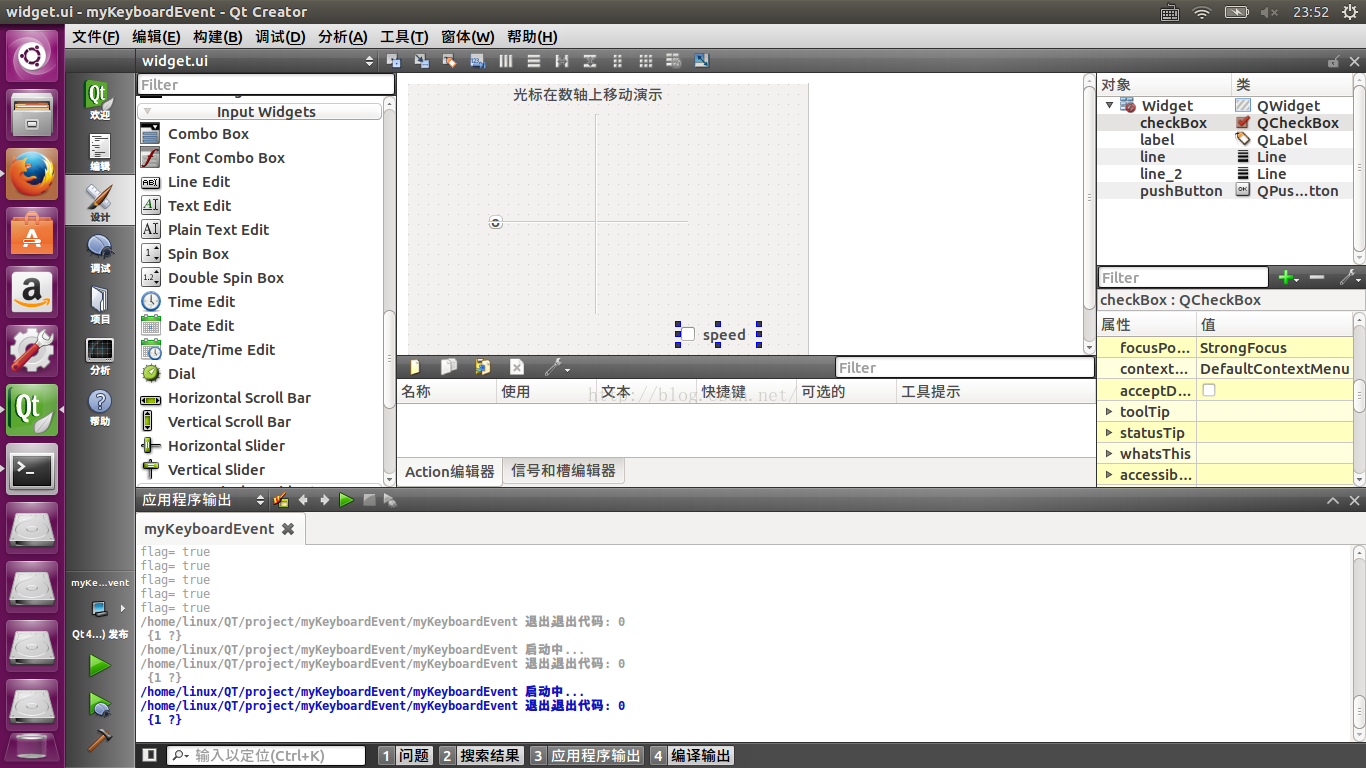
今天学习了QT类中的键盘和鼠标事件,就写了一个很简单的应用程序来做测试。突然发现用C++开发项目效率好高,什么都可以调用类,或者去继承某一个类,添加自己的函数就行。以前做图形界面和鼠标开发的时候,全是自己造轮子,用C语言开发,自己去读取/dev/input/event*接口,然后去处理获取到的input数据,那时候感觉好复杂,现在用QT直接一个类就搞定,界面效果如下:
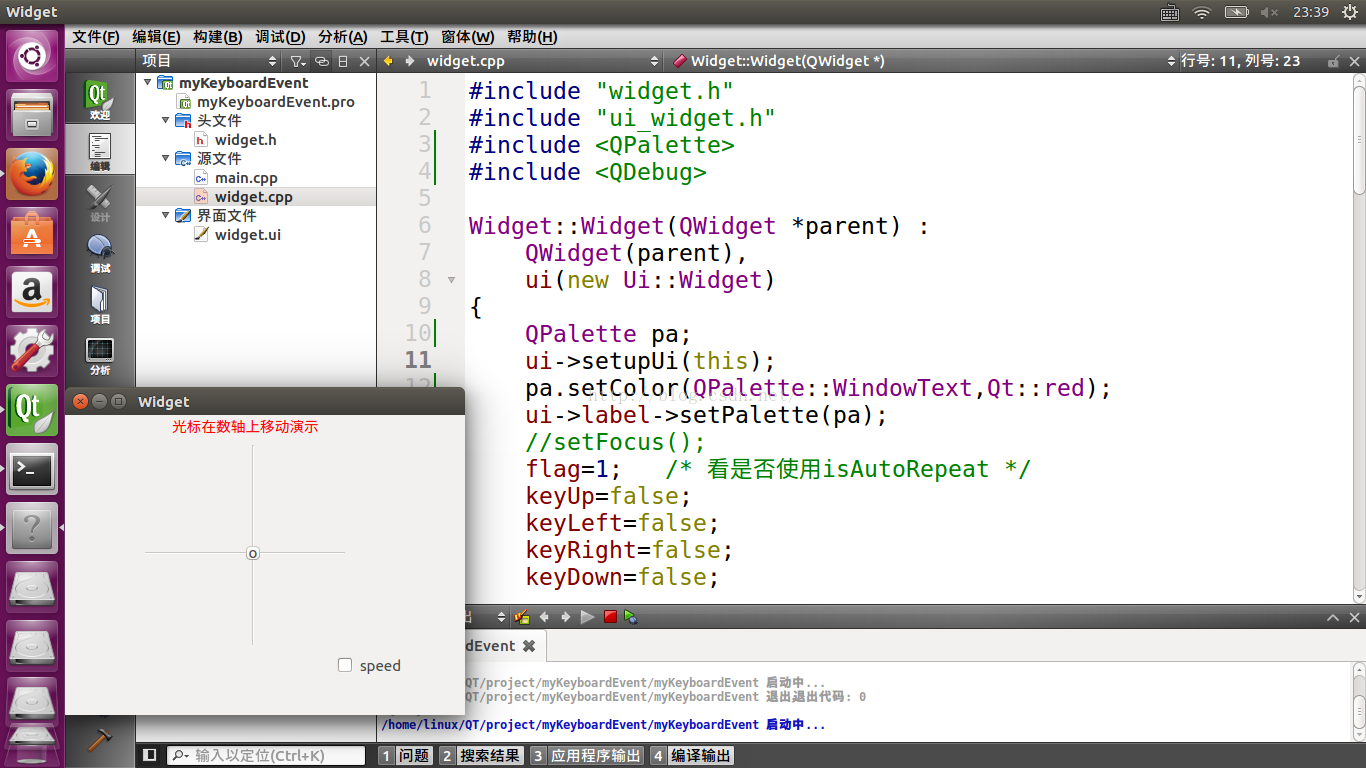
屏幕中间的指针只能在坐标轴上移动,用上下左右键控制方向,有一个checkBox可选按钮来控制光标是否可以连续移动代码如下:
main.cpp
#include <QtGui/QApplication>
#include "widget.h"

int main(int argc, char *argv[])
{
    QApplication a(argc, argv);
    Widget w;
    w.show();

    return a.exec();
}
widget.h /* 有四个变量没有用到,分别是上下左右标志位,留着扩展 */
#ifndef WIDGET_H
#define WIDGET_H

#include <QWidget>
#include <QKeyEvent>
#include <QDebug>

namespace Ui {
class Widget;
}

class Widget : public QWidget
{
    Q_OBJECT

public:
    explicit Widget(QWidget *parent = 0);
    ~Widget();

private:
    Ui::Widget *ui;
    bool keyUp;
    bool keyDown;
    bool keyLeft;
    bool keyRight;
    bool flag;

protected:
    void keyPressEvent(QKeyEvent *event);
    void keyReleaseEvent(QKeyEvent *event);
};

#endif // WIDGET_H
widget.cpp
#include "widget.h"
#include "ui_widget.h"
#include <QPalette>
#include <QDebug>

Widget::Widget(QWidget *parent) :
    QWidget(parent),
    ui(new Ui::Widget)
{
    QPalette pa;
    ui->setupUi(this);
    pa.setColor(QPalette::WindowText,Qt::red);
    ui->label->setPalette(pa);
    //setFocus();
    flag=1;   /* 看是否使用isAutoRepeat */
    keyUp=false;
    keyLeft=false;
    keyRight=false;
    keyDown=false;

    ui->pushButton->move(180,130); /* set middle point */
}

Widget::~Widget()
{
    delete ui;
}

void Widget::keyPressEvent(QKeyEvent *event)
{
}

void Widget::keyReleaseEvent(QKeyEvent *event)
{
    static int offset_x=0,offset_y=0;
    flag =ui->checkBox->isChecked();

    if(event->key() == Qt::Key_Up)
    {
        if(event->isAutoRepeat()&&(flag==0)) return;
        if(offset_x==0)
        {
            offset_y=offset_y-10;
            if(offset_y<-100)
            offset_y=-100;
            ui->pushButton->move(180+offset_x,130+offset_y);
        }
      }

    if(event->key() == Qt::Key_Down)
    {
        if(event->isAutoRepeat()&&(flag==0)) return;
        if(offset_x==0)
        {
            offset_y=offset_y+10;
            if(offset_y>100)
            offset_y=100;
            ui->pushButton->move(180+offset_x,130+offset_y);
        }
      }

    if(event->key() == Qt::Key_Left)
    {
        if(event->isAutoRepeat()&&(flag==0)) return;

        if(offset_y==0)
        {
            offset_x=offset_x-10;
            if(offset_x<-100)
            offset_x=-100;
            ui->pushButton->move(180+offset_x,130+offset_y);
        }
      }

    if(event->key() == Qt::Key_Right)
    {
        if(event->isAutoRepeat()&&(flag==0)) return;

        if(offset_y==0)
        {
            offset_x=offset_x+10;
            if(offset_x>100)
            offset_x=100;
            ui->pushButton->move(180+offset_x,130+offset_y);
        }
      }
}
widget.ui
<?xml version="1.0" encoding="UTF-8"?>
<ui version="4.0">
 <class>Widget</class>
 <widget class="QWidget" name="Widget">
  <property name="geometry">
   <rect>
    <x>0</x>
    <y>0</y>
    <width>400</width>
    <height>300</height>
   </rect>
  </property>
  <property name="windowTitle">
   <string>Widget</string>
  </property>
  <widget class="Line" name="line">
   <property name="geometry">
    <rect>
     <x>80</x>
     <y>130</y>
     <width>200</width>
     <height>16</height>
    </rect>
   </property>
   <property name="orientation">
    <enum>Qt::Horizontal</enum>
   </property>
  </widget>
  <widget class="Line" name="line_2">
   <property name="geometry">
    <rect>
     <x>180</x>
     <y>30</y>
     <width>16</width>
     <height>200</height>
    </rect>
   </property>
   <property name="orientation">
    <enum>Qt::Vertical</enum>
   </property>
  </widget>
  <widget class="QPushButton" name="pushButton">
   <property name="geometry">
    <rect>
     <x>80</x>
     <y>130</y>
     <width>16</width>
     <height>16</height>
    </rect>
   </property>
   <property name="text">
    <string>o</string>
   </property>
  </widget>
  <widget class="QCheckBox" name="checkBox">
   <property name="geometry">
    <rect>
     <x>270</x>
     <y>240</y>
     <width>81</width>
     <height>21</height>
    </rect>
   </property>
   <property name="text">
    <string>speed</string>
   </property>
  </widget>
  <widget class="QLabel" name="label">
   <property name="geometry">
    <rect>
     <x>100</x>
     <y>0</y>
     <width>161</width>
     <height>21</height>
    </rect>
   </property>
   <property name="text">
    <string>光标在数轴上移动演示</string>
   </property>
   <property name="alignment">
    <set>Qt::AlignCenter</set>
   </property>
  </widget>
 </widget>
 <layoutdefault spacing="6" margin="11"/>
 <resources/>
 <connections/>
</ui>


 660
660


 被折叠的 条评论
为什么被折叠?
被折叠的 条评论
为什么被折叠?
 到【灌水乐园】发言


