


Topbar大家都比较熟悉了吧?一般App上方的导航栏我们就把它称之为Topbar。往往一个App的每个页面都会有相同的导航栏,这时候我们一般有四种方法去处理导航栏的相关问题。
1、每个XML布局页面都写一遍导航栏要实现的布局代码;
2、既然是类似的,我们会选择把导航栏要实现的布局代码写在一个单独的XML布局里面,然后再其他布局文件里include进来;
3、使用android沉浸栏来解决,这个方法个人觉得还是不够简单粗暴;
介绍第四种本人看好的解决方法
4、自定义一个Topbar继承自RelativeLatyou,即我们常说的组合控件,只要在每个页面像添加TextView一样添加这个自定义的组合控件就可以了,而且使用起来很方便。
接下来就把自己的积累分享给大家:
我们要实现这样一个Topabr,
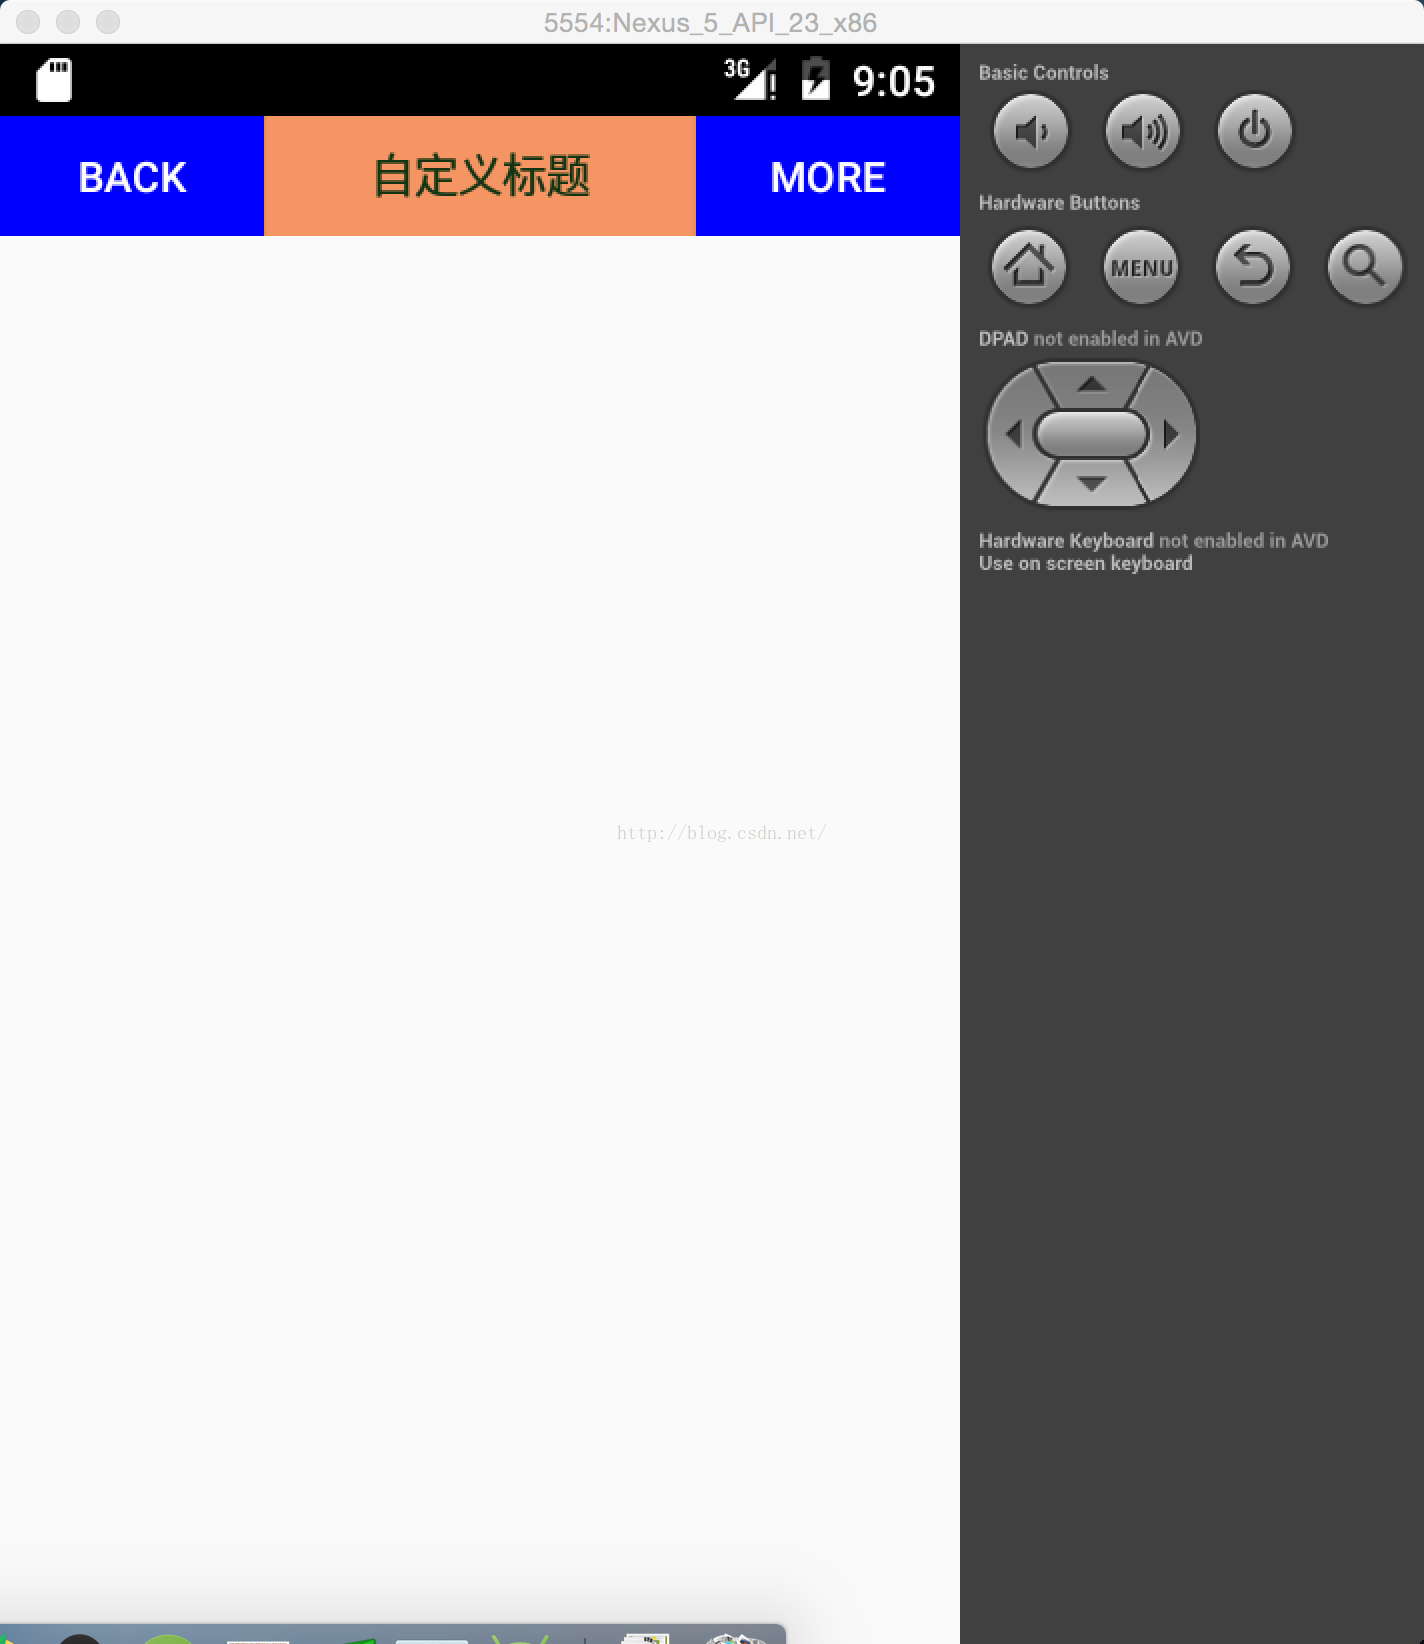
接下来就是整个过程:
首先要在values下创建attr文件,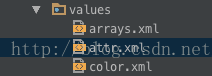
<?xml version="1.0" encoding="utf-8"?>
<resources>
    <declare-styleable name="Topbar">
        <attr name="left_text" format="string" />
        <attr name="left_text_background" format="reference|color" />
        <attr name="left_text_color" format="color" />
        <attr name="title_text" format="string" />
        <attr name="title_text_size" format="dimension" />
        <attr name="title_text_color" format="color" />
        <attr name="right_text" format="string" />
        <attr name="right_text_background" format="reference|color" />
        <attr name="right_text_color" format="color" />
    </declare-styleable>
</resources>
通过name的名字大家就应该知道分别是左边的文字left_text,左边的背景left_text_background,因为背景既可以为图片reference也可以为颜色color,所以format为两个属性;
左边的颜色left_text_color,format为当前属性的类型,文字就是string类型,颜色就是color类型 等等。接下来我们就是写自定义类。
package com.easemob.testuser.utils;

import android.content.Context;
import android.content.res.TypedArray;
import android.graphics.drawable.Drawable;
import android.util.AttributeSet;
import android.view.Gravity;
import android.view.View;
import android.widget.Button;
import android.widget.RelativeLayout;
import android.widget.TextView;

import com.easemob.testuser.R;

/**
 * Created by GZY on 15/10/17.
 */
public class Topbar extends RelativeLayout {
    //new出我们要用到的控件
    private Button leftButton, rightButton;
    private TextView tvTitle;

    //在代码里实例化要用到的属性
    private int leftTextColor;
    private Drawable leftBackground;
    private String leftText;

    private int rightTextColor;
    private Drawable rightBackground;
    private String rightText;

    private float titleTextSize;
    private int titleTextColor;
    private String title;

    private LayoutParams leftParams, rightParams, titleParams;

    private topbarClickListener listener;

    //Button单击的回调接口
    public interface topbarClickListener {
        void leftClick();

        void rightClick();
    }

    public void setOnTopbarClickListener(topbarClickListener listener) {
        this.listener = listener;
    }

    //1、因为要获取我们刚刚自定义的一些属性,所以我们选择android提供的两个参数的构造函数
    public Topbar(Context context, AttributeSet attrs) {
        super(context, attrs);

        //2、通过android提供的类TypedArray类来获取我们刚刚自定义的属性
        TypedArray ta = context.obtainStyledAttributes(attrs, R.styleable.Topbar);

        //3、分别把对应的自定义属性的值赋值给相应的代码里的属性
        leftTextColor = ta.getColor(R.styleable.Topbar_left_text_color, 0);
        leftBackground = ta.getDrawable(R.styleable.Topbar_left_text_background);
        leftText = ta.getString(R.styleable.Topbar_left_text);

        rightTextColor = ta.getColor(R.styleable.Topbar_right_text_color, 0);
        rightBackground = ta.getDrawable(R.styleable.Topbar_right_text_background);
        rightText = ta.getString(R.styleable.Topbar_right_text);

        title = ta.getString(R.styleable.Topbar_title_text);
        titleTextColor = ta.getColor(R.styleable.Topbar_title_text_color, 0);
        titleTextSize = ta.getDimension(R.styleable.Topbar_title_text_size, 0);

        //TypedArray用完以后回收一下,以免造成不必要的资源浪费
        ta.recycle();

        leftButton = new Button(context);
        rightButton = new Button(context);
        tvTitle = new TextView(context);

        //4、想必到这里大家都能明白下面的代码是干嘛的了把,对像在xml布局里面去设置控件的相关属性
        leftButton.setTextColor(leftTextColor);
        leftButton.setBackground(leftBackground);
        leftButton.setText(leftText);

        rightButton.setTextColor(rightTextColor);
        rightButton.setBackground(rightBackground);
        rightButton.setText(rightText);

        tvTitle.setText(title);
        tvTitle.setTextColor(titleTextColor);
        tvTitle.setTextSize(titleTextSize);
        tvTitle.setGravity(Gravity.CENTER);

        //给当前RelativeLayout设置背景颜色
        setBackgroundColor(0xFFF59563);

        //5、每个控件在RelativeLayout布局里面是如何布局的呢,我们通过LayoutParams类传进两个参数LayoutParams.WRAP_CONTENT, LayoutParams.WRAP_CONTENT
        //分别表示宽,高,和xml布局里面的宽高类似,然后为LayoutParams添加一个规则,第一个参数于父控件左对齐,第二个参数为默认TRUE,不是true
        leftParams = new LayoutParams(LayoutParams.WRAP_CONTENT, LayoutParams.WRAP_CONTENT);
        leftParams.addRule(RelativeLayout.ALIGN_PARENT_LEFT, TRUE);

        //第一个参数为要添加的控件,第二个参数为在外层布局里面的位置,这样一个button就被添加到relativelayout里面了
        addView(leftButton, leftParams);

        //同理,下面把中间的TextView和右边的Button添加到RelativeLayout里面
        rightParams = new LayoutParams(LayoutParams.WRAP_CONTENT, LayoutParams.WRAP_CONTENT);
        rightParams.addRule(RelativeLayout.ALIGN_PARENT_RIGHT, TRUE);

        addView(rightButton, rightParams);

        titleParams = new LayoutParams(LayoutParams.WRAP_CONTENT, LayoutParams.MATCH_PARENT);
        titleParams.addRule(RelativeLayout.CENTER_IN_PARENT, TRUE);

        addView(tvTitle, titleParams);

        //为左右Button添加单击事件
        leftButton.setOnClickListener(new OnClickListener() {
            @Override
            public void onClick(View v) {
                listener.leftClick();
            }
        });
        rightButton.setOnClickListener(new OnClickListener() {
            @Override
            public void onClick(View v) {
                listener.rightClick();
            }
        });
    }
        //设置左Button是否可见
    public void setLeftIsVisiable(boolean flag) {
        if (flag) {
            leftButton.setVisibility(VISIBLE);
        } else {
            leftButton.setVisibility(GONE);
        }
    }
}
这样一个自定义组合控件Topbar就完成了饿,我们在Activity里面试一下就会看到效果,贴上代码
package com.easemob.testuser.activity;

import android.app.Activity;
import android.os.Bundle;
import android.widget.Toast;

import com.easemob.testuser.R;
import com.easemob.testuser.utils.Topbar;

/**
 * Created by GZY on 15/12/25.
 */
public class CustomRelativeActivity extends Activity {
    @Override
    public void onCreate(Bundle savedInstanceState) {
        super.onCreate(savedInstanceState);
        setContentView(R.layout.activity_customrelative);

        Topbar topbar = (Topbar) findViewById(R.id.topbar);
        topbar.setOnTopbarClickListener(new Topbar.topbarClickListener() {
            @Override
            public void leftClick() {
                Toast.makeText(CustomRelativeActivity.this, "点击了左边", Toast.LENGTH_SHORT).show();
            }

            @Override
            public void rightClick() {
                Toast.makeText(CustomRelativeActivity.this, "点击了右边", Toast.LENGTH_SHORT).show();
            }
        });
    }
}
xml布局文件
<?xml version="1.0" encoding="utf-8"?>
<RelativeLayout xmlns:android="http://schemas.android.com/apk/res/android"
    xmlns:custom="http://schemas.android.com/apk/res-auto"
    android:layout_width="match_parent"
    android:layout_height="match_parent">

    <com.easemob.testuser.utils.Topbar
        android:id="@+id/topbar"
        android:layout_width="match_parent"
        android:layout_height="40dp"
        custom:left_text="Back"
        custom:left_text_background="#0000FF"
        custom:left_text_color="#FFFFFF"
        custom:right_text="More"
        custom:right_text_background="#0000FF"
        custom:right_text_color="#FFFFFF"
        custom:title_text="自定义标题"
        custom:title_text_color="#123412"
        custom:title_text_size="10sp" />
</RelativeLayout>


 1818
1818


 被折叠的 条评论
为什么被折叠?
被折叠的 条评论
为什么被折叠?
 到【灌水乐园】发言


