


工厂方法模式
简单工厂模式是恩,按那个计算器来写的话,就是把运算符都具有的特性抽象出来作为父类。然后想添加运算类型,只需要对应的增加继承其运算符抽象类,然后添加自己的运算方法即可。但是要在工厂类中修改switch 增加判断。
对应的工厂方法模式就是把工厂类这个类也抽象出来。对每个运算符子类都创建一个对应的工厂来创建。所有小工厂继承工厂抽象类。
这样增加运算的话只需在继承实现运算符,在继承实现对应的小工厂类。然后在客户端中就使用什么类就创建哪个小工厂即可。利用小工厂来创建小运算类。
工厂也抽象出来定义个接口
interface IFactory{
    //每个工厂都有的方法返回自己这个小工厂创建的运算符类利用多态返回
    Operation Createoperation();
}


//
class AddFactory implements IFactory{

    @Override
    public Operation Createoperation() {
        return new OperationAdd();//返回对应运算符的子类
    }


}

class SubFactory implements IFactory{

    @Override
    public Operation Createoperation() {

        return OperationSub();
    }


}
客户端
    public static void main(String[] args) {
    //对应的字节new 加法的工厂,用父类接着,然后调用其工厂的创建运算符的方法创建。用运算符抽象类接着。设置其属性,调用其方法。
        IFactory iFactory = new AddFactory();
        Operation operation = iFactory.Createoperation();
        operation.setNumberA(2);
        operation.setNumberB(3);
        operation.getResult();
    }
简单工厂模式的最大优点在于工厂类中包含了必要的逻辑判断,根据客户端的选择条件动态实例化相关的类,对于客户端磊说,去除了与具体产品的依赖。
工厂方法使一个类的实例化延迟到其子类
工厂方法模式克服了简单工厂模式违背开放封闭原则的缺点,又保持了封装对象创建过程的优点。使用了多态性。
本来修改的是工厂类。现在修改的是客户端
原型模式
原型模式其实就是从一个对象再创建另外一个可定制的对象。而且不需要知道任何创建的细节。
//利用java 的Cloneable接口来定义原型类
class ConcretePrototype implements Cloneable{
    ConcretePrototype concretePrototype;
    private String nameString;
    public String getNameString() {
        return nameString;
    }
    public void setNameString(String nameString) {
        this.nameString = nameString;
    }
    public int getAge() {
        return age;
    }
    public void setAge(int age) {
        this.age = age;
    }
    private int age;

    //定义克隆方法
    public ConcretePrototype clone() {
        try {
            concretePrototype= (ConcretePrototype) super.clone();
        } catch (CloneNotSupportedException e) {
            // TODO Auto-generated catch block
            e.printStackTrace();
        }
        return concretePrototype;
    }


}
客户端
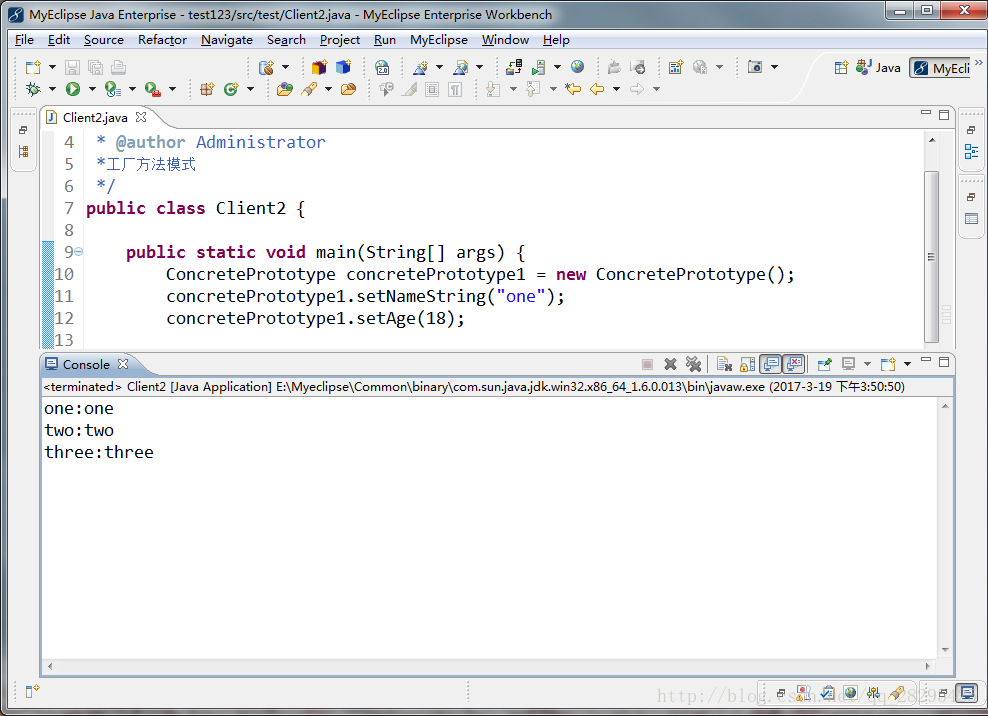
    public static void main(String[] args) {
        ConcretePrototype concretePrototype1 = new ConcretePrototype();
        concretePrototype1.setNameString("one");
        concretePrototype1.setAge(18);

        ConcretePrototype concretePrototype2,concretePrototype3;
        concretePrototype2 = concretePrototype1.clone();
        concretePrototype3 = concretePrototype1.clone();
        concretePrototype2.setNameString("two");
        concretePrototype2.setAge(19);
        concretePrototype3.setNameString("three");
        concretePrototype3.setAge(20);

        System.out.println("one:"+concretePrototype1.getNameString());
        System.out.println("two:"+concretePrototype2.getNameString());
        System.out.println("three:"+concretePrototype3.getNameString());

    }
clone是浅复制。如果是对象的话就不能复制了。对象只能复制其引用,就是说克隆后其对象的属性值就是其最后一次修改。
如果想要实现深度克隆就可以将这个对象也实现接口Cloneable~~
代码:
先定义个类,没有实现接口Cloneable
class Student {
    public int id;

}
原型类中添加:
    Student student ;


    public Student getStudent() {
        return student;
    }
    public void setStudent(Student student) {
        this.student = student;
    }
客户端中添加
Student student = new Student();
student.id=1;
concretePrototype1.setStudent(student);
student.id=2;
concretePrototype2.setStudent(student);
student.id=3;
concretePrototype3.setStudent(student);
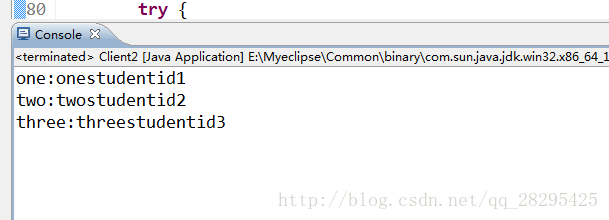
System.out.println("one:"+concretePrototype1.getNameString()+"studentid"+concretePrototype1.student.id);
System.out.println("two:"+concretePrototype2.getNameString()+"studentid"+concretePrototype2.student.id);
System.out.println("three:"+concretePrototype3.getNameString()+"studentid"+concretePrototype3.student.id);
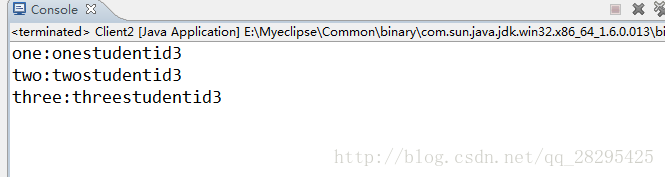
最后输出的都是id3
深度克隆:
让其定义的类实现接口Cloneable,并实现clone方法
class Student implements Cloneable {
    public int id;
    Student student;
    public Student clone(){
        try {
            student = (Student)super.clone();
        } catch (CloneNotSupportedException e) {
            // TODO Auto-generated catch block
            e.printStackTrace();
        }
        return student;
    }
}
注意!!!!
要在原型类中给student类赋值的方法中调用clone即:
    Student student ;


    public Student getStudent() {
        return student;
    }
    public void setStudent(Student student) {
        this.student = (Student)student.clone();
    }
一定要,不这么调用clone的话就等于还是浅度克隆。
传入的student.clone方法返回一个对象。克隆他。
在客户端中改变传入的student。但是实例化的原型类是克隆的。原型类中的类对象也实现了接口Cloneable。所以也是深度克隆。恩,有点像递归的思想。
然后客户端还是原来的样子,但是输出变了!
浅复制,被复制的对象的所有变量都含有与原来的对象相同的值,而所有的对其他对象的引用仍然指向原来的对象。
深复制把引用对象的变量指向复制的对象所引用的对象都复制一遍。
克隆还隐藏了对象创建的细节。 性能高
模板方法模式
模板方法模式就是把所有子类中不变的东西提取到父类中。减少代码的重复。
比如说试题。抄写两份给别人。
//所有试题类都有这些方法,所以提取出出来
class TestPaper{
    public void TestQuestion1(){
        System.out.println("1+1等于2");
    }
    public void TestQuestion2(){
        System.out.println("2+1等于2");
    }
    public void TestQuestion3(){
        System.out.println("2+2等于2");
    }


}

class TestPaperA extends TestPaper{
    public void TestQuestion1(){
        super.TestQuestion1();
        System.out.println("回答:"+"对");
    }
    public void TestQuestion2(){
        super.TestQuestion2();
        System.out.println("回答:"+"错");
    }
    public void TestQuestion3(){
        super.TestQuestion3();
        System.out.println("回答:"+"对");
    }
}

class TestPaperB extends TestPaper{
    public void TestQuestion1(){
        super.TestQuestion1();
        System.out.println("回答:"+"对");
    }
    public void TestQuestion2(){
        super.TestQuestion2();
        System.out.println("回答:"+"对");
    }
    public void TestQuestion3(){
        super.TestQuestion3();
        System.out.println("回答:"+"对");
    }
}
然后
public static void main(String[] args) {
TestPaperA A = new TestPaperA();
TestPaperB B = new TestPaperB();
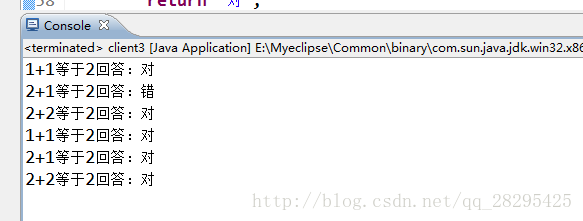
A.TestQuestion1();
A.TestQuestion2();
A.TestQuestion3();
B.TestQuestion1();
B.TestQuestion2();
B.TestQuestion3();
}
}这么写子类中很多方法都是重复的!。
将子类回答问题这个东西提取出来写一个方法,让方法返回这个答案。在问题方法中调用。那么子类就不用写super.问题方法了。只需要实现回答方法即可。
试题父类
class TestPaper{
    public void TestQuestion1(){
        System.out.println("1+1等于2"+"回答:"+Answer1());
    }
    public void TestQuestion2(){
        System.out.println("2+1等于2"+"回答:"+Answer2());
    }
    public void TestQuestion3(){
        System.out.println("2+2等于2"+"回答:"+Answer3());
    }
    public  String Answer1(){
        return null;
    };
    public  String Answer2(){
        return null;
    };
    public  String Answer3(){
        return null;
    };
}
试题子类
class TestPaperA extends TestPaper{
    public  String Answer1(){
        return "对";
    };
    public  String Answer2(){
        return "错";
    };
    public  String Answer3(){
        return "对";
    };
}
class TestPaperB extends TestPaper{
    public  String Answer1(){
        return "对";
    };
    public  String Answer2(){
        return "对";
    };
    public  String Answer3(){
        return "对";
    };

}
这么写代码很美。一定要在自己的代码中用到!


 4983
4983


 被折叠的 条评论
为什么被折叠?
被折叠的 条评论
为什么被折叠?
 到【灌水乐园】发言


