


从今天开始更新H5相关学习:希望大家能一起学习,多学习一门语言,多一门乐趣!
了解Html5:
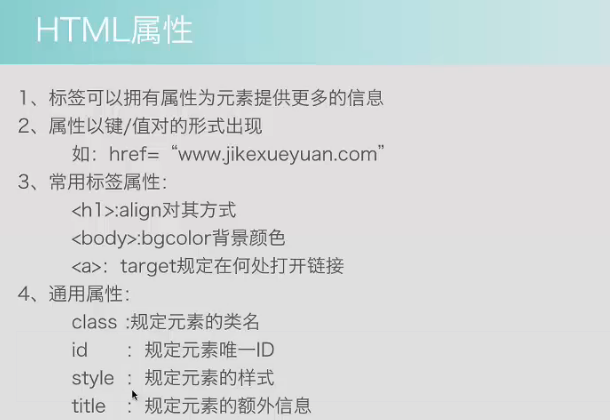
Html5基本属性:
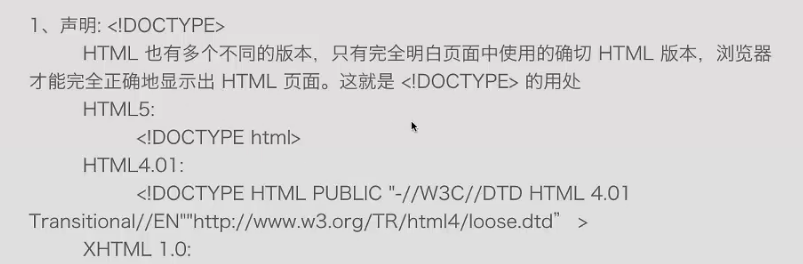
<!DOCTYPE html>
<html lang="en">
<head>
<meta charset="UTF-8">
<title>html的属性</title>
</head>
<body bgcolor="#ffe4c4">
<!--<body background=".idea/images/1.jpg">-->
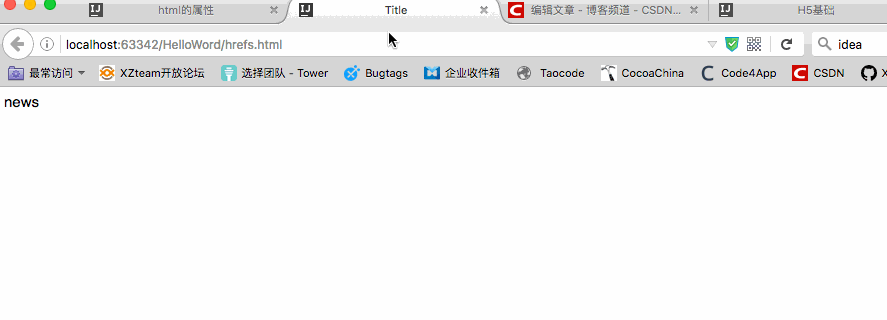
<a href="hrefs.html" target="_blank">打开本地(target是否覆盖上一页)</a>
<h1 align="center">标题1</h1>
<h2 class="h2ID">标题2-class属性</h2>
<h2 id="hID">标题3-id属性</h2>
</body>
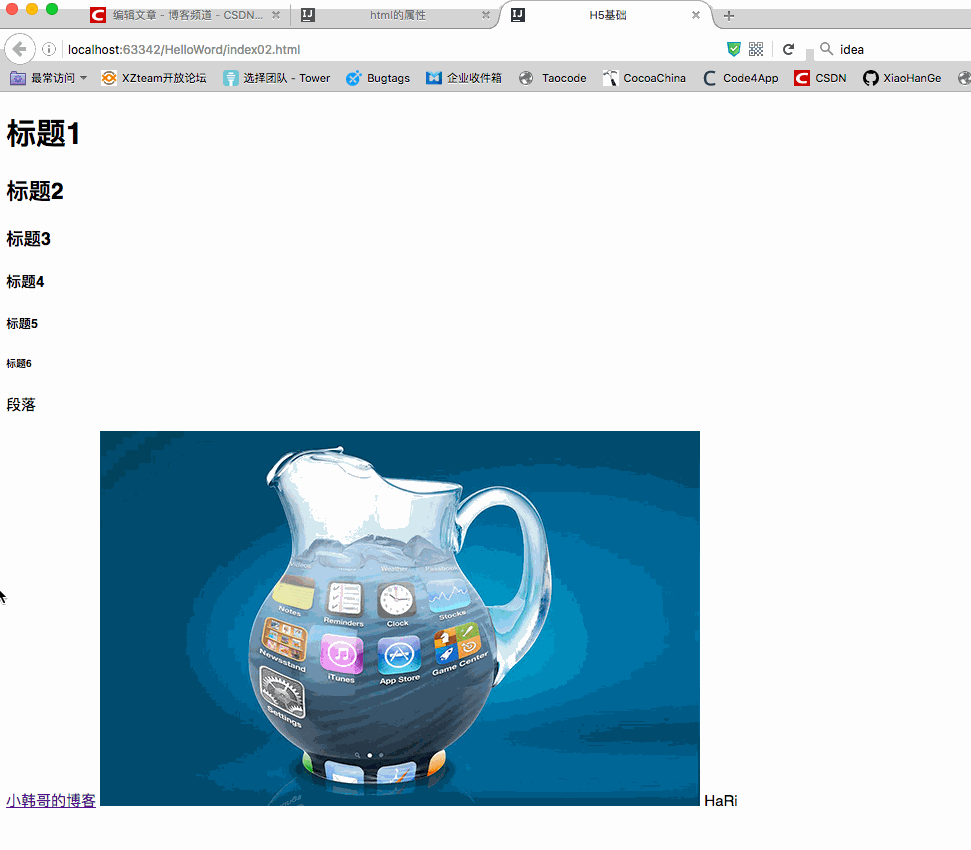
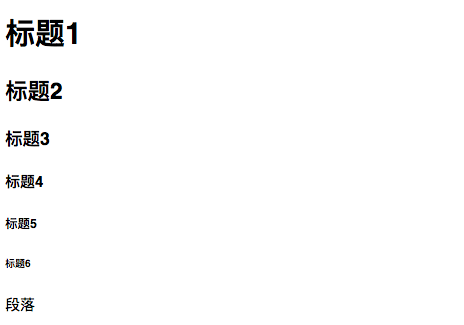
</html>(1)h1-h6 分别代表标题的不同字号:如图效果
<!DOCTYPE html>

<html lang="en">
<head>
    <meta charset="UTF-8">
    <title>H5基础</title>
</head>
<body>
 <h1>标题1</h1>
 <h2>标题2</h2>
 <h3>标题3</h3>
 <h4>标题4</h4>
 <h5>标题5</h5>
 <h6>标题6</h6></p>
 <p>段落</p>
 <a href="http://blog.csdn.net/qq_31810357">小韩哥的博客</a>
 <img src=".idea/images/1.jpg">
  HaRi
</body>
</html>
(2)header头部和body主题
(3)a标签下属性herf关联链接如下图:
其中a标签下target属性有四个:_black._top._self_parent //black是不被覆盖的,而默认是被覆盖的!
每日更新关注:http://weibo.com/hanjunqiang 新浪微博!
iOS开发者交流QQ群: 446310206


 74
74


 被折叠的 条评论
为什么被折叠?
被折叠的 条评论
为什么被折叠?
 到【灌水乐园】发言


