


一. 源码安装php7.2
- 选择需要的php版本
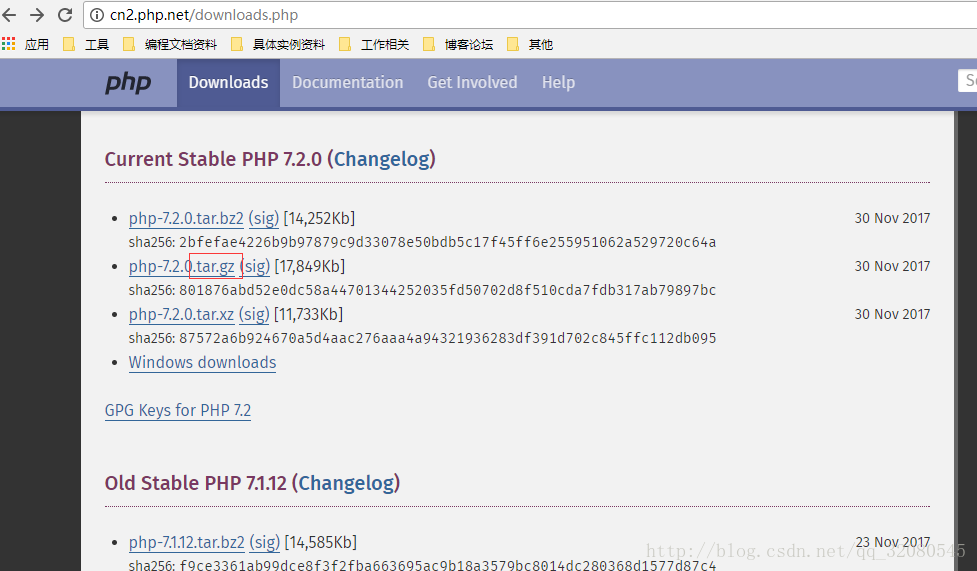
- 从 php官网: http://cn2.php.net/downloads.php 选择需要的php版本,选择
.tar.gz的下载包,点击进入,选择中国的本地语言包,复制这个下载地址
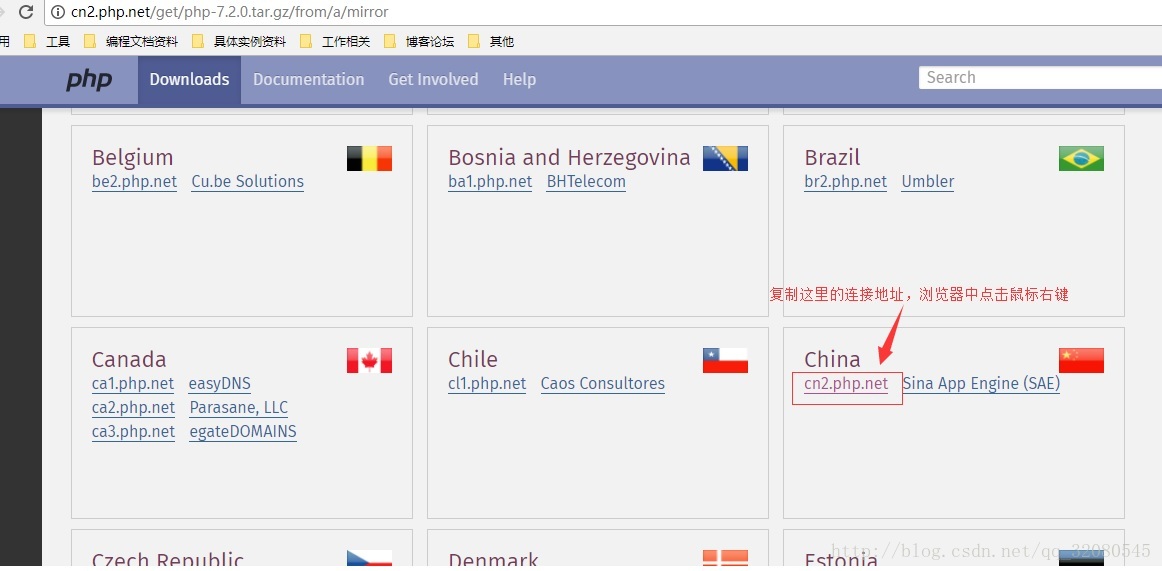
最后得到的下载的地址就是:
http://cn2.php.net/get/php-7.2.0.tar.gz/from/this/mirror
(参照这个方法就可以随时获取最新版本的PHP了)
2.下载php源码
- 选择一个位置存放文件
cd /usr/src/ - 下载刚刚选好的php压缩包
wget http://cn2.php.net/get/php-7.2.0.tar.gz/from/this/mirror
但是我们下载下来看到并不是我们要的php-7.2.0.tar.gz类似的压缩文件,而是一个mirror的文件,很简单,我们给文件重命名就可以了
mv mirror php-7.2.0.tar.gz
- 安装php所需要的依赖
    yum install gcc
	yum install libxml2
	yum install libxml2-devel -y
    yum install openssl openssl-devel -y
	yum -y install curl-devel
	yum install libjpeg.x86_64 libpng.x86_64 freetype.x86_64 libjpeg-devel.x86_64 libpng-devel.x86_64 freetype-devel.x86_64 -y
	yum install bzip2-devel.x86_64 -y
	yum install libXpm-devel -y
	yum install gmp-devel -y
	yum install -y icu libicu libicu-devel
	yum  install  php-mcrypt  libmcrypt  libmcrypt-devel -y
	yum install  postgresql-devel -y
	yum install libxslt-devel -y
	yum -y install libjpeg-devel
4.解压编译
tar -xzxvf php-7.2.0.tar.gz
cd php-7.2.0
设置编译需要加载的模块
./configure --prefix=/usr/local/php --with-pdo-pgsql --with-zlib-dir --with-freetype-dir --enable-mbstring --with-libxml-dir=/usr --enable-soap --enable-calendar --with-curl --with-mcrypt --with-gd --with-pgsql --disable-rpath --enable-inline-optimization --with-bz2 --with-zlib --enable-sockets --enable-sysvsem --enable-sysvshm --enable-pcntl --enable-mbregex --enable-exif --enable-bcmath --with-mhash --enable-zip --with-pcre-regex --with-pdo-mysql --with-mysqli --with-jpeg-dir=/usr --with-png-dir=/usr --enable-gd-native-ttf --with-openssl --with-fpm-user=www-data --with-fpm-group=www-data --with-libdir=/lib/x86_64-linux-gnu/--enable-ftp --with-gettext --with-xmlrpc --with-xsl --enable-opcache --enable-fpm --with-iconv --with-xpm-dir=/usr
编译:
make clean && make && make install
5. 复制配置文件
cp php.ini-development /usr/local/php/lib/php.ini
6. 设置全局的php命令
vim /etc/profile
在文件最后添加:
PATH=$PATH:/usr/local/php/bin
export PATH
然后执行 命令 source /etc/profile
此时php就是全局命令了,可以通过php -v 查看php版本信息或者php -m 看看刚刚编译加载的模块了
- 配置PHP-fpm
cp /usr/local/php/etc/php-fpm.conf.default /usr/local/php/etc/php-fpm.conf

cp /usr/local/php/etc/php-fpm.d/www.conf.default /usr/local/php/etc/php-fpm.d/www.conf

cp /usr/src/php-7.2.0/sapi/fpm/init.d.php-fpm /etc/init.d/php-fpm

chmod +x /etc/init.d/php-fpm
新建www-data 用户组:
groupadd www-data
useradd -g www-data www-data
启动php-fpm
/etc/init.d/php-fpm start
(可选)配置php-fpm自启动,如果存在这个文件,这步省略
创建php-fpm启动脚本
vim /etc/init.d/php-fpm
插入如下内容:
#!/bin/sh
# chkconfig:   2345 15 95

# description:  PHP-FPM (FastCGI Process Manager) is an alternative PHP FastCGI implementation \

# with some additional features useful for sites of any size, especially busier sites.
# DateTime: 2016-09-20

# Source function library.
. /etc/rc.d/init.d/functions

# Source networking configuration.
. /etc/sysconfig/network

# Check that networking is up.
[ "$NETWORKING" = "no" ] && exit 0

phpfpm="/usr/local/php/sbin/php-fpm"
prog=$(basename ${phpfpm})

lockfile=/var/lock/subsys/phpfpm

start() {
    [ -x ${phpfpm} ] || exit 5
    echo -n $"Starting $prog: "
    daemon ${phpfpm}
    retval=$?
    echo
    [ $retval -eq 0 ] && touch $lockfile
    return $retval
}

stop() {
    echo -n $"Stopping $prog: "
    killproc $prog -QUIT
    retval=$?
    echo
    [ $retval -eq 0 ] && rm -f $lockfile
    return $retval
}

restart() {
    configtest || return $?
    stop
    start
}

reload() {
    configtest || return $?
    echo -n $"Reloading $prog: "
    killproc ${phpfpm} -HUP
    RETVAL=$?
    echo
}

force_reload() {
    restart
}

configtest() {
  ${phpfpm} -t
}

rh_status() {
    status $prog
}

rh_status_q() {
    rh_status >/dev/null 2>&1
}

case "$1" in
    start)
        rh_status_q && exit 0
        $1
        ;;
    stop)
        rh_status_q || exit 0
        $1
        ;;
    restart|configtest)
        $1
        ;;
    reload)
        rh_status_q || exit 7
        $1
        ;;
    status)
        rh_status
        ;;
    *)
        echo $"Usage: $0 {start|stop|status|restart|reload|configtest}"
        exit 2
esac
添加到开机启动项
chkconfig --add php-fpm
此时也可以使用service来启动php-fpm了
service php-fpm start
service php-fpm stop
二、yum安装nginx
- 执行yum安装命令
yum install nginx
关于yum安装nginx的一些位置说明:
https://www.cnblogs.com/odbo/p/5295690.html - 修改配置文件已支持php
cd /etc/nginx/
删掉原本的nginx.conf,复制一份nginx.conf.default的默认配置
rm -rf nginx.conf
cp nginx.conf.default nginx.conf
vim nginx.conf
server里面的配置:
在location / 的中index增加index.php ,增加URL重写读取;
解开location ~ .php$的注释,修改fastcgi的路径,最终server部分配置内容为:
server {
         listen       80;
         server_name  localhost;

        #charset koi8-r;

          #access_log  logs/host.access.log  main;

          location / {
              root   html;
              # 修改1:这里新增了index.php
              index index.html index.htm index.php;
              # 修改2:这里新增url重写(path)
              try_files $uri $uri/ /index.php$is_args$args;
          }

          #error_page  404              /404.html;

          # redirect server error pages to the static page /50x.html
          #
          error_page   500 502 503 504  /50x.html;
          location = /50x.html {

             root   html;
          }

          # proxy the PHP scripts to Apache listening on 127.0.0.1:80
          #
          #location ~ \.php$ {
          #    proxy_pass   http://127.0.0.1;
          #}

          # pass the PHP scripts to FastCGI server listening on 127.0.0.1:9000
          #
	#修改3:解开php支持的注释
          location ~ \.php$ {
              root           html;
              #默认就使用php-fpm
              fastcgi_pass   127.0.0.1:9000;
              fastcgi_index  index.php;
              #修改4:修改fastcig的路径
              fastcgi_param  SCRIPT_FILENAME  $document_root$fastcgi_script_name;
              include        fastcgi_params;
          }

          # deny access to .htaccess files, if Apache's document root
          # concurs with nginx's one
          #
          #location ~ /\.ht {
          #    deny  all;
          #}
      }
保存配置文件。
3.启动nginx
service nginx start
4.(可选)设置nginx开机自启动
创建nginx启动命令脚本
vi /etc/init.d/nginx
插入以下内容:
#! /bin/bash
# chkconfig: - 85 15
PATH=/usr/local/nginx
DESC="nginx daemon"
NAME=nginx
DAEMON=$PATH/sbin/$NAME
CONFIGFILE=$PATH/conf/$NAME.conf
PIDFILE=$PATH/logs/$NAME.pid
SCRIPTNAME=/etc/init.d/$NAME
set -e
[ -x "$DAEMON" ] || exit 0
do_start() {
$DAEMON -c $CONFIGFILE || echo -n "nginx already running"
}
do_stop() {
$DAEMON -s stop || echo -n "nginx not running"
}
do_reload() {
$DAEMON -s reload || echo -n "nginx can't reload"
}
case "$1" in
start)
echo -n "Starting $DESC: $NAME"
do_start
echo "."
;;
stop)
echo -n "Stopping $DESC: $NAME"
do_stop
echo "."
;;
reload|graceful)
echo -n "Reloading $DESC configuration..."
do_reload
echo "."
;;
restart)
echo -n "Restarting $DESC: $NAME"
do_stop
do_start
echo "."
;;
*)
echo "Usage: $SCRIPTNAME {start|stop|reload|restart}" >&2
exit 3
;;
esac
exit 0
设置执行权限
chmod a+x /etc/init.d/nginx
注册成服务
chkconfig --add nginx
设置开机启动
chkconfig nginx on
重启查看nginx服务是否自动启动(!!! 请确保重启不会影响现有业务,如不确定请不要执行,后果自负)
shutdown -h 0 -r
netstat -apn|grep nginx
配置nginx成服务还有一个好处就是可以直接通过systemctl或者service直接启动或停止nginx了,例如 systemctl stop nginx 或者 service nginx stop就可以停止nginx了
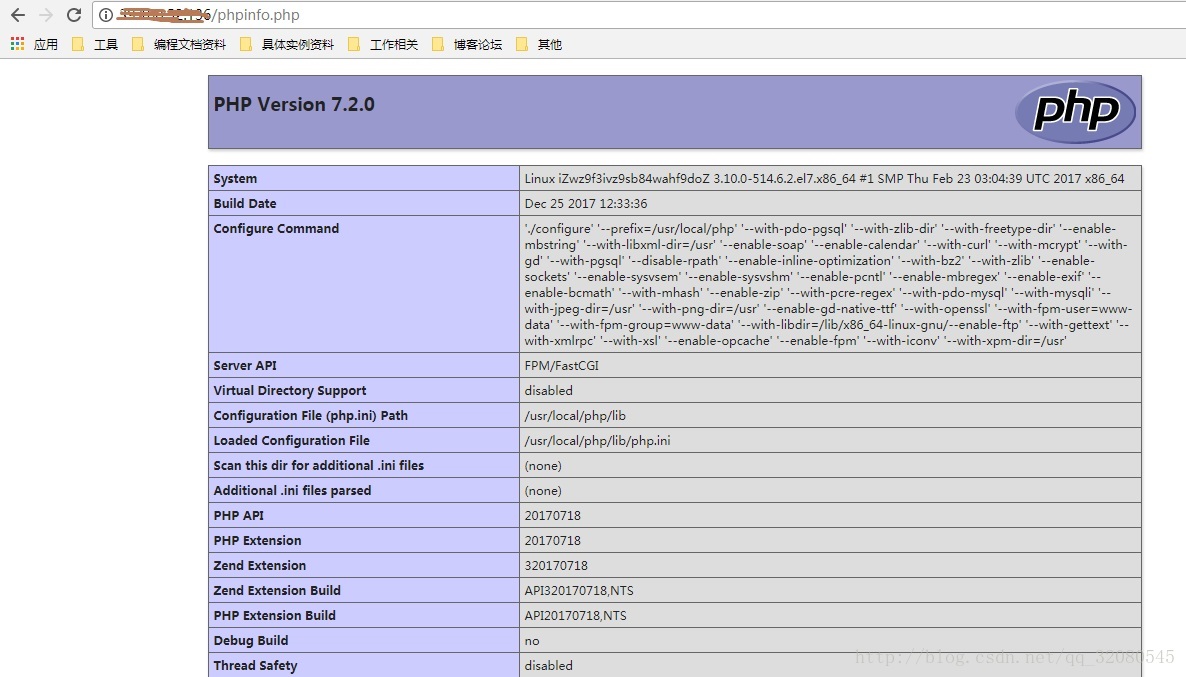
三、编写测试文件
vim /usr/share/nginx/html/phpinfo.php
比如编辑一个phpinfo
<?php
phpinfo();
最后就可以访问刚刚这个文件了
四、yum安装mysql5.7
以下内容转载自:https://www.cnblogs.com/wishwzp/p/7113403.html
第一步:获取mysql YUM源
进入mysql官网获取RPM包下载地址
https://dev.mysql.com/downloads/repo/yum/
右击 复制链接地址 https://dev.mysql.com/get/mysql57-community-release-el7-11.noarch.rpm
得到这个 这个就是Yum仓库的rpm包 其实就是一个下载地址
第二步:下载和安装mysql源
先下载 mysql源安装包
wget https://dev.mysql.com/get/mysql57-community-release-el7-11.noarch.rpm
安装mysql源
yum -y localinstall mysql57-community-release-el7-11.noarch.rpm
第三步:在线安装Mysql
yum -y install mysql-community-server
第四步:启动Mysql服务
systemctl start mysqld
(service mysqld start 也行)
第五步:设置开机启动
systemctl enable mysqld
systemctl daemon-reload
第六步:修改root本地登录密码
mysql安装完成之后,在/var/log/mysqld.log文件中给root生成了一个临时的默认密码。
[root@localhost ~]# vi /var/log/mysqld.log
这里的临时密码 eMV.R#mWe3ha
[root@localhost ~]# mysql -u root -p
Enter password:
输入临时密码 进入mysql命令行;
mysql> SET PASSWORD = PASSWORD(’ Zheng7788@’);
Query OK, 0 rows affected (0.00 sec)
修改密码为Zheng7788@ (备注 mysql5.7默认密码策略要求密码必须是大小写字母数字特殊字母的组合,至少8位)
第七步:设置允许远程登录
Mysql默认不允许远程登录,我们需要设置下,并且防火墙开放3306端口;
mysql> GRANT ALL PRIVILEGES ON . TO ‘root’@’%’ IDENTIFIED BY ‘ZhipengWang2012@’ WITH GRANT OPTION;
Query OK, 0 rows affected, 1 warning (0.01 sec)
mysql> exit;
Bye
这里其实最好新建一个用户:
GRANT ALL PRIVILEGES ON *.* TO 'adduser'@'%' IDENTIFIED BY 'zyytest12!' WITH GRANT OPTION;
开放3306端口
firewall-cmd --zone=public --add-port=3306/tcp --permanent
(如果防火墙未开启需要先打开防火墙:systemctl start firewalld)
重启防火墙
firewall-cmd --reload
第八步:配置默认编码为utf8
修改/etc/my.cnf配置文件,在[mysqld]下添加编码配置,如下所示:
[mysqld]
character_set_server=utf8
init_connect=‘SET NAMES utf8’
vi /etc/my.cnf
编辑保存完 重启mysql服务;
systemctl restart mysqld
end


 28万+
28万+


 被折叠的 条评论
为什么被折叠?
被折叠的 条评论
为什么被折叠?
 到【灌水乐园】发言


