


js封装-简单雪花插件
今天学习了JS的封装,重点是学习函数的作用域,对暴露的接口进行操作。在老师讲的基础上增加了雪花颜色的随机值,并同时判断雪花下落的边界,解决滚动条抖动的问题。
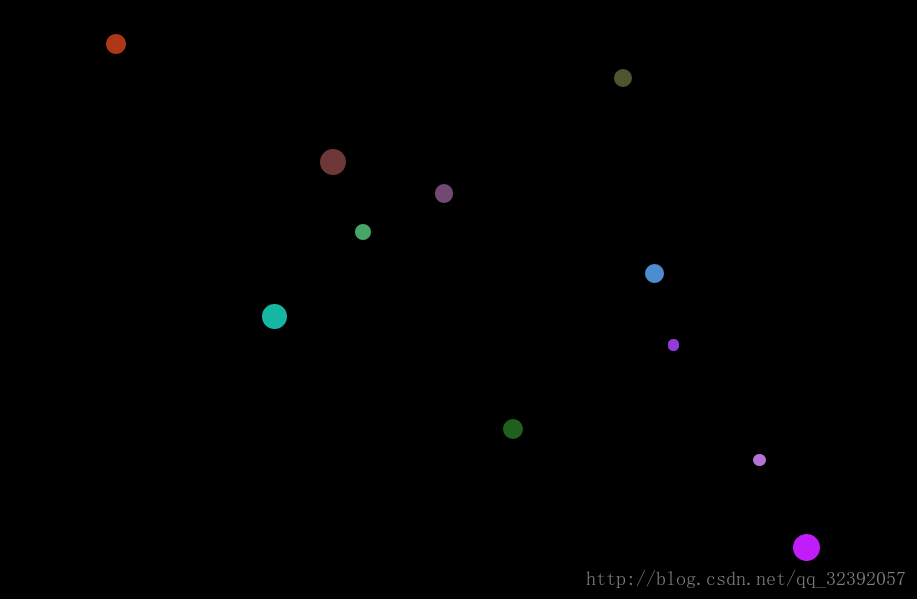
效果图
代码
<!DOCTYPE html>
<html lang="en">
<head>
    <meta charset="UTF-8">
    <title>show</title>
    <style>
        * {
            margin: 0;
            padding: 0;
        }
        body {
            background: #000;
        }
    </style>
</head>
<body>
    <script src="js/snow.js"></script>
    <script>
        fn.snow({
            minSize: 5,
            maxSize: 30,
            newOn: 100,
            flakeSpeed: 5
        });
    </script>
</body>
</html>
snow.js
!function () {
    // body...
    window.fn = {};
    fn.snow = function(options) {
        console.log('qq')
        var defaults = {
            minSize: 5,
            maxSize: 20,
            newOn: 200,
            flakeSpeed: 10
        }

        var option = options || defaults;

        var hash = ['A', 'B', 'C', 'D', 'E', 'F'];

        var documentWidth = document.documentElement.clientWidth;
        var documentHeight = document.documentElement.clientHeight;

        console.log('kkk');
        var interval = setInterval(function(){
            var flake = document.createElement("div");
            var flakeSize = option.minSize + Math.random() * (option.maxSize - option.minSize);
            var flakeX = Math.random() * documentWidth - flakeSize;
            // var flakeY = Math.random() * documentHeight;

            var opacity = Math.random() + 0.2;
            var flakeColor = getColor();

            flake.style.cssText = "border-radius:50%;position:absolute;box-shadow:5px 5px 5px rgba(20, 20, 20, 0.5);height:" + flakeSize + "px;width:"
                                + flakeSize + "px;background:" + flakeColor + ";opacity" + opacity + ";left:" + flakeX + "px;";
            document.body.appendChild(flake);
            animate(flake, option.flakeSpeed, flakeSize);
        }, option.newOn);
        function animate(obj, speed, flakeSize) {
            var top = 0;
            var timer = setInterval(function() {
                top += speed;
                if (top + flakeSize > documentHeight) {
                    clearInterval(timer);

                    obj.parentNode.removeChild(obj);
                }
                obj.style.top = top + "px";
            },13);
        }

        function getColor() {
            var color = '#';
            for (var i = 0; i < 6; i++) {
                var tmp = Math.floor(Math.random() * 16 + 1);
                if (tmp > 9) {
                    tmp = hash[tmp - 10];
                }
                color += tmp;
            }
            // console.log(color);
            return color;
        }
    }
}();
感想
通过JS封装的练习,让我对函数作用域有了更清晰的认识,同时对于Math对象也有了更熟练的掌握,同时让我认识到细节决定成败,不管是学前端还是搞ACM都要有严谨的思维。


 542
542


 被折叠的 条评论
为什么被折叠?
被折叠的 条评论
为什么被折叠?
 到【灌水乐园】发言


