


创建ASP.NET MVC 5应用程序
一、创建新的MVC项目的步骤如下:
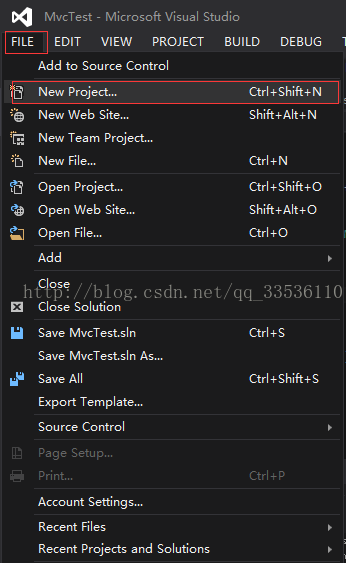
1、选择File|New Project 选项,图1
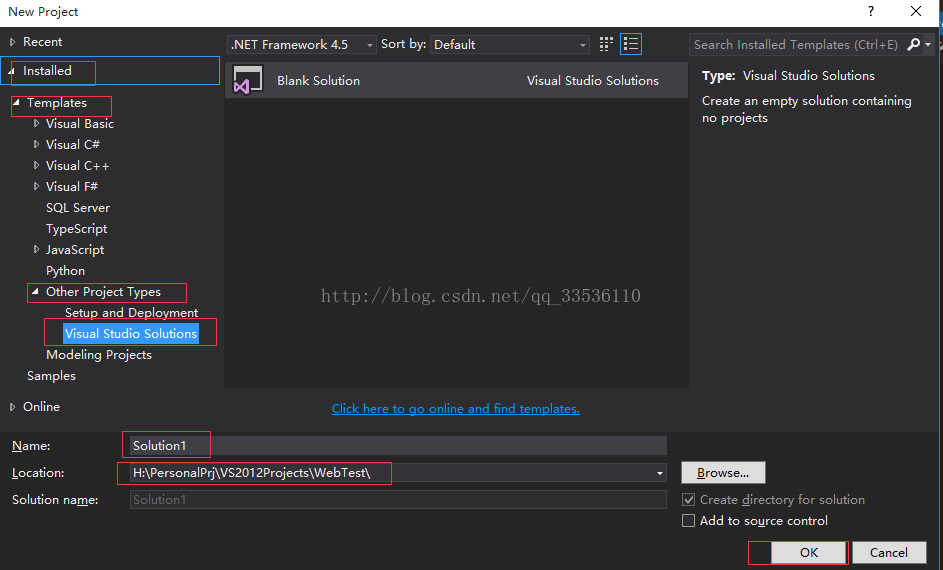
2、创建Solution,看个人喜好,通常我是先建立一个Solution,然后再添加工程,当然这一步骤也可以省略。在New Project对话框左栏的Installed Templates部分选择Other ProjectTypes|Visual Studio Solutions,这将在中间栏显示Solution列表。选择Blank Solution,将Solution命令为MvcTest,然后点击OK按钮。图2
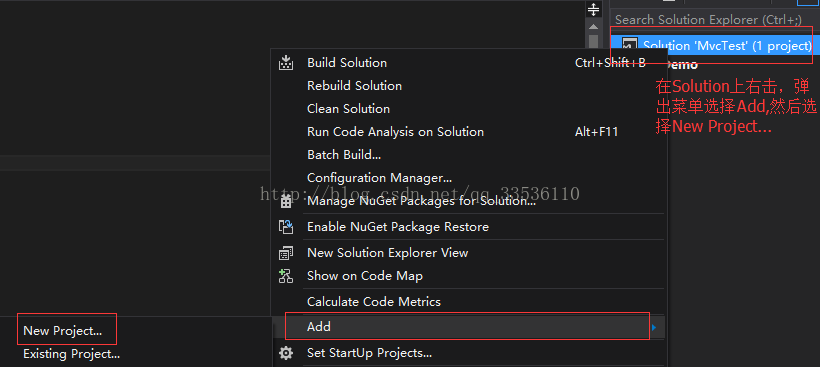
3、添加项目,图3
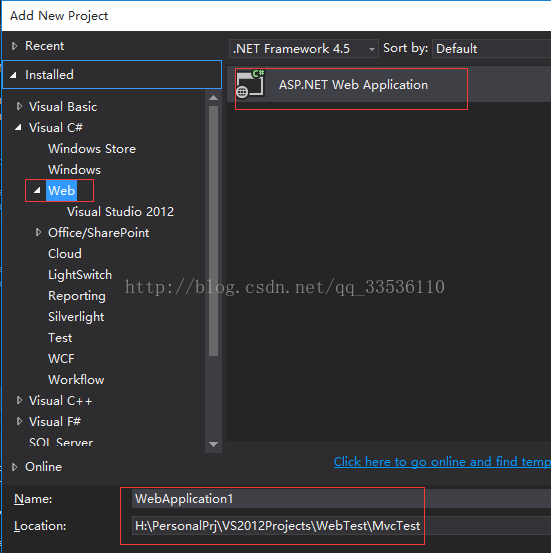
4、在New Project对话框左栏的Installed Templates部分选择Visual C#|Web模板列表,这将在中间栏显示Web应用程序类型列表,然后选择ASP.NET Web Application,将应用程序命名为Demo。然后单击ok按钮。图4
5、创建一个新的MVC 5应用程序后,将会出现New ASP.NET Project对话框,如图5所示。这里选择MVC.
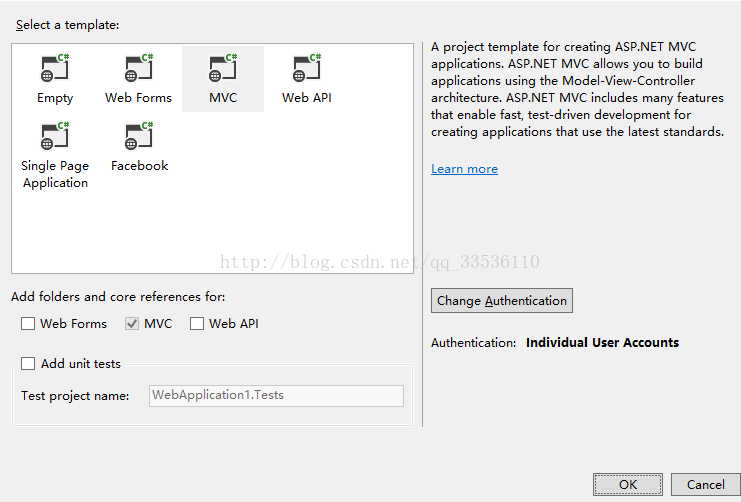
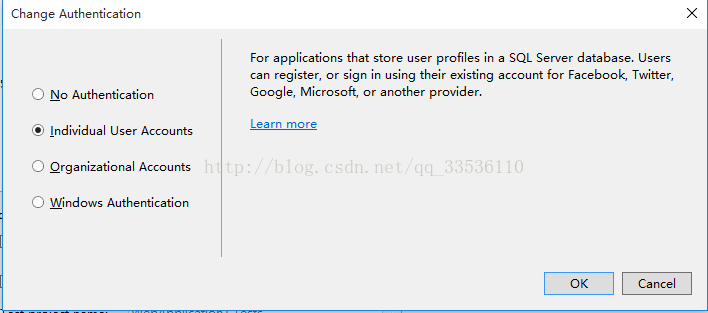
6、单击Change Authentication按钮,可打开图7所示。这里选择Individual User Accounts,然后单击OK按钮。
Individual User Accounts:用于在本地存储用户配置文件的应用程序。支持用户名/密码账号,以及社交认证提供程序。
运行程序,在网页里可以看到图7所示。
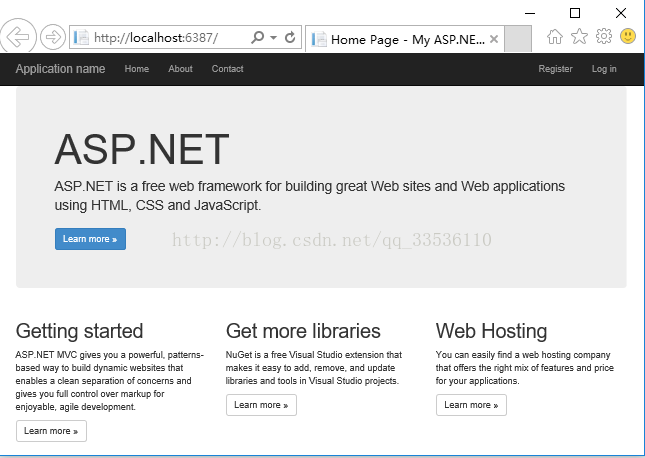
一个简单的网站就这么创建完成了。
可以注册用户账户,程序默认会在App_Data下创建一个数据库。我想把数据库连接到SQL Server,并能通过SQL Server Management Studio查看。那么就得更改
Web.config配置信息了。
  <connectionStrings>
    <!--<add name="DefaultConnection" connectionString="Data Source=(LocalDb)\v11.0;AttachDbFilename=|DataDirectory|\aspnet-Demo-20170617053441.mdf;Initial Catalog=aspnet-Demo-20170617053441;Integrated Security=True"-->
    <add name="DefaultConnection" connectionString="Data Source=127.0.0.1;User ID=sa;password=mantishell; Initial Catalog=MusicStore;" providerName="System.Data.SqlClient"  />
  </connectionStrings>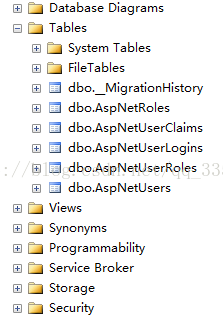
在数据库里创建了需要的表。
下面摘自http://www.cnblogs.com/panda/p/4638945.html
感谢作者的总结,该作者非常给力。
配置Entity Framework框架数据迁移和种子数据库
随着我们项目的进展,我们需要将对类的修改及时反映到数据库中。我们也会想部署新的数据库或者发布了新的数据库版本,我们将会需要一些初始数据(种子数据库)。相比于以前的Entity Framework和MVC版本,我们可以使用EF Code First来实现这个目的。
在开始之前,我需要删除注册时创建的数据库,并且重新开始。
为了开始在你的项目中使用数据迁移,请在Visual Studio中选择工具菜单中的“NuGet程序包管理器”-> " 程序包管理器控制台"。程序包管理器控制台会出现在屏幕底部,我们只需要输入如下代码:
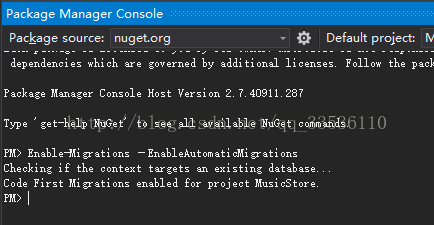
Enable-Migrations –EnableAutomaticMigrations一旦我们按下回车键,系统将会在忙碌一会,生成Migrations文件夹并进行相关配置。当任务运行完毕后,我们的控制台窗口应该是这样的:
在控制台启用Enable-Migrations命令后:图9
种子数据库的初始用户记录
由于种种原因,我们可能需要在创建数据库的时候部署一些初步的数据记录。我们可能需要对数据库的某些表预填一些静态值,或者我们可能只是需要用于系统开发工作的一些测试数据。我们将部署一个填充了一对重复的数据记录的数据库。
一旦我们运行Enable-Migrations命令后,在项目的根目录中将会生成一个Migrations文件夹。如果我们打开这个文件夹中的Configuration.cs文件,我们将会看到如下内容:
namespace MusicStore.Migrations
{
    using System;
    using System.Data.Entity;
    using System.Data.Entity.Migrations;
    using System.Linq;

    internal sealed class Configuration : DbMigrationsConfiguration<MusicStore.Models.ApplicationDbContext>
    {
        public Configuration()
        {
            AutomaticMigrationsEnabled = true;
            ContextKey = "MusicStore.Models.ApplicationDbContext";
        }

        protected override void Seed(MusicStore.Models.ApplicationDbContext context)
        {
            //  This method will be called after migrating to the latest version.

            //  You can use the DbSet<T>.AddOrUpdate() helper extension method
            //  to avoid creating duplicate seed data. E.g.
            //
            //    context.People.AddOrUpdate(
            //      p => p.FullName,
            //      new Person { FullName = "Andrew Peters" },
            //      new Person { FullName = "Brice Lambson" },
            //      new Person { FullName = "Rowan Miller" }
            //    );
            //
        }
    }
}
我们需要像下面一样修改Configuration类,这样就会在数据库被创建的同时创建我们的测试数据。请注意,我们增加了一下Using语句,包括Microsoft.AspNet.Identity,Microsoft.AspNet.Identity.EntityFramework以及项目中的Models:
修改Migrations文件夹中的Configuration.cs文件中的代码如下:
namespace MusicStore.Migrations
{
    using Microsoft.AspNet.Identity;
    using Microsoft.AspNet.Identity.EntityFramework;
    using MusicStore.Models;
    using System;
    using System.Data.Entity;
    using System.Data.Entity.Migrations;
    using System.Linq;

    internal sealed class Configuration : DbMigrationsConfiguration<MusicStore.Models.ApplicationDbContext>
    {
        public Configuration()
        {
            AutomaticMigrationsEnabled = true;
            ContextKey = "MusicStore.Models.ApplicationDbContext";
        }

        protected override void Seed(MusicStore.Models.ApplicationDbContext context)
        {
            //  This method will be called after migrating to the latest version.

            //  You can use the DbSet<T>.AddOrUpdate() helper extension method
            //  to avoid creating duplicate seed data. E.g.
            //
            //    context.People.AddOrUpdate(
            //      p => p.FullName,
            //      new Person { FullName = "Andrew Peters" },
            //      new Person { FullName = "Brice Lambson" },
            //      new Person { FullName = "Rowan Miller" }
            //    );
            //
            var manager = new UserManager<ApplicationUser>(
                new UserStore<ApplicationUser>(
                    new ApplicationDbContext()));
            for (int i = 0; i < 4; i++)
            {
                var user = new ApplicationUser()
                {
                    UserName = string.Format("User{0}", i.ToString())
                };
                manager.Create(user, string.Format("Password{0}", i.ToString()));
            }
        }
    }
}
Enable-Migration初始化命令:
Add-Migration InitEnable-Migration Init执行后,控制台的输出:
PM> Add-Migration Init
Scaffolding migration 'Init'.
The Designer Code for this migration file includes a snapshot of your current Code First model. This snapshot is used to calculate the changes to your model when you scaffold the next migration. If you make additional changes to your model that you want to include in this migration, then you can re-scaffold it by running 'Add-Migration Init' again.
PM> 使用Update-Database命令创建或更新种子数据库
当所有工作完成后,我们在控制台输入如下命令:
Update-DatabasePM> Update-Database
Specify the '-Verbose' flag to view the SQL statements being applied to the target database.
Applying explicit migrations: [201706171343105_Init].
Applying explicit migration: 201706171343105_Init.
Running Seed method.
PM> 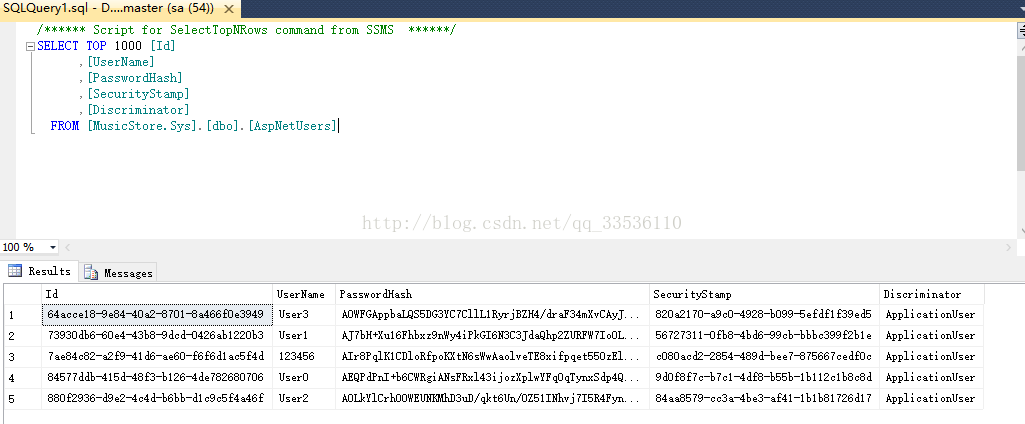
我们已经制定了基本的迁移策略。


 1223
1223


 被折叠的 条评论
为什么被折叠?
被折叠的 条评论
为什么被折叠?
 到【灌水乐园】发言


