


Hello World 项目
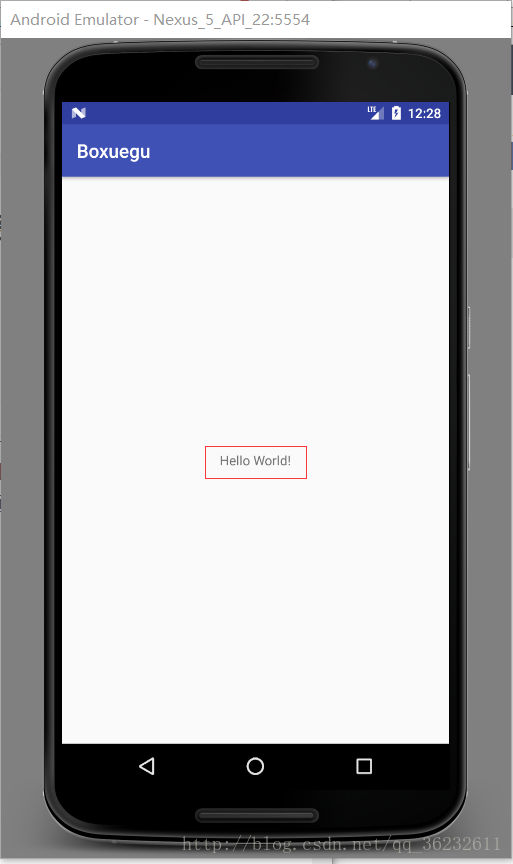
首先当我们启动Android Studio的虚拟机时,可以看到第一个项目Hello World,那么虚拟机中的Hello World!是如何书写的呢?
看看虚拟机运行结果截图吧!
根据Android入门教程(一)介绍了项目结构,那么就知道布局文件就是书写界面文件如图:
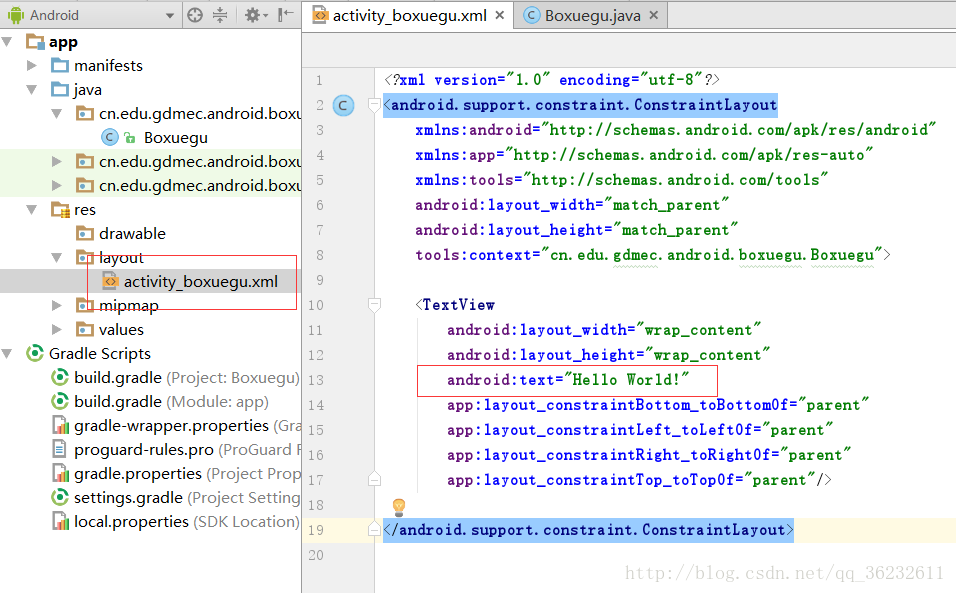
那么我们来了解一下其中的TextView标签,如图:
<TextView
        android:layout_width="wrap_content"
        android:layout_height="wrap_content"
        android:text="Hello World!"
        app:layout_constraintBottom_toBottomOf="parent"
        app:layout_constraintLeft_toLeftOf="parent"
        app:layout_constraintRight_toRightOf="parent"
        app:layout_constraintTop_toTopOf="parent"/>
再来看看这个截图:
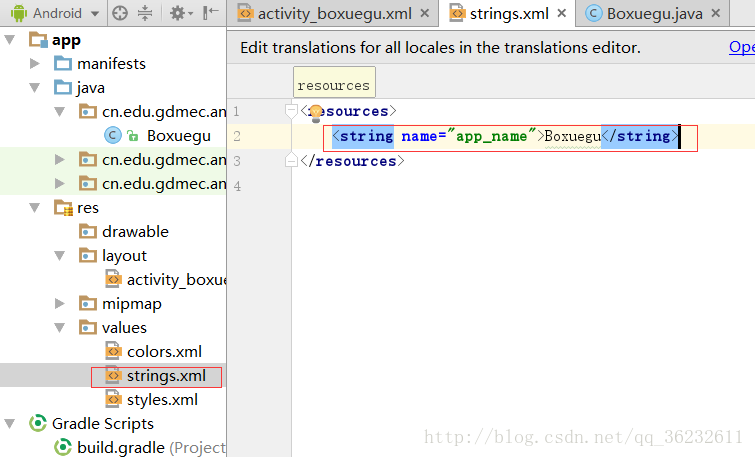
我们可以看到虚拟机中,软件的名称 就是 Boxuegu ,可以知道就是从这里从来的。那么这个是又传到哪里了呢?在看看这里的截图:
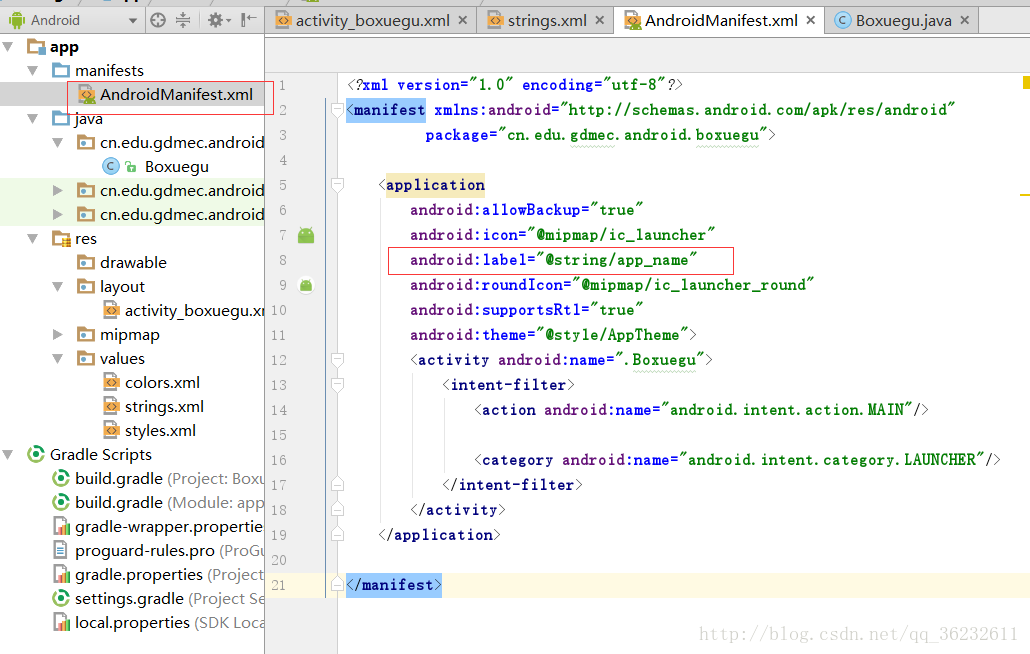
可以知道这里 android:label=”@string/app_name”,就是用来显示软件名称的。其中可以先了解一下这几行代码:
<activity android:name=".Boxuegu">
            <intent-filter>
                <action android:name="android.intent.action.MAIN"/>

                <category android:name="android.intent.category.LAUNCHER"/>
            </intent-filter>
</activity>
那么我们来做个TextViewtest的小练习,更改如下代码,在res/values/strings.xml文件中更新代码如下:
<resources>
    <string name="app_name">Boxuegu</string>
    <string name="textView_text">欢迎您!</string>
</resources>
那么我们如何用textView_text呢?在布局文件中更新代码res/layout/ activity _ boxuegu.xml的文件中:
<?xml version="1.0" encoding="utf-8"?>
<LinearLayout
    xmlns:android="http://schemas.android.com/apk/res/android"
    android:layout_width="match_parent"
    android:layout_height="match_parent"
    android:orientation="vertical">
    <TextView
        android:layout_width="match_parent"
        android:layout_height="wrap_content"
        android:text="@string/textView_text"/>
</LinearLayout>
附上运行截图:

就可以知道用android:text=”@string/textView_text”就可以引用此语句,text文本属性,那么同类,如果想改软件名称既可以在strings.xml文件中改文字,也可以在AndroidManifest.xml文件中改引用语句。
如果你想说,我要在Java类中表示,那么请看如下代码,我们在布局文件中定义一个文本id就可以在类中书写代码,布局文件更新:
<?xml version="1.0" encoding="utf-8"?>
<LinearLayout
    xmlns:android="http://schemas.android.com/apk/res/android"
    android:layout_width="match_parent"
    android:layout_height="match_parent"
    android:orientation="vertical">
    <TextView
        android:id="@+id/text"  //定义
        android:layout_width="match_parent"
        android:layout_height="wrap_content"
        android:text="@string/textView_text"
       />
</LinearLayout>
那么接下来更新类代码 Boxuegu.java 如下:
package cn.edu.gdmec.android.boxuegu;
import android.support.v7.app.AppCompatActivity;
import android.os.Bundle;
import android.widget.TextView;
public class Boxuegu extends AppCompatActivity {
private TextView text;
@Override
protected void onCreate(Bundle savedInstanceState) {
super.onCreate ( savedInstanceState );
setContentView ( R.layout.activity_boxuegu );
text = (TextView) findViewById ( R.id.text );
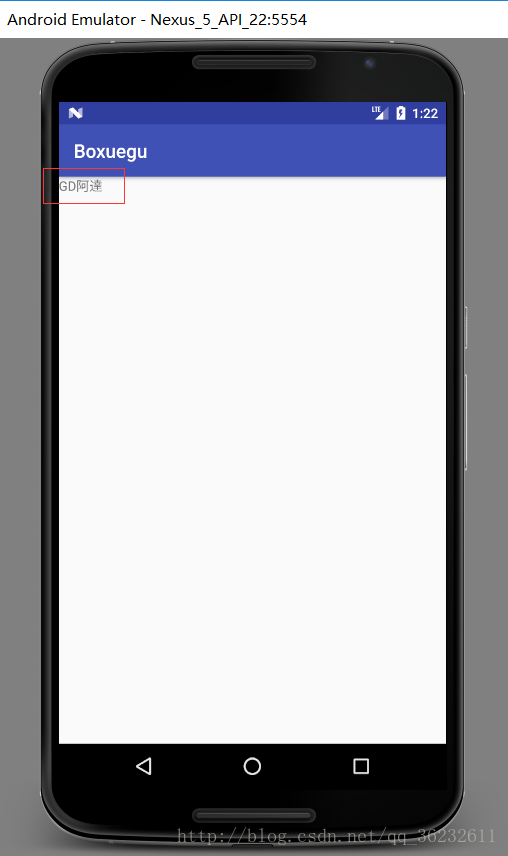
String name = "GD阿達";
text.setText ( name );
}
}首先定义一个test变量,其实setContentView是载入布局文件的,那么我们接下来利用 test 变量 = (TextView) {强制类型} 利用 findViewById 函数,利用id,找到我们想要的TextView对象,其中String name = “GD阿達”; 就如同赋值,然后通过text.setText显示出来就好。
运行截图如下:
现在你了解了吗?细心的人会发现在布局中
<TextView
        android:id="@+id/text"  //定义
        android:layout_width="match_parent"
        android:layout_height="wrap_content"
        android:text="@string/textView_text"
       />
如代码出现:android:text=”@string/textView_text还存在,然而在虚拟机中不出现之前的文件,而是被id替代,那么这就是留下的问题,希望你们来解答,欢迎在评论中有你精彩的表现。
关注我,每天都有优质技术文章推送,工作,学习累了的时候放松一下自己。
本篇文章同步微信公众号
欢迎大家关注我的微信公众号:「醉翁猫咪」


 2921
2921


 被折叠的 条评论
为什么被折叠?
被折叠的 条评论
为什么被折叠?
 到【灌水乐园】发言


