


由于比赛项目的需要,我要在一个hadoop集群上安装Ganglia,并在主节点上监控整个集群的运行状况。
搞了一下午,找了好多资料,发现不同资料之间说法大相径庭,而且都非常复杂,最后好不容易成功安装,就把过程记录下来,希望能帮到有同样需求的朋友。
1、环境
ubuntu14.04操作系统
2、在 Ubuntu14.04 上安装 Ganglia 。
打开终端(Ctrl+Alt+T),输入以下命令:
sudo apt-get install ganglia-monitor rrdtool gmetad ganglia-webfrontend开始的时候,我的电脑不能正常安装,报了一些错误,后来我根据终端上给出的建议,运行了如下命令:
sudo apt-get update运行该命令后再运行上述命令:
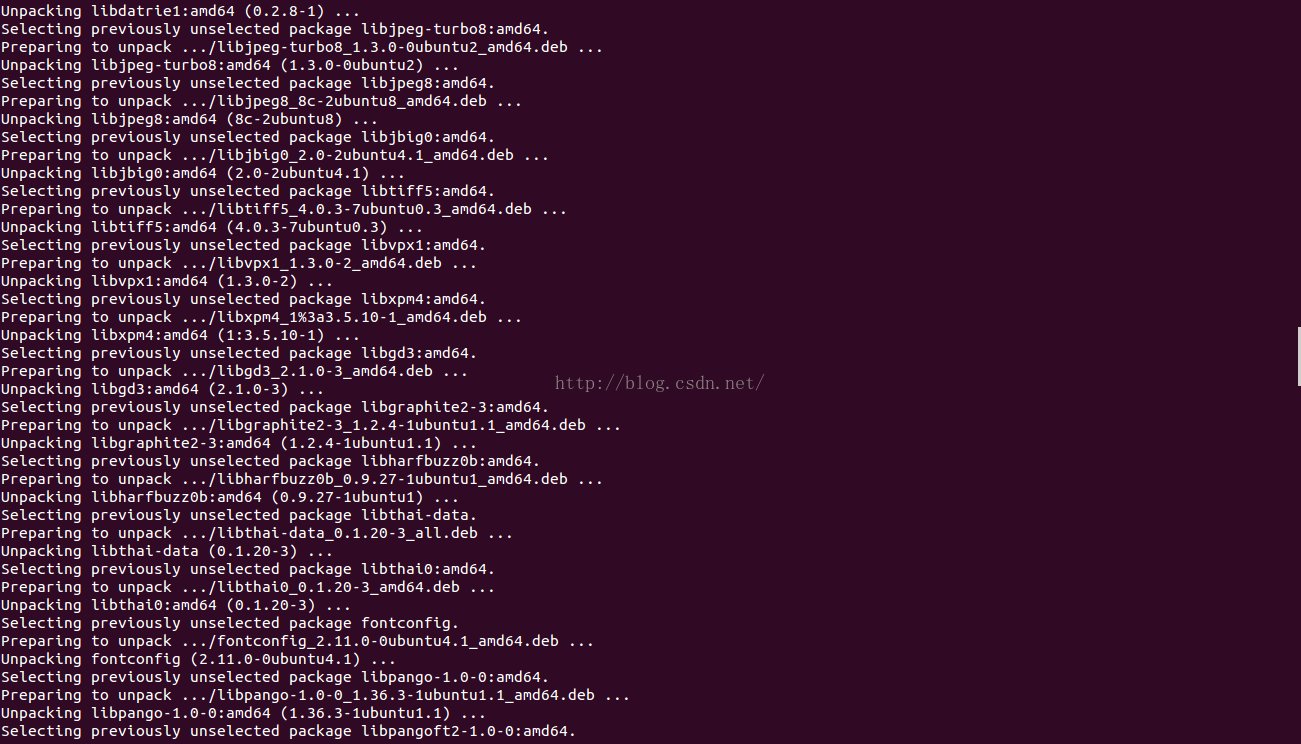
sudo apt-get install ganglia-monitor rrdtool gmetad ganglia-webfrontend终端截图:
3、配置 Ganglia
(1)复制 Ganglia webfrontend Apache 配置:
sudo cp /etc/ganglia-webfrontend/apache.conf /etc/apache2/sites-enabled/ganglia.conf(2)编辑 Ganglia 元守护程序的配置文件:
sudo vi /etc/ganglia/gmetad.conf
找到<code>data_source "my cluster" localhost</code><p>修改为:</p><p><code>data_source "my cluster" 50 192.168.56.10:8649</code></p>
sudo vi /etc/ganglia/gmond.conf
并做如下变化:
/* If a cluster attribute is specified, then all gmond hosts are wrapped inside
* of a tag. If you do not specify a cluster tag, then all will
* NOT be wrapped inside of a tag. */
cluster {
name = "unspecified"
owner = "unspecified"
latlong = "unspecified"
url = "unspecified"
}

修改为:

cluster {
name = "my cluster"
owner = "unspecified"
latlong = "unspecified"
url = "unspecified"
}

/* Feel free to specify as many udp_send_channels as you like. Gmond
used to only support having a single channel */
udp_send_channel {
mcast_join = 239.2.11.71
port = 8649
ttl = 1
}

修改为:

/* Feel free to specify as many udp_send_channels as you like. Gmond
used to only support having a single channel */
udp_send_channel {
# mcast_join = 239.2.11.71
host = 192.168.56.10
port = 8649
ttl = 1
}

/* You can specify as many udp_recv_channels as you like as well. */
udp_recv_channel {
mcast_join = 239.2.11.71
port = 8649
bind = 239.2.11.71
}

修改为:

/* You can specify as many udp_recv_channels as you like as well. */
udp_recv_channel {
# mcast_join = 239.2.11.71
port = 8649
#bind = 239.2.11.71
}
(4)保存并关闭文件
在vi编辑器中,使用vi命令打开编辑器后,输入i即可插入文本,当需要保存推出时可以先按Esc键,然后输入:wq!,回车即可(具体使用方法详见vi编辑器使用方法)
4、重启服务:
sudo /etc/init.d/ganglia-monitor start
sudo /etc/init.d/gmetad start
sudo /etc/init.d/apache2 restart至此,Ganglia的安装配置完成,登录特定网页即可看到监控信息。
访问网址:http://localhost/ganglia/,得到下图所示页面:
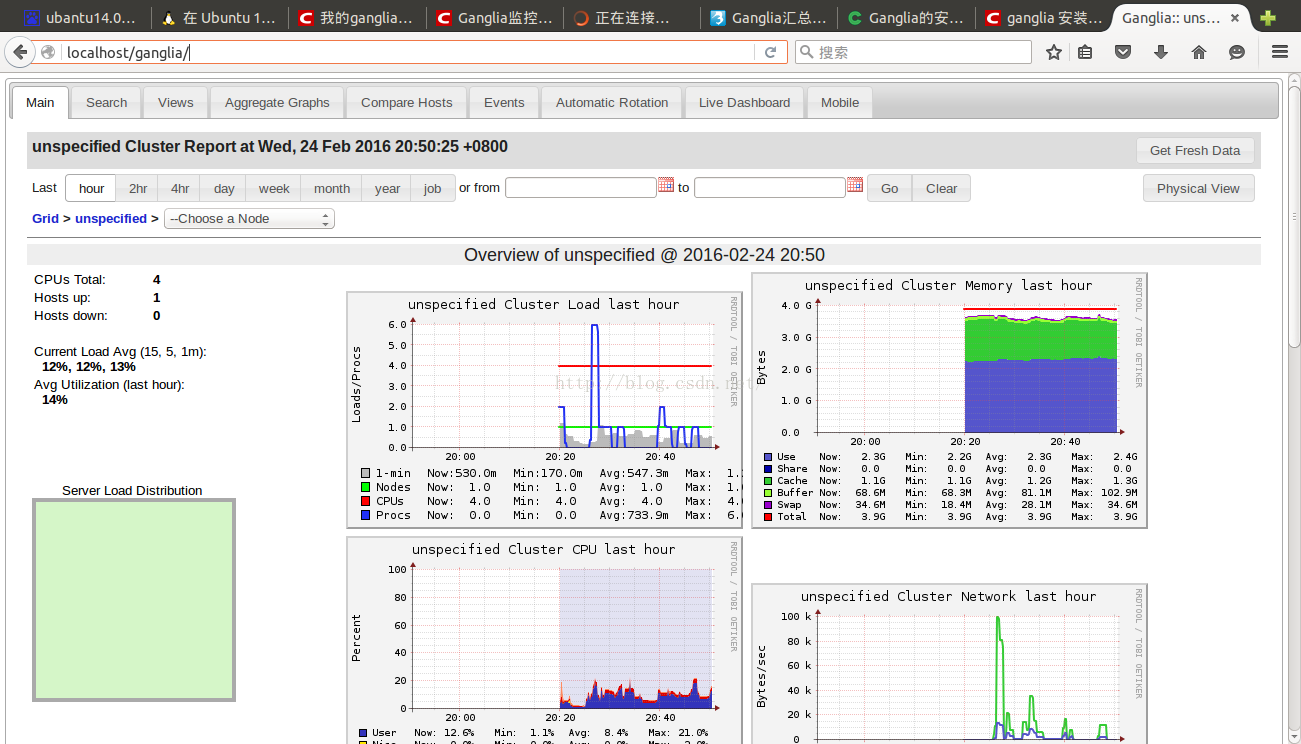
至此,Ganglia安装大功告成!


 被折叠的 条评论
为什么被折叠?
被折叠的 条评论
为什么被折叠?
 到【灌水乐园】发言


