


第一步、新建一个模块,在app/etc/modules/目录下新建文件Shuishui_Customer.xml
<config>
    <modules>
        <Shuishui_Customer>
            <active>true</active>
            <codePool>community</codePool>
        </Shuishui_Customer>
    </modules>
</config>
<?xml version="1.0"?>

<config>
    <modules>
        <Shuishui_Customer>
            <version>0.1.0</version>
        </Shuishui_Customer>
    </modules>
    <global>
    <fieldsets>
        <customer_account>
              <mobile><create>1</create><update>1</update></mobile>
        </customer_account>
    </fieldsets>
        <models>
            <Shuishui_Customer>
                <class>Shuishui_Customer_Model</class>
            </Shuishui_Customer>
        </models>
        <helpers>
            <Shuishui_Customer>
                <class>Shuishui_Customer_Helper</class>
            </Shuishui_Customer>
        </helpers>
        <resources>
            <customerattribute_setup>
                <setup>
                    <module>Shuishui_Customer</module>
                    <class>Shuishui_Customer_Model_Entity_Setup</class>
                </setup>
            </customerattribute_setup>
        </resources>
    </global>


</config>
class Fanxiang_Customer_Model_Entity_Setup extends Mage_Customer_Model_Entity_Setup'created_at' => array(
'type' => 'static',
'label' => 'Created At',
'visible' => false,
'required' => false,
'input' => 'date',
),
'mobile' => array(
'type' => 'static',
'label' => 'Mobile',
'visible' => true,
'required' => false,
'sort_order' => 80,
),
),
),
'customer_address'=>array(
'entity_model' =>'customer/customer_address',
'table' => 'customer/address_entity',
'additional_attribute_table' => 'customer/eav_attribute',
'entity_attribute_collection' => 'customer/address_attribute_collection',第四步、新增一个数据库安装脚本文件,位置在 app/code/community/Shuishui/Customer/sql/customerattribute_setup/mysql4-install-0.1.0.php
$installer = $this;

$installer->startSetup();

$installer->addAttribute('customer','mobile',array(
      'label' => 'Mobile',
      'visible'=>1,
      'required'=>0,
      'position'=>1,
      'sort_order'=>80,

));

$installer->endSetup();

$customerattribute = Mage::getModel('customer/attribute')->loadByCode('customer','mobile');
$forms = array('customer_account_edit','customer_account_create','adminhtml_customer','checkout_register');
$customerattribute->setData('used_in_forms',$forms);
$customerattribute->save();
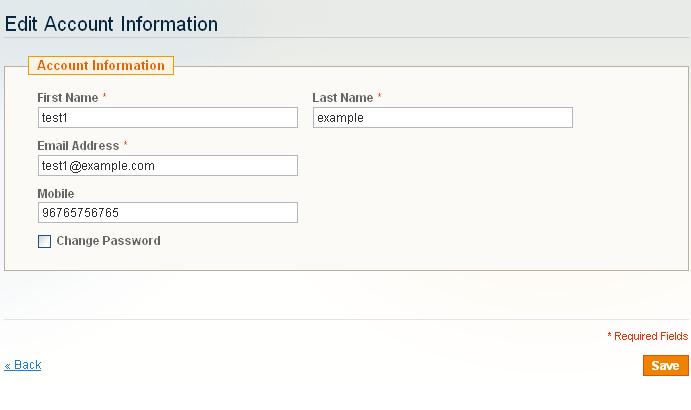
<li>
                    <label for="mobile" class="required"><em>*</em><?php echo $this->__('mobile') ?></label>
                    <div class="input-box">
                        <input type="text" name="mobile" id="mobile" value="" title="<?php echo $this->__('mobile') ?>" class="input-text  required-entry" />
                    </div>
                </li>
后台会员管理页面效果
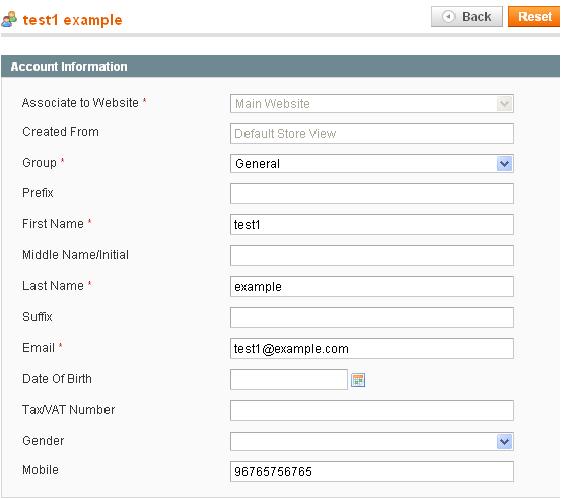
PS:1.4版本同样适用
参见原文:http://mydons.com/how-to-add-custom-fields-to-customer-registration-and-account-page-in-magento-1-5/


 3万+
3万+


 被折叠的 条评论
为什么被折叠?
被折叠的 条评论
为什么被折叠?
 到【灌水乐园】发言


