


目录
在spring项目添加profile 是很常见的事情
首先
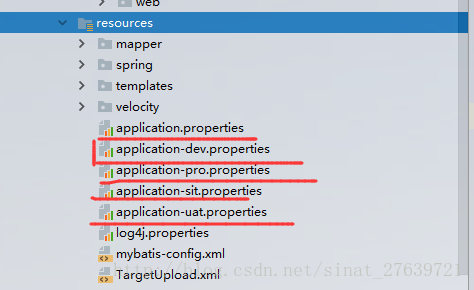
在resource目录下新建:
application-dev.properties
application-sit.properties
application-uat.properties
application-pro.properties
然后需要 在 spring配置文件中引入对应的beans,必须放在 xml的最下面,否则会出错
    <!-- 开发环境配置文件 -->
    <beans profile="sit">
        <context:property-placeholder location="classpath*:application-sit.properties" />
    </beans>

    <!-- 本地环境配置文件 -->
    <beans profile="dev">
        <context:property-placeholder location="classpath*:application-dev.properties" />
    </beans>

    <!-- 本地环境配置文件 -->
    <beans profile="uat">
        <context:property-placeholder location="classpath*:application-uat.properties" />
    </beans>

    <!-- 本地环境配置文件 -->
    <beans profile="pro">
        <context:property-placeholder location="classpath*:application-pro.properties" />
    </beans>
最后在 web.xml中配置一下
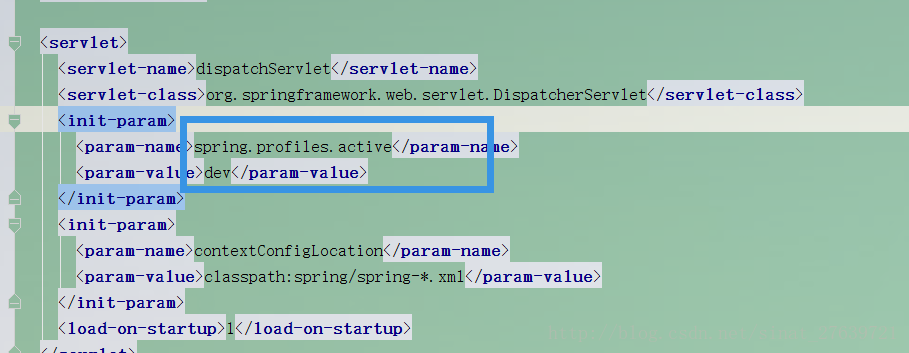
以上已经可以做到 修改web.xml中的 值修改 打包 环境 ,但还是不智能
整合maven profile
首先 将 web.xml中的文件更改成
 <context-param>
    <param-name>spring.profiles.active</param-name>
    <param-value>${profiles.active}</param-value>
  </context-param>
然后在 pom文件中 添加
<build>
<plugins>
<plugin>
<groupId>org.apache.maven.plugins</groupId>
<artifactId>maven-compiler-plugin</artifactId>
<version>${compiler.version}</version>
<configuration>
<source>1.7</source>
<target>1.7</target>
</configuration>
</plugin>
<plugin>
<groupId>org.apache.maven.plugins</groupId>
<artifactId>maven-war-plugin</artifactId>
<version>2.6</version>
<configuration>
<warName>${project.artifactId}</warName>
<webResources>
<resource>
<filtering>true</filtering>
<directory>src/main/webapp</directory>
<includes>
<include>**/web.xml</include>
</includes>
</resource>
</webResources>
<warSourceDirectory>src/main/webapp</warSourceDirectory>
<webXml>src/main/webapp/WEB-INF/web.xml</webXml>
</configuration>
</plugin>
</plugins>
</build>
<profiles>
<profile>
<!-- 本地开发环境 -->
<id>dev</id>
<properties>
<profiles.active>dev</profiles.active>
</properties>
<activation>
<activeByDefault>true</activeByDefault>
</activation>
</profile>
<profile>
<!-- 测试环境 -->
<id>sit</id>
<properties>
<profiles.active>sit</profiles.active>
</properties>
</profile>
<profile>
<!-- 测试环境 -->
<id>uat</id>
<properties>
<profiles.active>uat</profiles.active>
</properties>
</profile>
<profile>
<!-- 生产环境 -->
<id>pro</id>
<properties>
<profiles.active>pro</profiles.active>
</properties>
</profile>
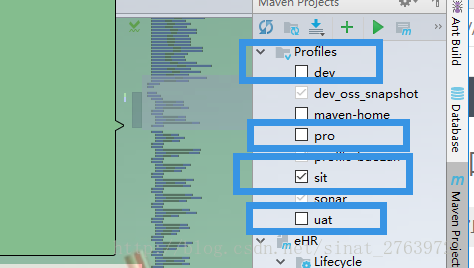
</profiles>于是你就可以在 idea中使用 maven 配置的 环境 进行打包操作


 207
207


 被折叠的 条评论
为什么被折叠?
被折叠的 条评论
为什么被折叠?
 到【灌水乐园】发言


