


概述
推送是现在大部分应用都拥有的一项功能,使用推送的目的就是为了让客户端接收到最新的消息以及提醒等,今天我们就来学习一下目前用的比较广泛的极光推送。
集成过程
首先进入极光推送官网,注册并且登录帐号,地址如下
登录成功后,会跳到创建应用界面
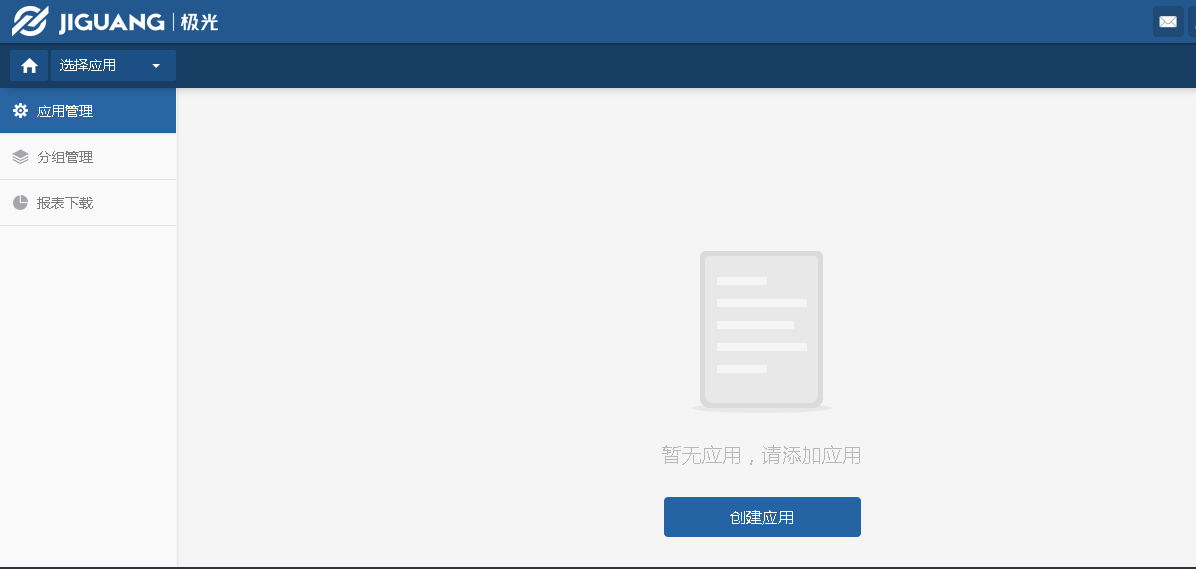
此时因为还没有应用,我们点击创建一个新的应用,接下来会跳到填写应用信息页面
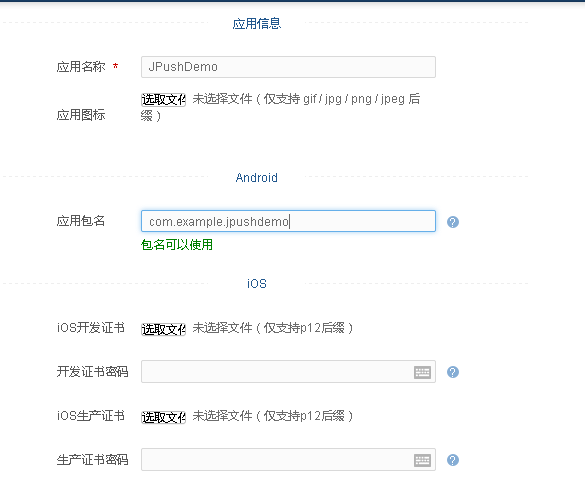
我们填上比较重要的两项,应用名称和包名,其他不是必填的我们先不管,补充完信息后会跳到下面的页面,
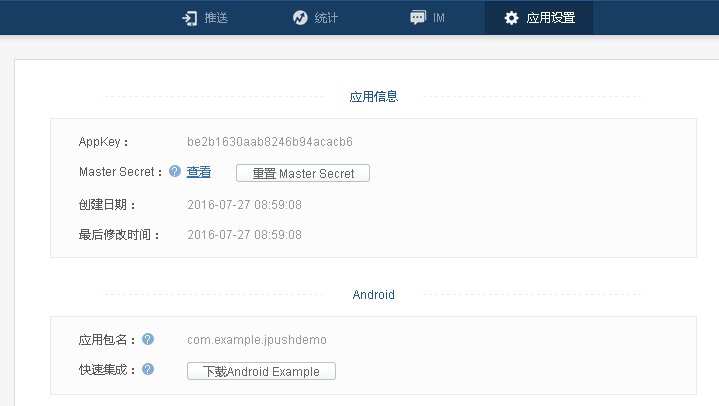
这里显示了一些比较重要的信息,在后面的开发中我们需要用到。
在上面的图中,我们看到有个快速集成,我们鼠标放上去
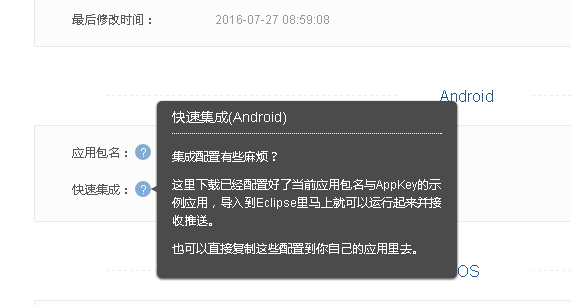
在集成到我们的应用之前,我们先下载配置好的Demo,进行一下各种消息推送的测试吧。
推送效果测试
我们进入到控制台,点击上方的推送,此时进入到消息推送页面,首先我们需要将应用部署到手机上,然后在这个页面就可以给客户端进行推送了。
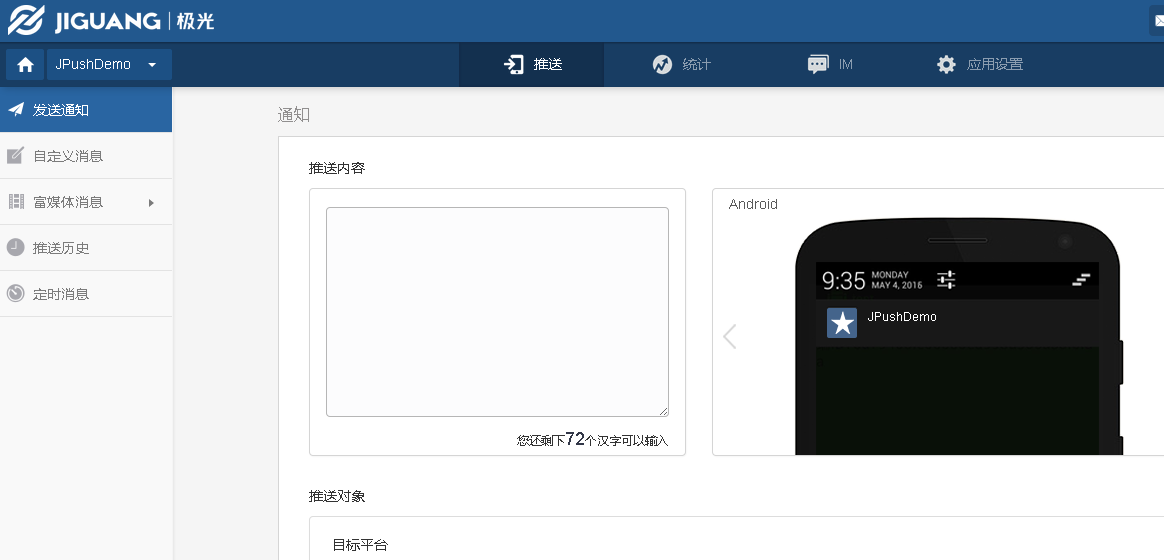
我们看到左边有几个选项,发送消息,自定义消息,富媒体消息,推送历史,定时消息等。接下来我们一一去学习一下。
发送通知
这个是发送通知栏通知,我们可以设置通知的标题,推送的内容,下面给大家看一下效果图
注意:推送内容如果内容为空的话,我们是无法在通知栏看到通知的。此时没有任何效果。
自定义消息
这里我们推送的内容会以消息的形式显示在界面上
富媒体消息
包含以下几种类型
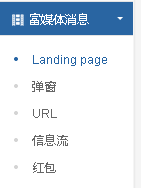
1.Landing page
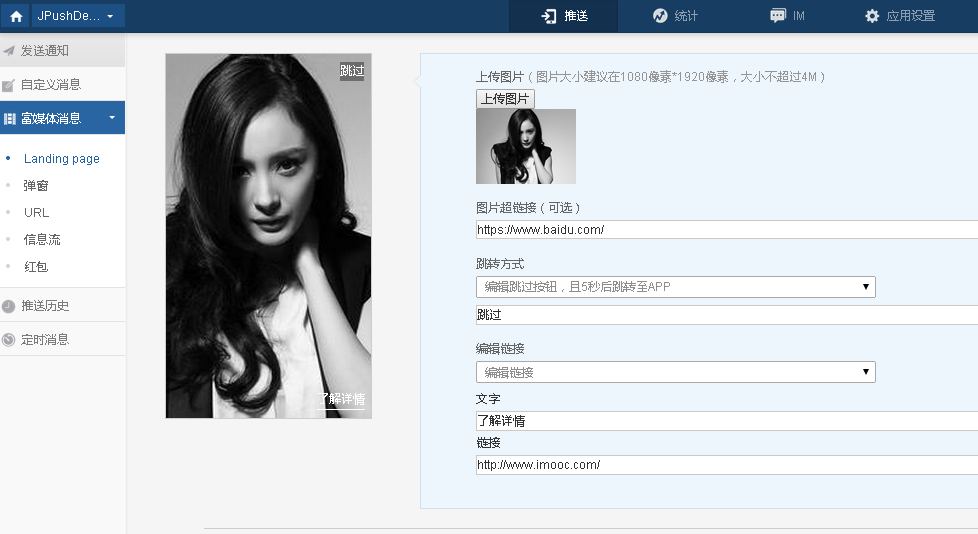
填下好信息以后,我们进入下一个页面输入推送内容,发送通知

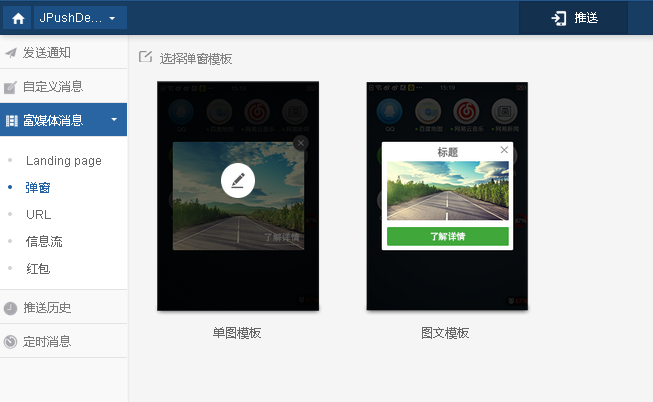
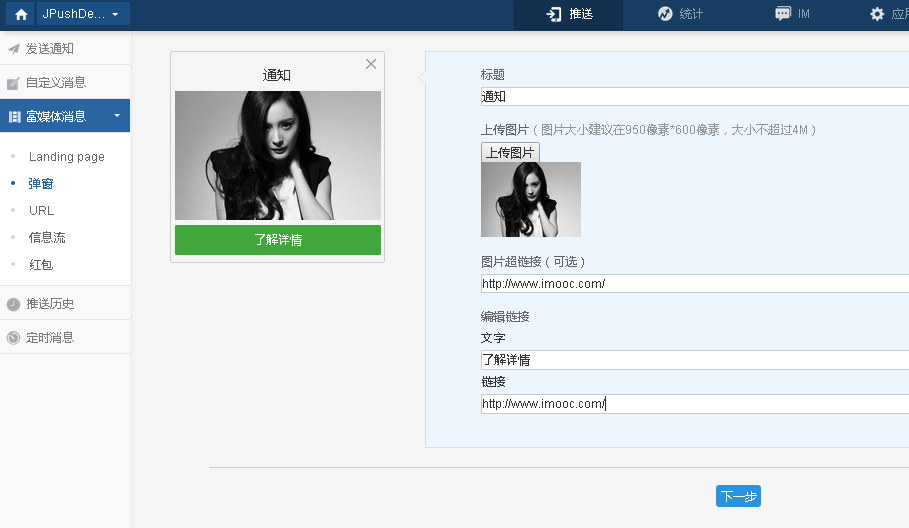
2.弹窗
弹窗提供了两个模版,我们随便选择一个,
3.URL
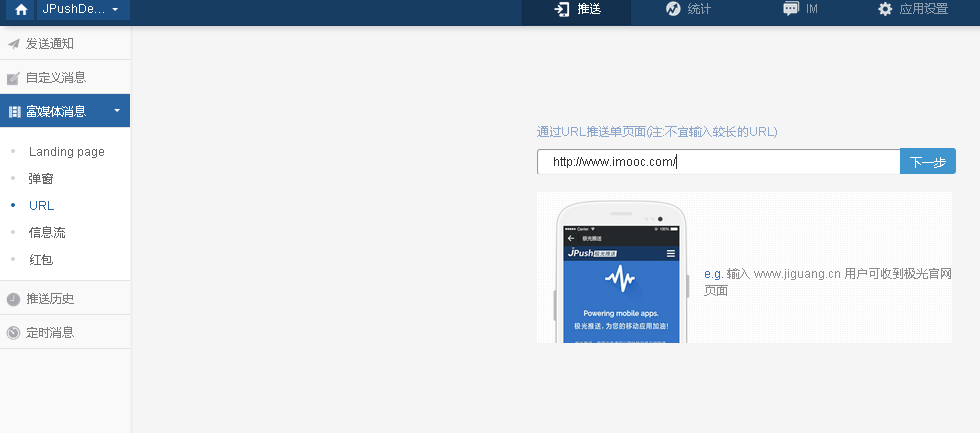
输入URL,这里输入慕课网的链接
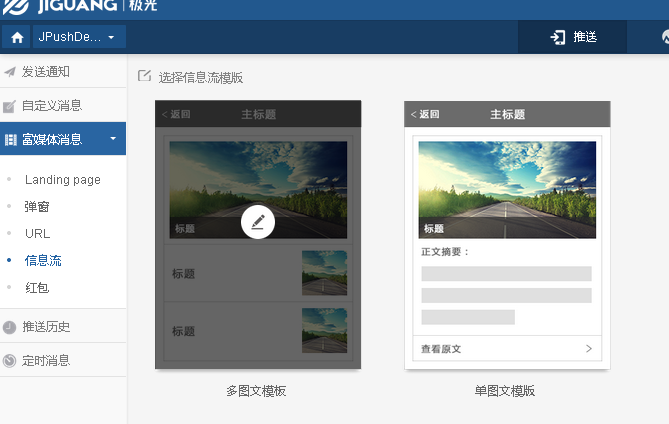
4.信息流
信息流也提供了两个模版,我们选择其中一个
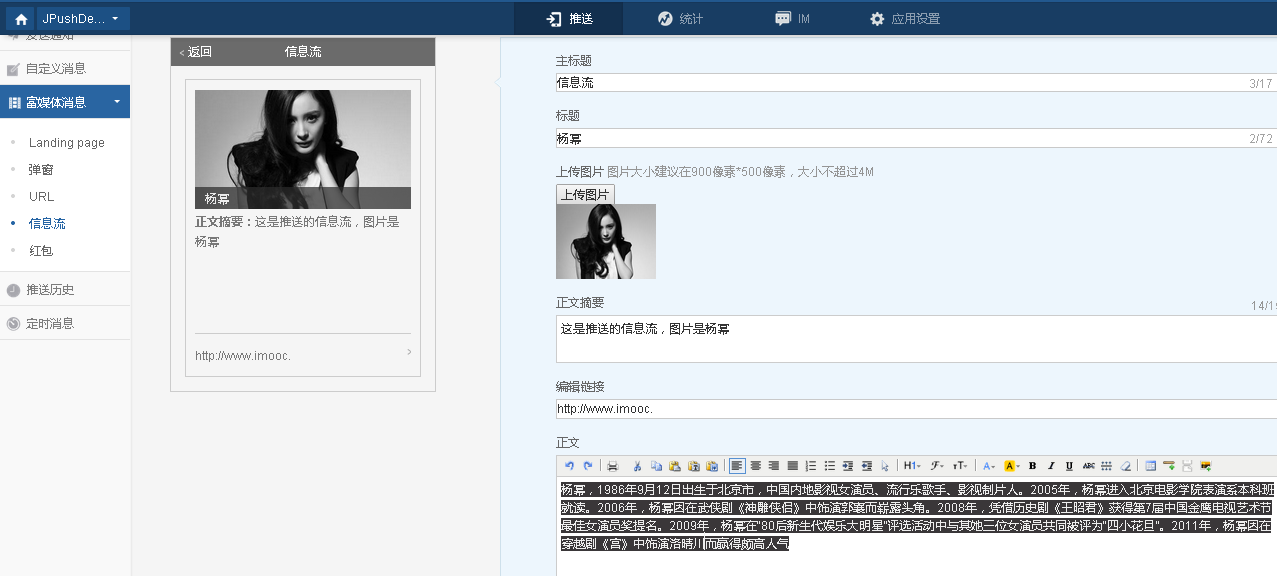

然后我们点击信息流内容,会跳到详情页面

5.红包
由于红包需要集成第三方SDK,这里我们就不进行介绍了
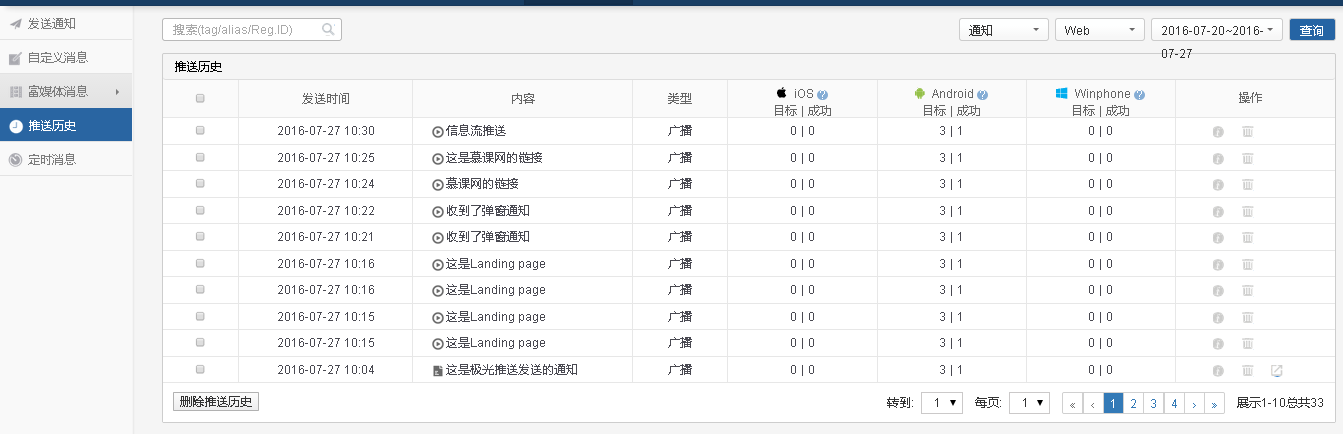
推送历史
这里查看推送的历史消息
定时消息
这里查看定时消息的信息,由于我之前并没有发送过定时消息,所以这里暂且没有显示任何内容。
项目集成
上面详细演示了各种推送效果,接下来就该真正把需要的功能集成到我哦们的项目中了。
1.Android Studio中创建一个应用,并且填入信息获取AppKey。
2.下载极光推送SDK
参照Android SDK 集成指南配置项目
接下来说一下我集成的步骤。
首先配置清单文件,如下
<?xml version="1.0" encoding="utf-8"?>
<manifest xmlns:android="http://schemas.android.com/apk/res/android"
    package="com.example.jpushdemo">
    <!--JPush自定义的权限,必须配置,否则无法初始化成功-->
    <permission
        android:name="com.example.jpushdemo.permission.JPUSH_MESSAGE"
        android:protectionLevel="signature" />
    <!--需要的系统权限-->
    <uses-permission android:name="com.example.jpushdemo.permission.JPUSH_MESSAGE" />
    <uses-permission android:name="android.permission.RECEIVE_USER_PRESENT" />
    <uses-permission android:name="android.permission.INTERNET" />
    <uses-permission android:name="android.permission.WAKE_LOCK" />
    <uses-permission android:name="android.permission.READ_PHONE_STATE" />
    <uses-permission android:name="android.permission.WRITE_EXTERNAL_STORAGE" />
    <uses-permission android:name="android.permission.READ_EXTERNAL_STORAGE" />
    <uses-permission android:name="android.permission.WRITE_SETTINGS" />
    <uses-permission android:name="android.permission.VIBRATE" />
    <uses-permission android:name="android.permission.MOUNT_UNMOUNT_FILESYSTEMS" />
    <uses-permission android:name="android.permission.ACCESS_NETWORK_STATE" />
    <uses-permission android:name="android.permission.ACCESS_WIFI_STATE" />
    <uses-permission android:name="android.permission.SYSTEM_ALERT_WINDOW" />

    <application
        android:name=".DemoApplication"
        android:allowBackup="true"
        android:icon="@mipmap/ic_launcher"
        android:label="@string/app_name"
        android:supportsRtl="true"
        android:theme="@style/Theme.AppCompat.Light.NoActionBar">
        <!--主Activity-->
        <activity android:name=".MainActivity">
            <intent-filter>
                <action android:name="android.intent.action.MAIN" />
                <category android:name="android.intent.category.LAUNCHER" />
            </intent-filter>
        </activity>
        <!-- SDK核心功能,必须添加 -->
        <activity
            android:name="cn.jpush.android.ui.PushActivity"
            android:configChanges="orientation|keyboardHidden"
            android:exported="false"
            android:theme="@android:style/Theme.NoTitleBar">
            <intent-filter>
                <action android:name="cn.jpush.android.ui.PushActivity" />

                <category android:name="android.intent.category.DEFAULT" />
                <category android:name="com.example.jpushdemo" />
            </intent-filter>
        </activity>
        <!-- SDK核心功能,必须添加 -->
        <service
            android:name="cn.jpush.android.service.DownloadService"
            android:enabled="true"
            android:exported="false"></service>

        <!-- SDK核心功能,必须添加 -->
        <!-- 可配置android:process参数将PushService放在其他进程中 -->
        <service
            android:name="cn.jpush.android.service.PushService"
            android:enabled="true"
            android:exported="false">
            <intent-filter>
                <action android:name="cn.jpush.android.intent.REGISTER" />
                <action android:name="cn.jpush.android.intent.REPORT" />
                <action android:name="cn.jpush.android.intent.PushService" />
                <action android:name="cn.jpush.android.intent.PUSH_TIME" />
            </intent-filter>
        </service>

        <!-- SDK核心功能,必须添加 -->
        <receiver

  <!-- Rich push 核心功能 since 2.0.6-->
        <activity
            android:name="cn.jpush.android.ui.PopWinActivity"
            android:theme="@style/MyDialogStyle"
            android:exported="false">
        </activity>

android:name="cn.jpush.android.service.PushReceiver"
            android:enabled="true"
            android:exported="false">
            <intent-filter android:priority="1000">
                <action android:name="cn.jpush.android.intent.NOTIFICATION_RECEIVED_PROXY" />
                <!-- 必须添加  显示通知栏 -->
                <category android:name="com.example.jpushdemo" />
            </intent-filter>
            <intent-filter>
                <action android:name="android.intent.action.USER_PRESENT" />
                <action android:name="android.net.conn.CONNECTIVITY_CHANGE" />
            </intent-filter>
            <!-- 可选的 -->
            <intent-filter>
                <action android:name="android.intent.action.PACKAGE_ADDED" />
                <action android:name="android.intent.action.PACKAGE_REMOVED" />

                <data android:scheme="package" />
            </intent-filter>
        </receiver>

        <!-- SDK核心功能,必须添加 -->
        <receiver
            android:name="cn.jpush.android.service.AlarmReceiver"
            android:exported="false" />

        <!-- 必须的,可以获取统计数据 -->
        <meta-data
            android:name="JPUSH_CHANNEL"
            android:value="developer-default" />
        <!--应用的appkey-->
        <meta-data
            android:name="JPUSH_APPKEY"
            android:value="be2b1630aab8246b94acacb6" />

        <activity android:name=".TestActivity"></activity>

        <!--自定义的广播-->
        <receiver
            android:name="com.example.jpushdemo.MyReceiver"
            android:exported="false"
            android:enabled="true">
            <intent-filter>
                <action android:name="cn.jpush.android.intent.REGISTRATION" /> <!--Required  用户注册SDK的intent-->
                <action android:name="cn.jpush.android.intent.UNREGISTRATION" />
                <action android:name="cn.jpush.android.intent.MESSAGE_RECEIVED" /> <!--Required  用户接收SDK消息的intent-->
                <action android:name="cn.jpush.android.intent.NOTIFICATION_RECEIVED" /> <!--Required  用户接收SDK通知栏信息的intent-->
                <action android:name="cn.jpush.android.intent.NOTIFICATION_OPENED" /> <!--Required  用户打开自定义通知栏的intent-->
                <action android:name="cn.jpush.android.intent.ACTION_RICHPUSH_CALLBACK" /> <!--Optional 用户接受Rich Push Javascript 回调函数的intent-->
                <action android:name="cn.jpush.android.intent.CONNECTION" /><!-- 接收网络变化 连接/断开 since 1.6.3 -->
                <category android:name="com.example.jpushdemo" />
            </intent-filter>
        </receiver>
    </application>

</manifest>
这部分内容参照官方生成的Demo就可以了,注意一定不要少某些东西,否则会导致无法初始化成功,影响推送功能。
然后将libs,jniLibs,res,中的相应文件根据文档介绍进行添加即可,这步比较简单。
这样,环境差不多搭建好了,然后开始编写我们的代码。
首先创建一个Application,在里面进行JPush的初始化
public class DemoApplication extends Application{
    @Override
    public void onCreate() {
        super.onCreate();
        //设置开启日志,发布时请关闭日志
        JPushInterface.setDebugMode(true);
        //初始化
        JPushInterface.init(this);
    }
}
当然别忘了在清单文件配置这个Application.
public class MainActivity extends AppCompatActivity {
private MessageReceiver mMessageReceiver;
public static final String MESSAGE_RECEIVED_ACTION = "com.example.jpushdemo.MESSAGE_RECEIVED_ACTION";
public static final String KEY_TITLE = "title";
public static final String KEY_MESSAGE = "message";
public static final String KEY_EXTRAS = "extras";
public static boolean isForeground = false;
private TextView tvRegId;
private TextView tvAppKey;
private TextView tvPackageName;
private TextView tvIMEI;
private TextView tvDeviceId;
private TextView tvVersion;
private String registrationID;
private EditText etMsg;
@Override
protected void onCreate(Bundle savedInstanceState) {
super.onCreate(savedInstanceState);
setContentView(R.layout.activity_main);
JPushInterface.init(getApplicationContext());
initView();
initData();
registerMessageReceiver();
}
private void initView() {
tvRegId = (TextView) findViewById(R.id.tv_regId);
tvAppKey = (TextView) findViewById(R.id.tv_appkey);
tvPackageName = (TextView) findViewById(R.id.tv_packagename);
tvIMEI = (TextView) findViewById(R.id.tv_imei);
tvDeviceId = (TextView) findViewById(R.id.tv_devicceid);
tvVersion = (TextView) findViewById(R.id.tv_version);
etMsg = (EditText) findViewById(R.id.et_msg);
}
private void initData() {
//设备串号,在真机上才能获得,模拟器上为一串0
String imei = ExampleUtil.getImei(this, "");
tvIMEI.setText("IMEI: "+imei);
//创建应用时获得的AppKey
String appKey = ExampleUtil.getAppKey(this);
tvAppKey.setText("AppKey: "+appKey);
//应用程序第一次注册到JPush服务器时,服务器会返回一个唯一的该设备的标识:RegistertionID
registrationID = JPushInterface.getRegistrationID(this);
tvRegId.setText("RegId: "+ registrationID);
//应用包名
String packageName = getPackageName();
tvPackageName.setText("PackageName:"+packageName);
//设备Id
String deviceId = ExampleUtil.getDeviceId(this);
tvDeviceId.setText("deviceId: "+deviceId);
//应用版本号
String version = ExampleUtil.GetVersion(this);
tvVersion.setText("Version: "+version);
}
@Override
protected void onResume() {
super.onResume();
//在所有的Activity都要调用,一般放在基类中
JPushInterface.onResume(this);
isForeground = true;
}
@Override
protected void onPause() {
super.onPause();
isForeground = false;
//在所有的Activity都要调用,一般放在基类中
JPushInterface.onPause(this);
}
public void registerMessageReceiver() {
mMessageReceiver = new MessageReceiver();
IntentFilter filter = new IntentFilter();
filter.setPriority(IntentFilter.SYSTEM_HIGH_PRIORITY);
filter.addAction(MESSAGE_RECEIVED_ACTION);
registerReceiver(mMessageReceiver, filter);
}
//接收自定义消息的广播
public class MessageReceiver extends BroadcastReceiver {
@Override
public void onReceive(Context context, Intent intent) {
if (MESSAGE_RECEIVED_ACTION.equals(intent.getAction())) {
String messge = intent.getStringExtra(KEY_MESSAGE);
//附加消息,键值对形式,以Json格式展示
String extras = intent.getStringExtra(KEY_EXTRAS);
StringBuilder showMsg = new StringBuilder();
showMsg.append(KEY_MESSAGE + " : " + messge + "\n");
if (!ExampleUtil.isEmpty(extras)) {
showMsg.append(KEY_EXTRAS + " : " + extras + "\n");
}
setCostomMsg(showMsg.toString());
}
}
}
private void setCostomMsg(String msg){
// Toast.makeText(this, msg, Toast.LENGTH_SHORT).show();
etMsg.setText(msg);
}
public void customNotification(View view){
CustomPushNotificationBuilder builder = new CustomPushNotificationBuilder(this,
R.layout.custom_notification,R.id.iv_icon,R.id.tv_title,R.id.tv_content);
builder.layoutIconDrawable = R.drawable.ym2;//下拉通知栏显示的图标
builder.statusBarDrawable = R.mipmap.ic_launcher;//通知栏上方显示的小图标
JPushInterface.setPushNotificationBuilder(2,builder);
JPushInterface.setDefaultPushNotificationBuilder(builder);//必须调用,否则无法设置成功
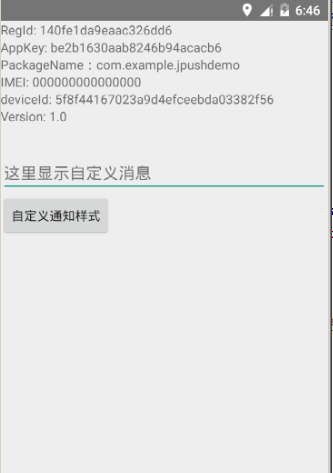
}
}接下来的步骤也没啥难度,照着Demo就可以了,文章末尾我会给出代码下载地址,我们先看看集成到项目以后的运行效果图吧。
最后给出Demo下载地址


 421
421

 被折叠的 条评论
为什么被折叠?
被折叠的 条评论
为什么被折叠?
 到【灌水乐园】发言


