


为了使用cloudstack 4.3做一些二次开发,接触到MAVEN,尝试并搭建了MAVEN私服。具体步骤如下:
1、Maven下载安装
1> 准备文件系统
lvcreate -L 43000m -n lvmvn vg00
mkfs.ext4 /dev/vg00/lvmvn
echo "/dev/mapper/vg00-lvmvn /maven ext4 defaults 1 2" >> /etc/fstab
mkdir /maven
mount /maven
2> 下载
wget http://apache.dataguru.cn/maven/maven-3/3.2.1/binaries/apache-maven-3.2.1-bin.tar.gz
3> 安装
cd /maven
tar -zxvf apache-maven-3.2.1.bin.tar.gz
4> 添加环境变量
vi /etc/profile
export M2_HOME=/vpool/maven/apache-maven-3.1.1
export JAVA_HOME=/vpool/jdk/jdk1.6.0_26
export PATH=$PATH:$M2_HOME/bin:$JAVA_HOME/bin
2、Nexus下载安装
1> 下载
使用wget 从http://www.sonatype.org/nexus/下载 Nexus 2.8版本,若不能直接访问,可以先通过export http_proxy设置代理
2> 安装
cd /maven/
tar -xvf nexus-2.8.0-05-bundle.tar
3> 启动
vi /maven/nexus-2.8.0-05/bin/nexus 修改RUN_AS_USER=root
/maven/nexus-2.8.0-05/bin/nexus start
3、Nexus配置
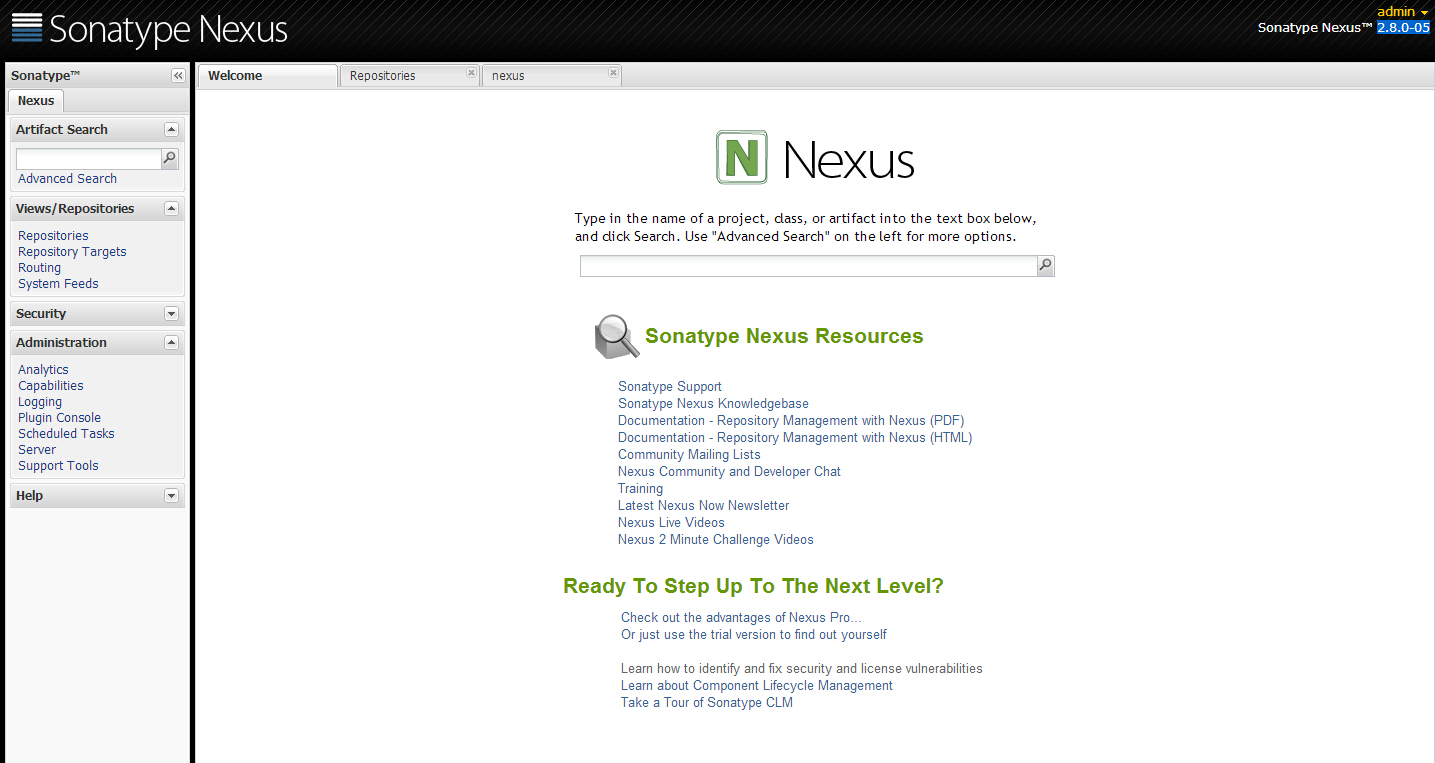
通过http://<ip>8081/nexus/ 直接访问Nexus管理界面,默认用户名密码为: admin / admin123
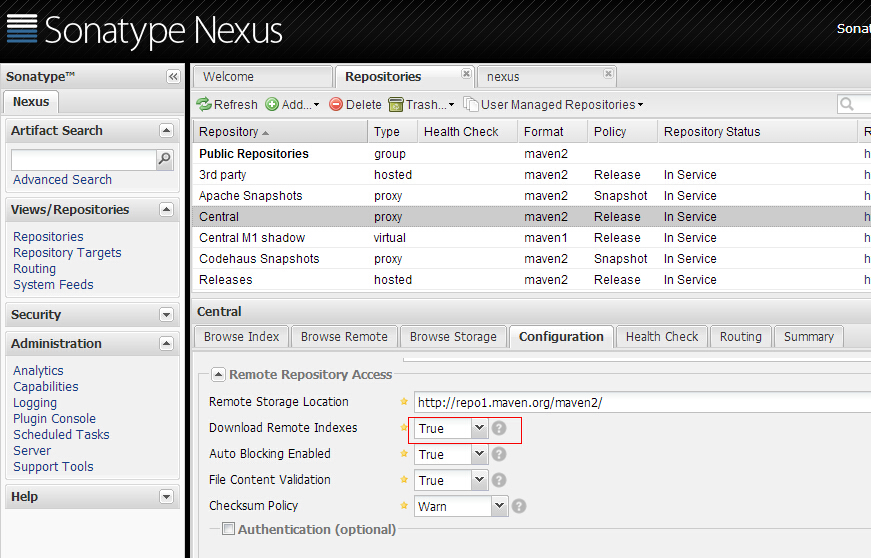
点击左侧 Repositories,将如下三项目中的Configuration中的Download Remote indexs修改为true:

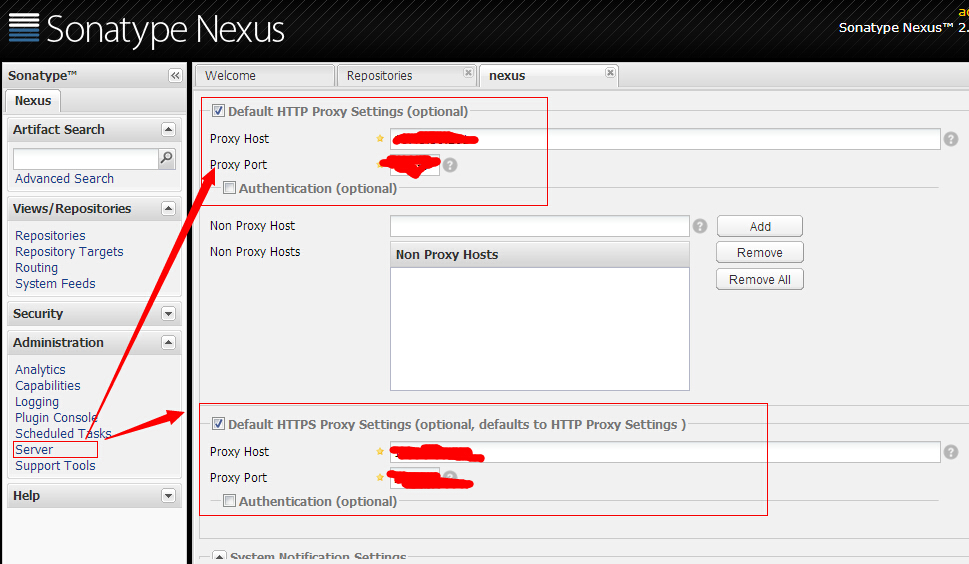
设置Nexus上网代理:点击左侧Server
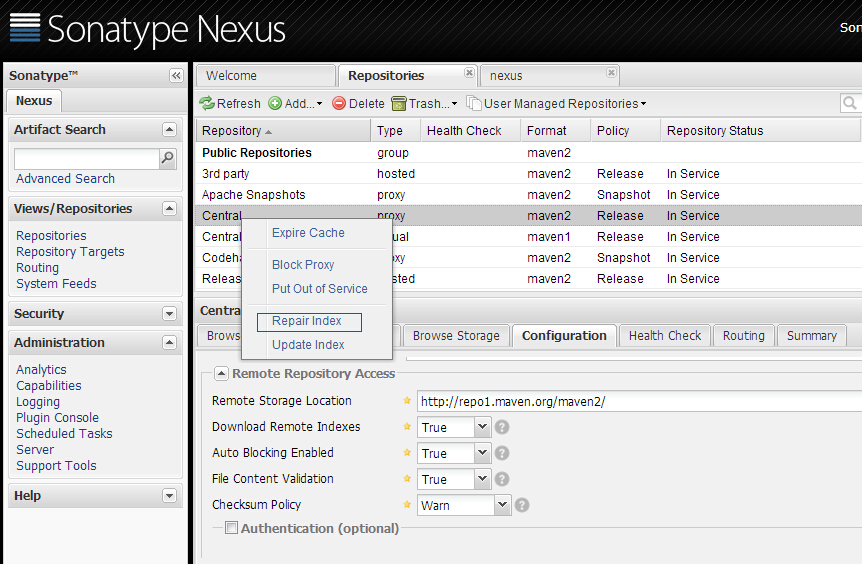
再分别右键上述三个proxy Repo选择Repair Index 让Nexus远程下载索引文件:
4、修改maven配置,并手动更新
vi /maven/apache-maven-3.2.1/conf/settings.xml,添加如下内容:
....
<mirror>
<id>nexus</id>
<mirrorOf>*</mirrorOf>
<name>Nexus IRE</name>
<url>http://10.45.25.40:8081/nexus/content/groups/public/</url>
</mirror>
...
<profile>
<id>ire_vpool</id>
<repositories>
<repository>
<id>nexus</id>
<name>local private nexus</name>
<url>http://10.45.30.201:8080/nexus/content/groups/public/</url>
<releases>
<enabled>true</enabled>
</releases>
<snapshots>
<enabled>false</enabled>
</snapshots>
</repository>
</repositories>
<pluginRepositories>
<pluginRepository>
<id>nexus</id>
<name>local private nexus</name>
<url>http://10.45.30.201:8080/nexus/content/groups/public/</url>
<releases>
<enabled>true</enabled>
</releases>
<snapshots>
<enabled>false</enabled>
</snapshots>
</pluginRepository>
</pluginRepositories>
</profile>
mvn help:system
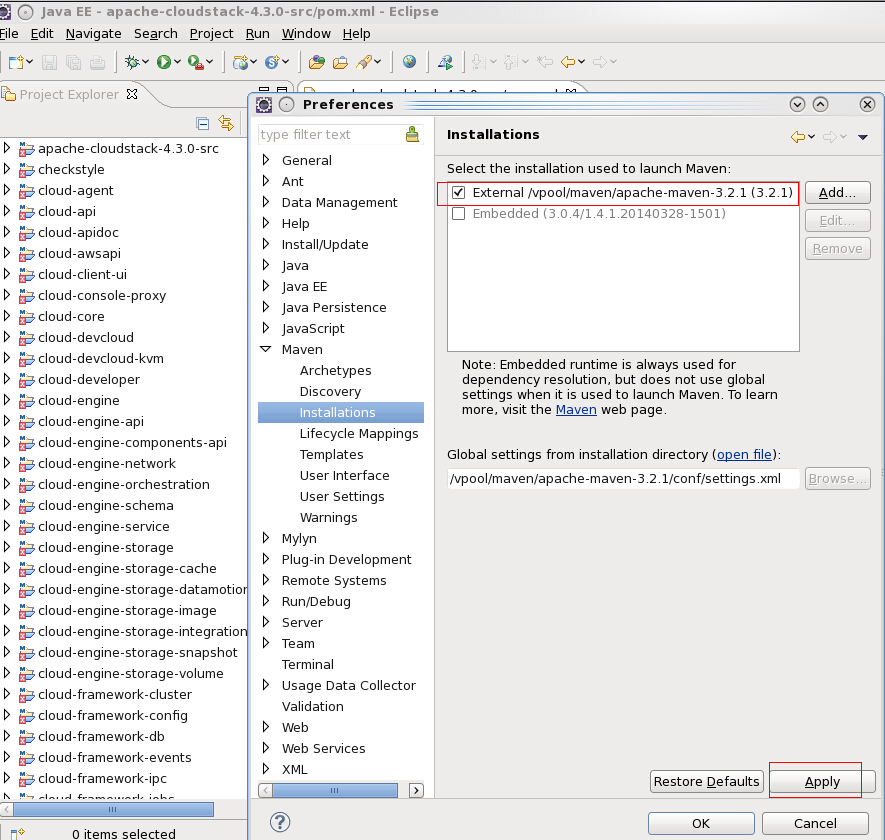
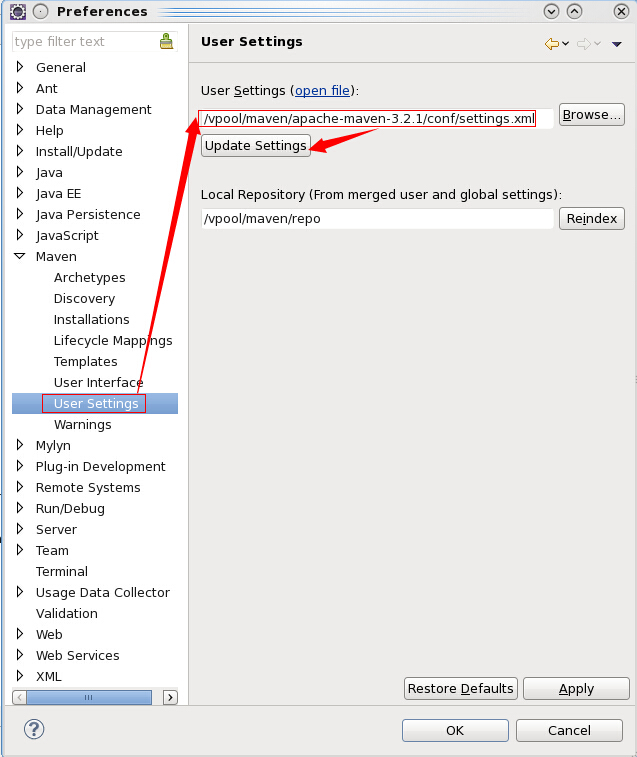
5、eclipse配置


 1223
1223

 被折叠的 条评论
为什么被折叠?
被折叠的 条评论
为什么被折叠?
 到【灌水乐园】发言


