


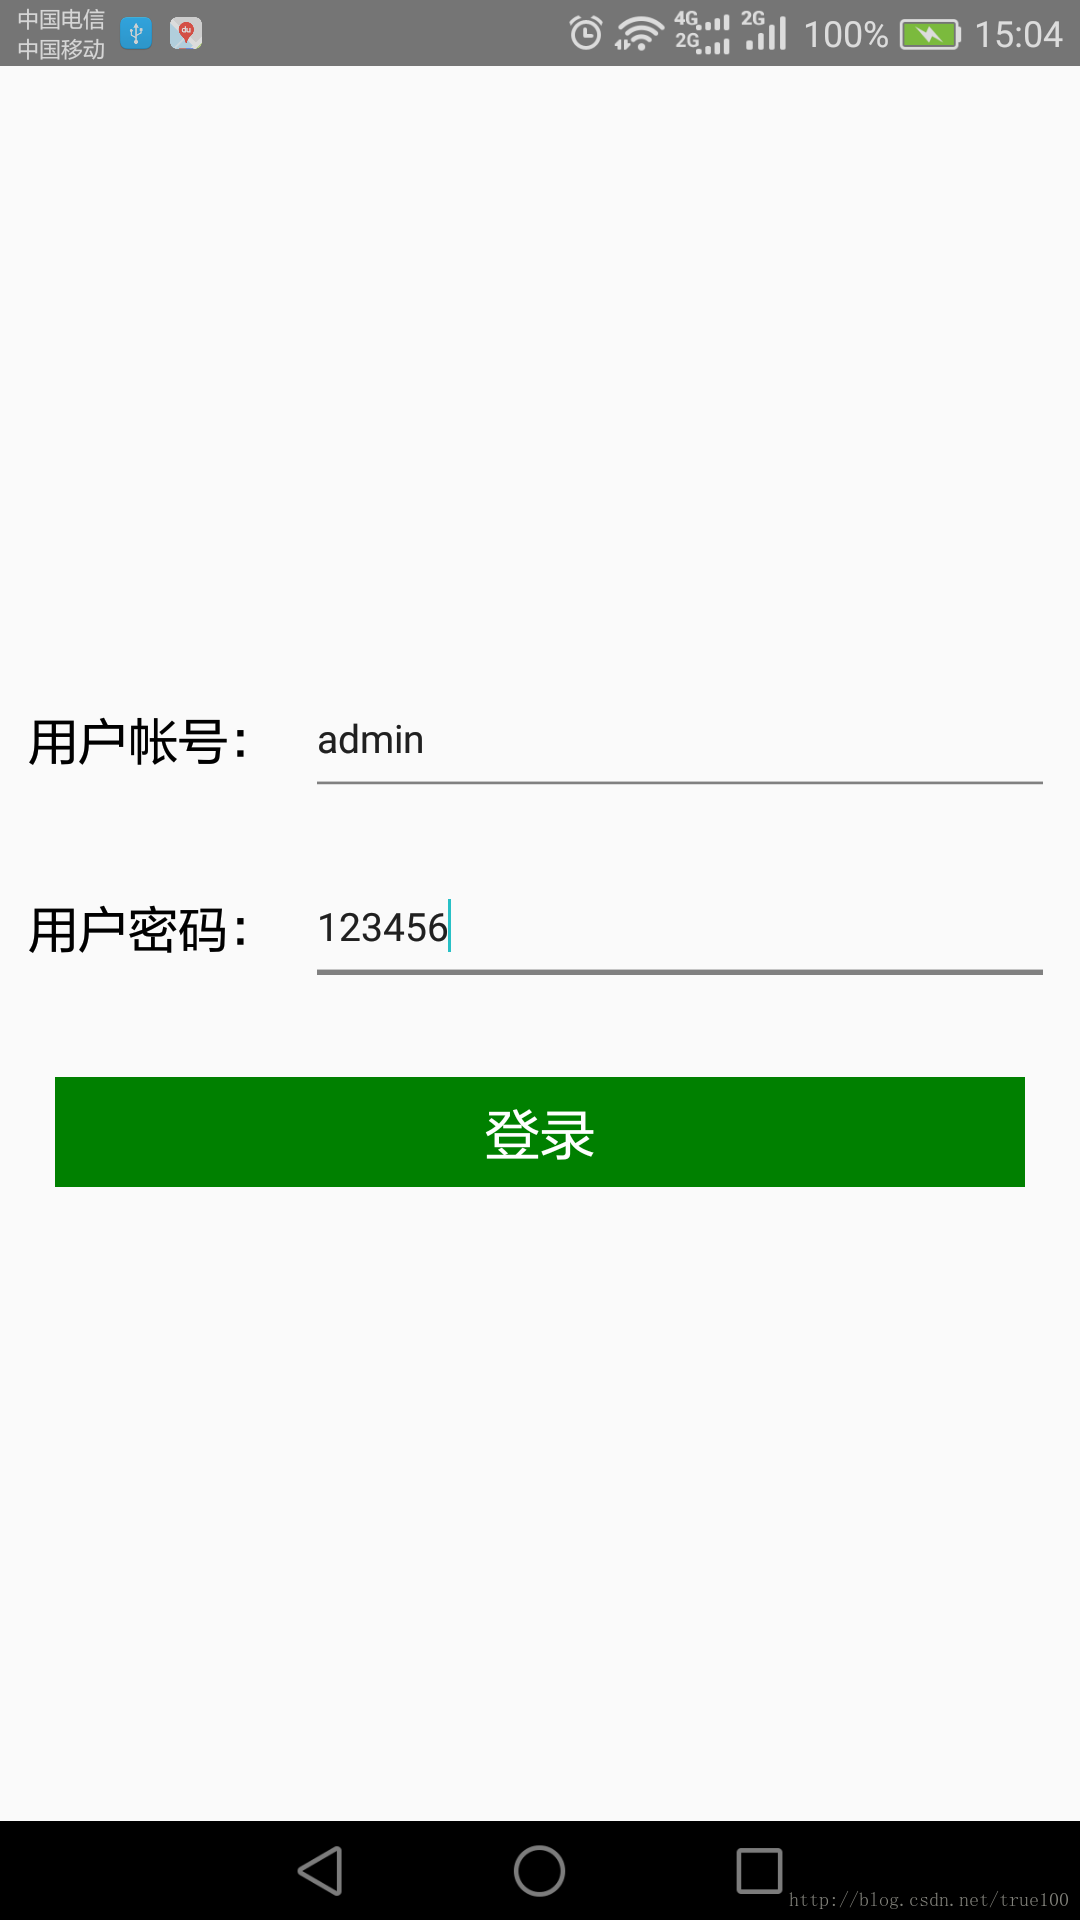
学习React Native一些时间了,想自己根据学习的知识开发个简单地独立地APP,今天开始第一步,实现登录界面功能:
index.ios.js或者index.android.js
import React, {Component} from 'react';
import {
    AppRegistry,
} from 'react-native';
import Welcome from './pages/Welcome'
AppRegistry.registerComponent('DeviceRnApp', () => Welcome);
Login.js:
import React, {Component} from 'react';
import {
    AppRegistry,
    StyleSheet,
    Text,
    View,
    Navigator,
    TextInput,
    TouchableHighlight
} from 'react-native';
import MainPage from './MainPage'
export default class Login extends Component {
    constructor(props) {
        super(props);
    }

    render() {
        return (<View style={styles.container}>
            <View style={styles.item}><Text style={styles.textStyle}>用户帐号:</Text>
                <TextInput
                    ref="inputLoginName"
                    autoFocus={true}
                    underlineColorAndroid="gray"
                    placeholder="请输入用户名"
                    clearTextOnFocus={true}
                    clearButtonMode="while-editing"
                    style={{flex: 1}}
                    onChangeText={(input) => this.setState({username: input})}
                ></TextInput>
            </View>
            <View style={styles.item}><Text style={styles.textStyle}>用户密码:</Text>
                <TextInput
                    ref="inputLoginPwd"
                    underlineColorAndroid="gray"
                    placeholder="请输入密码"
                    clearTextOnFocus={true}
                    clearButtonMode="while-editing"
                    style={{flex: 1}}
                    onChangeText={(input) => this.setState({userpwd: input})}></TextInput>
            </View>
            <TouchableHighlight style={styles.login}
                                underlayColor='transparent'
                                onPress={()=>this.loginInMainpage()}><Text
                style={styles.loginText}>登录</Text></TouchableHighlight>
        </View>)
    }

    /**
     * 登录进入主页面
     */
    loginInMainpage() {
        this.refs.inputLoginName.blur();
        this.refs.inputLoginPwd.blur();
        this.props.navigator.resetTo({
            component: MainPage,
            params: {
                logNmae: this.state.username,
                logPwd: this.state.userpwd,
                parentComponent: this,
                ...this.props
            },
        });
    }

    setLoginName(input) {
        this.setState = {inputName: input}
    }

    setLoginPwd(input) {
        this.setState = {inputPwd: input}
    }
}
const styles = StyleSheet.create({
    container: {
        flex: 1,
        justifyContent: 'center'
    },
    item: {
        flexDirection: 'row',
        alignItems: 'center',
        margin: 10
    },
    textStyle: {
        fontSize: 18,
        color: 'black',
        marginRight: 10
    },
    login: {
        height: 40,
        backgroundColor: 'green',
        margin: 20,
        justifyContent: 'center',
    },
    loginText: {
        fontSize: 20,
        alignSelf: 'center',
        color: '#FFF'
    }

})
点击登录跳转到MainPage.js:
import React, {Component} from 'react';
import {
AppRegistry,
StyleSheet,
Text,
View,
Navigator,
} from 'react-native';
export default class MainPage extends Component {
constructor(props) {
super(props);
}
render() {
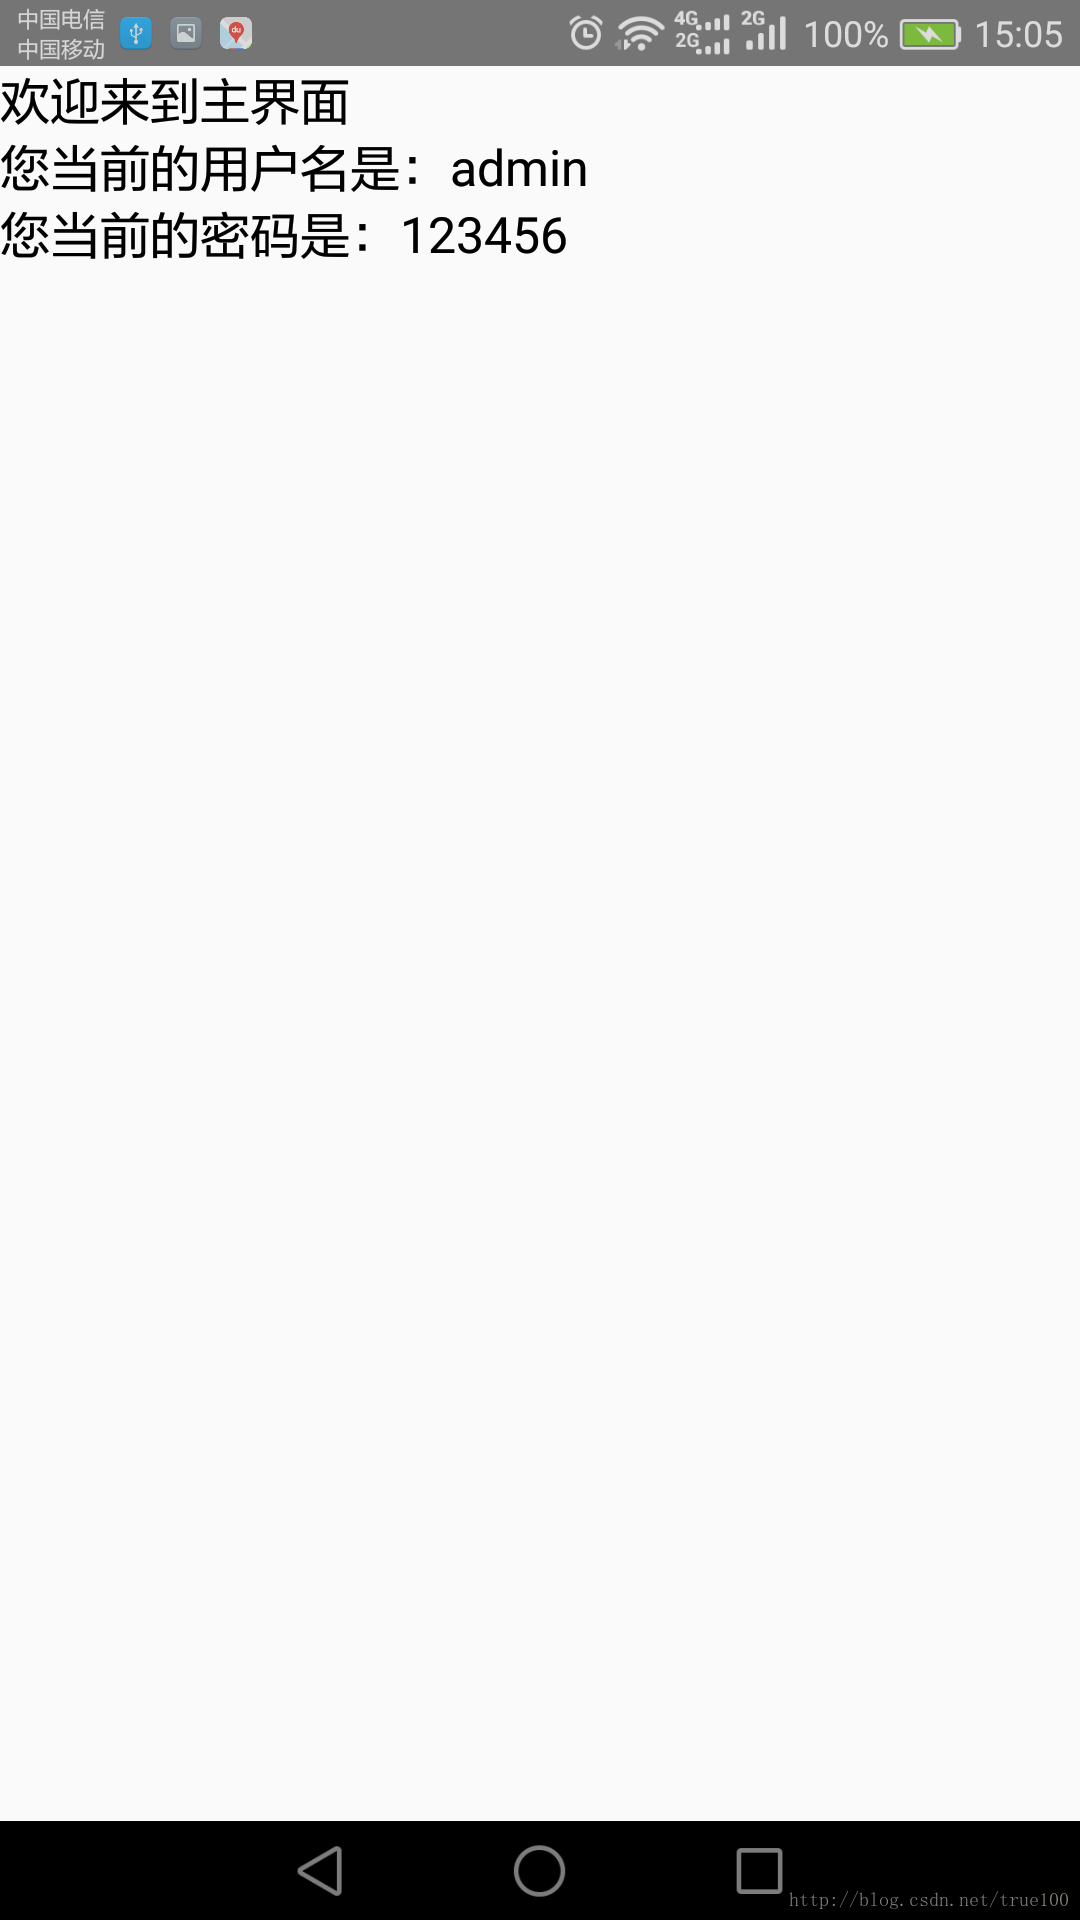
return (<View style={styles.container}>
<Text style={styles.textStyle}>欢迎来到主界面</Text>
<Text style={styles.textStyle}>您当前的用户名是:{this.props.logNmae}</Text>
<Text style={styles.textStyle}>您当前的密码是:{this.props.logPwd}</Text>
</View>)
}
}
const styles = StyleSheet.create({
container: {
flex: 1,
},
textStyle: {
fontSize: 18,
color: 'black',
marginRight: 10
},
})丑陋的效果图:


 1009
1009


 被折叠的 条评论
为什么被折叠?
被折叠的 条评论
为什么被折叠?
 到【灌水乐园】发言


