


开发过程中,需要这样的需求:
App的两个运行环境,一个是测试环境,一个是发布环境,两个环境的服务器Api是不同的。每次,编译打包测试软件的时候,很麻烦。因此,需要编写一个shell脚本,可以根据传入的参数,自动打包测试版或者发布版App,同时可以生成 无线安装所需的plist文件。接下来,我们分布讲解如何实现这个需求。
1.shell编程基础知识
1.1如何创建shell程序
首先,推荐大家一个mac系统的文本编辑软件Sublime Text,可以提高我们编写shell指令的效率。
Mac环境下,如何创建shell脚本?下面,我们以 桌面上创建一个名为 hello 的shell脚本 为例子 ,讲解创建shell的基本步骤:
1.打开终端,输入命令,进入桌面目录
cd /Users/huberysun/Desktop2. 创建文件 hello
touch hello3.使用sublime Tex打开文件 ,输入如下内容
#!/bin/bash

#对变量赋值:
variable="Hello"  #等号两边均不能有空格存在

# 现在打印变量:
echo ${variable}shell脚本的第一行必须是 #!/bin/bash,告诉系统这个文件是shell程序。
4.想要使得包含shell指令的文件可以执行,我们必须执行如下命令
chmod +x hello
5.操作完成以上的步骤,就可以使用 shell程序了,进入shell程序所在的目录之后,在终端输入如下命令即可
./hello1.2 shell编程的基本规范
定义变量,直接声明一个变量名称,后面紧跟等号和变量值,值得注意的是,变量名和等号之间,等号和变量值之间 都不能有空格。
variable="Hello"使用变量时候,只需要在变量名之前加一个$符号
echo $variableecho ${variable}shell程序是可以接受参数的,关于shell程序的参数相关的知识,推荐看这个文章
getopt:命令行选项、参数处理
条件语句是一种很重要的控制语句,shell中关于条件语句的知识,可以参考如下文章
2.Xcode的打包命令
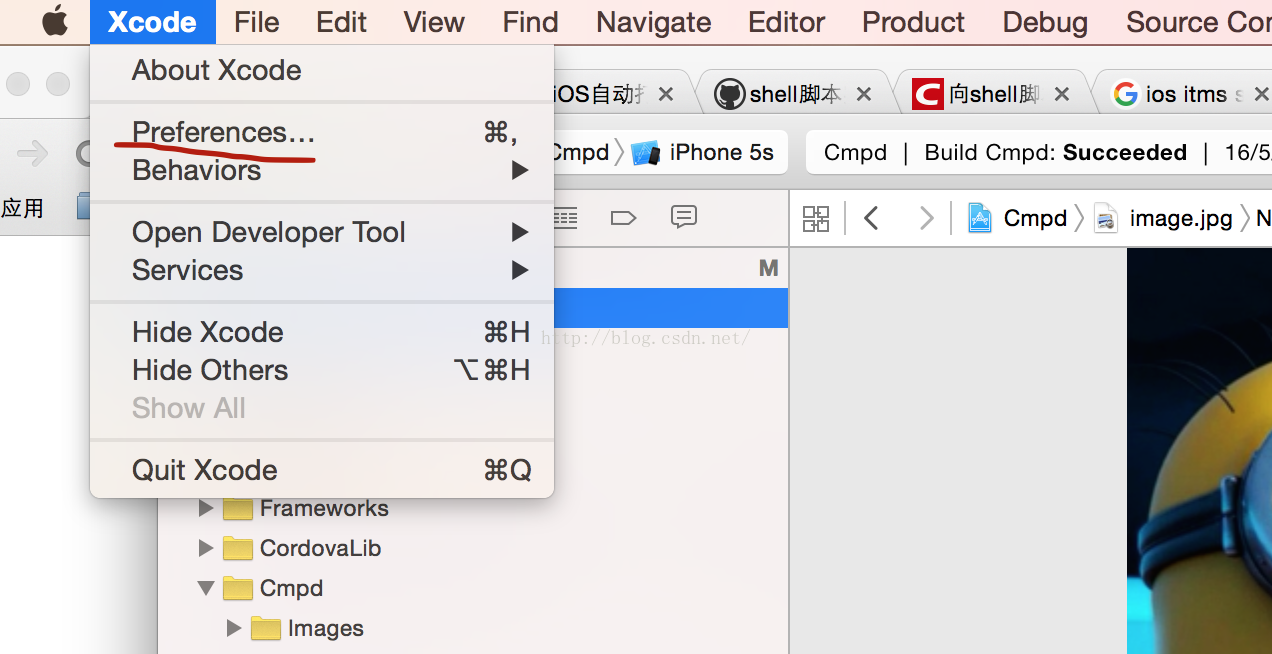
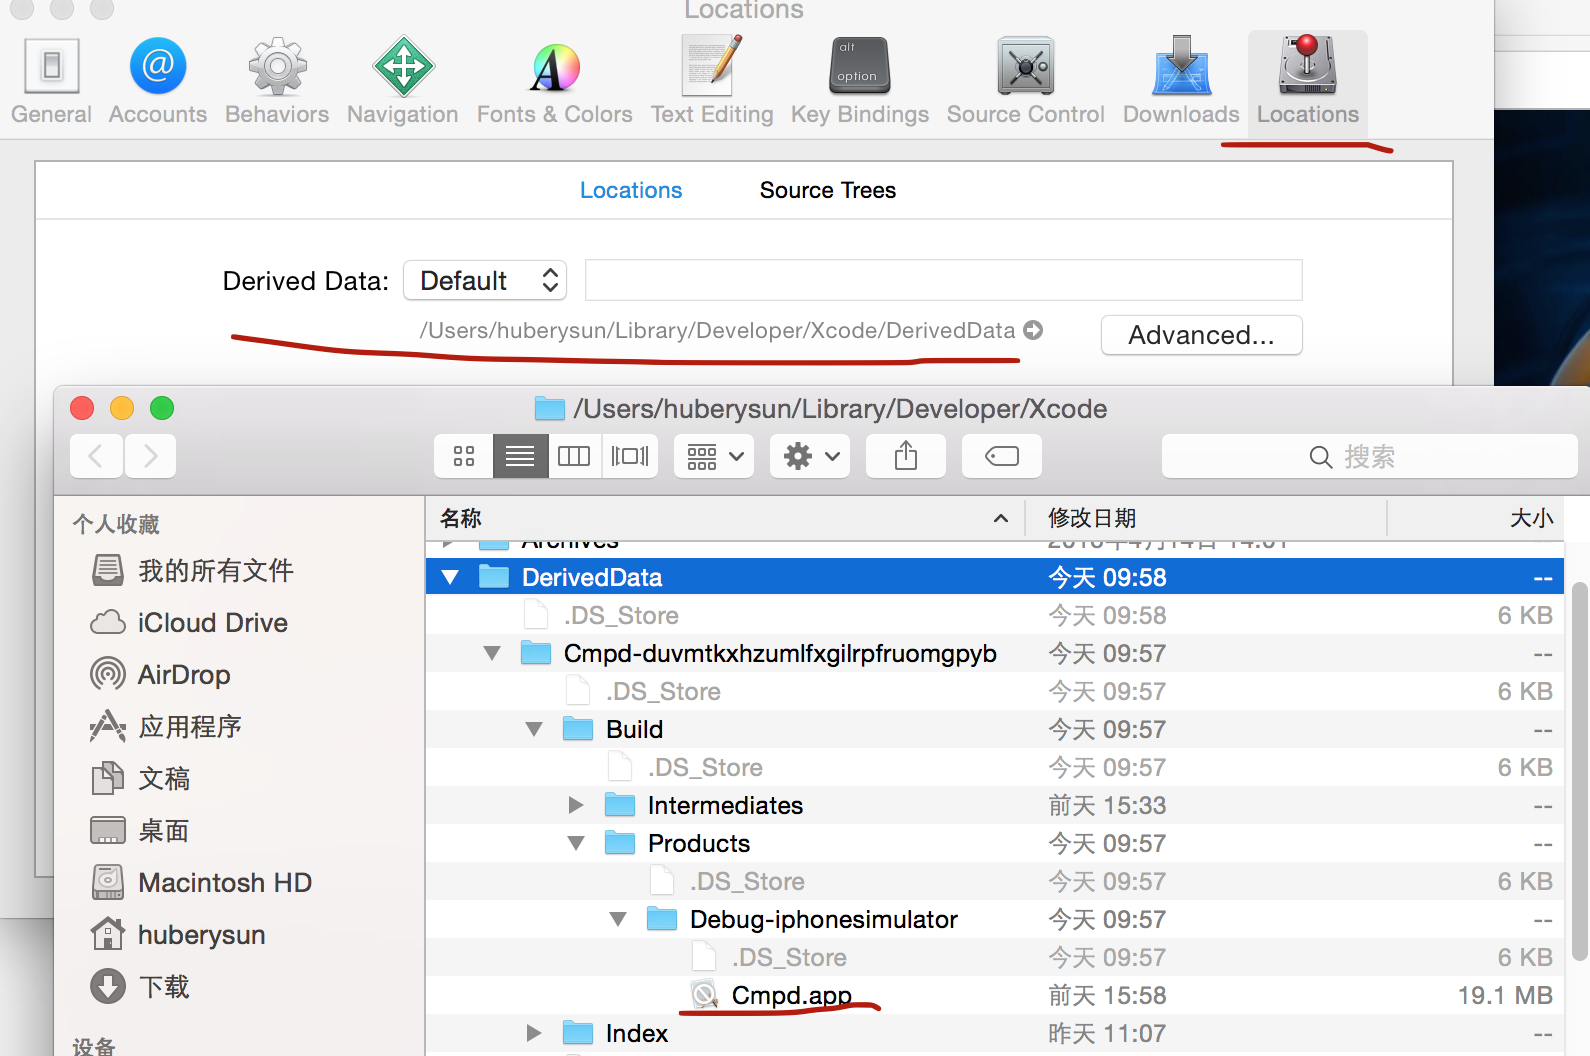
在Xcode开发环境中,我们使用Command+r命令编译代码,得到一个格式为.app 的二进制文件。我们可以通过以下的方式,找到.app文件的存储位置。
打开xcode的preferences菜单
xcodebuild命令可以 把项目文件 编译成 .app文件,但是,iPhone真机上App软件的格式是.ipa的,因此,我们可以猜到,xcode一定还存在一个指令,可以把.app文件转换成.ipa文件。这个指令就是 xcrun。关于 xcodebuild 和 xcrun命令 的详细使用情况,可以参考这篇文章 iOS自动打包并发布脚本
3.跳过AppStore,通过WiFi无线安装App
OTA即Over-the-Air,是Apple在 iOS4 中新加的一项技术,目的是让开发者能够脱离Appstore,实现从自己的服务器下载并安装iOS应用。简单地说,就是用户只需要在Safari中点开一条链接,就能直接在主界面中安装App。
关于如何无线安装 App的详细步骤,可以参考文章 实现 iOS App 在线安装(局域网OTA)
4.编写shell脚本,实现自动打包
这个shell脚本,接受两个参数,第一个参数 指定了项目所在的主目录 ,第二个参数指明了 App的运行环境,是发布环境 还是测试环境。shell脚本的实现分为四个步骤:
a. 根据第二个参数,生成配置文件cmf.plist(包含了一些服务的Api地址)
2. 使用xcodebuild 命令 打包生成 .app文件
3. 使用xcrun 命令打包生成 .ipa文件
4. 生成 无线安装 所需的 plist 文件
需要声明的是,这个脚本的编写思路参考与 github上源码 xcode_shell
#!/bin/bash

if [ ! -d $1 ];then
	echo "Error! The first param must be a directory."
	exit 2
fi

#工程绝对路径
cd $1
project_path=$(pwd)

#判断所输入路径是否是xcode工程的根路径
ls | grep .xcodeproj > /dev/null
rtnValue=$?
if [ $rtnValue != 0 ];then
	echo "Error!! The param must be the root path of a xcode project."
	exit
fi

#获取部署环境参数
enviroment=$2
if [ $2 != r -a $2 != d ]; then
	echo " must specify the environment argument in r or d"
	exit
fi

#根据部署环境,重写cmf.plist
config_path=${project_path}/Cmpd
config_file=cmf.plist
cd $config_path
#判断是否包含cmf.plist
ls ./${config_file} &>/dev/null
rtnValue=$?
if [ $rtnValue != 0 ];then
	echo "No cmf.plist file exists."
else
	echo "remove cmf.plist file"
    rm -rf $config_file
fi

#重写cmf.plist
if [ $2 == r ]; then
	echo "hh"
cat << EOF > $config_file
	<?xml version="1.0" encoding="UTF-8"?>
	<!DOCTYPE plist PUBLIC "-//Apple//DTD PLIST 1.0//EN" "http://www.apple.com/DTDs/PropertyList-1.0.dtd">
	<plist version="1.0">
	<dict>
		<key>JPush</key>
		<string>极光推送模块</string>
	</dict>
	</plist>
EOF
else
cat << EOF > $config_file
	<?xml version="1.0" encoding="UTF-8"?>
	<!DOCTYPE plist PUBLIC "-//Apple//DTD PLIST 1.0//EN" "http://www.apple.com/DTDs/PropertyList-1.0.dtd">
	<plist version="1.0">
	<dict>
		<key>JPush</key>
		<string>极光推送模块</string>
	</dict>
	</plist>
EOF
fi


#编译的configuration,默认为Release
build_config=Release
echo "home"
#build文件夹路径
build_path=${project_path}/build
#生成的app文件目录
appdirname=Release-iphoneos

#clean release
xcodebuild clean -configuration ${build_config}

#组合编译命令
build_cmd='xcodebuild'
build_cmd=${build_cmd}' -configuration '${build_config}

#编译工程
cd $project_path
$build_cmd || exit


#进入build路径
cd $build_path

#创建ipa-build文件夹
if [ -d ./ipa-build ];then
	rm -rf ipa-build
fi
mkdir ipa-build

#app文件名称
appname=$(basename ./${appdirname}/*.app)

#app文件中Info.plist文件路径
app_infoplist_path=${build_path}/${appdirname}/${appname}/Info.plist
#取版本号
bundleShortVersion=$(/usr/libexec/PlistBuddy -c "print CFBundleShortVersionString" ${app_infoplist_path})
#取build值
bundleVersion=$(/usr/libexec/PlistBuddy -c "print CFBundleVersion" ${app_infoplist_path})
#取bundleIdentifier
bundleIdentifier=$(/usr/libexec/PlistBuddy -c "print CFBundleIdentifier" ${app_infoplist_path})
#取bundleName
bundleName=$(/usr/libexec/PlistBuddy -c "print CFBundleName" ${app_infoplist_path})
#用于存储ipa、plist
target_name=${bundleName}
#IPA名称
ipa_name="${bundleName}_$(date +"%Y%m%d")"
echo $ipa_name

#xcrun打包
xcrun -sdk iphoneos PackageApplication -v ./${appdirname}/*.app -o ${build_path}/ipa-build/${ipa_name}.ipa || exit


if [ "$output_path" != "" ];then
	cp ${build_path}/ipa-build/${ipa_name}.ipa $output_path/${ipa_name}.ipa
	echo "Copy ipa file successfully to the path $output_path/${ipa_name}.ipa"
fi


#生成plist,上传到内网

#判断是否执行过ipa-build脚本
cd $project_path
ls ./build/ipa-build/*.ipa &>/dev/null
rtnValue=$?
if [ $rtnValue != 0 ];then
	echo "Error!! No ipa files exists.Please run the \"ipa-build\" shell script first"
	exit
fi


#进入到工程build路径下
cd $build_path

if [ -d ./$target_name ];then
	rm -rf $target_name
fi
mkdir $target_name

#拷贝ipa
cp ./ipa-build/*.ipa ./$target_name/${target_name}.ipa
cd $target_name

#ipa下载url
ipa_download_url=${pulish_url}/${target_name}/${target_name}.ipa

#生成plist文件
cat << EOF > ${target_name}.plist
<?xml version="1.0" encoding="UTF-8"?>
<!DOCTYPE plist PUBLIC "-//Apple//DTD PLIST 1.0//EN" "http://www.apple.com/DTDs/PropertyList-1.0.dtd">
<plist version="1.0">
<dict>
   <key>items</key>
   <array>
       <dict>
           <key>assets</key>
           <array>
               <dict>
                   <key>kind</key>
                   <string>software-package</string>
                   <key>url</key>
                   <string>${ipa_download_url}</string>
               </dict>
               <dict>
                   <key>kind</key>
                   <string>display-image</string>
                   <key>needs-shine</key>
                   <true/>
                   <key>url</key>
                   <string>${pulish_url}/${target_name}/${target_name}_logo.png</string>
               </dict>
	       <dict>
                   <key>kind</key>
                   <string>full-size-image</string>
                   <key>needs-shine</key>
                   <true/>
                   <key>url</key>
                   <string>${pulish_url}/${target_name}/${target_name}_logo.png</string>
               </dict>
           </array><key>metadata</key>
           <dict>
               <key>bundle-identifier</key>
               <string>${bundleIdentifier}</string>
               <key>bundle-version</key>
               <string>${bundleVersion}</string>
               <key>kind</key>
               <string>software</string>
               <key>subtitle</key>
               <string>${bundleName}</string>
               <key>title</key>
               <string>${bundleName}</string>
           </dict>
       </dict>
   </array>
</dict>
</plist>

EOF


 2007
2007


 被折叠的 条评论
为什么被折叠?
被折叠的 条评论
为什么被折叠?
 到【灌水乐园】发言


