


今天学习一下如何实现UGUI 2dUI跟随3d物体移动的效果
创建cube,创建Image。image作为血条,跟随cube移动
在cube上面添加脚本
using UnityEngine;
using System.Collections;

public class FlowTest : MonoBehaviour {

    public RectTransform rectBloodPos;
    public int offstex;
    public int offsety;
    // Update is called once per frame
    void Update () {


        //get ScreenPoint...Important
        Vector2 vec2 = Camera.main.WorldToScreenPoint (this.gameObject.transform.position);

        rectBloodPos.anchoredPosition = new Vector2 (vec2.x-Screen.width/2+0, vec2.y-Screen.height/2+60);//控制偏移量
        //rectBloodPos.anchoredPosition = vec2 + new Vector2(offstex,offsety);
    }
}
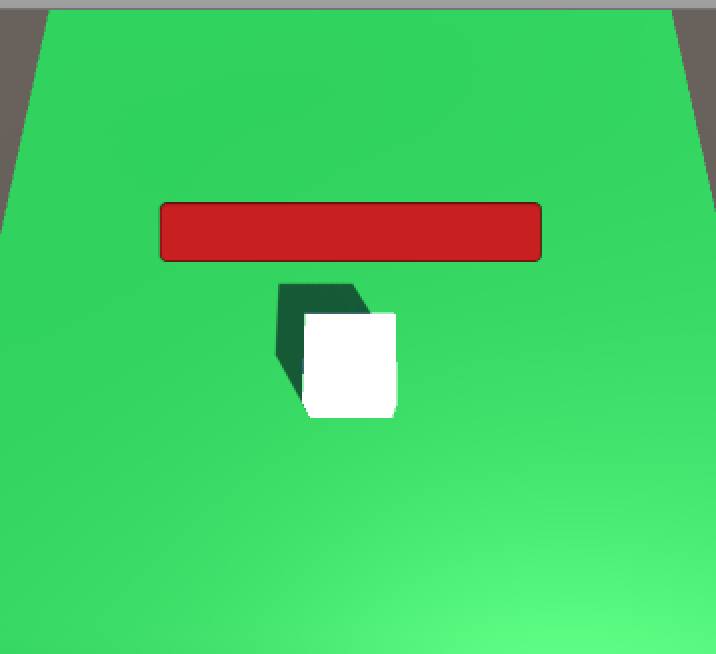
运行效果:
3d物体跟随移动的另一种实现方式:
using System.Collections;
using System.Collections.Generic;
using UnityEngine;
using UnityEngine.UI;

public class MoveFlow : MonoBehaviour
{
    public Transform gob3d;//3d物体
    public RectTransform image;//2dUI
    public Canvas cav;//sdUI 所在的canvas
    // Use this for initialization
    void Start ()
    {

    }

    // Update is called once per frame
    void Update ()
    {
        Vector2 screenPos = Camera.main.WorldToScreenPoint (gob3d.position);
        Vector3 globalMousePos;
        if (RectTransformUtility.ScreenPointToWorldPointInRectangle (image, screenPos, cav.worldCamera, out globalMousePos)) {
            image.position = globalMousePos;
        }

    }
}


 4508
4508


 被折叠的 条评论
为什么被折叠?
被折叠的 条评论
为什么被折叠?
 到【灌水乐园】发言


