


一、下载ActiveMQ
先去ActiveMQ官网下载最新的安装包,官方下载地址为:http://activemq.apache.org/download.html
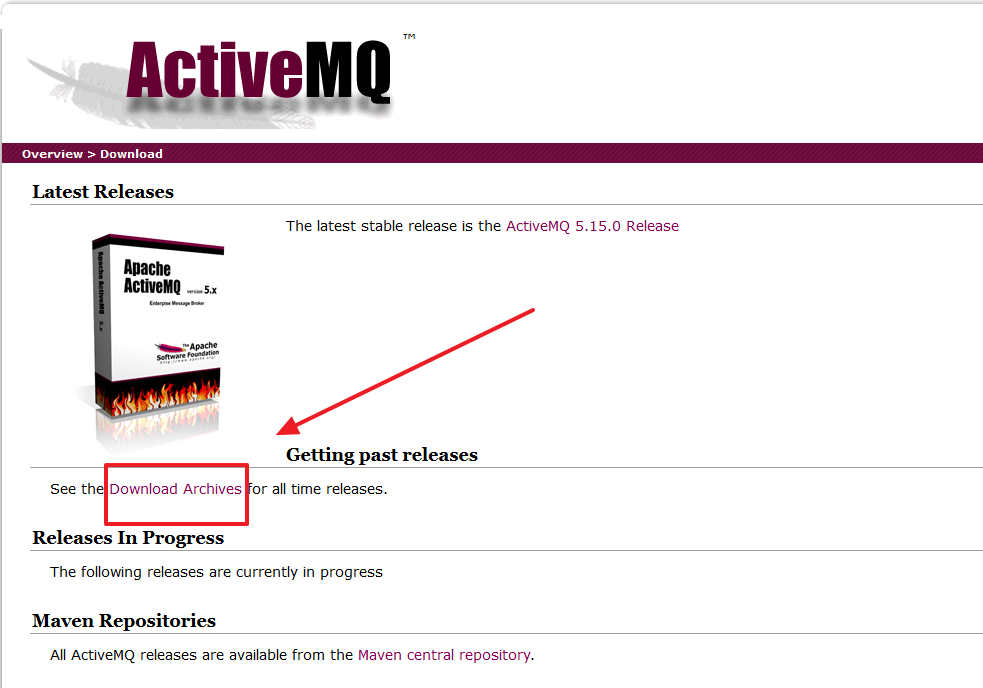
选择Download Archives选择版本进行下载
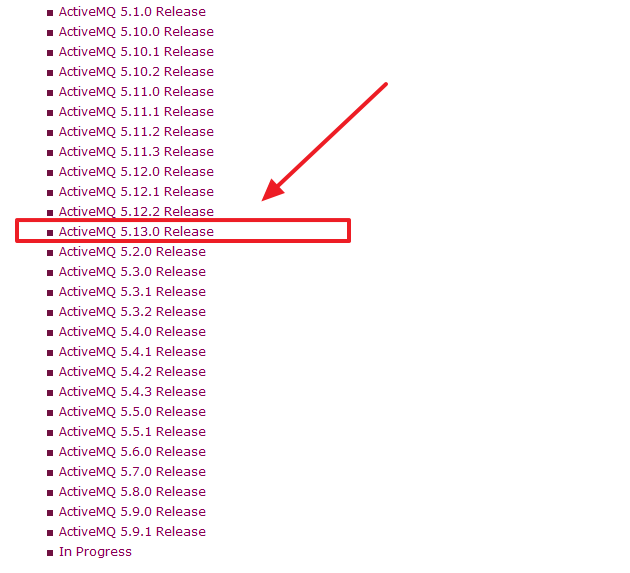
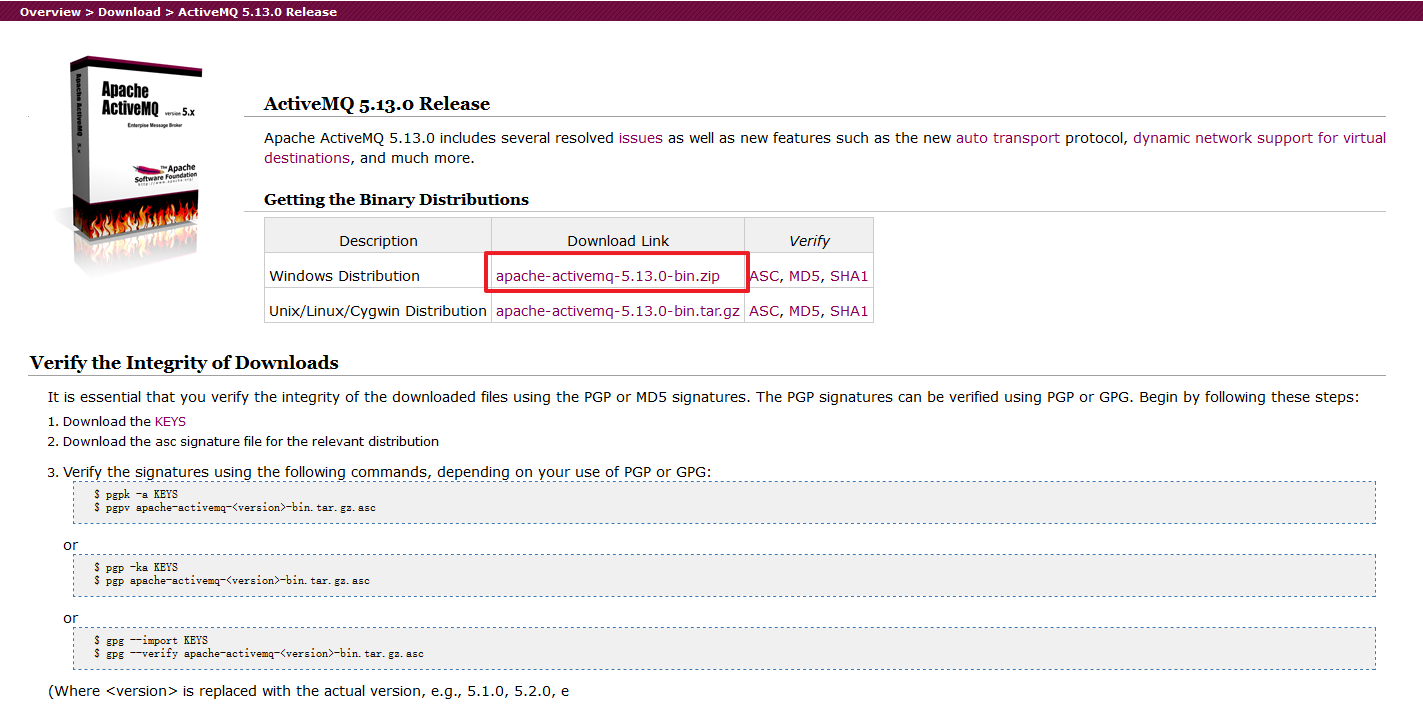
它这里提供了很多版本,我们选择最新的版本进行下载
下载下来之后进行解压,解压之后如下
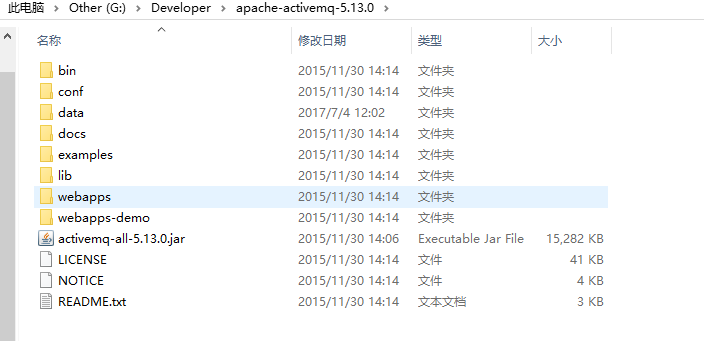
目录说明:
bin----存放的是脚本文件
conf----存放的是基本配置文件
data----存放的是日志文件
docs----存放的是说明文档
examples----存放的是简单的实例
lib----存放的是activemq所需jar包
webapps----用于存放项目的目录
二、运行ActiveMQ
然后双击apache-activemq-5.5.1\bin\win64\activemq.bat运行ActiveMQ程序。
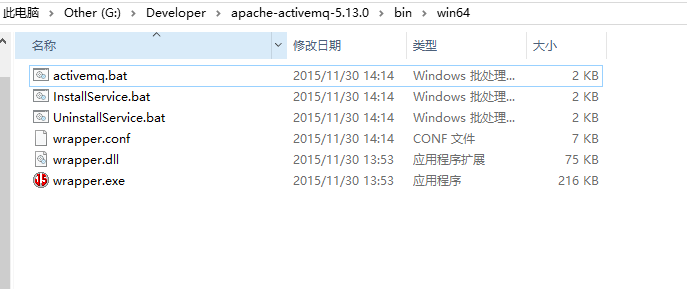
(注意:我的机子是64位的,所以这里启动的64位的)
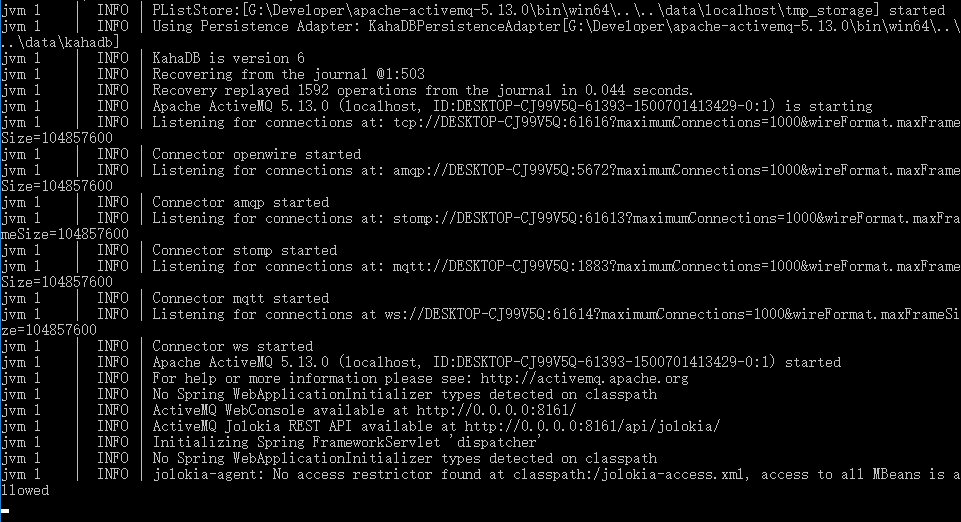
启动ActiveMQ以后,访问:http://localhost:8161/admin/
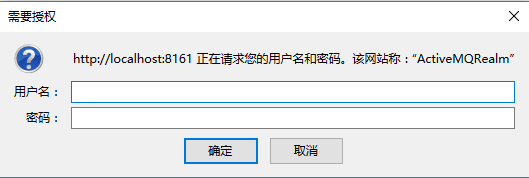
他会要你输入用户名与密码,默认的是admin/admin。输入之后点击确定就会进入首页
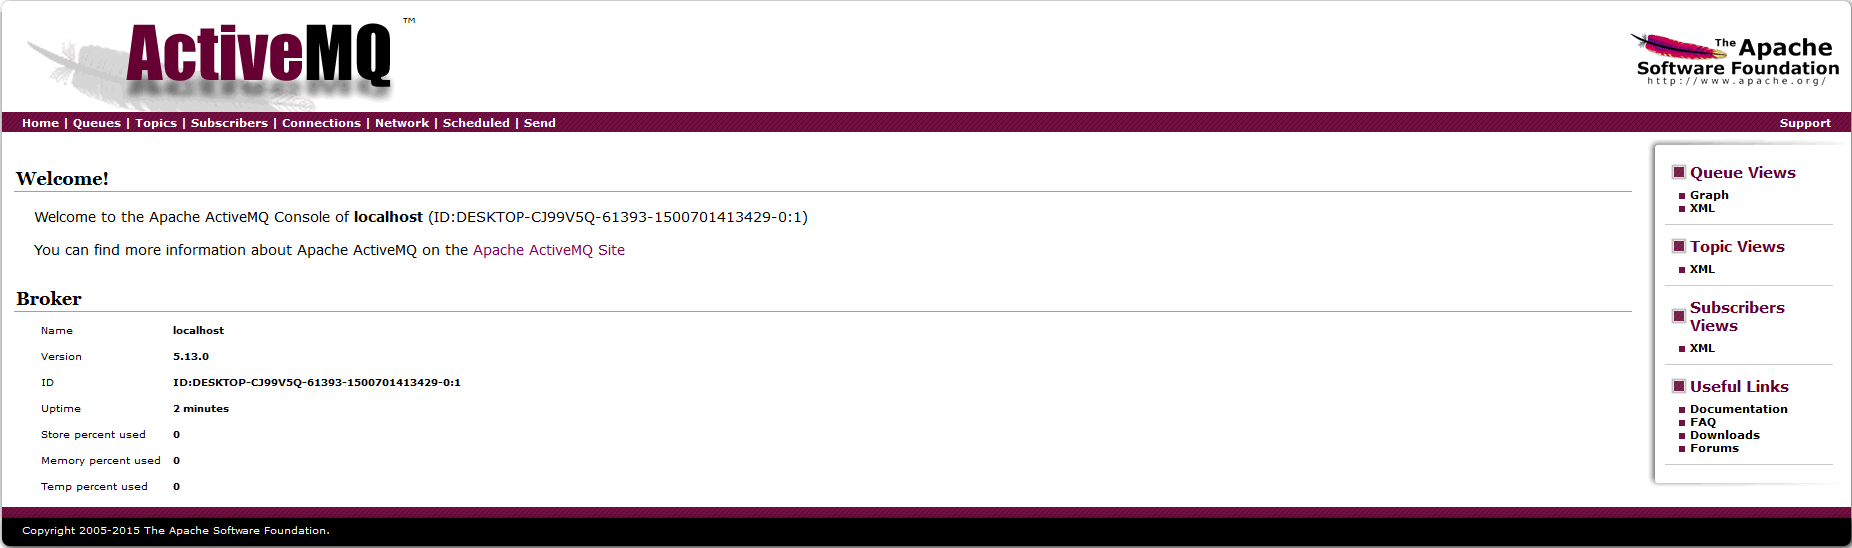
三、控制面板
1)首页
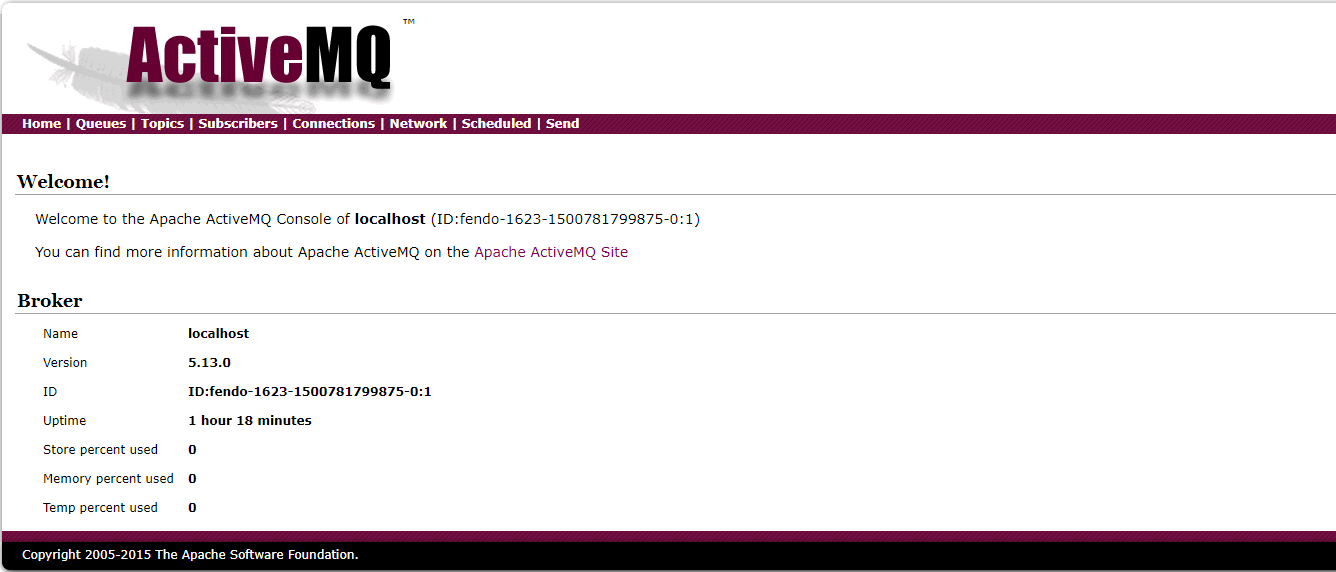
简单介绍下导航栏:
Queues:队列方式消息。
Topics:主题方式消息。
Subscribers:消息订阅监控查询。
Connections:查看链接数,分别可以查看xmpp、ssl、stomp、openwire、ws和网络链接。
Network:网络链接数监控。
Scheduled:没有用到,不太清楚。
Send:发送消息数据
2)Quence队列
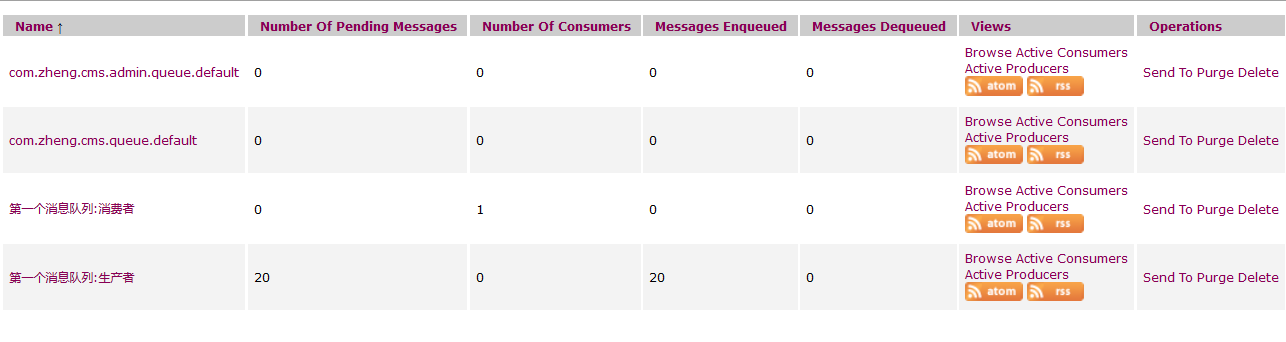
Name ----队列名称
Number Of Pending Messages ----等待消费的消息 这个是当前未出队列的数量。可以理解为总接收数-总出队列数
Number Of Consumers ----消费者 这个是消费者端的消费者数量
Messages Enqueued ----进入队列的消息 进入队列的总数量,包括出队列的。 这个数量只增不减
Messages Dequeued ----出了队列的消息 可以理解为是消费这消费掉的数量
这个要分两种情况理解
1.在queues里它和进入队列的总数量相等(因为一个消息只会被成功消费一次),如果暂时不等是因为消费者还没来得及消费。
2.在 topics里 它因为多消费者从而导致数量会比入队列数高。
简单的理解上面的意思就是
当有一个消息进入这个队列时,等待消费的消息是1,进入队列的消息是1。
当消息消费后,等待消费的消息是0,进入队列的消息是1,出队列的消息是1.
在来一条消息时,等待消费的消息是1,进入队列的消息就是2.
没有消费者时 Pending Messages 和 入队列数量一样
有消费者消费的时候 Pedding会减少 出队列会增加
到最后 就是 入队列和出队列的数量一样多
以此类推,进入队列的消息和出队列的消息是池子,等待消费的消息是水流。
四、配置ActiveMQ
● 启动后的ActiveMQ的数据位于:$ACTIVEMQ_HOME/data/目录内
● 启动后的ActiveMQ运行日志位于:$ACTIVEMQ_HOME/data/目录内的activemq.log文件
● 如果需要改ActiveMQ的日志配置可以通过修改$ACTIVEMQ_HOME/conf/log4j.properties
1)用户名密码设置
打开conf/jetty.xml
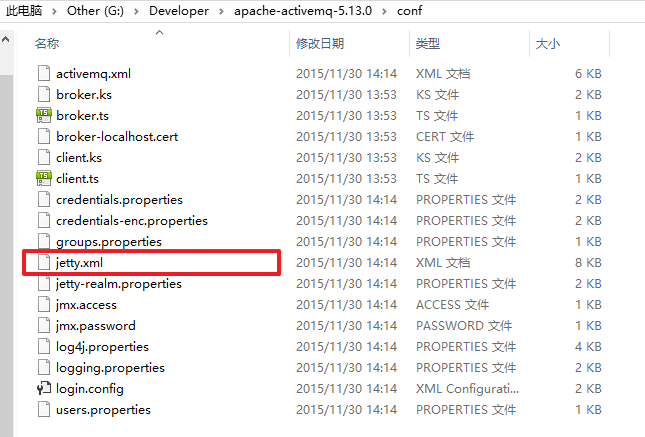
将property name为authenticate的属性value="false" 改为"true"
<bean id="securityConstraint" class="org.eclipse.jetty.http.security.Constraint">
	<property name="name" value="BASIC" />
	<property name="roles" value="admin" />
	<property name="authenticate" value="false" />
</bean>开启用户验证,控制台的登录用户名密码保存在conf/jetty-realm.properties文件中,内容如下:
# Defines users that can access the web (console, demo, etc.)
# username: password [,rolename ...]
admin: admin, admin
值得注意的是 用户名和密码的格式是
用户名 : 密码 ,角色名
2)配置内存
bin中activemq.bat 中的第一行 加上 :
REM 配置内存
set ACTIVEMQ_OPTS=-Xms1G -Xmx1G
3)修改客户端连接密码
1.修改activemq.xml配置,需要新增一个插件,在<broker>节点里面<systemUsage>节点前面添加如下
<plugins>
	<simpleAuthenticationPlugin>
		<users>
			<authenticationUser username="${activemq.username}" password="${activemq.password}" groups="users,admins"/>
		</users>
	</simpleAuthenticationPlugin>
</plugins>
2.用户名密码文件为:credentials.properties
## ---------------------------------------------------------------------------
## Licensed to the Apache Software Foundation (ASF) under one or more
## contributor license agreements. See the NOTICE file distributed with
## this work for additional information regarding copyright ownership.
## The ASF licenses this file to You under the Apache License, Version 2.0
## (the "License"); you may not use this file except in compliance with
## the License. You may obtain a copy of the License at
##
## http://www.apache.org/licenses/LICENSE-2.0
##
## Unless required by applicable law or agreed to in writing, software
## distributed under the License is distributed on an "AS IS" BASIS,
## WITHOUT WARRANTIES OR CONDITIONS OF ANY KIND, either express or implied.
## See the License for the specific language governing permissions and
## limitations under the License.
## ---------------------------------------------------------------------------


# Defines credentials that will be used by components (like web console) to access the broker


activemq.username=system
activemq.password=manager
guest.password=password


 496
496


 被折叠的 条评论
为什么被折叠?
被折叠的 条评论
为什么被折叠?
 到【灌水乐园】发言


