


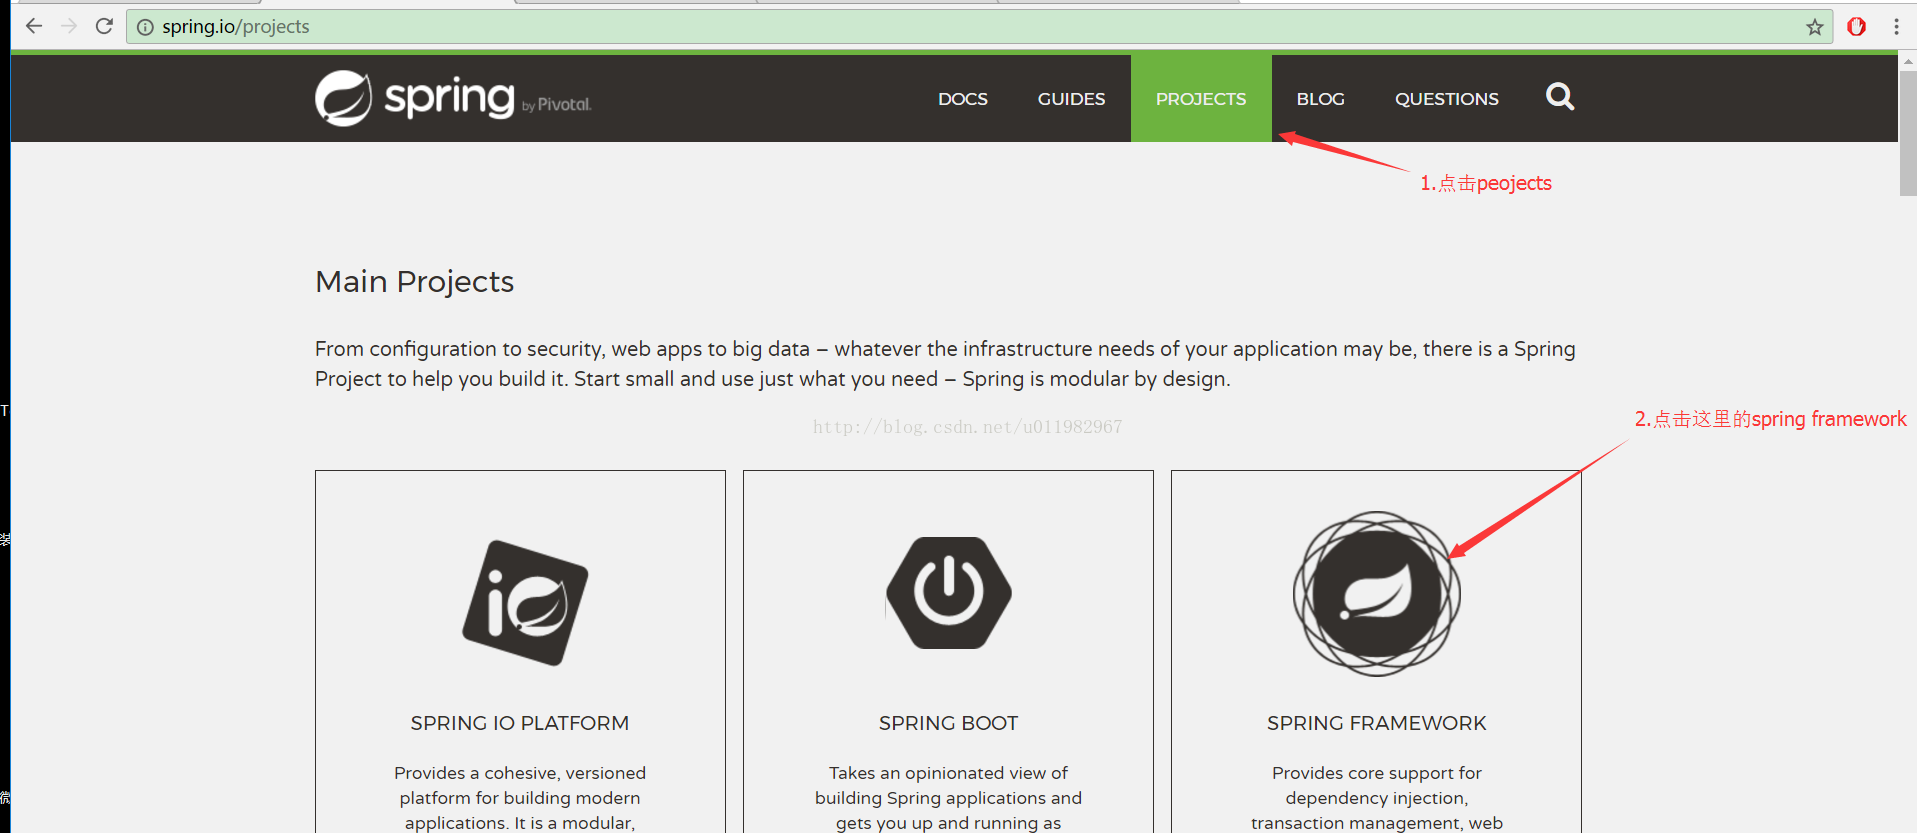
一.相关jar包下载关[官网地址]
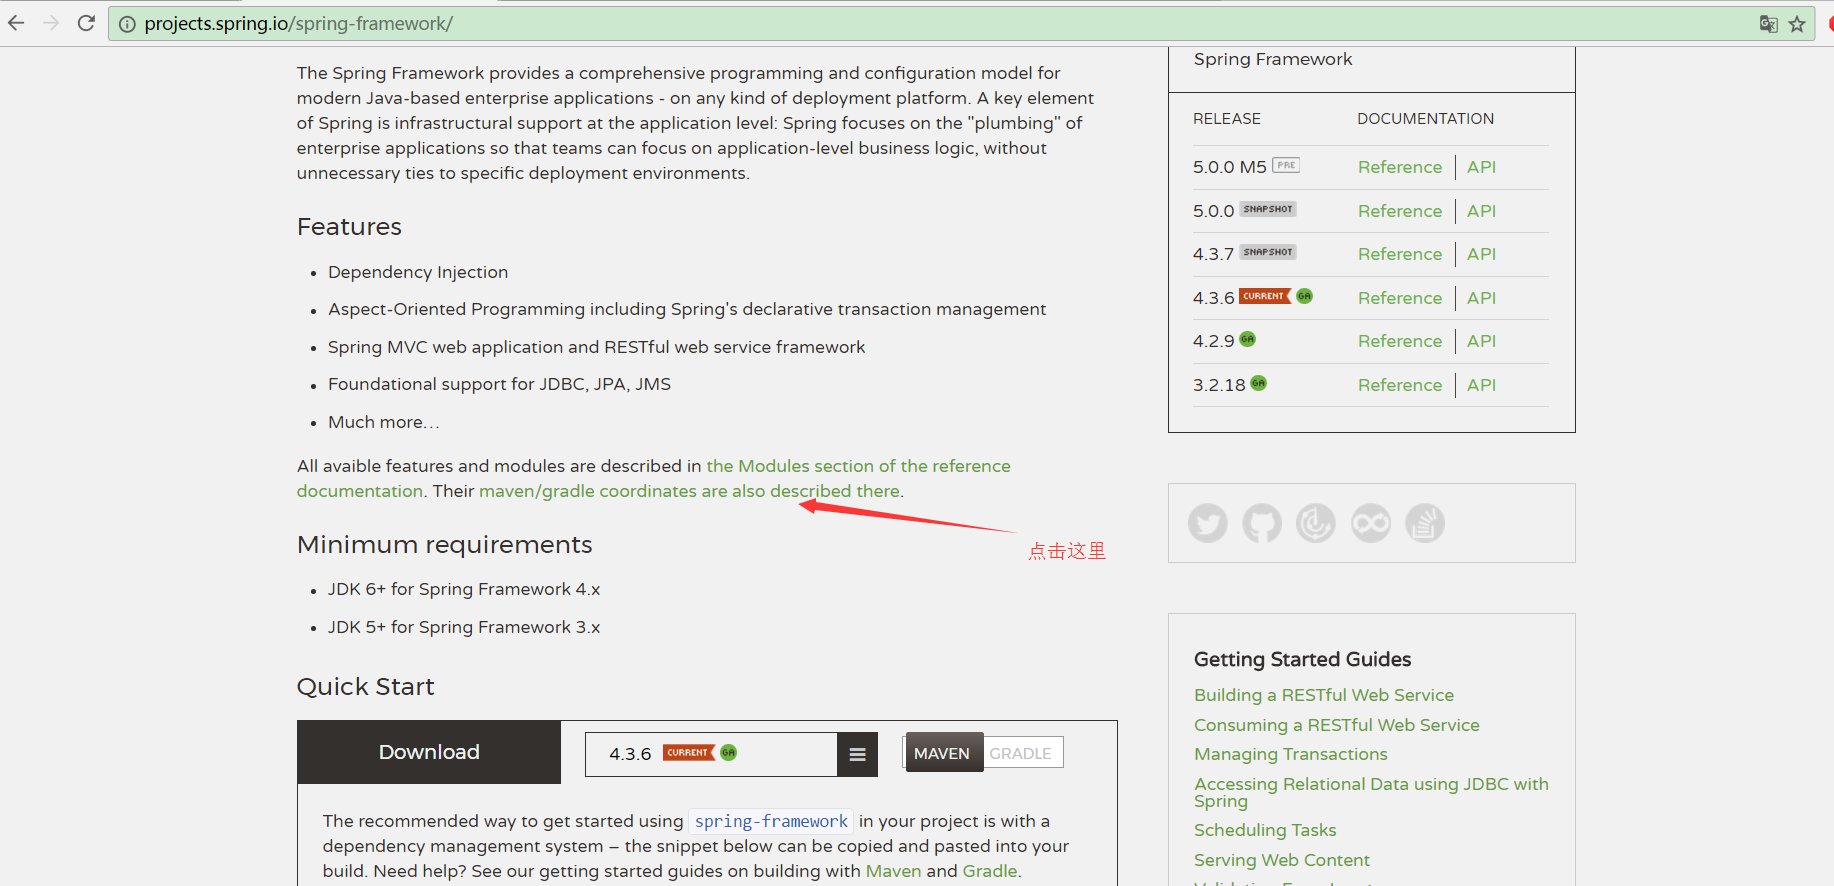
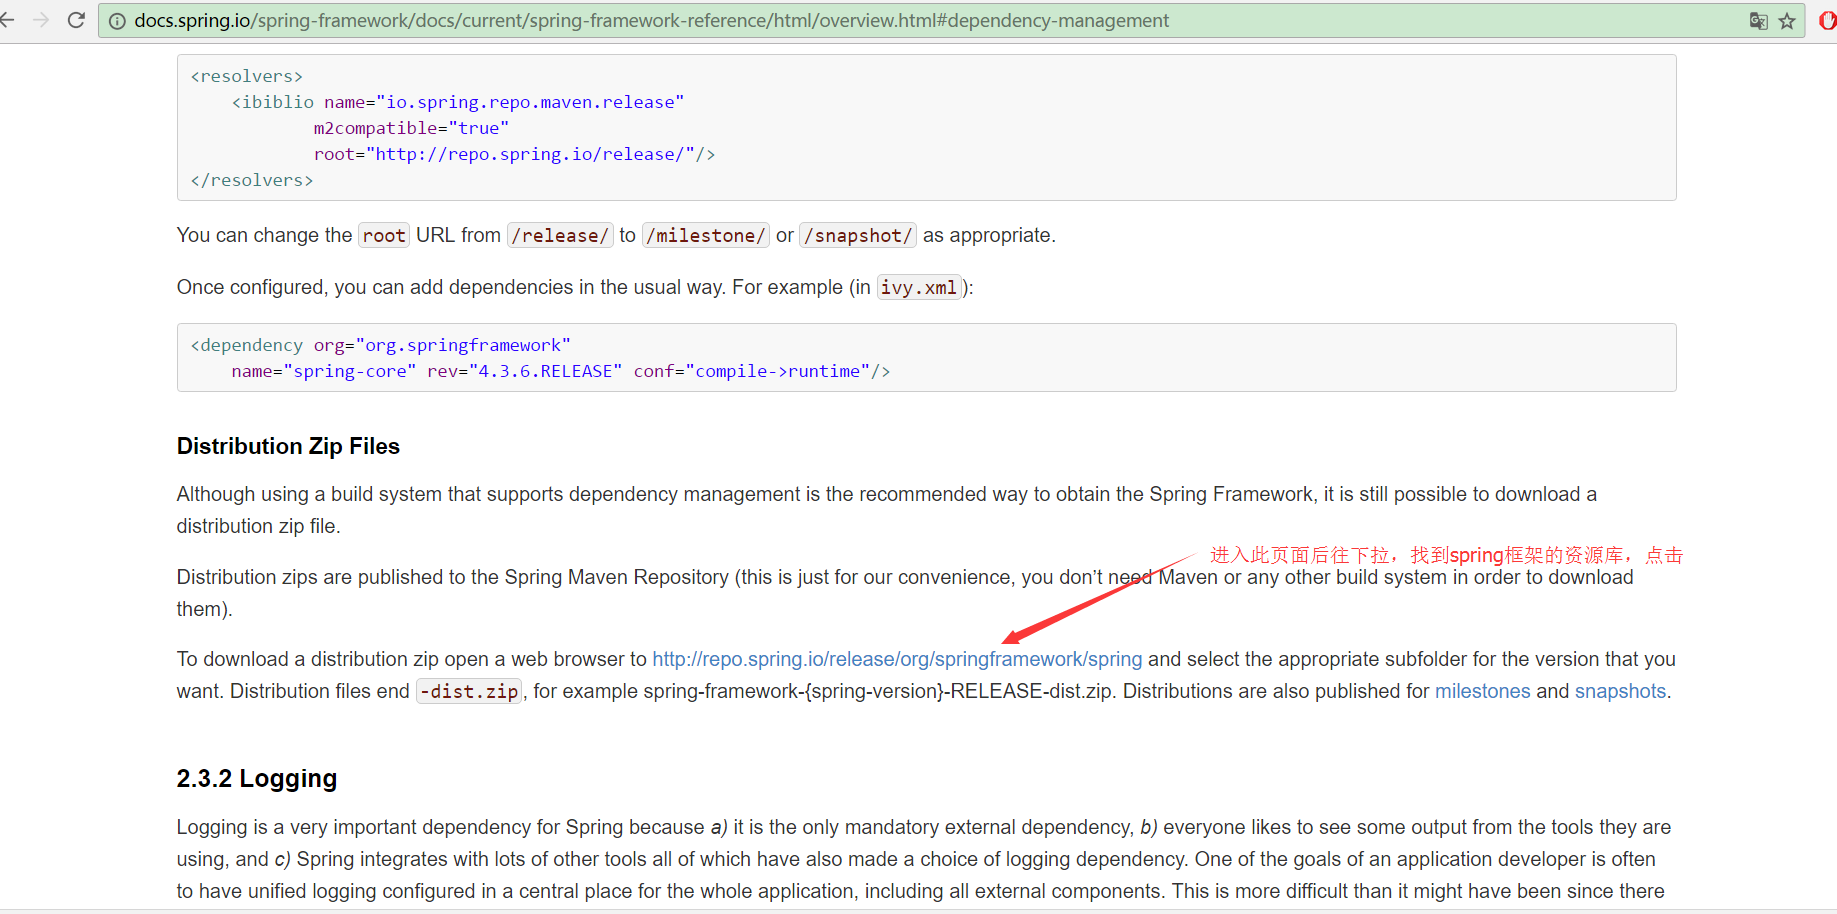
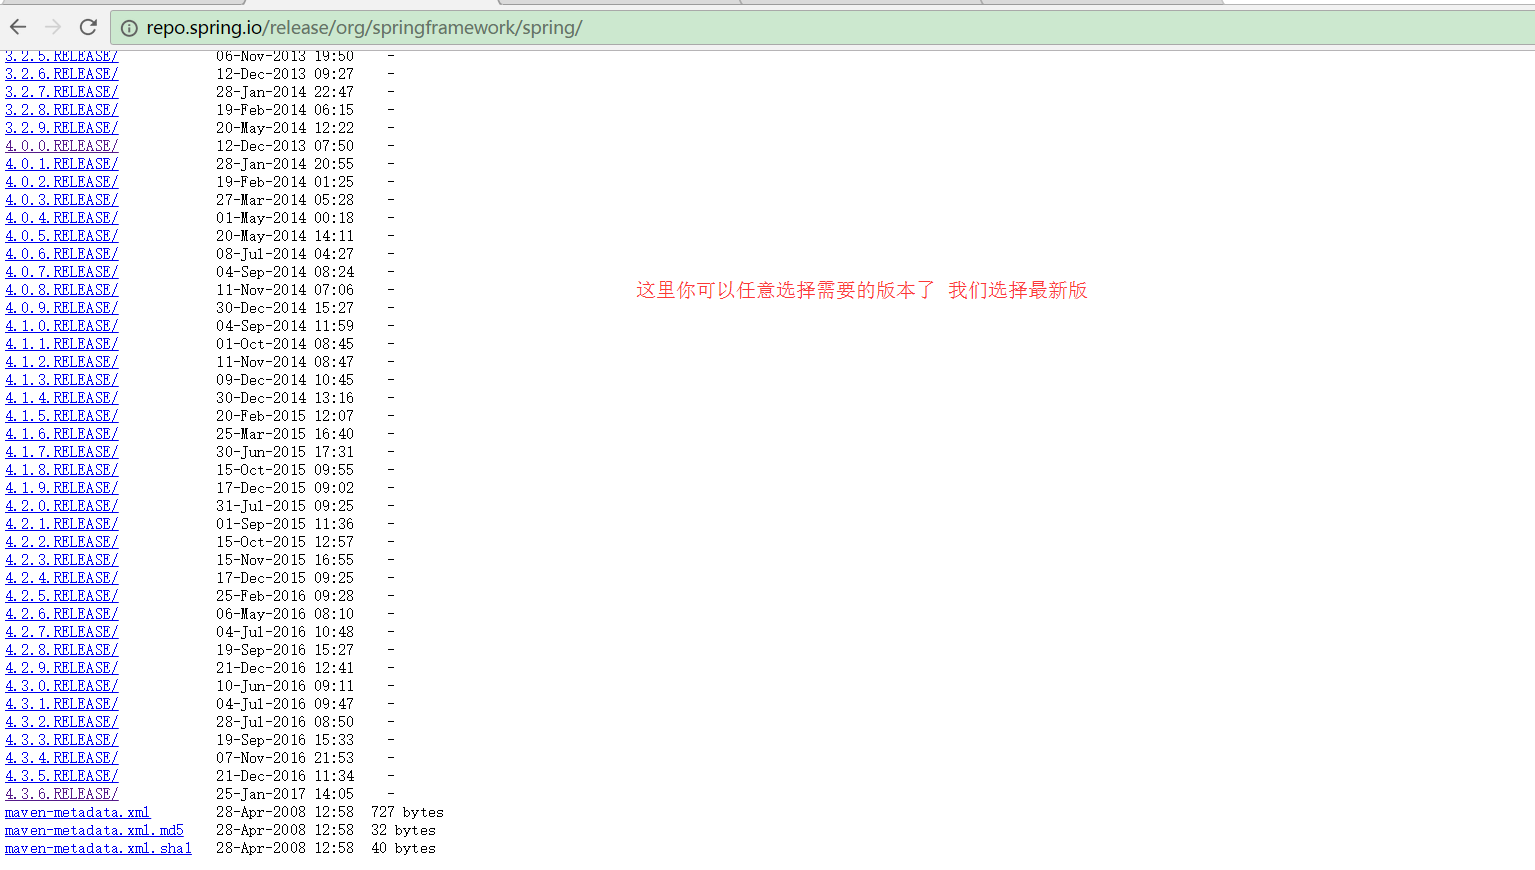
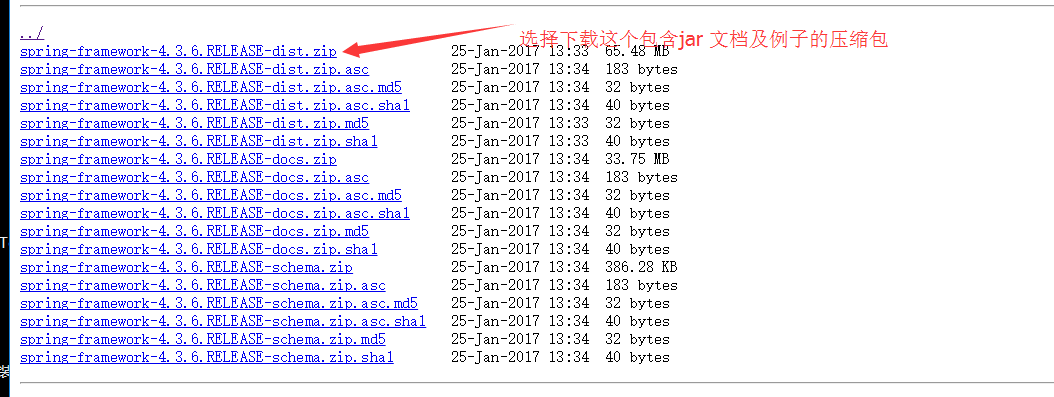
1. spring官网地址,依次如下图找到下载地址: http://repo.spring.io/release/org/springframework/spring
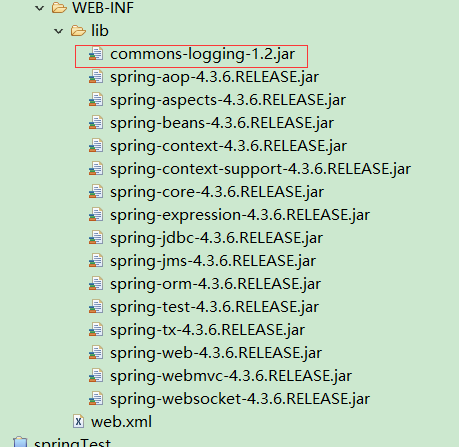
3.spring相关jar包导入项目中
选择的jar包如下:需要注意的是:标红处并不是在spring jar里的,但是是必须的。
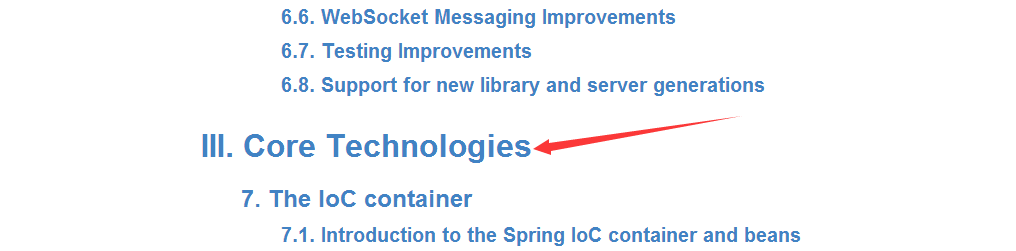
首先创建一个xml的配置文件,关于xsd如何写,可以参考spring的官方文档
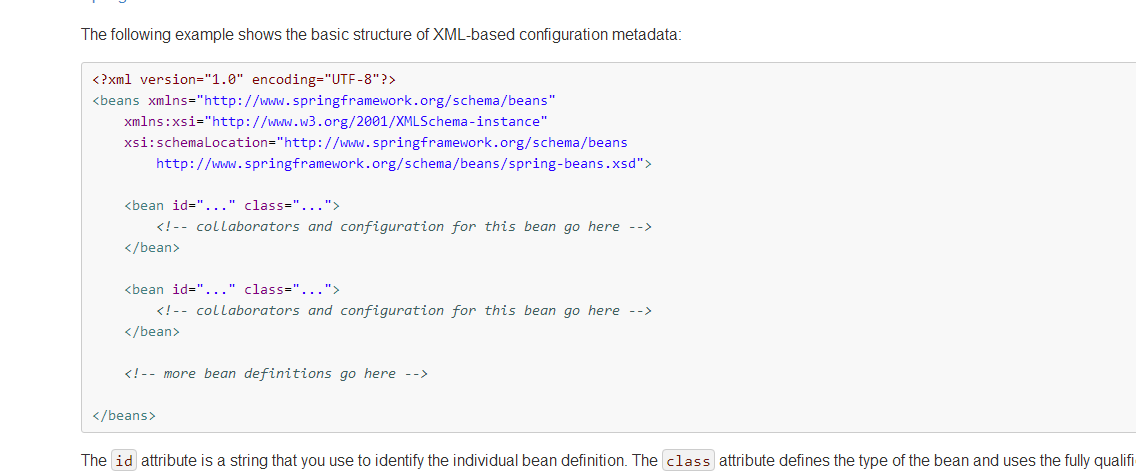
配置一个bean:
<?xml version="1.0" encoding="UTF-8"?>
<beans xmlns="http://www.springframework.org/schema/beans"
    xmlns:xsi="http://www.w3.org/2001/XMLSchema-instance"
    xsi:schemaLocation="http://www.springframework.org/schema/beans
        http://www.springframework.org/schema/beans/spring-beans.xsd">

    <bean id="user" class="com.BrightSt.Entity.User">
       <property name="name" value="BrightSt"></property>
    </bean>

</beans>
user实体类
package com.BrightSt.Entity;

public class User {
	private String name;

	public String getName() {
		return name;
	}

	public void setName(String name) {
		this.name = name;
	}

	public void show(){
		System.out.println("hello " + this.getName()+"!");
	}

}
package com.BrightSt.test;

import org.springframework.context.ApplicationContext;
import org.springframework.context.support.ClassPathXmlApplicationContext;

import com.BrightSt.Entity.User;

public class Test {

	public static void main(String[] args) {
		// 如果使用ClassPathXmlApplicationContext这种方式,applicationContext.xml文件一定要在src跟目录下。
		ApplicationContext context = new ClassPathXmlApplicationContext("applicationContext.xml");
		User u = (User)context.getBean("user");
		u.show();
	}

}
查看运行后结果:
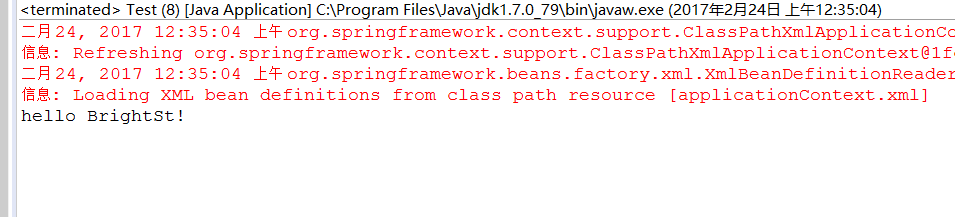
如果看到了下面的提示信息,说明spring框架初步已搭建成功。
备注:在此只是展示spring环境的搭建,项目目录结构并没有太在意,正式项目请注意项目结构。


 905
905


 被折叠的 条评论
为什么被折叠?
被折叠的 条评论
为什么被折叠?
 到【灌水乐园】发言


