


Spring Cloud Bus支持两款消息中间件:RabbitMQ、Kafka。
一、RabbitMQ实现消息总线
1、RabbitMQ简介
RabbitMQ是实现了高级消息对列协议(AMQP)的开源消息代理软件,它是用高性能、可伸缩而闻名的Erlang语言编写而成的,其集群和故障转移是构建在开放电信平台框架上的。
2、RabbitMQ的基本概念
- Broker:可以理解为消息队列服务器实体,负责接收消息生产者的消息,然后将消息发送至消息接收者或者其他的Broker。
- Exchange:消息交换机,是消息第一个到达的地方,消息通过它指定的路由规则,分发到不同的消息队列中去。
- Queue:消息队列,消息通过发送和路由之后最终到达的地方。
- Binding:绑定,作用是吧Exchange和Queue按照路由规则绑定起来。
- Routing Key:路由关键字,Exchange根据这个关键字进行消息投递。
- Virtual host:虚拟主机,他是对Broker的虚拟划分,将消费者、生产这和他们依赖的AMQP相关结构进行隔离,一般是为了安全考虑。
- Connection:连接,代表生产者、消费者、Broker之间惊喜通信的物理网络。
- Channel:消息通道,用于连接生产者和消费者的逻辑结构。
- Producer:消息生产者
- Consumer:消息消费者
3、安装RabbitMQ
http://blog.csdn.net/u012343297/article/details/78874237
4、RabbitMQ下创建user: springcloud/springcloud
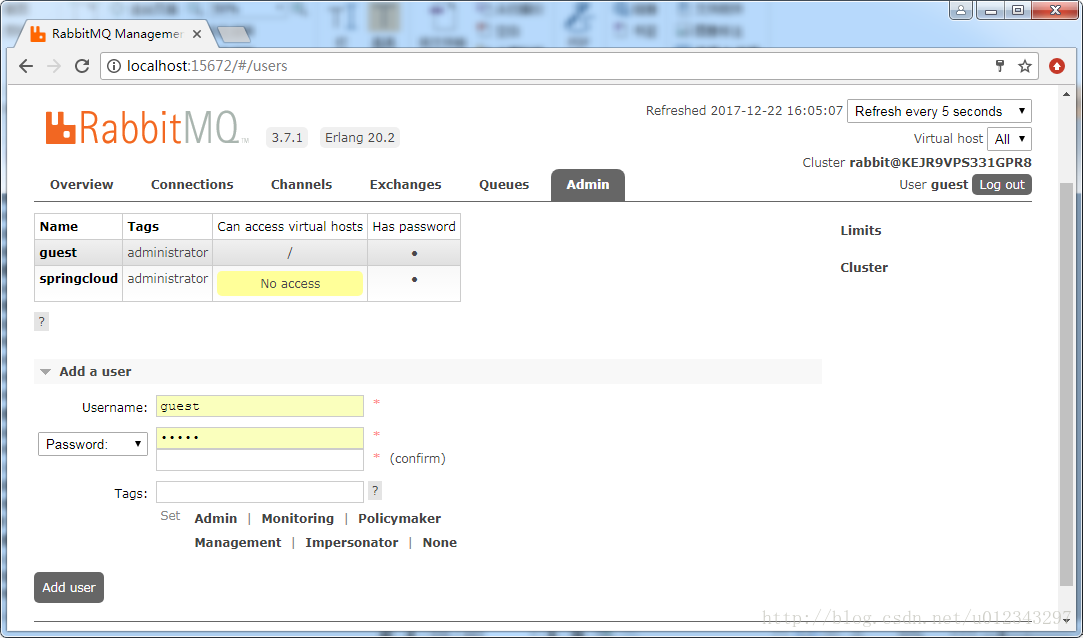
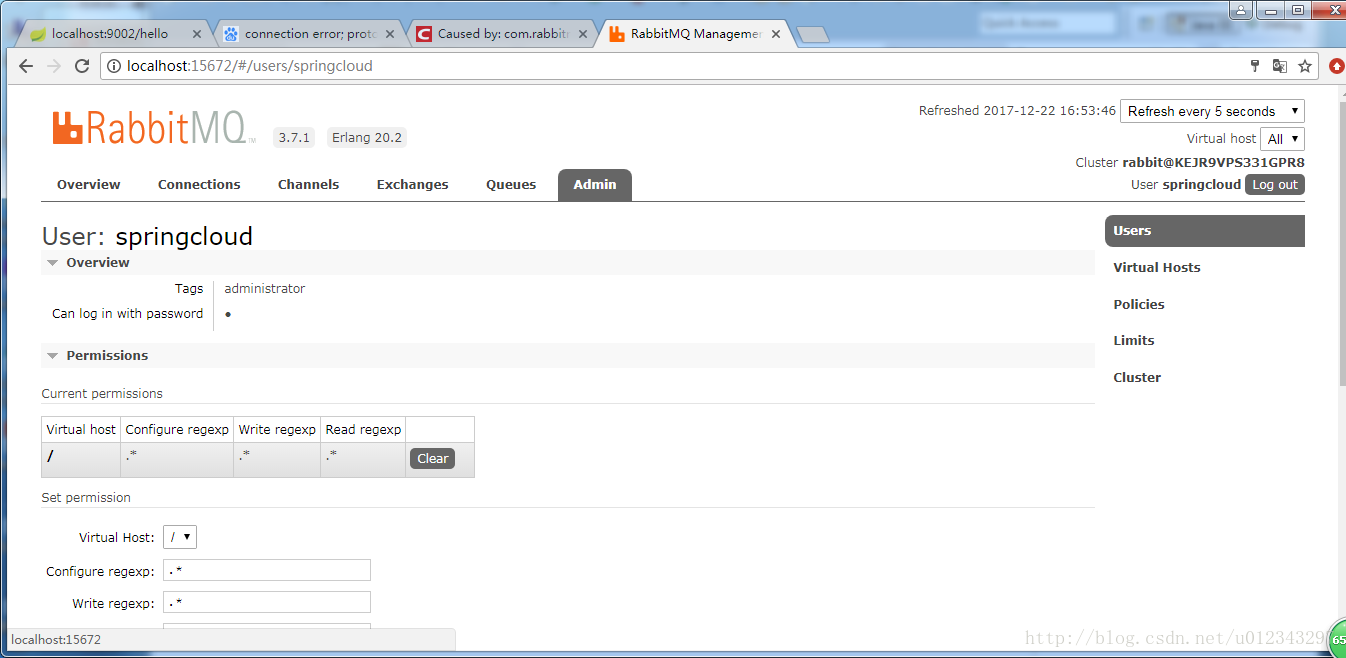
5、分配权限
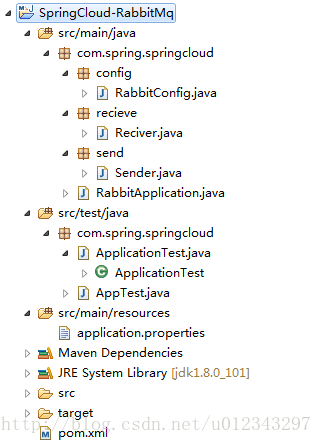
6、创建springboot项目SpringCloud-RabbitMq项目
7、pom中添加依赖
<dependencies>
        <dependency>
            <groupId>org.springframework.boot</groupId>
        <artifactId>spring-boot-starter-test</artifactId>
        <scope>test</scope>
        </dependency>

        <dependency>
            <groupId>org.springframework.boot</groupId>
        <artifactId>spring-boot-starter-amqp</artifactId>
        </dependency>
    </dependencies>
8、创建消息发送类sender和消息接受类reciver
@Component
public class Sender {

    @Autowired
    private AmqpTemplate rabbitTemplate;

    public void send(){

        String context = "hello "+new Date();
        this.rabbitTemplate.convertAndSend("hello",context);

    }
}
@Component
@RabbitListener(queues="hello")
public class Reciver {
@RabbitHandler
public void process(String hello){
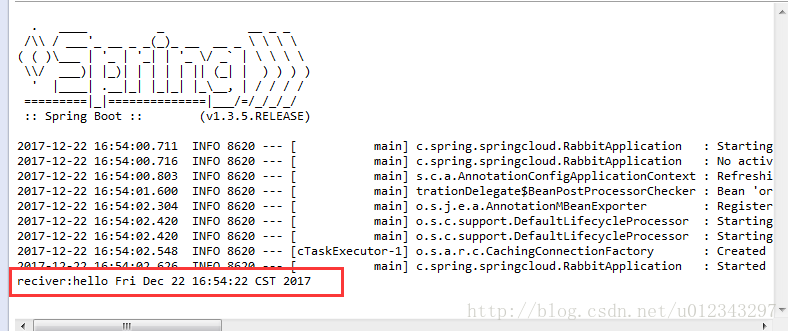
System.out.print("reciver:"+hello);
}
}
9、创建主类RabbitApplication和测试类ApplicationTest
@SpringBootApplication
public class RabbitApplication {

    public static void main(String[] args) {
        SpringApplication.run(RabbitApplication.class, args);
    }

}@RunWith(SpringJUnit4ClassRunner.class)
@SpringApplicationConfiguration(classes=RabbitApplication.class)
public class ApplicationTest {
@Autowired
private Sender sender;
@Test
public void hello(){
sender.send();
}
}10、创建application.properties
spring.application.name=rabbitmq

spring.rabbitmq.host=127.0.0.1
spring.rabbitmq.port=5672
spring.rabbitmq.username=springcloud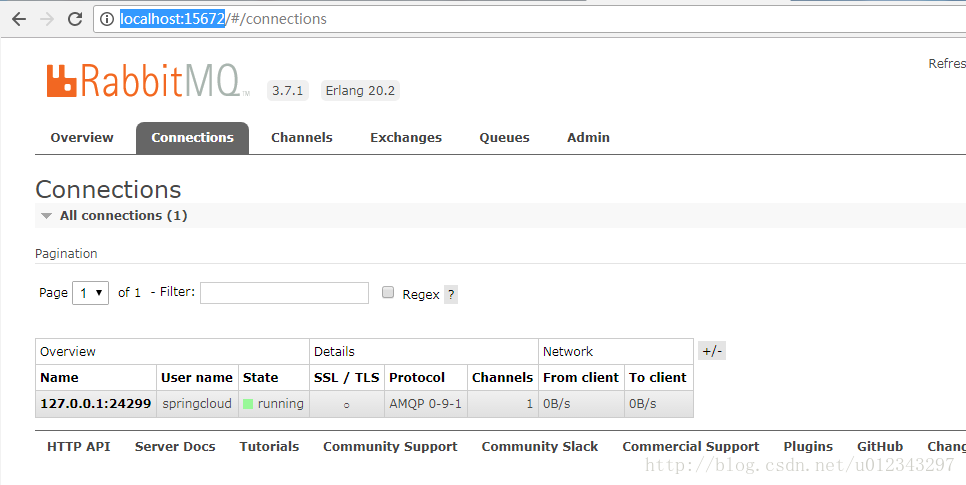
spring.rabbitmq.password=springcloud11.启动项目,并运行测试类,登录http://localhost:15672, springcloud/springcloud
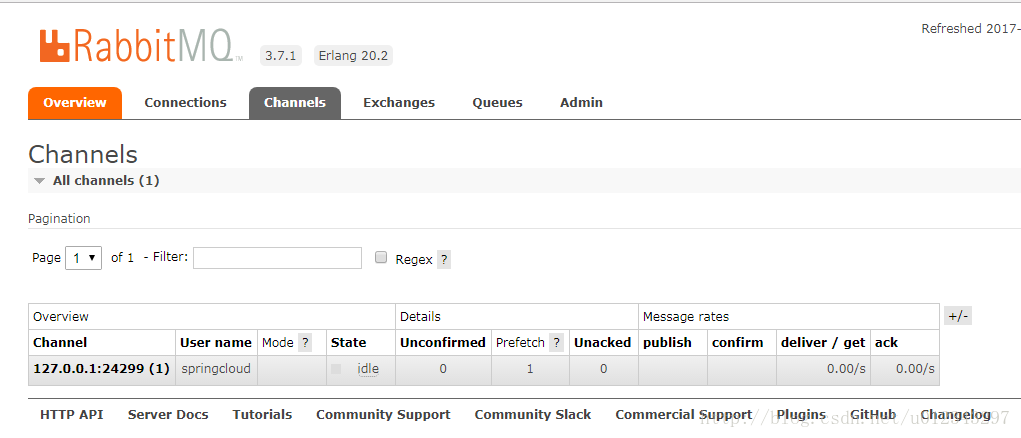
12、Spring Cloud中使用RabbitMq
a、在SpringCloud-ConfigClient项目的pom文件中添加依赖
 <dependency>
            <groupId>org.springframework.cloud</groupId>
            <artifactId>spring-cloud-starter-bus-amqp</artifactId>
        </dependency>

        <dependency>
            <groupId>org.springframework.boot</groupId>
            <artifactId>spring-boot-starter-actuator</artifactId>
        </dependency>
b、在application.properties中添加
spring.rabbitmq.host=127.0.0.1
spring.rabbitmq.port=5672
spring.rabbitmq.username=springcloud
spring.rabbitmq.password=springcloud
c、依次启动SpringCloud-EurakaServer、SpringCloud-Config,然后启动SpringCloud-ConfigClient两次(端口分别为9002、9003)
启动configClient时,控制台输出
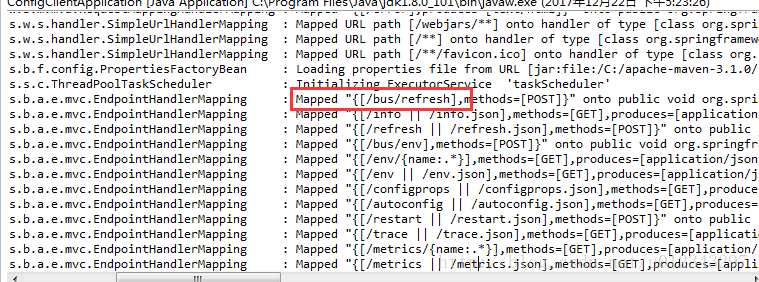
分别访问http://localhost:9002/hello、http://localhost:9003/hello
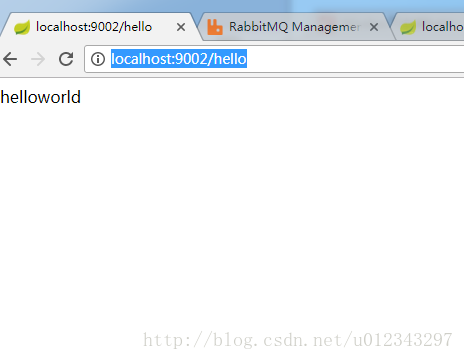
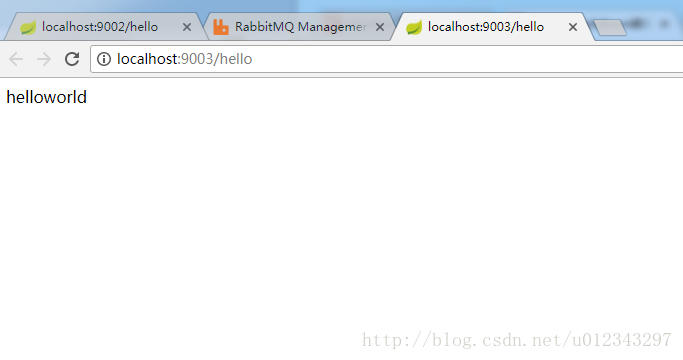
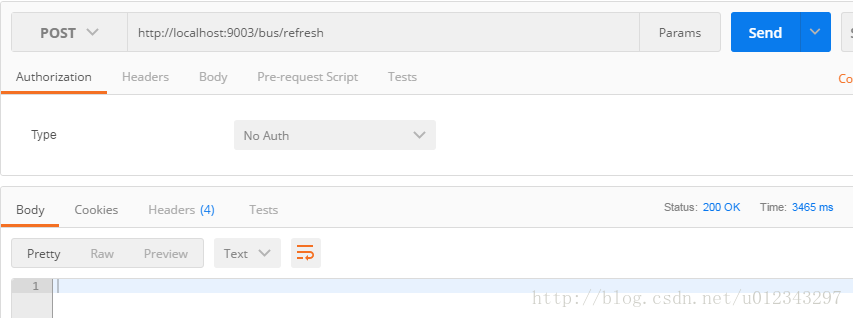
d、修改demo-dev.properties
greeting=hello,RabbitMQe、发送post请求至:http://localhost:9003/bus/refresh
此时9002和9003的控制台输出

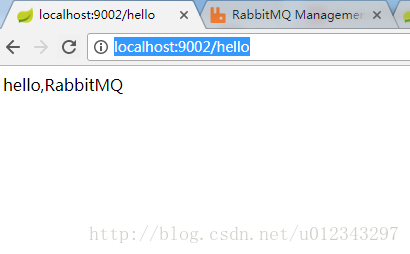
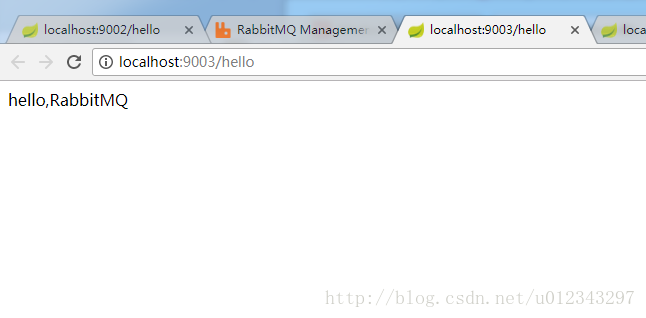
f、访问http://localhost:9002/hello、http://localhost:9003/hello,返回:hello,RabbitMQ
g、/bus/refresh接口可以指定服务,即使用”destination”参数,比如 “/bus/refresh?destination=customers:**” 即刷新服务名为customers的所有服务,不管ip。
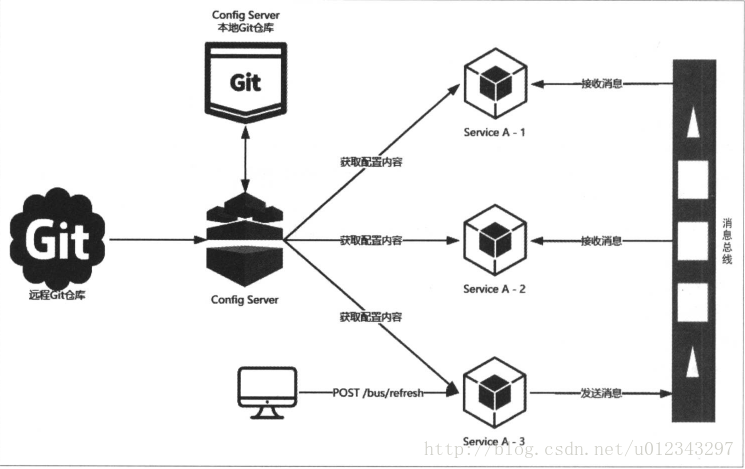
原理:


 1034
1034


 被折叠的 条评论
为什么被折叠?
被折叠的 条评论
为什么被折叠?
 到【灌水乐园】发言


