


windows nexus环境搭建
1、下载nexus 版本为 nexus-2.11.4-01-bundle
下载地址 这里写链接内容
2、将下载好的文件放到D盘进行解压
3、解压后目录结构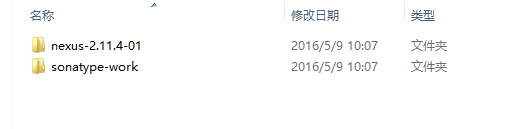
nexus-2.11.4-01目录包含了Nexus运行所需要的文件。是Nexus运行必须的。
sonatype-work目录包含Nexus生成的配置文件、日志文件、仓库文件等。当我们需要备份Nexus的时候默认备份此目录即可。
4、进行环境变量配置,将目录配置到环境变量path中,下图为我的文件存放目录。
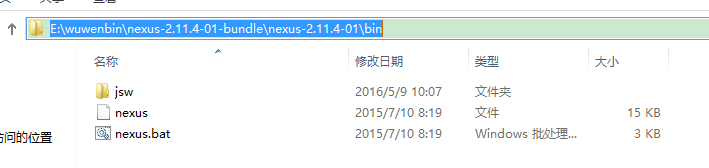
5、切换到该目录执行安装命令
(1)nexus install

(2)启动nexus
nexus start

如果启动失败,如下图。该提示信息表示jdk配置不正确,如果nexus高于2.6版本则需要使用jdk1.7以上版本。并在wrapper.conf文件中配置jdk路径 wrapper.java.command=C:\Program Files\Java\jdk1.7.0_75\bin\java.exe

错误信息:
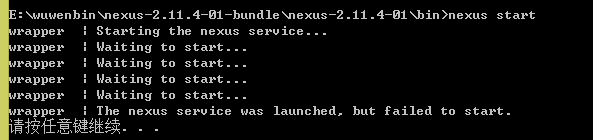
错误原因
nexus无法启动大概原因为:
1.nexus的wrapper.conf文件中的:java配置错误导致启动失败(包括版本错误和路径错误) 解决如上
2.nexus的8081端口被占用
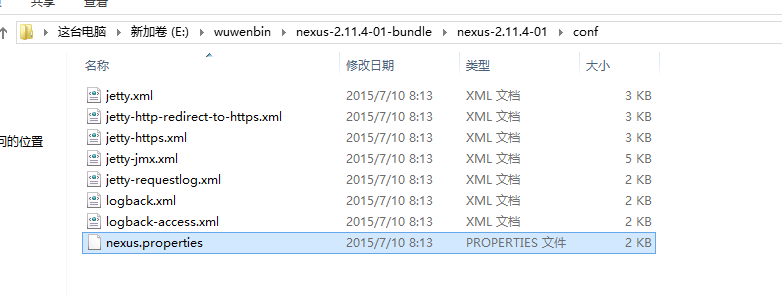
修改nexus的端口号——找到nexus-2.11.4-01\conf下的nexus.properties中的application-port修改自己想要的端口号即可
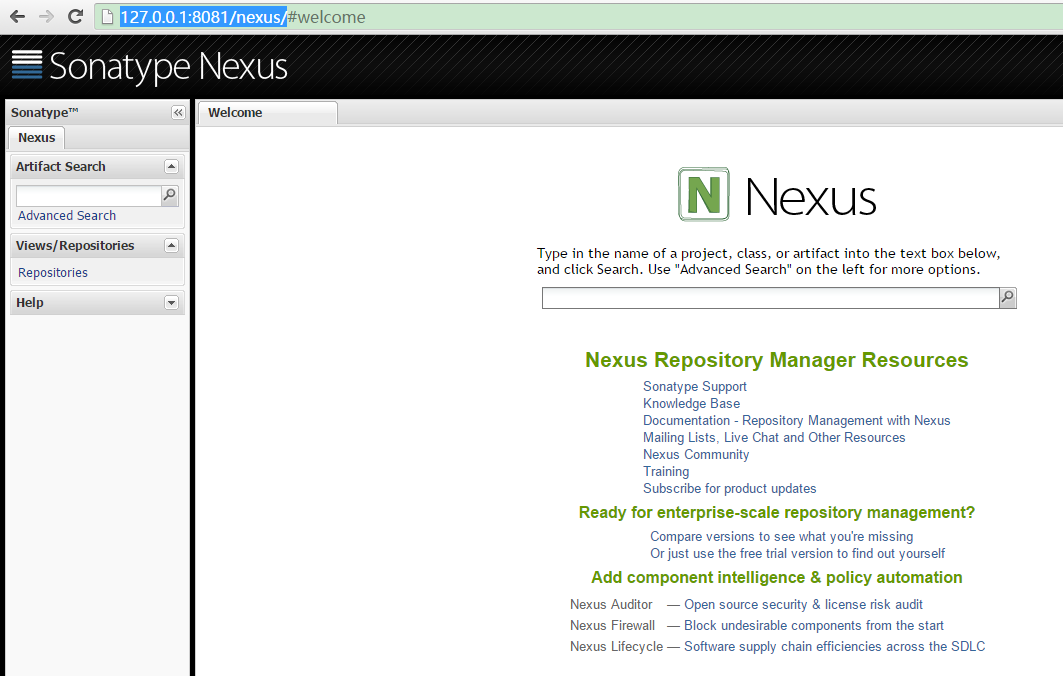
6、启动成功,输入地址
http://127.0.0.1:8081/nexus/
二、nexus使用
1、Nexus常用功能就是:指定私服的中央地址、将自己的Maven项目指定到私服地址、从私服下载中央库的项目索引、从私服仓库下载依赖组件、将第三方项目jar上传到私服供其他项目组使用。
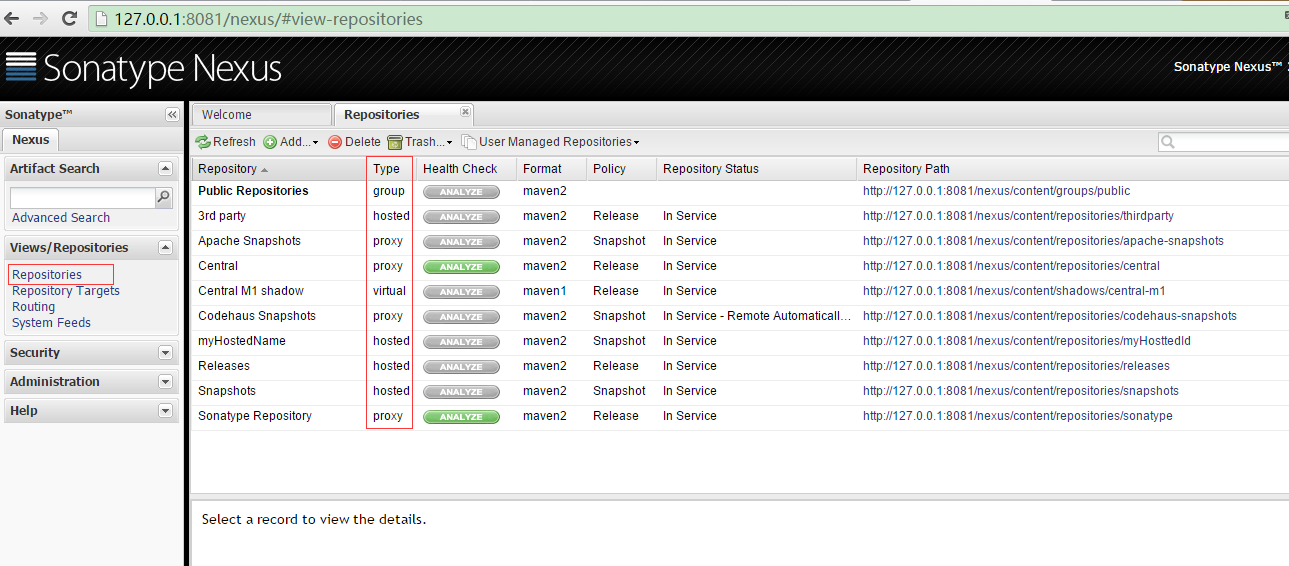
2、仓库管理
点击左边导航栏的Repositories,界面的主面板会显示所有一个所有仓库及仓库组的列表,你会看到它们的Type字段的值有group,hosted,proxy,virtual。这里我们不关心virtual,只介绍下另外三种类型:
hosted,本地代理仓库,通常我们会部署自己的构件到这一类型的仓库。
proxy,代理的远程仓库,它们被用来代理远程的公共仓库,如maven中央仓库。
group,仓库组,用来合并多个hosted/proxy仓库,通常我们配置maven依赖仓库组。
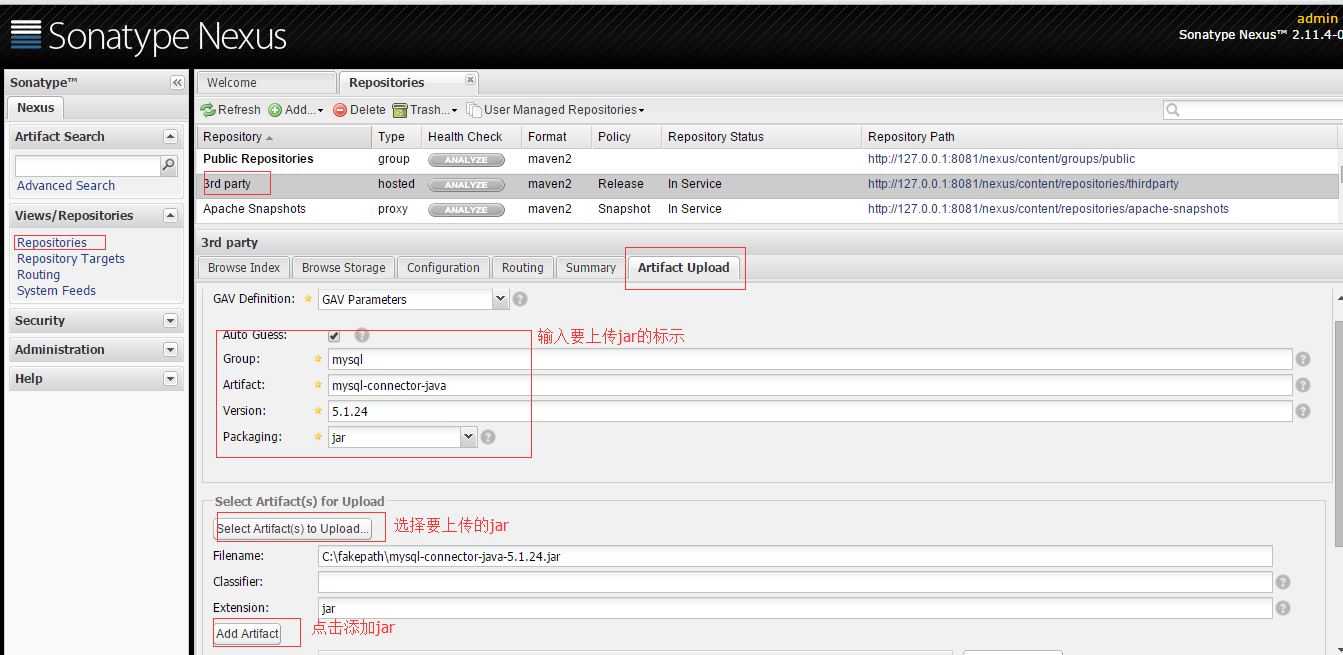
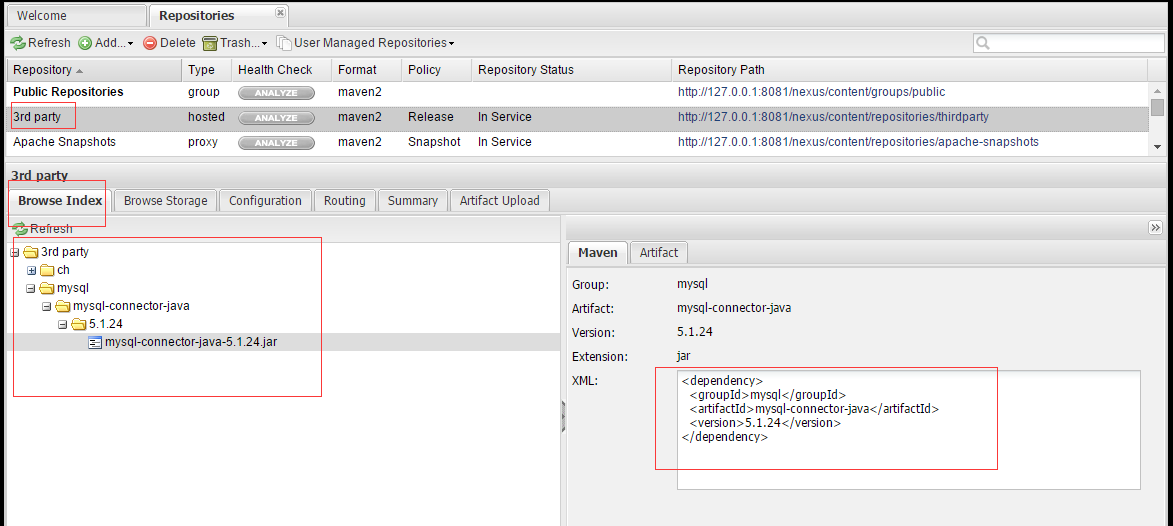
上传第三方jar

3、maven中配置nexus
如果只是在一个项目使用可以在pom.xml文件中配置。如果要多个项目同时使用则在maven的setting.xml文件中进行配置。
要想使用这个私服仓库,先在项目pom中配置相关私服信息
指定仓库和插件仓库
    <profile>
        <id>nexus</id>
        <repositories>
            <repository>
              <id>public</id>
              <url>http://127.0.0.1:8081/nexus/content/groups/public/</url>
              <releases><enabled>true</enabled></releases>
              <snapshots><enabled>false</enabled></snapshots>
            </repository>
            <repository>
              <id>public-snapshots</id>
              <url>http://127.0.0.1:8081/nexus/content/repositories/snapshots/</url>
              <releases><enabled>false</enabled></releases>
              <snapshots><enabled>true</enabled></snapshots>
            </repository>
      </repositories>
      <pluginRepositories>
          <pluginRepository>
            <id>public</id>
            <url>http://127.0.0.1:8081/nexus/content/groups/public/</url>
            <releases><enabled>true</enabled></releases>
            <snapshots><enabled>false</enabled></snapshots>
          </pluginRepository>
          <pluginRepository>
            <id>public-snapshots</id>
            <url>http://127.0.0.1:8081/nexus/content/repositories/snapshots/</url>
            <releases><enabled>false</enabled></releases>
            <snapshots><enabled>true</enabled></snapshots>
          </pluginRepository>
      </pluginRepositories>
      </profile>
配置mirror
Mirror是制定镜像站点
id, name是该镜像的唯一定义符。id用来区分不同的mirror元素。
url是该镜像的URL。构建系统会优先考虑使用该URL,而非使用默认的服务器URL。
mirrorOf是被镜像的服务器的id。例如,如果我们要设置了一个Maven中央仓库(http://
repo1.maven.org/maven2)的镜像,就需要将该元素设置成central。这必须和
中央仓库的id central完全一致。
  <mirrors>
     <!--1021-->
        <mirror>
      <id>nexus-public</id>
      <mirrorOf>*</mirrorOf>
      <url>http://127.0.0.1:8081/nexus/content/groups/public/</url>
    </mirror>
        <mirror>
      <id>nexus-public-snapshots</id>
      <mirrorOf>Snapshots</mirrorOf>
        <url>http://127.0.0.1:8081/nexus/content/groups/public/</url>
    </mirror>
  </mirrors>
配置权限 表示当需要连接到一个远程服务器的时候需要使用到的验证方式
    <server>
      <id>repo</id>
      <username>admin</username>
      <password>admin123</password>
    </server>
    <server>
      <id>Snapshots</id>
      <username>admin</username>
      <password>admin123</password>
    </server>
  </servers>
配置activeProfiles
<activeProfiles>
   <activeProfile>nexus</activeProfile>
  </activeProfiles>


 142
142


 被折叠的 条评论
为什么被折叠?
被折叠的 条评论
为什么被折叠?
 到【灌水乐园】发言


