


spring是目前最流行的框架。今天谈谈对spring的认识
起步
- javaweb中我们首先会遇到的配置文件就是web.xml,这是javaweb为我们封装的逻辑,不在今天的研究中。略过,下面是一个标准的xml配置文件,我们需要的东西就在下面就行添加就行了。
<?xml version="1.0" encoding="UTF-8"?>
<web-app version="3.0" xmlns:xsi="http://www.w3.org/2001/XMLSchema-instance"
    xmlns="http://java.sun.com/xml/ns/javaee" xmlns:web="http://java.sun.com/xml/ns/javaee/web-app_3_0.xsd"
    xsi:schemaLocation="http://java.sun.com/xml/ns/javaee http://java.sun.com/xml/ns/javaee/web-app_3_0.xsd"
    id="WebApp_ID">
</web-app>- 那么xml文件中到底有哪些标签呢,下面说说几种比较常见的标签。
重要标签加载顺序 context-param>listener>filter>servlet
1、<display-name>Archetype Created Web Application</display-name>
display-name 是标识项目的名称,这个不是很常用,可有可无的,或者说不需要我们去在意的东西。
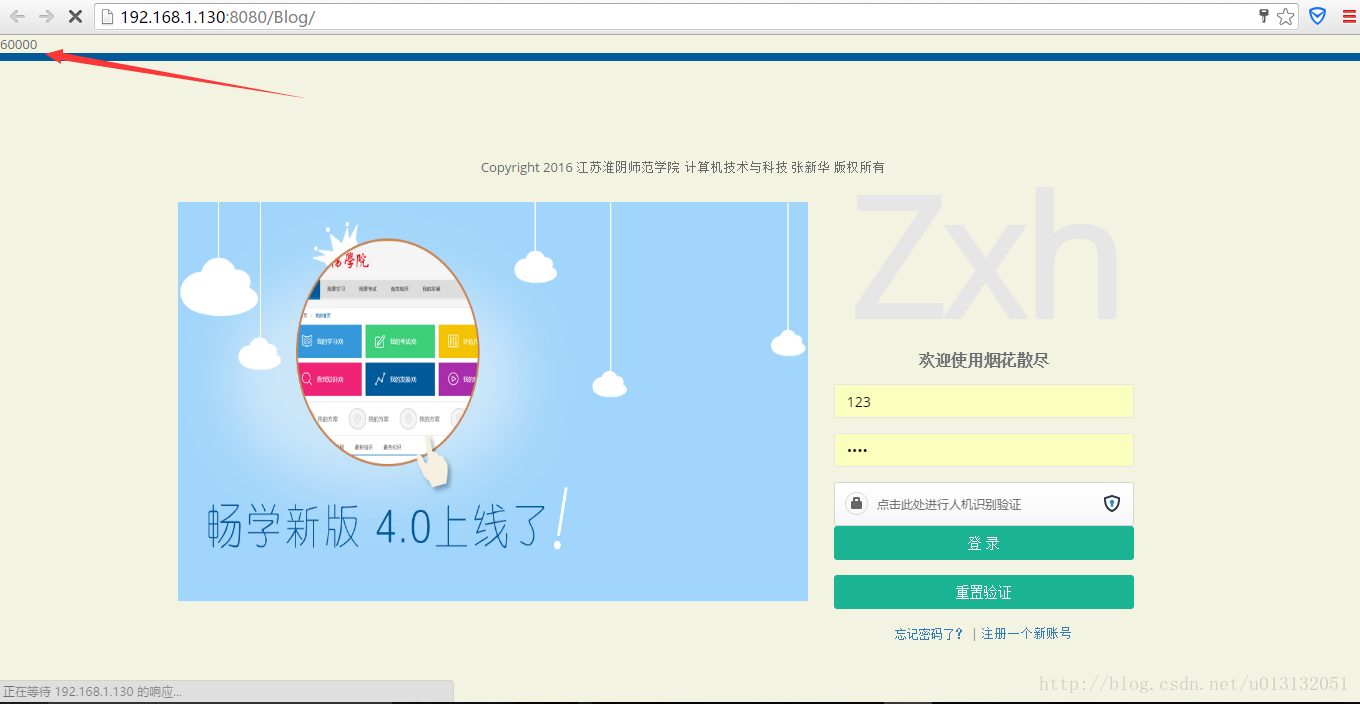
2、<context-param>
<param-name>webAppRootKey</param-name>
<param-value>60000</param-value>
</context-param>
context-param 是web.xml首先加载的标签,其下子标签有param-name和param-value.
此所设定的参数,在JSP网页中可以使用下列方法来取得:${initParam.webAppRootKey}
若在Servlet可以使用下列方法来获得:
String param_name=getServletContext().getInitParamter(“webAppRootKey”);
3、listener
<listener>
        <listener-class>org.springframework.web.context.request.RequestContextListener</listener-class>
    </listener>
listenter在项目开始的时候就注入进来,尽在context-param之后,所以正常我们将spring配置在listener 中,这样方法spring 初始化相关的bean。
4、filter
<filter>
        <filter-name>CharacterEncodingFilter</filter-name>
        <filter-class>org.springframework.web.filter.CharacterEncodingFilter</filter-class>
        <init-param>
            <param-name>encoding</param-name>
            <param-value>UTF-8</param-value>
        </init-param>
        <init-param>
            <param-name>forceEncoding</param-name>
            <param-value>true</param-value>
        </init-param>
    </filter>
    <filter-mapping>
        <filter-name>CharacterEncodingFilter</filter-name>
        <url-pattern>/*</url-pattern>
    </filter-mapping>
filter起到一个过滤的作用,在servlet执行前后,像上面的配置就是在过滤servlet前将编码转换UTF-8,filter-mapping 则是将filter和url路径进行映射。其中init-param则是将初始化需要的参数传入到filter-class中从而进行初始化。filter和filter-mapping中的name必须是相同的,才能起到映射的作用,而filter-mapping 中的url-pattern则是匹配请求路径的。上面‘/*’表示过滤所有请求的servlet,如果写成‘/zxh’,则过滤
http://localhost:8080/项目名/zxh这个请求。
5、servlet
<servlet>
        <!-- 配置DispatcherServlet -->
        <servlet-name>springMvc</servlet-name>
        <servlet-class>org.springframework.web.servlet.DispatcherServlet</servlet-class>
            <!-- 指定spring mvc配置文件位置 不指定使用默认情况 -->
            <init-param>
                <param-name>contextConfigLocation</param-name>
                <param-value>classpath:spring/spring-mvc.xml</param-value>
            </init-param>
        <!-- 设置启动顺序 -->
        <load-on-startup>1</load-on-startup>
    </servlet>

    <!-- ServLet 匹配映射 -->
    <servlet-mapping>
        <servlet-name>springMvc</servlet-name>
        <url-pattern>*.zxh</url-pattern>
    </servlet-mapping>
servlet和filter类似,需要先指定servlet对应的class类,然后将这个类和utl路径请求地址进行映射。这里不多说了。
- 以上就是web.xml文件中出现最多的几个标签。其他的比如欢迎页
<welcome-file-list>
        <welcome-file>login.jsp</welcome-file>
</welcome-file-list>- 错误页
<!-- 后台程序异常错误跳转页面 -->
    <error-page>
        <exception-type>java.lang.Throwable</exception-type>
        <location>/views/error.jsp</location>
    </error-page>

    <!-- 500跳转页面-->
    <error-page>
        <error-code>500</error-code>
        <location>/views/500.jsp</location>
    </error-page>

    <!-- 404跳转页面 -->
    <error-page>
        <error-code>404</error-code>
        <location>/views/404.jsp</location>
    </error-page>
spring加载
- 通过上面的了解,我们可以看出spring核心配置文件就是listener那块。在监听之前我们已经通过context-param将spring配置文件传到上下文中了(application)。下面我们就来看看spring是如何工作的吧
- 第一步:点开listener源码,我们发现他有下面几个方法。和继承的关系。我们发现他实现了ContextLoaderListener这个接口,这个接口在参数设置好之后自动执行
contextInitialized方法的。

- 那么我们来看看
contextInitialized方法

public WebApplicationContext initWebApplicationContext(ServletContext servletContext) {
        if (servletContext.getAttribute(WebApplicationContext.ROOT_WEB_APPLICATION_CONTEXT_ATTRIBUTE) != null) {
            throw new IllegalStateException(
                    "Cannot initialize context because there is already a root application context present - " +
                    "check whether you have multiple ContextLoader* definitions in your web.xml!");
        }

        Log logger = LogFactory.getLog(ContextLoader.class);
        servletContext.log("Initializing Spring root WebApplicationContext");
        if (logger.isInfoEnabled()) {
            logger.info("Root WebApplicationContext: initialization started");
        }
        long startTime = System.currentTimeMillis();

        try {
            // Store context in local instance variable, to guarantee that
            // it is available on ServletContext shutdown.
            if (this.context == null) {
                this.context = createWebApplicationContext(servletContext);
            }
            if (this.context instanceof ConfigurableWebApplicationContext) {
                ConfigurableWebApplicationContext cwac = (ConfigurableWebApplicationContext) this.context;
                if (!cwac.isActive()) {
                    // The context has not yet been refreshed -> provide services such as
                    // setting the parent context, setting the application context id, etc
                    if (cwac.getParent() == null) {
                        // The context instance was injected without an explicit parent ->
                        // determine parent for root web application context, if any.
                        ApplicationContext parent = loadParentContext(servletContext);
                        cwac.setParent(parent);
                    }
                    configureAndRefreshWebApplicationContext(cwac, servletContext);
                }
            }
            servletContext.setAttribute(WebApplicationContext.ROOT_WEB_APPLICATION_CONTEXT_ATTRIBUTE, this.context);

            ClassLoader ccl = Thread.currentThread().getContextClassLoader();
            if (ccl == ContextLoader.class.getClassLoader()) {
                currentContext = this.context;
            }
            else if (ccl != null) {
                currentContextPerThread.put(ccl, this.context);
            }

            if (logger.isDebugEnabled()) {
                logger.debug("Published root WebApplicationContext as ServletContext attribute with name [" +
                        WebApplicationContext.ROOT_WEB_APPLICATION_CONTEXT_ATTRIBUTE + "]");
            }
            if (logger.isInfoEnabled()) {
                long elapsedTime = System.currentTimeMillis() - startTime;
                logger.info("Root WebApplicationContext: initialization completed in " + elapsedTime + " ms");
            }

            return this.context;
        }
        catch (RuntimeException ex) {
            logger.error("Context initialization failed", ex);
            servletContext.setAttribute(WebApplicationContext.ROOT_WEB_APPLICATION_CONTEXT_ATTRIBUTE, ex);
            throw ex;
        }
        catch (Error err) {
            logger.error("Context initialization failed", err);
            servletContext.setAttribute(WebApplicationContext.ROOT_WEB_APPLICATION_CONTEXT_ATTRIBUTE, err);
            throw err;
        }
}-
仔细研究官方解释,就是在这里初始化application,这里会用到contextClass+contextConfigLocation两个参数,如果contextClass在context-param提供了,我们就会根据这一个class去初始化application,很显然我们正常配置都没有配这个,而是配置了后者,配置了后者就会去根据contextConfigLocation中提供的配置文件去解析然后创建相关的bean和application操作,这个方法的最后会执行configureAndRefreshWebApplicationContext方法。这个方法就是在根据contextConfigLocation提供的配置文件中创建相关的bean。
springMVC 加载
springMVC其实和spring是一样的,但是他不用再程序开始时访问
<servlet>
        <!-- 配置DispatcherServlet -->
        <servlet-name>springMvc</servlet-name>
        <servlet-class>org.springframework.web.servlet.DispatcherServlet</servlet-class>
            <!-- 指定spring mvc配置文件位置 不指定使用默认情况 -->
            <init-param>
                <param-name>contextConfigLocation</param-name>
                <param-value>classpath:spring/spring-mvc.xml</param-value>
            </init-param>
        <!-- 设置启动顺序 -->
        <load-on-startup>1</load-on-startup>
    </servlet>

    <!-- ServLet 匹配映射 -->
    <servlet-mapping>
        <servlet-name>springMvc</servlet-name>
        <url-pattern>*.zxh</url-pattern>
    </servlet-mapping>
看DispatcherServlet源码中对contextConfigLocation参数的解释

上面明确指出我们这个参数给XmlWebApplicationContext类的,我们在进入XmlWebApplicationContext类看看究竟。
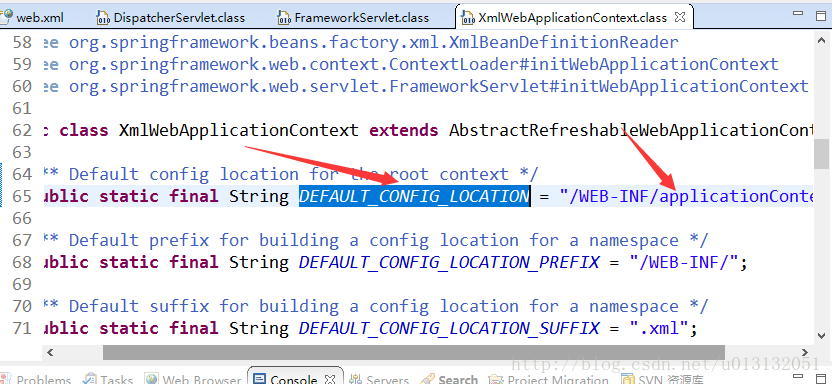
这样我们很容易理解为什么springmvc默认的配置文件会在WEB-INF/application.xml中的吧。
在dispatcherservlet中有一个初始化方法,这里就初始化配置中一些东西,比如说文件上传适配器的配置等等。
protected void initStrategies(ApplicationContext context) {
        initMultipartResolver(context);
        initLocaleResolver(context);
        initThemeResolver(context);
        initHandlerMappings(context);
        initHandlerAdapters(context);
        initHandlerExceptionResolvers(context);
        initRequestToViewNameTranslator(context);
        initViewResolvers(context);
        initFlashMapManager(context);
    }
总结
spring+springmvc在配置中主要就是上面的两个配置,当然spring的强大不是我们一两天能够研究来的,我上面只是简单的研究讨论了一下。
不喜勿喷!


 2037
2037


 被折叠的 条评论
为什么被折叠?
被折叠的 条评论
为什么被折叠?
 到【灌水乐园】发言


