


(原创作品)
场景:应用B要调用应用A中的方法。
应用A中要做的事情:
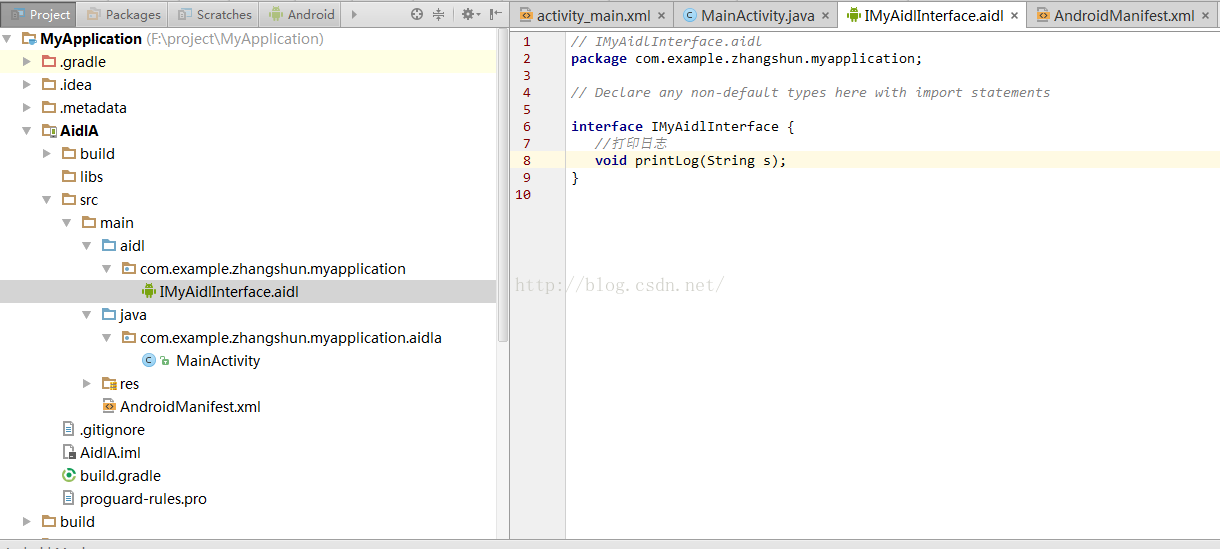
(1)src下 右键创建一个aidl文件,提供一个打印日志的方法,编码方式类似java,如图:
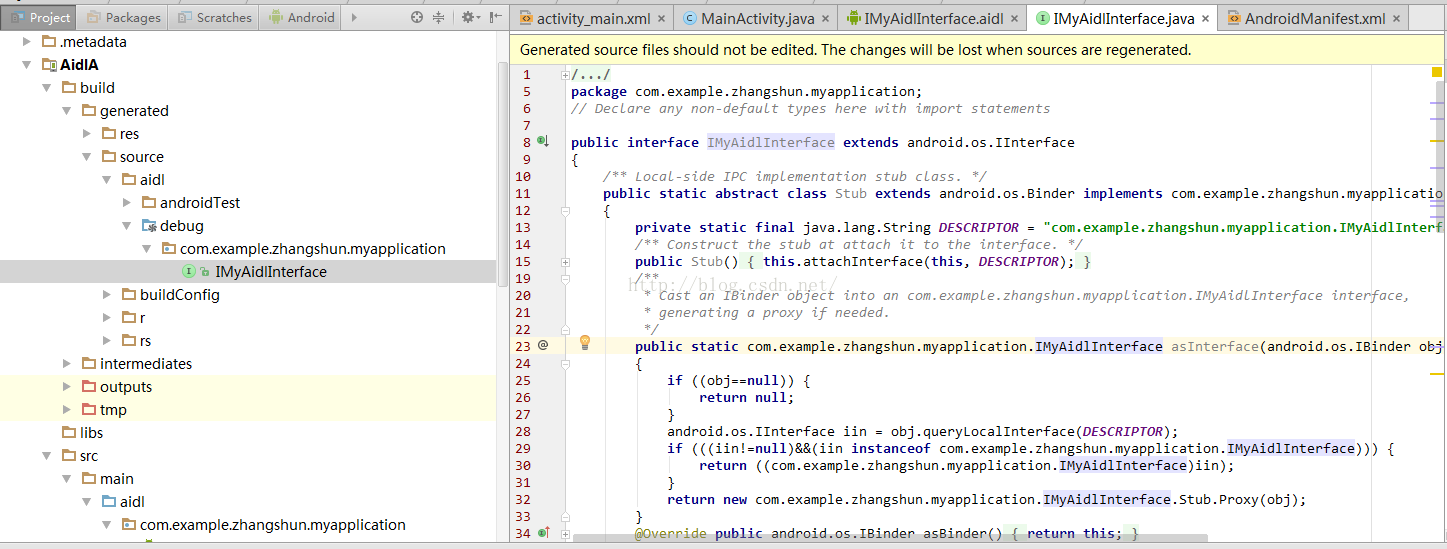
刷新或重新编译一下会生成对应的java文件如图:
(2)新建类,该类继承Service类,类名可自定义。
package com.example.zhangshun.myapplication.aidla;

import android.app.Service;
import android.content.Intent;
import android.os.IBinder;
import android.os.RemoteException;
import android.util.Log;

import com.example.zhangshun.myapplication.IMyAidlInterface;


/**
 * Created by zhangshun on 2016/6/7.
 */
public class AIDLService extends Service {

    private MyBinder myBinder;

    /**
     *在onBind中返回Binder对象
     */
    @Override
    public IBinder onBind(Intent intent) {
        return myBinder;
    }

    /**
     * 在onCreate中创建Binder对象
     */
    @Override
    public void onCreate() {
        super.onCreate();
        myBinder = new MyBinder();
    }

    /**
     * 定义内部类继承自AIDL自动生成的Stub类
     * 该类继承了 android.os.Binder 实现了 com.example.zhangshun.myapplication.aidl.IMyAidlInterface
     */
    public class MyBinder extends IMyAidlInterface.Stub {

        @Override
        public void printLog(String s) throws RemoteException {
            Log.i("ALDLService", "printLog: AIDLTEST -- "+s);
        }
    }

}
(3)在AndroidManifest.xml文件中配置service,注意action是自定义的是B应用要调用A应用的钥匙,后面会用到
<?xml version="1.0" encoding="utf-8"?>
<manifest xmlns:android="http://schemas.android.com/apk/res/android"
    package="com.example.zhangshun.myapplication">

    <application
        android:allowBackup="true"
        android:icon="@mipmap/ic_launcher"
        android:label="@string/app_name"
        android:supportsRtl="true"
        android:theme="@style/AppTheme">
        <activity android:name=".MainActivity">
            <intent-filter>
                <action android:name="android.intent.action.MAIN" />

                <category android:name="android.intent.category.LAUNCHER" />
            </intent-filter>
        </activity>

        <service android:name=".AIDLService">
            <intent-filter>
                <action android:name="com.example.zhangshun.myapplication.IMyAidlInterface"/>
            </intent-filter>
        </service>
    </application>

</manifest>
应用B要做的事情:
(1)将aidl文件拷贝过来
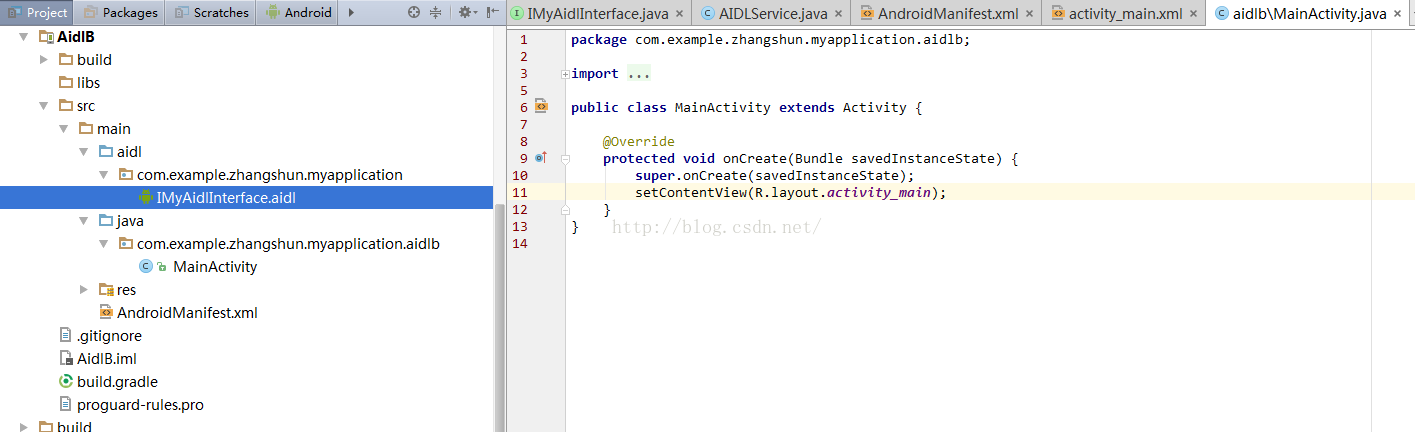
(2)绑定服务 获取aidl接口 调用方法
package com.example.zhangshun.myapplication.aidlb;

import android.app.Activity;
import android.content.ComponentName;
import android.content.Intent;
import android.content.ServiceConnection;
import android.os.Bundle;
import android.os.IBinder;
import android.os.RemoteException;
import android.util.Log;

import com.example.zhangshun.myapplication.IMyAidlInterface;

public class MainActivity extends Activity {

    private IMyAidlInterface iMyAidlInterface;
    @Override
    protected void onCreate(Bundle savedInstanceState) {
        super.onCreate(savedInstanceState);
        setContentView(R.layout.activity_main);
        bindService();
    }

    /**
     * 绑定服务
     */
    private void bindService(){
        Intent intent = new Intent();
        intent.setAction("com.example.zhangshun.myapplication.IMyAidlInterface");
        //android 5.0以后的要求 必须明确指明调用的哪里的服务
        intent.setPackage("com.example.zhangshun.myapplication");
        boolean is = bindService(intent, serviceConnection, BIND_AUTO_CREATE);
        Log.i("AIDLService", "bindService: "+is);
    }

    private ServiceConnection serviceConnection = new ServiceConnection() {

        @Override
        public void onServiceDisconnected(ComponentName name) {
            iMyAidlInterface = null;
        }

        @Override
        public void onServiceConnected(ComponentName name, IBinder service) {
            // Stub.asInterface,获取接口
            iMyAidlInterface = IMyAidlInterface.Stub.asInterface(service);
            try {
                iMyAidlInterface.printLog("aldl 测试");
            } catch (RemoteException e) {
                e.printStackTrace();
            }
        }
    };
}
服务绑定后获取到 iMyAidlInterface之后可以在需要的地方调用接口里面的方法,注意intent里面的action不要写错!完成!


 5057
5057


 被折叠的 条评论
为什么被折叠?
被折叠的 条评论
为什么被折叠?
 到【灌水乐园】发言


