


在Android MVP实战——环境云API+Android实现天气预报查询(上)中,我们已经完成了基本的准备工作。接下来我们就将具体去实现业务逻辑。在本节中,将会涉及到volley以及gson的基本使用,如果有不会的小伙伴建议提前学习一下。
一、设计UI
1、在view.impl包下建立一个空的Activity,命名为WeatherActivity。
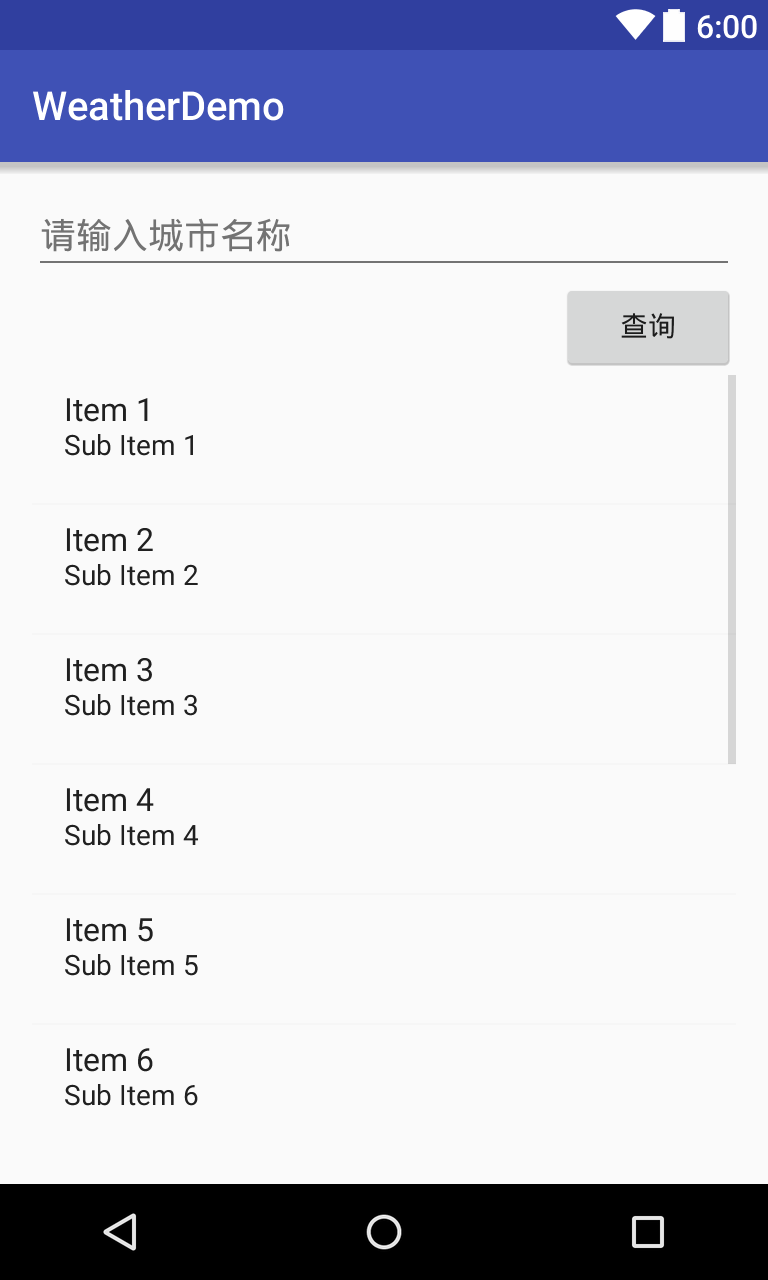
2、编辑`res/layout/activity_weather.xml布局文件,我们的UI非常简单,总共使用到了3个组件AutoComleteTextView+Button+ListView
代码如下:
<?xml version="1.0" encoding="utf-8"?>
<RelativeLayout xmlns:android="http://schemas.android.com/apk/res/android"
    xmlns:tools="http://schemas.android.com/tools"
    android:layout_width="match_parent"
    android:layout_height="match_parent"
    android:paddingBottom="@dimen/activity_vertical_margin"
    android:paddingLeft="@dimen/activity_horizontal_margin"
    android:paddingRight="@dimen/activity_horizontal_margin"
    android:paddingTop="@dimen/activity_vertical_margin"
    tools:context="com.leven.weatherdemo.view.impl.WeatherActivity">

    <AutoCompleteTextView
        android:id="@+id/atv_city_name"
        android:layout_width="match_parent"
        android:layout_height="wrap_content"
        android:layout_alignParentEnd="true"
        android:layout_alignParentStart="true"
        android:layout_alignParentTop="true"
        android:hint="请输入城市名称"
        android:completionThreshold="1"/>

    <Button
        android:id="@+id/btn_submit"
        android:layout_width="wrap_content"
        android:layout_height="wrap_content"
        android:layout_alignEnd="@+id/atv_city_name"
        android:layout_below="@+id/atv_city_name"
        android:text="查询" />

    <ListView
        android:id="@+id/listView"
        android:layout_width="wrap_content"
        android:layout_height="wrap_content"
        android:layout_alignParentStart="true"
        android:layout_below="@+id/btn_submit" />

    <ProgressBar
        android:id="@+id/progressBar"
        android:layout_width="wrap_content"
        android:layout_height="wrap_content"
        android:layout_alignBottom="@+id/btn_submit"
        android:layout_alignParentStart="true"
        android:indeterminate="false" />

</RelativeLayout>
效果图:
3、编写WeatherActivity
上一节中,我们在view包下建立一个接口WeatherView接口,而我们的WeatherActivity就是WeatherView的具体实现类,所以WeatherActivity要去实现WeatherView接口,用来显示我们的天气数据。但在实现WeatherActivity之前呢,我们还需做一点点小小的准备工作。
准备①:因为我们使用了ListView来显示数据,所以我们还要自定义一个Adapter适配器,当然还可以使用SimpleAdapter等,这个看个人喜好啦,我还是喜欢使用自定义Adapter,因为这样更加灵活,详细代码如下:
1、在adapter包下建立ListItemAdapter
package com.leven.weatherdemo.adapter;
import android.content.Context;
import android.view.LayoutInflater;
import android.view.View;
import android.view.ViewGroup;
import android.widget.BaseAdapter;
import android.widget.TextView;
import com.leven.weatherdemo.R;

/**
 * list适配器
最低0.47元/天 解锁文章


 1250
1250


 被折叠的 条评论
为什么被折叠?
被折叠的 条评论
为什么被折叠?
 到【灌水乐园】发言


