


我在以前的文章中,讲述了如何使用U1db及SQLite offline storage API来存储应用的一些状态。在这篇文章中,我将介绍如何使用Qt.labs.settings来存储应用的状态。更加详细的介绍,请参阅链接。
首先,我们创建一个最简单的“App with Simple UI”模版应用,并修改文件“main.qml”如下:
import QtQuick 2.0
import Ubuntu.Components 1.1
import Qt.labs.settings 1.0

/*!
    \brief MainView with a Label and Button elements.
*/

MainView {
    // objectName for functional testing purposes (autopilot-qt5)
    objectName: "mainView"

    // Note! applicationName needs to match the "name" field of the click manifest
    applicationName: "com.ubuntu.developer.liu-xiao-guo.settings"

    /*
     This property enables the application to change orientation
     when the device is rotated. The default is false.
    */
    //automaticOrientation: true

    // Removes the old toolbar and enables new features of the new header.
    useDeprecatedToolbar: false

    width: units.gu(50)
    height: units.gu(75)

    Page {
        title: i18n.tr("Simple")

        Column {
            anchors.fill: parent
            anchors.centerIn: parent
            anchors.horizontalCenter: parent.center


            Label {
                text: "Please input a string below:"
                fontSize: "large"
            }

            TextField {
                id: myTextField
                text: settings.input
                placeholderText: "please input a string"

                onTextChanged: {
                    settings.input = text
                }
            }

            Button {
                text: "Get category"
                onClicked: {
                    console.log("settings category:" + settings.category);
                }
            }
        }

        Settings {
            id: settings
            property string input: "unknown"
        }

        Component.onDestruction: {
            settings.input = myTextField.text
        }
    }
}
记得这里我们一定要加入Qt.labs.settings。我们首先绑定myTextField的值为settings中的input。在程序退出的时候,我们通过如下的方式进行存储:
        Component.onDestruction: {
            settings.input = myTextField.text
        }
在我们的应用中,我们使用如下的方法。每当myTextField变化时,我们就存一下。这依赖于我们最终程序的需求是什么样的。
TextField {
id: myTextField
text: settings.input
placeholderText: "please input a string"
onTextChanged: {
settings.input = text
}
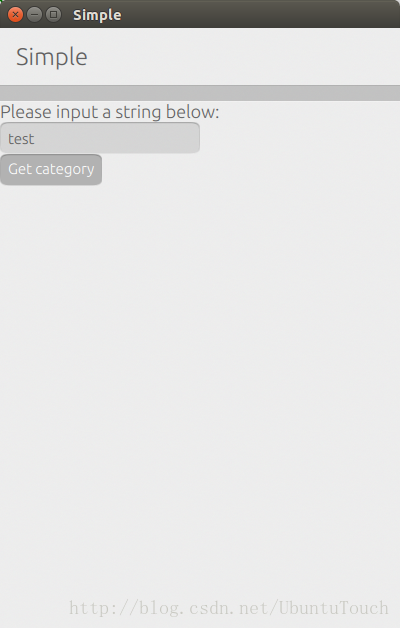
}运行我们的应用,我们会发现,当我们修改myTextField中的值,并退出后。下次启动时,可以看到,上次输入的值被读取,并存放于myTextField中。
整个测试的源码在 bzr branch lp:~liu-xiao-guo/debiantrial/settingsqml


 1330
1330


 被折叠的 条评论
为什么被折叠?
被折叠的 条评论
为什么被折叠?
 到【灌水乐园】发言


