


1. 安装git(如果已安装git,请忽略此步)
sudo apt-get install git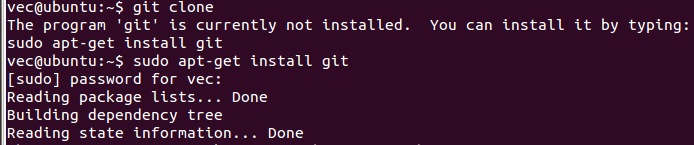
2. 从Github下载vundle到本地
Git clone https://github.com/gmarik/vundle.git ~/.vim/bundle/vundle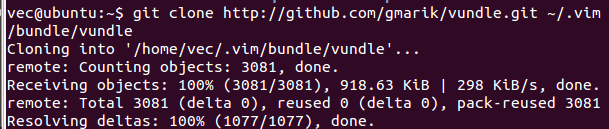
3. 配置~/.vimrc
set nocompatible      " be improved
  2 filetype off         " required
  3
  4 " set the runtime path to include vundle and initialize
  5 set rtp+=~/.vim/bundle/vundle/
  6 call vundle#rc()
  7
  8 " let vundle manage vndle
  9 " required
 10 Bundle 'gmarik/vundle'
 11
 12 "my bundles here:
 13 Bundle 'bling/vim-airline'
 14 set laststatus=2
 15
 16 Bundle 'fholgado/minibufexpl.vim'
 17 let g:miniBufExplMapWindowNavVim = 1
 18 let g:miniBufExplMapWindowNavArrows = 1
 19 let g:miniBufExplMapCTabSwitchBufs = 1
 20 let g:miniBufExplModSelTarget = 1
 21 let g:miniBufExplMoreThanOne=0
 22
 23 "Bundle 'Valloric/YouCompleteMe'
 24
 25 " 可以通过以下四种方式指定插件的来源
 26 " a) 指定Github中vim-scripts仓库中的插件,直接指定插件名称即可,插件明中的空格使用“-”代替。  rim-scripts repos
 27 Bundle 'L9'
 28
 29 " b) 指定Github中其他用户仓库的插件,使用“用户名/插件名称”的方式指定
 30 " original repos on github
 31 Bundle 'tpope/vim-fugitive'
Bundle 'rstacruz/sparkup', {'rtp': 'vim/'}
 34 Bundle 'tpope/vim-rails.git'
 35
 36 " c) 指定非Github的Git仓库的插件,需要使用git地址
 37 Bundle 'git://git.wincent.com/command-t.git'
 38
 39 " d) 指定本地Git仓库中的插件
 40 " Bundle 'file:///Users/gmarik/path/to/plugin'
 41
 42 filetype plugin indent on     " required!
 43
 44
 45 " help document
 46 " :BundleList                       --list configured bundles
 47 " :BundleInstall(!)                    --install(update) bundles
 48 " :BundleSearch(!) foo              --search(or refresh cache first) for foo
 49 " :BundleClean(!)                    --confirm(or auto-approve) removal of
 50 " unused bundles
 51 " see :h vundle for more detailes or viki for FAQ
 52 "
 53 "
 54 set number
 55 syntax on
 56 set ruler
 57 set tabstop=4
vundle使用方法:
1. 在my bundles here下添加自己需要的插件:
12 "my bundles here:
13 Bundle 'bling/vim-airline'
 14 set laststatus=2
2 . 安装插件:
在vim的命令模式下执行:
BundleInstall3 . 卸载插件
先删除~/.vimrc 文件中的相应配置
然后 在vim的命令模式下执行:
BundleClean


 6069
6069

 被折叠的 条评论
为什么被折叠?
被折叠的 条评论
为什么被折叠?
 到【灌水乐园】发言


