1.Retrofit介绍
Retrofit,每次浏览各大网站总会看到它的身影,虽然感觉已经如此熟悉,但是确实又相当陌生,由于一直没有在项目中使用它,今天决定好好整理下,虽然Retrofit1.0的时代已经过去,还好赶上了retrofit2.0的脚步,据说它又更强大了,废话不多说了,让我们去揭开Retrofit的神秘面纱;
A type-safe HTTP client for Android and Java
一个用于Android和Java平台的类型安全的网络框架Retrofit is a type-safe REST client for Android built by Square. The library provides a powerful framework for authenticating and interacting with APIs and sending network requests with OkHttp.
Retrofit 是一个Square开发的类型安全的REST安卓客户端请求库。这个库为网络认证、API请求以及用OkHttp发送网络请求提供了强大的框架 。
Retrofit 2 现在开始依赖了 OkHttp 了,而且这部分不再支持替换。这是一件比较有争议的事情。但是希望我能证明为什么这是一个对的决定。OkHttp 现在很小而且很聚焦,有很多好用的 API 接口。我们在 Retrofit 2 里都有对 OkHttp 的接口映射,也基本具备了我们需要的所有的特性,包括提到的所有的抽象类们。这些都超赞!这是压缩 Retrofit 库大小的一个法宝。我们最终减小了Retrofit 60% 的体积,同时又具有了更多的特性。—–来自用 Retrofit 2 简化 HTTP 请求
2.Retrofit配置
github地址:http://github.com/square/retrofit
website地址:http://square.github.io/retrofit/
下载最新的jar:the latest JAR
如果你使用的Android Studio 请配置Gradle文件 :
compile 'com.squareup.retrofit2:retrofit:2.1.0'
compile 'com.squareup.retrofit:converter-gson:2.0.0-beta2'
Maven :
<dependency>
  <groupId>com.squareup.retrofit</groupId>
  <artifactId>retrofit</artifactId>
  <version>2.0.0-beta2</version>
</dependency>
3.get请求
此处我使用了百度apistore上的一个查询身份证信息的接口来演示一下get请求方式。
首先搞个实体类CardModel:
public class CardModel
{
    /**
     * errNum : 0
     * retMsg : success
     * retData : {"address":"湖北省孝感市汉川市","sex":"M","birthday":"1987-04-20"}
     */

    private int errNum;
    private String retMsg;
    /**
     * address : 湖北省孝感市汉川市
     * sex : M
     * birthday : 1987-04-20
     */

    private RetDataBean retData;

    public int getErrNum()
    {
        return errNum;
    }

    public void setErrNum(int errNum)
    {
        this.errNum = errNum;
    }

    public String getRetMsg()
    {
        return retMsg;
    }

    public void setRetMsg(String retMsg)
    {
        this.retMsg = retMsg;
    }

    public RetDataBean getRetData()
    {
        return retData;
    }

    public void setRetData(RetDataBean retData)
    {
        this.retData = retData;
    }

    public static class RetDataBean
    {
        private String address;
        private String sex;
        private String birthday;

        public String getAddress()
        {
            return address;
        }

        public void setAddress(String address)
        {
            this.address = address;
        }

        public String getSex()
        {
            return sex;
        }

        public void setSex(String sex)
        {
            this.sex = sex;
        }

        public String getBirthday()
        {
            return birthday;
        }

        public void setBirthday(String birthday)
        {
            this.birthday = birthday;
        }
    }
}
① 通过注解声明参数信息
public interface PhoneApiService
{
    //get请求方式
    @GET("/apistore/idservice/id")
    public Call<CardModel> getCardGetState(
        //动态添加请求header
        @Header("apikey") String apikey,
        //请求参数,形如?id=XXXX
        @Query("id") String id);
}
② 创建Retrofit实例:
Retrofit retrofit = new Retrofit.Builder()
                //baseurl表示服务器的主机地址
                .baseUrl(“http://apis.baidu.com”)
                //指定解析方式,此处使用gson解析,请求后直接返回实体对象
                .addConverterFactory(GsonConverterFactory.create())
                .build();
③ 通过Service获取call对象:
PhoneApiService pApiService = retrofit.create(PhoneApiService.class);

        Call<CardModel> call = pApiService.getCardGetState("9c32fd04cda3a80c3cff414c7e50e2f5","430224198508085219");
④ 发送异步请求:
call.enqueue(new Callback<CardModel>()
        {

            @Override
            public void onResponse(Call<CardModel> arg0, Response<CardModel> response)
            {
                CardModel model = response.body();
                tvShow.setText("post地址:"+model.getRetData().getAddress());
                Toast.makeText(MainActivity.this, ""+model.toString(), Toast.LENGTH_SHORT).show();
            }

            @Override
            public void onFailure(Call<CardModel> arg0, Throwable arg1)
            {
                Log.e("error",""+arg1.toString());
                Toast.makeText(MainActivity.this, ""+arg1.toString(), Toast.LENGTH_SHORT).show();
            }
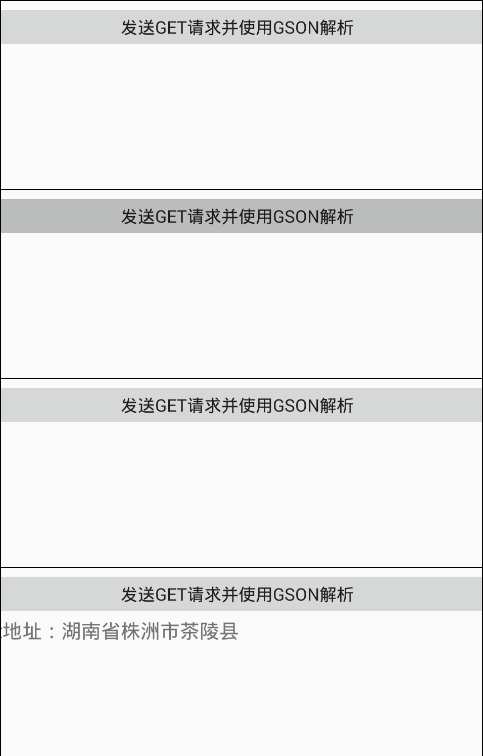
});最后请求的时候,请求地址会拼接成:http://apis.baidu.com/apistore/idservice/id?id=430224198508085219的格式;我们发送请求后会通过response.body()即可获得我们的CardModel对象:
上面是一个请求参数的情况,如果你有多个请求参数,retrofit提供了@QueryMap注解,我们可以传递一个map对象,用键值对的方式来添加请求参数:
@GET("/apistore/idservice/id")
    public Call<CardModel> getCardGetState(
        @Header("apikey") String apikey,
        //请求参数,形如?id=XXXX
        @QueryMap Map<String, String> map);
那么问题又来了,如果我们要添加多个header呢,同样可以通过@HeaderMap注解来添加多个header:
@GET("/apistore/idservice/id")
Call<CardModel> getCardGetState(@HeaderMap Map<String, String> headerMap)
我们还可以通过@Headers注解来添加静态的header,形如:
@Headers({
    "Accept: application/vnd.github.v3.full+json",
    "User-Agent: Retrofit-Sample-App"
})
@GET("/apistore/idservice/id")
    public Call<CardModel> getCardGetState(
         @QueryMap Map<String, String> map);
4.post请求
post请求我就用一个我司一个小项目的登录接口来演示一下;
请求成功返回的json如下(有一部分省略),实体类就不贴了:
{
    "code": 0,
    "data": {
        "mediatorId": 1236,
        "rsMediationCaseList": null,
        "rsOrganization": null,
        "orgName": null,
        "orgId": null,
        "name": "张三",
        "sex": null,
        "job": null,
        "mediatorIdentity": "相见恨晚啊",
        "culturalLevel": null,
        "birthday": null,
        "birthdayStr": null,
        "idCardNumber": null,
        "areaCode": null,
        "areaName": null,
        "address": null
    }
}
① 通过注解声明参数信息
@POST("/app/mediator/login")
    Call<RSMediator> loginPost(@Body UserModel user
    );
此处出现了@Body注解,通过@Body注解可以声明一个对象作为请求体发送到服务器,我这里生命了一个UserModel 对象来作为请求体,代码和普通的实体类一样:
public class UserModel
{
    //手机号
    String telephone;
    //登录密码
    String userPwd;

    public UserModel()
    {
    }

    public UserModel(String telephone, String userPwd)
    {
        this.telephone = telephone;
        this.userPwd = userPwd;
    }

    public String getTelephone()
    {
        return telephone;
    }

    public void setTelephone(String telephone)
    {
        this.telephone = telephone;
    }

    public String getUserPwd()
    {
        return userPwd;
    }

    public void setUserPwd(String userPwd)
    {
        this.userPwd = userPwd;
    }
}
② 创建Retrofit实例:
//和Get一样,没变化
Retrofit retrofit = new Retrofit.Builder()
                .baseUrl(“http://192.168.60.224:8080”)
                .addConverterFactory(GsonConverterFactory.create())
                .build();
③ 通过Service获取call对象:
PhoneApiService pApiService = retrofit.create(PhoneApiService.class);
//创建请求体
UserModel user = new UserModel("13801595313","123456");
Call<RSMediator> call = pApiService.loginPost(user);
④ 发送异步请求:
call.enqueue(new Callback<RSMediator>()
        {
            @Override
            public void onResponse(Call<RSMediator> call, Response<RSMediator> response)
            {
                RSMediator mediator = response.body();
                tvShow.setText(mediator.toString());
                Toast.makeText(MainActivity.this, ""+mediator.toString(), Toast.LENGTH_SHORT).show();
            }

            @Override
            public void onFailure(Call<RSMediator> call, Throwable t)
            {
                tvShow.setText(t.toString());
            }
        });
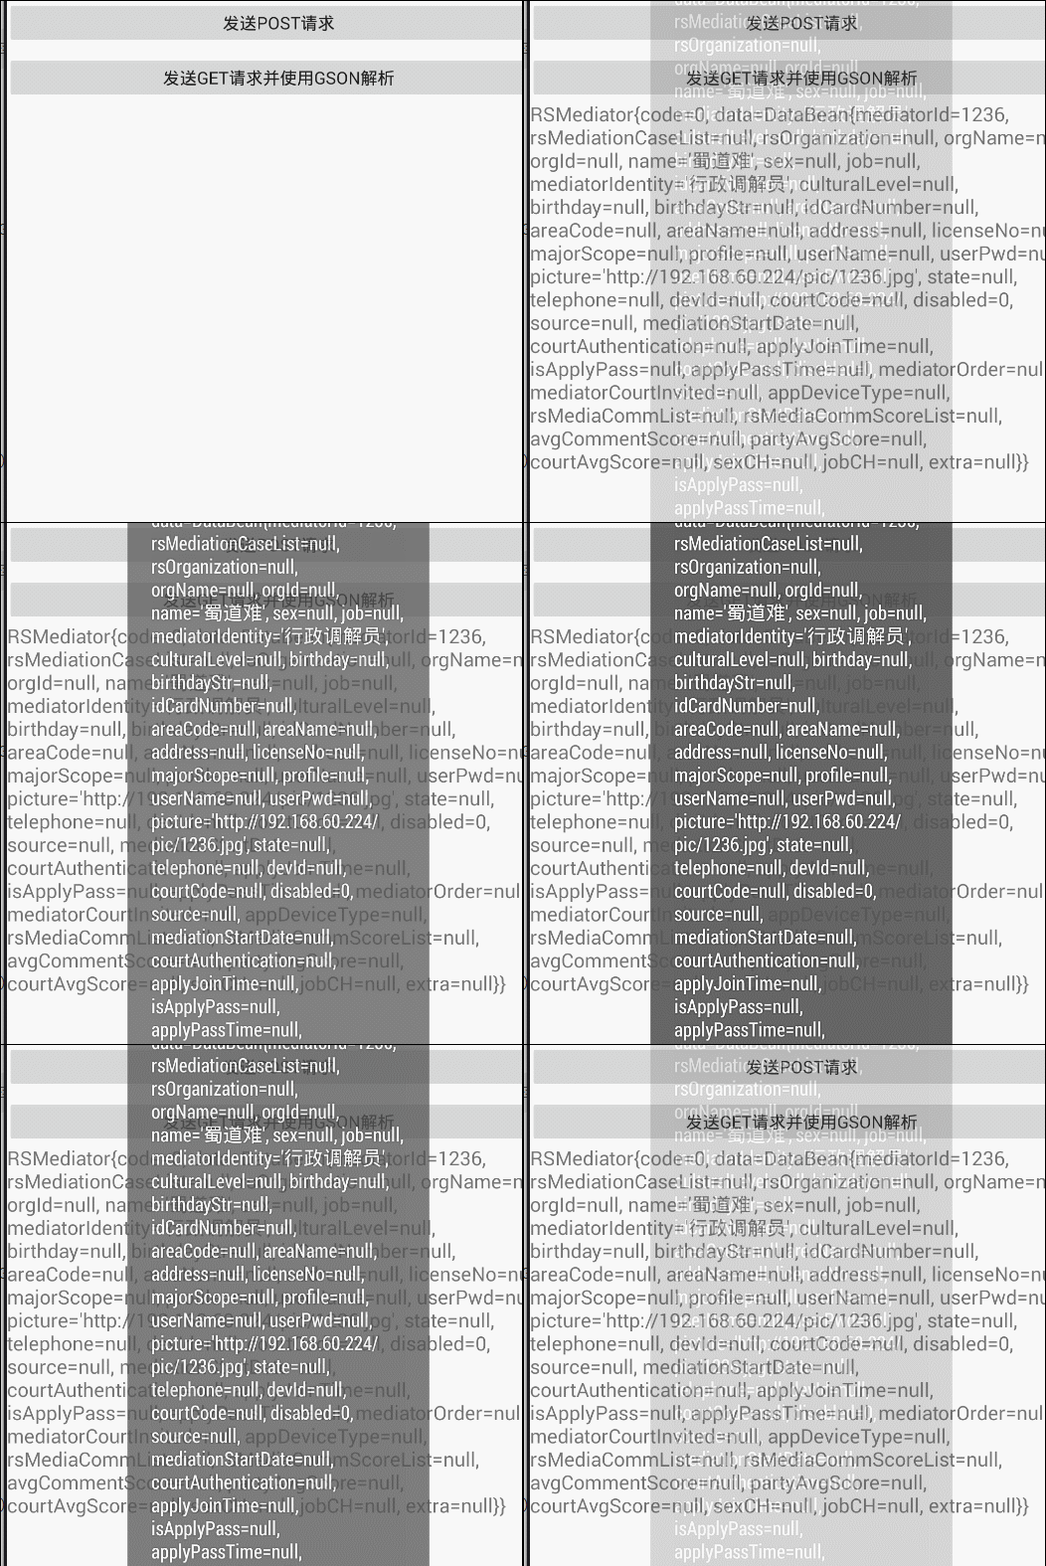
运行结果如下:
post还支持表单提交,形如:
@FormUrlEncoded
@POST("/some/endpoint")
Call<SomeResponse> someEndpoint(
    @Field("telephone") String telephone,
    @Field("pwd") String pwd);
另外,我们可以使用@Url 主句,允许你直接传入一个请求的 URL。
@GET
Call<List<Contributor>> repoContributorsPaginate(
      @Url String url);
//获取到新的url
String nextLink = nextFromGitHubLinks(links);
//直接传如url即可
Call<List<Contributor>> nextCall =
gitHubService.repoContributorsPaginate(nextLink);我们就用文章上面的get请求的路径来测试一下@URL注解,http://apis.baidu.com/apistore/idservice/id?id=430224198508085219:
@Headers("apikey:9c32fd04cda3a80c3cff414c7e50e2f5")
@GET
Call<CardModel> loadUrl(@Url String url);
调用的时候传入完整的url路径:
Call<CardModel> call = pApiService.loadUrl("http://apis.baidu.com/apistore/idservice/id?id=430224198508085219");5.log拦截器
开发中,Debug模式希望可以看到log,网络请求,打印Log信息,发布的时候就不需要这些log
在build.gradle中添加依赖:
compile 'com.squareup.okhttp3:logging-interceptor:3.1.2'在构建okhttpclient对象的时候,通过addInterceptor添加拦截器:
//关键代码
if (BuildConfig.DEBUG) {
    // Log信息拦截器
    HttpLoggingInterceptor loggingInterceptor = new HttpLoggingInterceptor();
    loggingInterceptor.setLevel(HttpLoggingInterceptor.Level.BODY);
    //设置 Debug Log 模式
    builder.addInterceptor(loggingInterceptor);
}
然后我们在接收网络请求的时候就会打印日志信息:
6.统一设置请求头
通过拦截器统一设置请求头:
Interceptor headerInterceptor = new Interceptor() {
    @Override
    public Response intercept(Chain chain) throws IOException {
        Request originalRequest = chain.request();
        Request.Builder requestBuilder = originalRequest.newBuilder()
                .header("Content-Type", "application/json")
                .header("Accept", "application/json")
                .method(originalRequest.method(), originalRequest.body());
        Request request = requestBuilder.build();
        return chain.proceed(request);
    }
};
//设置头
builder.addInterceptor(headerInterceptor);
7.设置超时和重连
在构建OKHttpClient对象的时候,build之前进行设置,最后构建Retrofit的时候client(okHttpClient)传入即可:
//设置超时
builder.connectTimeout(15, TimeUnit.SECONDS);
builder.readTimeout(20, TimeUnit.SECONDS);
builder.writeTimeout(20, TimeUnit.SECONDS);
//错误重连
builder.retryOnConnectionFailure(true);
8.介绍一下容易混淆的几个注解
刚开始学习Retrofit的时候,对@Path,@Query,@Field几个注解有些模糊,现在梳理一下:
- Path:类似这样链接:http://www.test.con/2016/article/retrofit/
@GET("2016/{article}/retrofit")
Call<ResponseBody> getData(@Path("article") String article);
即传的参数article内容会替换大括号里的内容。
- Query:类似这样链接:http://www.test.con/article/
@GET("article")
Call<ResponseBody> getData(@Query("id") String id);
@Query修饰的参数会拼接在url的后面,形如?id=’id’。
- Field:表单提交,如登录
@FormUrlEncoded
@POST("v1/login")
Call<ResponseBody> userLogin(@Field("phone") String phone, @Field("password") String password);
@Field,post提交时,用@Field来修饰参数。
9.混淆
-dontnote retrofit2.Platform
-dontnote retrofit2.Platform$IOS$MainThreadExecutor
-dontwarn retrofit2.Platform$Java8
-keepattributes Signature
-keepattributes Exceptions
至此,本篇文章就先介绍这么多,当然还有一些没有介绍的知识点将在后续博文中陆续介绍,欢迎各位交流学习;
参考链接:


 958
958


 被折叠的 条评论
为什么被折叠?


