


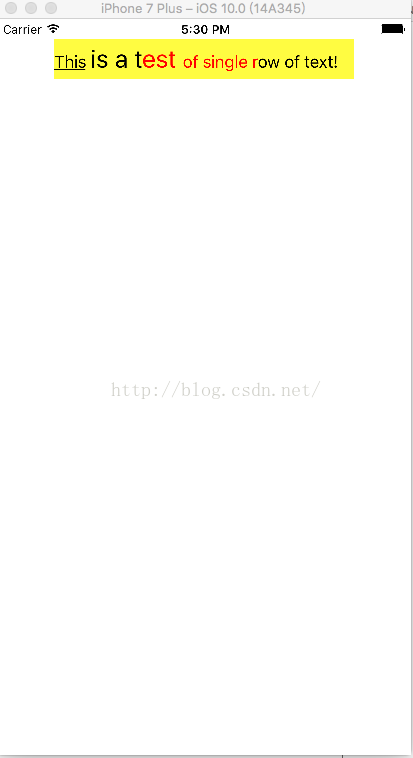
说明:前几天突然要用到一行字的不同显示,例如下面这行字的样式,然后我就上百度搜索了下关于富文本,总结了一些关于如何处理这些文字的例子。后面我将会继续更新,图文混排的样式例子。

1.富文本(NSMutableAttributedString实现)
1.)使用的关键代码
NSMutableAttributedString *string = [[NSMutableAttributedString alloc]initWithString:@"This is a test of single row of text!"];
    NSRange range1 = {0, 4};
    NSRange range2 = {5, 10};
    NSRange range3 = {11, 15};
    [string addAttribute:NSUnderlineStyleAttributeName value:[NSNumber numberWithInteger:NSUnderlineStyleSingle] range:range1];
    [string addAttribute:NSFontAttributeName value:[UIFont systemFontOfSize:25] range:range2];
    [string addAttribute:NSForegroundColorAttributeName value:[UIColor redColor] range:range3];
一般不会用到 NSAttributedString来初始化想要实现富文本的字符串
NSRange 是用来确定要实现的文字样式的范围
然后给文字添加上相应的样式,例如
addAttribute:NSFontAttributeNamevalue:[UIFontsystemFontOfSize:25]
这个是设置文本的某个范围字体大小,相应的的还有很多,下面会介绍到
2.)关于addAttribute的取值
NSFontAttributeName                设置字体属性,默认值:字体:Helvetica(Neue) 字号:12
NSForegroundColorAttributeNam      设置字体颜色,取值为 UIColor对象,默认值为黑色
NSBackgroundColorAttributeName     设置字体所在区域背景颜色,取值为 UIColor对象,默认值为nil, 透明色
NSLigatureAttributeName            设置连体属性,取值为NSNumber 对象(整数),0 表示没有连体字符,1 表示使用默认的连体字符 NSKernAttributeName 设定字符间距,取值为 NSNumber 对象(整数),正值间距加宽,负值间距变窄 NSStrikethroughStyleAttributeName 设置删除线,取值为 NSNumber 对象(整数) NSStrikethroughColorAttributeName 设置删除线颜色,取值为 UIColor 对象,默认值为黑色 NSUnderlineStyleAttributeName 设置下划线,取值为 NSNumber 对象(整数),枚举常量 NSUnderlineStyle中的值,与删除线类似 NSUnderlineColorAttributeName 设置下划线颜色,取值为 UIColor 对象,默认值为黑色 NSStrokeWidthAttributeName 设置笔画宽度,取值为 NSNumber 对象(整数),负值填充效果,正值中空效果 NSStrokeColorAttributeName 填充部分颜色,不是字体颜色,取值为 UIColor 对象 NSShadowAttributeName 设置阴影属性,取值为 NSShadow 对象 NSTextEffectAttributeName 设置文本特殊效果,取值为 NSString 对象,目前只有图版印刷效果可用: NSBaselineOffsetAttributeName 设置基线偏移值,取值为 NSNumber (float),正值上偏,负值下偏 NSObliquenessAttributeName 设置字形倾斜度,取值为 NSNumber (float),正值右倾,负值左倾 NSExpansionAttributeName 设置文本横向拉伸属性,取值为 NSNumber (float),正值横向拉伸文本,负值横向压缩文本 NSWritingDirectionAttributeName 设置文字书写方向,从左向右书写或者从右向左书写 NSVerticalGlyphFormAttributeName 设置文字排版方向,取值为 NSNumber 对象(整数),0 表示横排文本,1 表示竖排文本 NSLinkAttributeName 设置链接属性,点击后调用浏览器打开指定URL地址 NSAttachmentAttributeName 设置文本附件,取值为NSTextAttachment对象,常用于文字图片混排 NSParagraphStyleAttributeName 设置文本段落排版格式,取值为 NSParagraphStyle 对象
3.)代码
ViewController.m中的代码
<span style="font-size:14px;">#import "ViewController.h"

@interface ViewController ()
@property (nonatomic, strong)UILabel *firstLabel;

@end

@implementation ViewController

- (void)viewDidLoad {
    [super viewDidLoad];
    [self.view addSubview:self.firstLabel];
    [self singleRowTextShow];
}


#pragma mark *** Private Methods ***

/**
 NSMutableAttributedString富文本
 */
- (void)singleRowTextShow{
    NSMutableAttributedString *string = [[NSMutableAttributedString alloc]initWithString:@"This is a test of single row of text!"];
    NSRange range1 = {0, 4};
    NSRange range2 = {5, 10};
    NSRange range3 = {11, 15};
    [string addAttribute:NSUnderlineStyleAttributeName value:[NSNumber numberWithInteger:NSUnderlineStyleSingle] range:range1];
    [string addAttribute:NSFontAttributeName value:[UIFont systemFontOfSize:25] range:range2];
    [string addAttribute:NSForegroundColorAttributeName value:[UIColor redColor] range:range3];
    [self.firstLabel setAttributedText:string];
}

#pragma mark *** Lazy Loading ***
- (UILabel *)firstLabel{
    if (!_firstLabel) {
        _firstLabel = [[UILabel alloc]initWithFrame:CGRectMake(0, 0, 300, 40)];
        _firstLabel.center = CGPointMake(CGRectGetMidX(self.view.frame), 40);
        _firstLabel.backgroundColor = [UIColor yellowColor];
        _firstLabel.numberOfLines = 0;
    }
    return _firstLabel;
}
</span>
4.)效果图(我只是添加了三个显示样式)
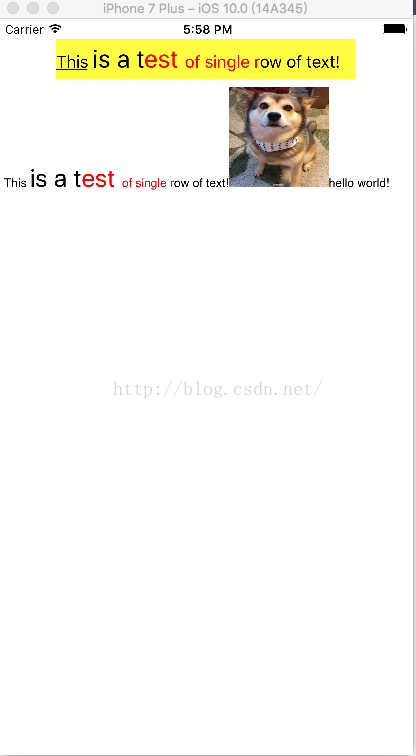
2.图文混排
1.)简单的图文混排
在CoreText中提供了简单的方法,就是在文字中插入图片
1.1 关键代码
<span style="font-size:14px;">//图文混排
    NSTextAttachment *attach = [[NSTextAttachment alloc] init];
    attach.image = [UIImage imageNamed:@"dog.jpg"];
    attach.bounds = CGRectMake(0, 0, 100, 100);
    NSAttributedString *attachString = [NSAttributedString attributedStringWithAttachment:attach];
    [string appendAttributedString:attachString];
    [string appendAttributedString:[[NSAttributedString alloc] initWithString:@"hello world!"]];</span>
1.2 ViewController.m中的代码
也就是在上面代码的基础上加上了一段代码
<span style="font-size:14px;">#import "ViewController.h"

@interface ViewController ()
@property (nonatomic, strong)UILabel *firstLabel;
@property (nonatomic, strong)UITextView *textView;

@end

@implementation ViewController

- (void)viewDidLoad {
    [super viewDidLoad];
    [self.view addSubview:self.firstLabel];
    [self.view addSubview:self.textView];
    [self singleRowTextShow];
}


#pragma mark *** Private Methods ***

/**
 NSMutableAttributedString富文本
 */
- (void)singleRowTextShow{
    NSMutableAttributedString *string = [[NSMutableAttributedString alloc]initWithString:@"This is a test of single row of text!"];
    NSRange range1 = {0, 4};
    NSRange range2 = {5, 10};
    NSRange range3 = {11, 15};
    [string addAttribute:NSUnderlineStyleAttributeName value:[NSNumber numberWithInteger:NSUnderlineStyleSingle] range:range1];
    [string addAttribute:NSFontAttributeName value:[UIFont systemFontOfSize:25] range:range2];
    [string addAttribute:NSForegroundColorAttributeName value:[UIColor redColor] range:range3];
    [self.firstLabel setAttributedText:string];

    //图文混排
    NSTextAttachment *attach = [[NSTextAttachment alloc] init];
    attach.image = [UIImage imageNamed:@"dog.jpg"];
    attach.bounds = CGRectMake(0, 0, 100, 100);
    NSAttributedString *attachString = [NSAttributedString attributedStringWithAttachment:attach];
    [string appendAttributedString:attachString];
    [string appendAttributedString:[[NSAttributedString alloc] initWithString:@"hello world!"]];

    self.textView.attributedText = string;
}

#pragma mark *** Lazy Loading ***
- (UILabel *)firstLabel{
    if (!_firstLabel) {
        _firstLabel = [[UILabel alloc]initWithFrame:CGRectMake(0, 0, 300, 40)];
        _firstLabel.center = CGPointMake(CGRectGetMidX(self.view.frame), 40);
        _firstLabel.backgroundColor = [UIColor yellowColor];
        _firstLabel.numberOfLines = 0;
    }
    return _firstLabel;
}
- (UITextView *)textView{
    if (!_textView) {
        _textView = [[UITextView alloc]initWithFrame:CGRectMake(0, CGRectGetMaxY(self.firstLabel.frame), self.view.bounds.size.width, 400)];
        _textView.editable = NO;
    }
    return _textView;
}

@end
</span>
1.3 效果图
2.)强大的图文混排
2.1 首先在工程中引入CoreText框架
#import <CoreText/CoreText.h>CFIndex currentIndex = 0;
float y = 0;
CTTypesetterRef type = CTTypesetterCreateWithAttributedString((__bridge CFAttributedStringRef)string);
while (drawFlag) {
CFIndex linelenth;
if (y >= - CGRectGetMaxY(self.imageView.frame) + 20) {
CGContextSetTextPosition(context, self.imageView.bounds.size.width + 5, y);
linelenth = CTTypesetterSuggestLineBreak(type, 0, self.bounds.size.width - self.imageView.bounds.size.width);
}else{
CGContextSetTextPosition(context, 0, y);
linelenth = CTTypesetterSuggestLineBreak(type, 0, self.bounds.size.width );
}
CFRange range = CFRangeMake(currentIndex, linelenth);
CTLineRef line = CTTypesetterCreateLine(type, range);
CTLineDraw(line, context);
currentIndex = currentIndex + linelenth;
y = y - lineHeight;
if ((currentIndex + linelenth) >= [string length]) {
drawFlag = NO;
}
}
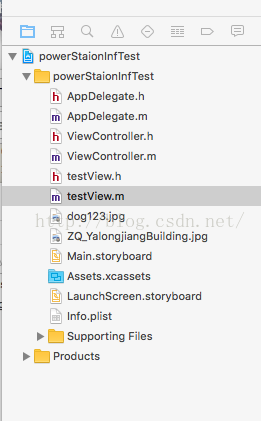
2.3 我的工程目录
2.3.1 ViewController.h 中的代码
#import <UIKit/UIKit.h>

@interface ViewController : UIViewController

@end
2.3.2 ViewController.m中的代码
#import "ViewController.h"
#import "testView.h"

@interface ViewController ()
@property (nonatomic ,strong)testView *te;
@end

@implementation ViewController

- (void)viewDidLoad {
    [super viewDidLoad];
    [self.view addSubview:self.te];
    self.view.backgroundColor = [UIColor whiteColor];
}
- (testView *)te{
    if (!_te) {
        _te = [[testView alloc]initWithFrame:self.view.bounds];
    }
    return _te;
}
@end
2.3.3 testView.h 中的代码
#import <UIKit/UIKit.h>

@interface testView : UIView
@property (nonatomic, strong)UIImageView *imageView;
@end
2.3.4 testView.m 中的代码
#import "testView.h"
#import <CoreText/CoreText.h>

@implementation testView

- (instancetype)initWithFrame:(CGRect)frame
{
    self = [super initWithFrame:frame];
    if (self) {
        [self addSubview:self.imageView];
        self.backgroundColor = [UIColor whiteColor];
    }
    return self;
}

- (void)drawRect:(CGRect)rect {
    [self createStingWithFeature];
}
- (void)createStingWithFeature{
    CTFontRef font =  CTFontCreateWithName(CFSTR("Georgia"), 15, NULL);
    NSMutableAttributedString *string = [[NSMutableAttributedString alloc]initWithString:@"由于图片宽度是固定的这样就可以计算每行文字缩短的字数。只要文本的总体高度低于图像总高度则文字长度都是缩短的。用CTTypesetterSuggestLineBreak函数动态的计算每一行里的字数,因为每一行里面的中文字、标点符号、数字、字母都不一样所以可以显示的字数肯定也是不同的,所以需要作这样的计算。这样循环直至文本结束,就可以知道有多少行字了。再根据字体高度和行间距得出总的文本高度,如果文本高度大于图片总高度那么显示区域的Frame高度就是文本的高度,反之亦然。"];
    CGContextRef context = UIGraphicsGetCurrentContext();
    CGContextSetTextMatrix(context,CGAffineTransformIdentity);//重置
    CGContextTranslateCTM(context,0,30); //y轴高度
    CGContextScaleCTM(context,1.0,-1.0);//y轴翻转
    float lineHeight = 20;
    BOOL drawFlag = YES;

    [string addAttribute:NSFontAttributeName value:(__bridge id)font range:NSMakeRange(0, [string length])];
    CFIndex currentIndex = 0;
    float y = 0;
    CTTypesetterRef type = CTTypesetterCreateWithAttributedString((__bridge CFAttributedStringRef)string);
    CFIndex linelenth = 0;
    while (drawFlag) {
        if ((currentIndex + linelenth ) >= [string length]) {
            drawFlag = NO;
        }
        if (y >= - CGRectGetMaxY(self.imageView.frame) + 20) {
            CGContextSetTextPosition(context, self.imageView.bounds.size.width + 5, y);
             linelenth = CTTypesetterSuggestLineBreak(type, 0, self.bounds.size.width - self.imageView.bounds.size.width);
        }else{
            CGContextSetTextPosition(context, 0, y);
            linelenth = CTTypesetterSuggestLineBreak(type, 0, self.bounds.size.width );
        }
        CFRange range = CFRangeMake(currentIndex, linelenth);
        CTLineRef line = CTTypesetterCreateLine(type, range);
        CTLineDraw(line, context);
        currentIndex = currentIndex + linelenth;
        y = y - lineHeight;
    }
}
- (UIImageView *)imageView{
    if (!_imageView) {
        _imageView = [[UIImageView alloc]initWithFrame:CGRectMake(0, 20, 200, 200)];
        _imageView.image = [UIImage imageNamed:@"dog123.jpg"];

    }
    return _imageView;
}

@end
2.4 效果图
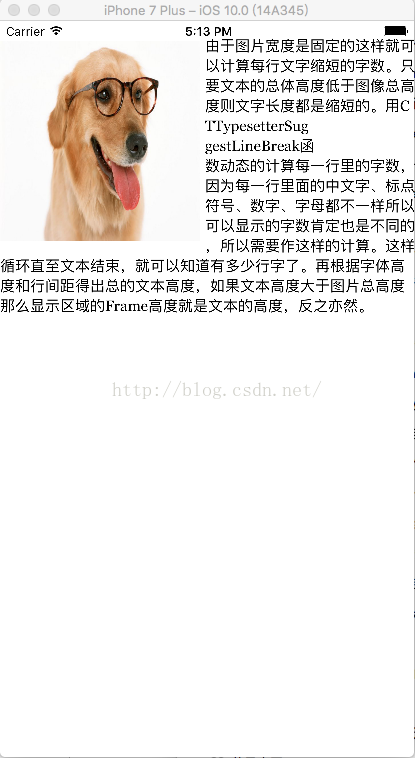
代码中的有些东西说明可以去百度搜
这个代码还有个bug,就是在绘制最后一行文字的时候默认的是一行的长度,万一最后一行文字不够一行长度,那么会导致最后几个文字重复直到把这一行填满。那么只需判断是不是最后一行(这里是通过currentIndex来判断的),如果是最后一行,则将最后一行绘制的长度置为最后一行文字的长度就可以了。
希望有帮助!


 1466
1466


 被折叠的 条评论
为什么被折叠?
被折叠的 条评论
为什么被折叠?
 到【灌水乐园】发言


