


<?xml version="1.0" encoding="utf-8"?>
<LinearLayout xmlns:android="http://schemas.android.com/apk/res/android"
xmlns:tools="http://schemas.android.com/tools"
android:layout_width="match_parent"
android:layout_height="match_parent"
android:orientation="vertical"
>
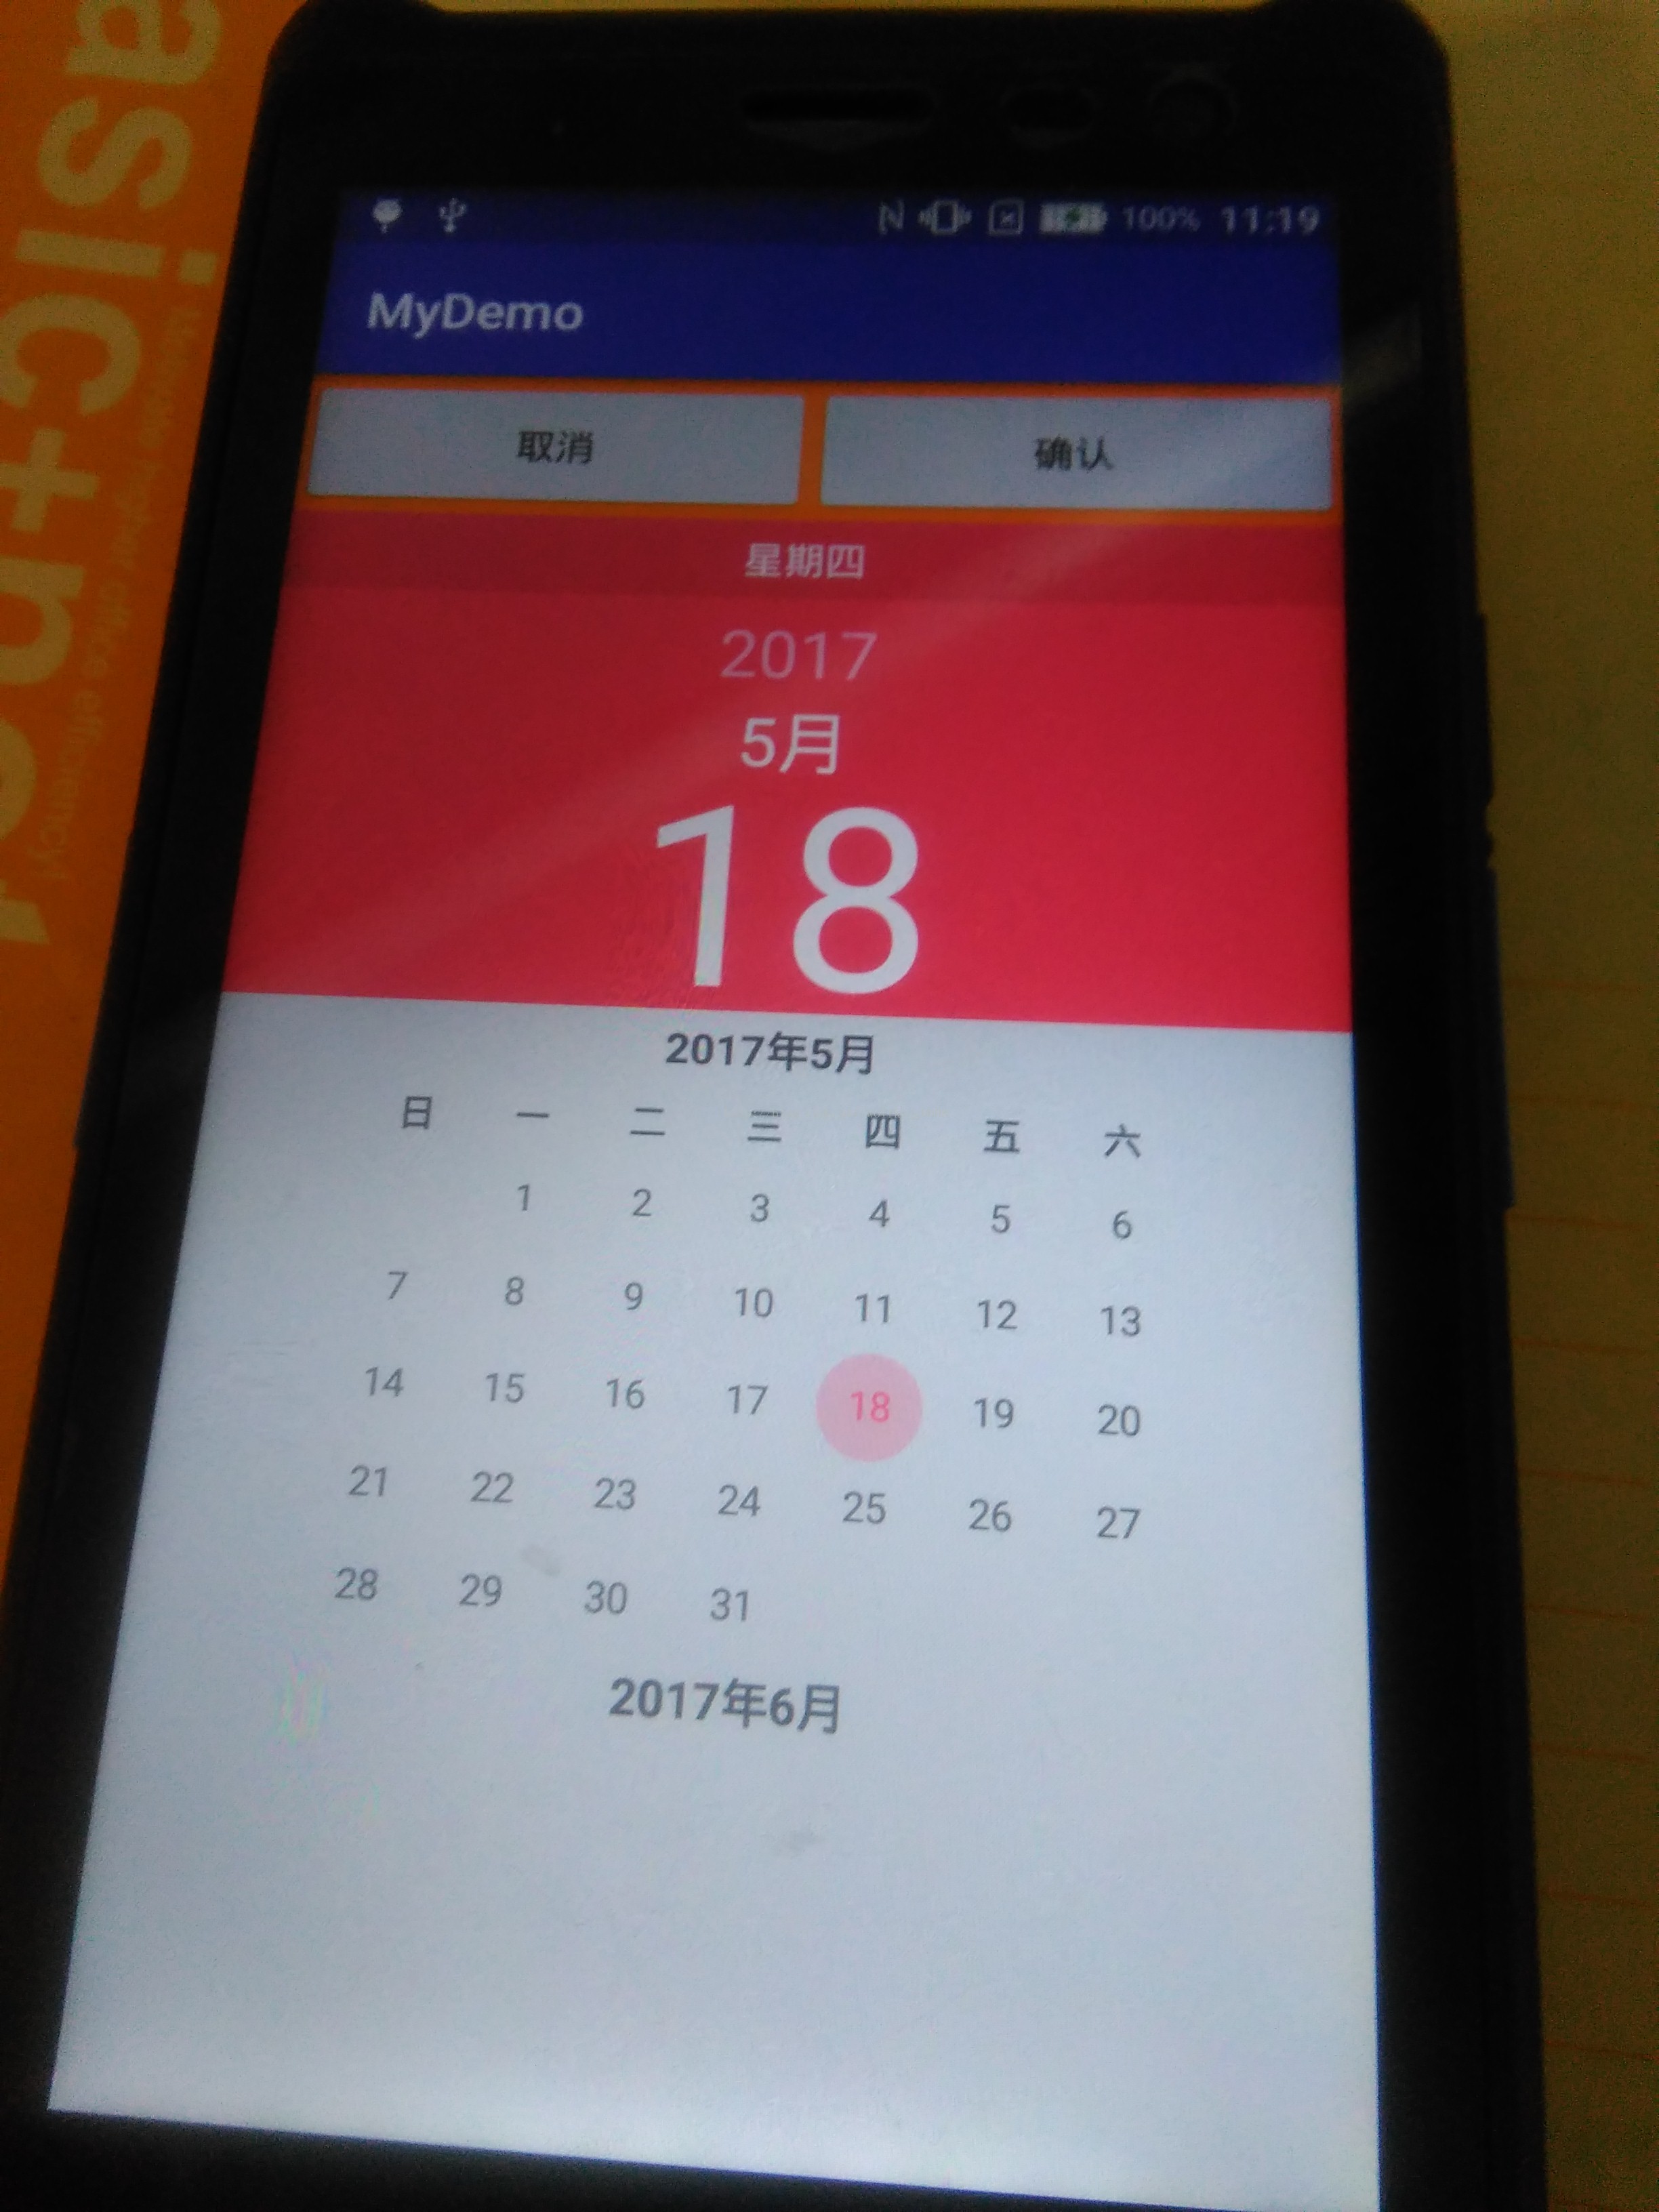
<LinearLayout
android:background="@android:color/holo_orange_dark"
android:layout_width="match_parent"
android:layout_height="55dp">
<Button
android:onClick="cancel"
android:text="取消"
android:layout_weight="1"
android:layout_width="0dp"
android:layout_height="match_parent"/>
<Button
android:onClick="confirm"
android:text="确认"
android:layout_weight="1"
android:layout_width="0dp"
android:layout_height="match_parent"/>
</LinearLayout>
<DatePicker
android:id="@+id/datepicker"
android:layout_width="match_parent"
android:calendarViewShown="false"
android:layout_height="wrap_content"/>
</LinearLayout>
public class MainActivity extends AppCompatActivity {
    private DatePicker datePicker;
    private int        year;
    private int        month;//月份是从0开始算的.
    private int        day;

    @Override
    protected void onCreate(Bundle savedInstanceState) {
        super.onCreate(savedInstanceState);
        this.requestWindowFeature(Window.FEATURE_NO_TITLE);//去掉标题栏
        setContentView(R.layout.activity_main);
        datePicker = (DatePicker) findViewById(R.id.datepicker);
//
        initData();
    }
    public void initData(){
        Calendar calendar = Calendar.getInstance();
        year = calendar.get(Calendar.YEAR);
        month = calendar.get(Calendar.MONTH);
        day = calendar.get(Calendar.DAY_OF_MONTH);

        datePicker.init(year, month, day, new DatePicker.OnDateChangedListener() {
            @Override
            public void onDateChanged(DatePicker view, int year, int monthOfYear, int dayOfMonth) {
                Toast.makeText(MainActivity.this, year + "年" + (monthOfYear+1) + "月" + dayOfMonth + "日", Toast.LENGTH_SHORT).show();
            }
        });

    }
    public void cancel(View v){
        Toast.makeText(this, "取消,按照工单给的补抄日期", Toast.LENGTH_SHORT).show();
    }
    public void confirm(View v){
        Toast.makeText(this, "确认", Toast.LENGTH_SHORT).show();
    }
}
备注:
1.这里必须继承AppCompatActivity,才会出现这个界面,否则你继承的是Activity,出现的界面很丑,黑白的,但是你有时候继承
AppCompatActivity会报错.
报错如下: java.lang.RuntimeException: Unable to start activity ComponentInfo{com.example.test2/com.example.test2.MainActivity}: java.lang.IllegalStateException: You need to use a Theme.AppCompat theme (or descendant) with this activity. 解决方法: 创建的activity是MainActivity extends ActionBarActivity这样的。把后面的ActionBarActivity改成Activity,然后导包,把下面报错的地方删掉运行就不报错了。。。导入support:appcompat-v7支持包,我导入的25.1版本的.另外导入的时候也可能报错,需要修改compileSdkVersion版本.compile 'com.android.support:appcompat-v7:25.1.0'


 6127
6127


 被折叠的 条评论
为什么被折叠?
被折叠的 条评论
为什么被折叠?
 到【灌水乐园】发言


