


附加知识:
1.图片命名:
不能数字开头,不能写大写字母
2.滚动界面利用ScrollView,但其中只能使用一个子标签
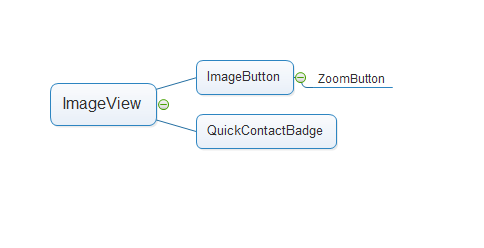
1.ImageView:
1.xml:
1)区别src和background(也可以用图片或颜色背景,会拉伸)
区别:
src:不会拉伸
background:可以用图片或颜色,用图片会拉伸,功能和ImageView只scaleType中的fitXY类似。且它不是ImageView特有的属性。
2)当用background属性时,单独显示时。要设置其高度。
3)当每个分辨率都有共同名字的图片,那么它会适应手机来选择不同分辨率的图片。
<ImageView
        android:id="@+id/image"
        android:layout_width="wrap_content"
        android:layout_height="wrap_content"
        android:src="@drawable/a"/>
4)scaleType=”“;
值:
默认center:居中
fitStart:放前面
fitCenter:放中间,与center类似
fitEnd:放后面
fitXY:充满,功能和background相似
centerCrop:不拉伸的前提,按比例放大,效果会使窄边先充满
centerInside:和center类似
5)tint=”“;蒙版,传入ragb颜色,r控制其透明度,蒙上一层透明颜色。
6)以后会学到加载第三方库的方式:
ImageLoader,Fresco,Bitmap,Drawable,OOM
范例:
演示scaleType=”“
<ScrollView xmlns:android="http://schemas.android.com/apk/res/android"
    android:layout_width="match_parent"
    android:layout_height="match_parent" >

    <LinearLayout
        android:layout_width="match_parent"
        android:layout_height="match_parent"
        android:orientation="vertical" >
        <ImageView
            android:layout_width="match_parent"
            android:layout_height="wrap_content"
            android:src="@drawable/k"
            android:scaleType="center"/>
        <ImageView
            android:layout_width="match_parent"
            android:layout_height="wrap_content"
            android:src="@drawable/k"
            android:background="@drawable/k"/>
        <ImageView
            android:layout_width="match_parent"
            android:layout_height="wrap_content"
            android:src="@drawable/k"
            android:scaleType="fitStart"/>
        <ImageView
            android:layout_width="match_parent"
            android:layout_height="wrap_content"
            android:src="@drawable/k"
            android:scaleType="fitCenter"/>

        <ImageView
            android:layout_width="match_parent"
            android:layout_height="wrap_content"
            android:src="@drawable/k"
            android:scaleType="fitEnd"
            />
        <ImageView
            android:layout_width="match_parent"
            android:layout_height="wrap_content"
            android:src="@drawable/k"
            android:scaleType="fitXY"
            />
        <ImageView
            android:layout_width="match_parent"
            android:layout_height="wrap_content"
            android:src="@drawable/k"
            android:scaleType="centerCrop"
            />
        <ImageView
            android:layout_width="match_parent"
            android:layout_height="wrap_content"
            android:src="@drawable/k"
            android:scaleType="centerInside"
            />
    </LinearLayout>


</ScrollView>
结果演示:

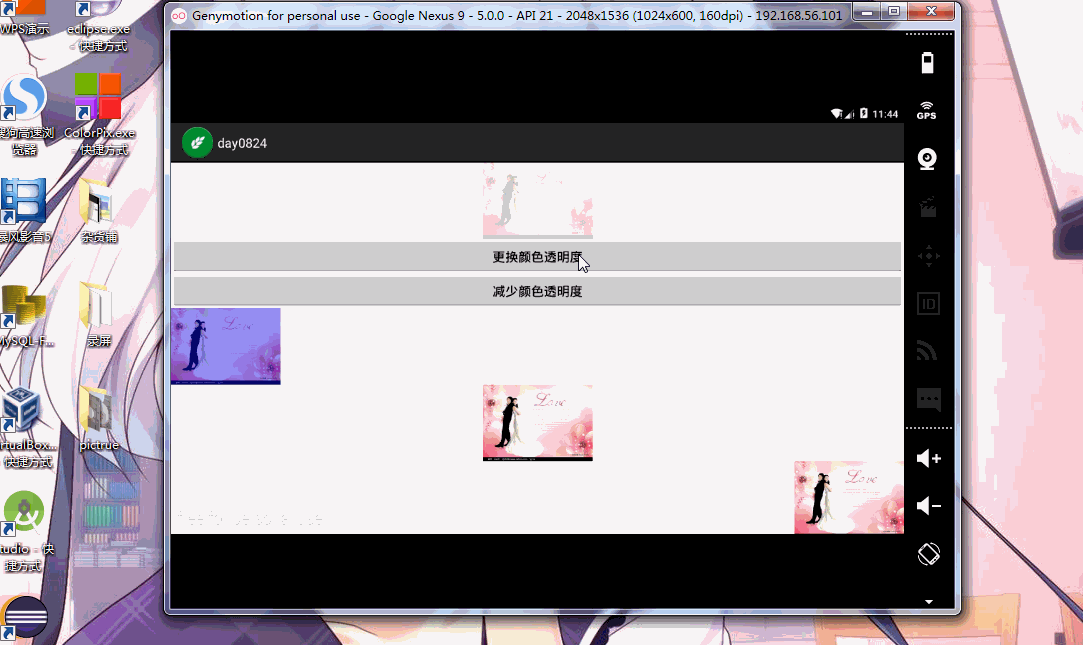
2.利用代码,改变图片
1)setImageResource()方法:
btn.setOnClickListener(new OnClickListener() {

@Override
public void onClick(View arg0) {
    imageView.setImageResource(R.drawable.b);//此方法改变图片资源

    }
});
2)setImageAlpha()—-16版本(包括16)以上和setAlpha()—-16版本一下;
范例:利用按键控制增加图片透明度:
@TargetApi(Build.VERSION_CODES.JELLY_BEAN) public class SecondActivity extends Activity implements OnClickListener{
    private Button mButtonAlpha;
    private ImageView mImageViewAlpha;
    private int mAlphaCount;
    @Override
    protected void onCreate(Bundle savedInstanceState) {
        // TODO Auto-generated method stub
        super.onCreate(savedInstanceState);
        setContentView(R.layout.activity_second);
        mButtonAlpha=(Button) findViewById(R.id.btn_alpha);
        mImageViewAlpha =(ImageView) findViewById(R.id.imageview_alpha);
        mButtonAlpha.setOnClickListener(this);//不要忘了这句,按钮要设置点击事件,
    }
    @Override
    public void onClick(View arg0) {
        switch(arg0.getId()){
        case R.id.btn_alpha:

            mAlphaCount+=5;
            int version = android.os.Build.VERSION.SDK_INT;//判断版本号
            Log.d("version", "版本号为:"+version);
            if(version<16){
                //是个循环的过程,当完全透明时(即透明度为100),又会恢复到透明度为0;当超过255,又循环
                mImageViewAlpha.setAlpha(mAlphaCount);
            }else{
                mImageViewAlpha.setImageAlpha(mAlphaCount);
            }

            break;
        default:
            break;
        }

    }
}
解释:
1>android.os.Build.VERSION.SDK_INT //判断版本号
2>@TargetApi(Build.VERSION_CODES.JELLY_BEAN) //需要添加这一句版本设置
3>透明度达到255后,会循环又变成0,
演示:
ImageButton:
特有,仅背景多了灰色


 1823
1823

 被折叠的 条评论
为什么被折叠?
被折叠的 条评论
为什么被折叠?
 到【灌水乐园】发言


