


UIButton圆角/边框设置相关
例:先定义一个Button,使点击Button后从屏幕下方弹出一个View,而这个弹出的View上在声明一列Button(本文的设置对象),关键是要做出来的效果能拿出来见人。
最后有附有效果图
interface部分:
#import <UIKit/UIKit.h>
@interface DMTsukkomlVC : UIViewController <UIGestureRecognizerDelegate>
@property (strong, nonatomic) UIButton *ymInputButton;
@property (strong, nonatomic) UIView *ymInputView;

@end
implementation部分:
@implementation DMTsukkomlVC

- (void)touchesBegan:(NSSet *)touches withEvent:(UIEvent *)event {
    [self.view endEditing:YES];
    // 退出显现的View
    [self gmDismissView];
}

- (void)viewDidLoad {
    [super viewDidLoad];
    // Button声明和设置
    if (!self.ymInputButton) {
        self.ymInputButton = [[UIButton alloc] initWithFrame:CGRectMake(30, 368, 260, 44)];
    }
    [self.ymInputButton addTarget:self action:@selector(gmInputButtonAction) forControlEvents:UIControlEventTouchUpInside ];
    [self.view addSubview:self.ymInputButton];
}

// Button连接事件
- (void)gmInputButtonAction {
    if (!self.ymInputView) {
        self.ymInputView = [[UIView alloc] initWithFrame:CGRectMake(0, 460, 320, 150)] ;
    }
    [self.ymInputView setBackgroundColor:[UIColor blackColor]];
    [self.view addSubview:self.ymInputView];

    // 设置透明度
    [self.ymInputView setAlpha:0.8];

    // 在弹出View上加入3个Button
    NSArray *tempArr = [[NSArray alloc] initWithObjects:@"照相",@"图片库",@"取消", nil];
    for (int i = 0 ;i < 3 ; i++) {
       // 设置圆角
       UIButton *tempBut = [UIButton buttonWithType:UIButtonTypeCustom];
       tempBut.frame = CGRectMake(20, 6+i*48, 280, 42);
//     [tempBut.layer setMasksToBounds:YES];

       // 设置半径
        [tempBut.layer setCornerRadius:10];
       // 边框宽度
       [tempBut.layer setBorderWidth:1.0];
       // 边框颜色
       CGColorSpaceRef colorSpace = CGColorSpaceCreateDeviceRGB();
       CGColorRef colorref = CGColorCreate(colorSpace, (CGFloat[]){1,1,1,1});
       [tempBut.layer setBorderColor:colorref];
       // 其它属性设置
       tempBut.tag = 2000+i;
       [tempBut setBackgroundColor:[UIColor blackColor]];
       [tempBut setTitleColor:[UIColor whiteColor] forState:UIControlStateNormal];
       [tempBut setTitle:[tempArr objectAtIndex:i] forState:UIControlStateNormal] ;

       // 取得不同的时间点
       // 点击手势,方式一
       UITapGestureRecognizer *tgrTemp = [[UITapGestureRecognizer alloc] initWithTarget:self action:@selector(gmTRGAction:)];
       [tempBut addGestureRecognizer:tgrTemp];

       // 代理设置,方式二
        tgrTemp.delegate = self;
       // 本想使用点击手势来捕捉最开始接触Button那个时间点,但发现下面这个方法用不出来
//      [tgrTemp setState:UIGestureRecognizerStateBegan];

        // Button关联事件,方式三
        [tempBut addTarget:self action:@selector(gmInputSendAction:) forControlEvents:UIControlEventTouchDown ];
        [self.ymInputView addSubview:tempBut];
    }

    // View弹出
    [UIView animateWithDuration:0.5 animations:^{
        [ self.ymInputView setFrame:CGRectMake(0, 310, 320, 150)] ;
     } completion:^(BOOL finished){ }];
}

// 取消点击Button时弹出View
- (void)gmDismissView {
    [UIView animateWithDuration:0.5 animations:^{
        [self.ymInputView setFrame:CGRectMake(0, 460, 320, 150)] ;
    } completion:^(BOOL finished){   }];
}

// 在Button点击后弹出View上加入3个Button,关联方法
- (void)gmInputSendAction:(id)sender {
    UIButton *tempButton = (UIButton *)sender;
    [tempButton setBackgroundColor:[UIColor grayColor]];
    NSLog(@"接触到Button就立即执行该方法");
    if (tempButton.tag == 2000) {
        NSLog(@"获取照相机操作");
        [self gmDismissView];
    }
    if (tempButton.tag == 2000) {
        NSLog(@"获取图片库操作");
        [self gmDismissView];
    }
    if (tempButton.tag == 2002) {
        [self gmDismissView];
    }
}

// 点击手势
- (void)gmTRGAction:(id)sender {
    UITapGestureRecognizer *tempGesture = (UITapGestureRecognizer *)sender;
    UIButton *tempButton = (UIButton *)tempGesture.view ;
    [tempButton setBackgroundColor:[UIColor blackColor]];
   NSLog(@"点击Button松手后,执行改方法");
}

#pragma mark UIGestureRecognizerDelegate
- (BOOL)gestureRecognizerShouldBegin:(UIGestureRecognizer *)gestureRecognizer {
    NSLog(@"点击Button松手后,先执行代理中这个方法,比上面一个方法先执行");
    return YES;
}

@end
效果图:
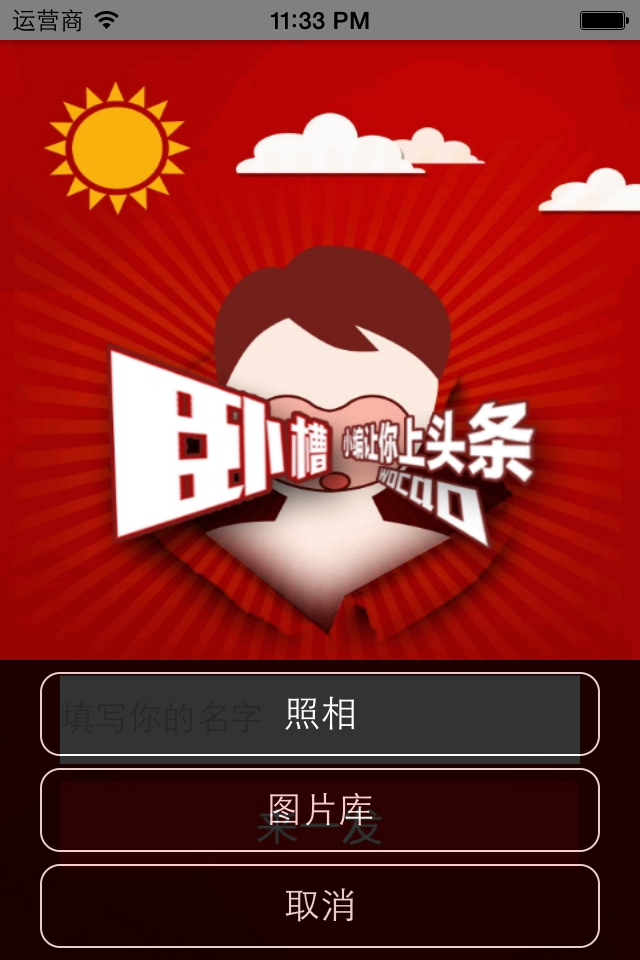
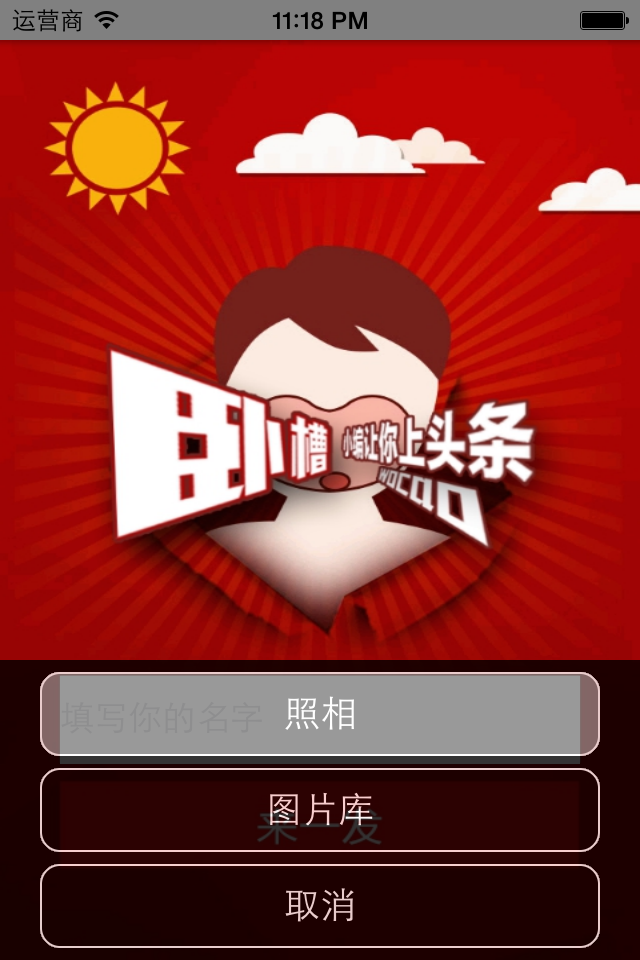
当手指点击到Button上时,附下图,点击事件消失后,状态还原上图效果


 1422
1422

 被折叠的 条评论
为什么被折叠?
被折叠的 条评论
为什么被折叠?
 到【灌水乐园】发言


