


Docker for Windows Nginx&PHP 使用
开始之前
首先这是为已经安装了DockerToolbox或者其他类似的软件包准备的!!!而且必须已经安装了docker-compose。
你应该对于docker有了一定的了解,常用的一些命令已经知道。这篇文章是我自己学习经过,欢迎大家提意见,这里使用的是官方提供的镜像。
Nginx 安装&配置
由于使用官方镜像docker-compose安装,直接上docker-compose.yml配置
nginx:
    image: nginx:1.10
    ports:
        - "80:80"
使用命令行工具Docker Quickstart Terminal,进入docker-compose.yml所在的文件夹运行
docker-compose up -d如果端口没被占用的话一般我们就已经成功运行了nginx,进入docker-machine所使用的ip地址就可以看到默认页面。但是这样并不能满足我们开发的需求,所以我们要外部加载配置及指定外部的工作地址。
nginx:
    image: nginx:1.10
    ports:
        - "80:80"
    volumes:
        - /share/bin/nginx/www:/www
        - /share/bin/nginx/conf/sites/default.conf:/etc/nginx/conf.d/default.conf
- /share/bin/nginx/logs:/var/log/nginx- /share 文件夹是我挂载到虚拟机上的目录
- /www 是default.conf内配置的root
default.conf配置项
server {
    index index.html;
    server_name localhost;
    error_log  /var/log/nginx/error.log;
    access_log /var/log/nginx/access.log;
    root /www;
}
然后运行 docker-compose up 后nginx就已经运行了。
PHP安装&配置
nginx已经搞定,下面我们就要开始配置php了。同样我们使用官方的php-fpm,docker-compose.yml如下
nginx:
    image: nginx:1.10
    ports:
        - "80:80"
    volumes:
        - /share/bin/nginx/www:/www
        - /share/bin/nginx/conf/sites/default.conf:/etc/nginx/conf.d/default.conf
        - /share/bin/nginx/logs:/var/log/nginx
    links:
        - php
php:
    image: php:7-fpm
    volumes:
        - /share/bin/nginx/www:/www
这里要注意的是php也要挂载nginx工作目录!!!血泪教训这里折腾了N久。
同样要对nginx的配置文件进行修改
server {
    index index.html index.php;
    server_name localhost;
    error_log  /var/log/nginx/error.log;
    access_log /var/log/nginx/access.log;
    root /www;

    location ~ \.php$ {
        try_files $uri =404;
        fastcgi_split_path_info ^(.+\.php)(/.+)$;
        fastcgi_pass php:9000;
        fastcgi_index index.php;
        include fastcgi_params;
        fastcgi_param SCRIPT_FILENAME $document_root$fastcgi_script_name;
        fastcgi_param PATH_INFO $fastcgi_path_info;
    }
}
这里需要住的是fastcgi_pass 可以使用nginx links里面的名称,也可以使用IP地址,查询容器IP得知的方法为
docker inspect 容器ID/容器名 |grep '"IPAddress"'OK现在我们来刷新下容器docker-compose up ,然后在我们的工作目录/share/bin/nginx/www下新建一个index.php文件
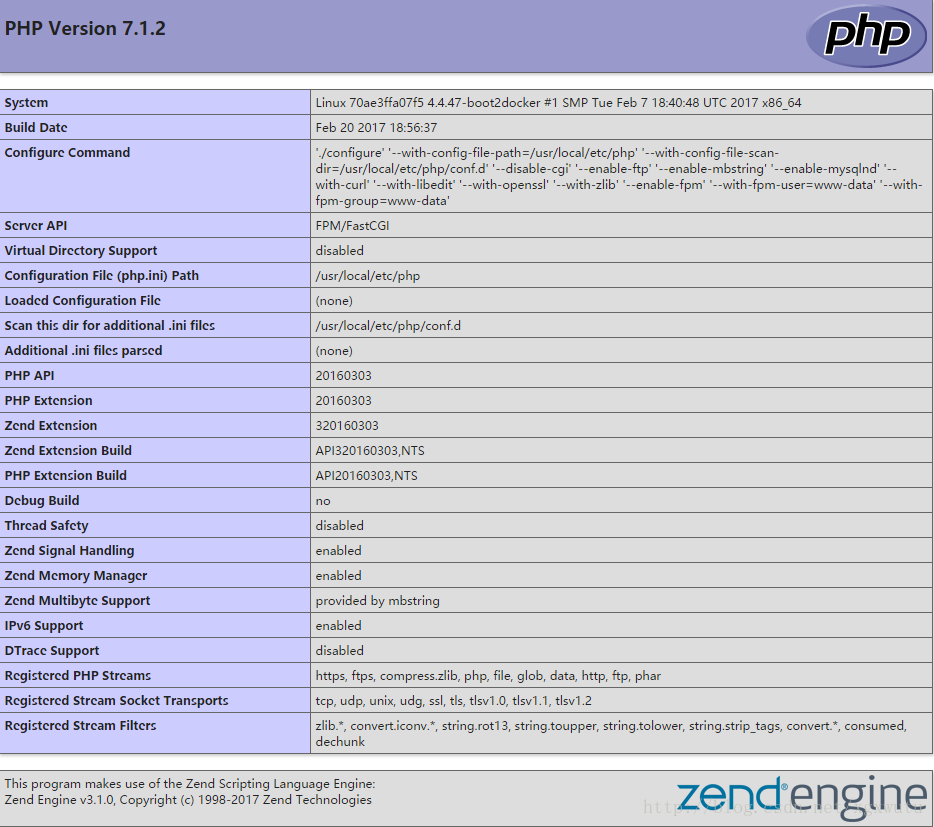
<?php
phpinfo();
浏览器输入我们的docker-machine 地址,一般为192.168.99.100
等待扩展:php配置文件也可以像nginx配置文件一样外置,有空我会补上。
更多虚拟机
现在我们已经完成一半了,但我们日常的开发或者发布中,往往需要多个虚拟机,大家可以参考nginx配置相关的知识了。
如果没有修改默认的nginx.conf的配置一般应该如下
user  nginx;
worker_processes  1;

error_log  /var/log/nginx/error.log warn;
pid        /var/run/nginx.pid;


events {
    worker_connections  1024;
}


http {
    include       /etc/nginx/mime.types;
    default_type  application/octet-stream;

    log_format  main  '$remote_addr - $remote_user [$time_local] "$request" '
                      '$status $body_bytes_sent "$http_referer" '
                      '"$http_user_agent" "$http_x_forwarded_for"';

    access_log  /var/log/nginx/access.log  main;

    sendfile        on;
    #tcp_nopush     on;

    keepalive_timeout  65;

    #gzip  on;

    include /etc/nginx/conf.d/*.conf;
}
其中需要我们关注的是include /etc/nginx/conf.d/*.conf;这一句,没有被修改的话,我们的多虚拟机只要简历类似于site1.conf,site2.conf…然后放入/share/bin/nginx/sites,配置docker-compose.yml就可以实现多虚拟机配置。
按照最简化配置site1.conf
server {
    listen      80;
    server_name test.docker.dev;
    #charset koi8-r;
    error_page  404  /404.html;
    # redirect server error pages to the static page /50x.html
    #
    error_page   500 503 504  /50x.html;
    error_log   /var/log/nginx/debug.log debug;
    index   index.html index.htm;
    root /www/test.docker.dev;

    location = /50x.html {
        root   /usr/share/nginx/html;
    }

    location = /404.html {
        root   /usr/share/nginx/html;
    }
}
docker-compose.yml:
nginx:
    image: nginx:1.10
    ports:
        - "80:80"
    volumes:
        - /share/bin/nginx/www:/www
        - /share/bin/nginx/conf/sites/default.conf:/etc/nginx/conf.d/default.conf
        - /share/bin/nginx/conf/sites/site1.conf:/etc/nginx/conf.d/site1.conf
        - /share/bin/nginx/logs:/var/log/nginx
    links:
        - php
php:
    image: php:7-fpm
    volumes:
        - /share/bin/nginx/www:/code
如果要访问的话需要修改windwos的hosts和虚拟机的hosts
windows:C:/Windows/System32/drivers/etc/hosts
192.168.99.100 test.docker.devlinux:/etc/hosts
127.0.0.1 test.docker.dev需要注意的一点是虚拟机内需要切换root账户DockerToolbox默认没有密码sudo -i
在www下建立test.docker.dev文件夹放入index.html
test.docker.dev website让我们来测试下吧
http://192.168.99.100

http://test.docker.dev
如果2个页面显示的内容不一样则代表我们大功告成。


 1635
1635


 被折叠的 条评论
为什么被折叠?
被折叠的 条评论
为什么被折叠?
 到【灌水乐园】发言


