


1.openfire编译运行正常,参见:http://blog.csdn.net/xhcbird/article/details/20458449
2.插件开发,帮助文档很详细,在openfire_src\documentation\docs\index.html文件,用浏览器打开。可以找到:
- Plugin Developer Guide - A guide to writing and installing plugins for Openfire.
3.参照文档。在openfire/src/plugins目录下,增加xhcplugin/src/java/com/xhcbird/xhcplugin/HelloWorld.java文件
package com.xhcbird.xhcplugin;

import org.jivesoftware.openfire.container.Plugin;
import org.jivesoftware.openfire.container.PluginManager;

import java.io.File;

/**
 * A sample plugin for Openfire.
 */
public class HelloWorld implements Plugin {

	public void initializePlugin(PluginManager manager, File pluginDirectory) {
        // Your code goes here
    	System.out.println("xhcbird helloworld start!!!");
    }
    public void destroyPlugin() {
        // Your code goes here
    	System.out.println("xhcbird helloworld stop!!!");
    }
}
4.在openfire/src/plugins目录下,增加plugin.xml文件
<?xml version="1.0" encoding="UTF-8"?>
<plugin>
    <!-- Main plugin class -->
    <class>com.xhcbird.xhcplugin.HelloWorld</class>

    <!-- Plugin meta-data -->
    <name>xhcplugin</name>
    <description>plugin xhc play.</description>
    <author>xhcbird</author>

    <version>1.0</version>
    <date>03/04/2014</date>
    <url>http://www.igniterealtime.org/projects/openfire/plugins.jsp</url>
    <minServerVersion>3.0.0</minServerVersion>
    <licenseType>gpl</licenseType>

    <!-- Admin console entries -->
    <adminconsole>
        <!-- More on this below -->
    </adminconsole>
</plugin>5.已经可以编译运行了。。。
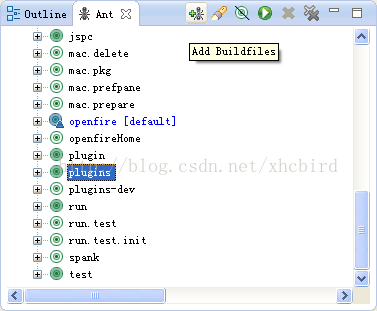
6.点击Window->Show View->Ant,点击Add Buildfiles,选择build/build.xml文件,如图:
7.点击plugins编译,F5刷新工程。在target/openfire/plusins出现xhcplugin.jar
8.运行。或者在已经运行的openfire中添加插件(插件栏中,点击添加插件按钮),如图:
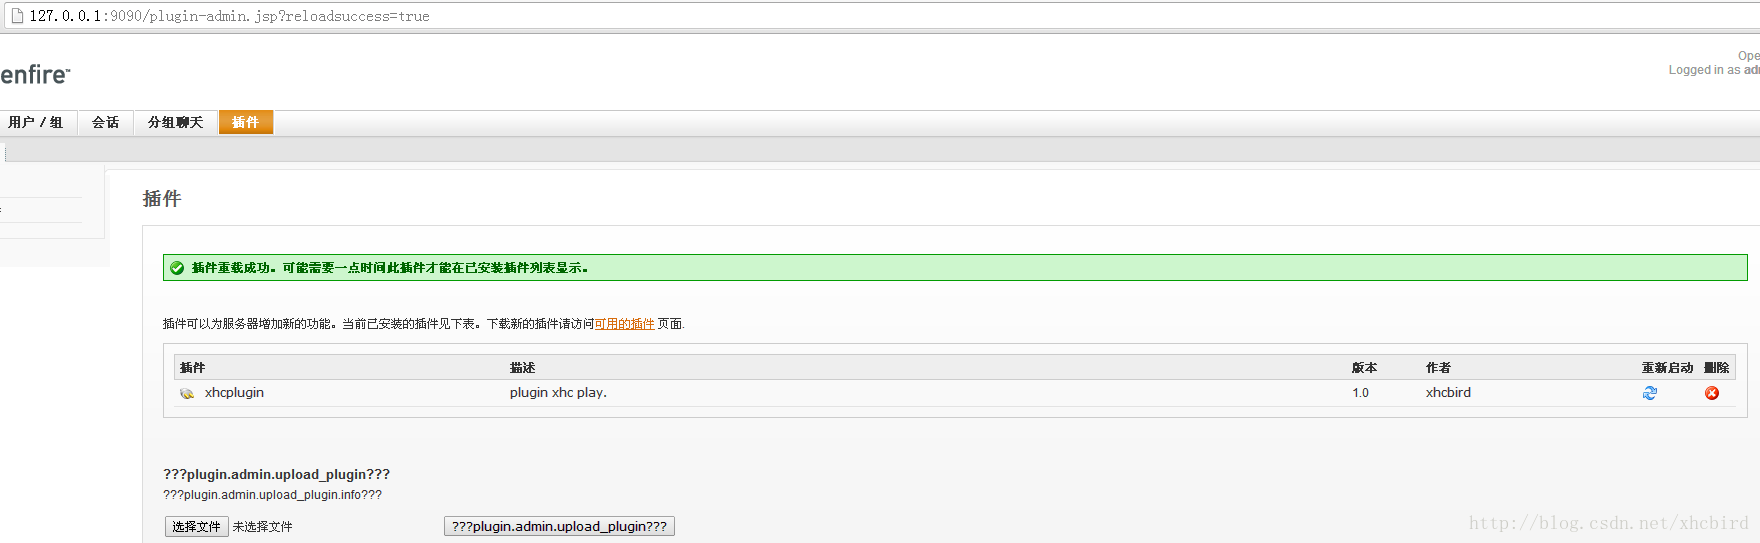
9.输出信息(console)中,可见:“xhcbird helloworld start!!!”


 834
834


 被折叠的 条评论
为什么被折叠?
被折叠的 条评论
为什么被折叠?
 到【灌水乐园】发言


