


花了一整天,qwt果子没吃上。。
要不是这篇帖子,都要弃疗了,搬运过来,给需要的人,也给自己留一个。
(不想再折腾,直接下载了一模一样的程序进行安装,win8.1 x64 成功)
原帖:
http://www.qtcentre.org/threads/53787-HowTo-Installation-of-Qt-5-0-1-and-Qwt-6-1-0-rc3-(Win7-64bit)
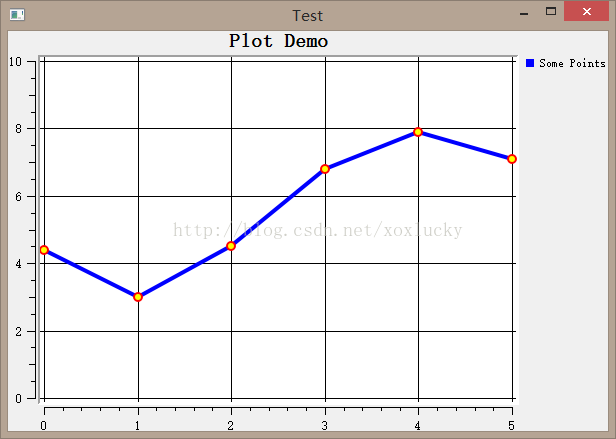
Qwt widget并没有显示出来,但是可以正常而且比较方便的使用,已无他求。 睡觉。。
Lets go:
1. Download and install QT 5.0.1 (MinGw) to: "C:\Qt\Qt5.0.1"
2. Download and extract Qwt 6.1 RC3 to: "C:\qwt-6.1-rc3"
3. Add "C:\Qt\Qt5.0.1\5.0.1\mingw47_32\bin" to your systems path variable (qmake.exe is located here)
4. Add "C:\Qt\Qt5.0.1\Tools\MinGW\bin" to your systems path variable (mingw32-make.exe is located here)
5. Open a command line (cmd) and navigate to: "C:\qwt-6.1-rc3"
6. Type: "qmake" (This command won't prompt any msg so don't worry)
7. Type: "mingw32-make" (Compiles the whole project with examples; this will take a while so be patient)
8. Type: "mingw32-make install" (This installs qwt to the directory set in "C:\qwt-6.1-rc3\qwtconfig.pri"; the default location is "C:/Qwt-$$QWT_VERSION-rc3" -> "C:\Qwt-6.1.0-rc3\")
9. Add "C:\Qwt-6.1.0-rc3\lib" to your systems path variable
10. Add a User variable named "QT_PLUGIN_PATH" with the following path "C:\Qwt-6.1.0-rc3\plugins"
11. Add a User variable named "QMAKEFEATURES" with the following path "C:\Qwt-6.1.0-rc3\features"
12. Start Qt Creator
13. Create a new project: File -> New File or Project ... -> Applications -> Qt Gui Application -> Choose
14. Name it "Test"
15. Create the project in the following directory: "C:\workspace"
16. Open file "Test.pro"
17. Add "CONFIG += qwt" at the bottom
18. Open the main.c of the project and delete all its content.
19. Paste the following in the main.c (This is the qwt example "simpleplot"):
Test code:
#include <qapplication.h>
#include <qwt_plot.h>
#include <qwt_plot_curve.h>
#include <qwt_plot_grid.h>
#include <qwt_symbol.h>
#include <qwt_legend.h>

int main( int argc, char **argv )
{
    QApplication a( argc, argv );

    QwtPlot plot;
    plot.setTitle( "Plot Demo" );
    plot.setCanvasBackground( Qt::white );
    plot.setAxisScale( QwtPlot::yLeft, 0.0, 10.0 );
    plot.insertLegend( new QwtLegend() );

    QwtPlotGrid *grid = new QwtPlotGrid();
    grid->attach( &plot );

    QwtPlotCurve *curve = new QwtPlotCurve();
    curve->setTitle( "Some Points" );
    curve->setPen( Qt::blue, 4 ),
    curve->setRenderHint( QwtPlotItem::RenderAntialiased, true );

    QwtSymbol *symbol = new QwtSymbol( QwtSymbol::Ellipse,
        QBrush( Qt::yellow ), QPen( Qt::red, 2 ), QSize( 8, 8 ) );
    curve->setSymbol( symbol );

    QPolygonF points;
    points << QPointF( 0.0, 4.4 ) << QPointF( 1.0, 3.0 )
        << QPointF( 2.0, 4.5 ) << QPointF( 3.0, 6.8 )
        << QPointF( 4.0, 7.9 ) << QPointF( 5.0, 7.1 );
    curve->setSamples( points );

    curve->attach( &plot );

    plot.resize( 600, 400 );
    plot.show();

    return a.exec();
}
Running:


 867
867


 被折叠的 条评论
为什么被折叠?
被折叠的 条评论
为什么被折叠?
 到【灌水乐园】发言


