


Installing Network Simulator 2 (NS2) on Ubuntu 14.04
1 Introduction
Network simulators are tools used to simulate discrete events in a network and which helps to predict the behaviours of a computer network. Generally the simulated networks have entities like links, switches, hubs, applications, etc. Once the simulation model is complete, it is executed to analyse the performance. Administrators can then customize the simulator to suit their needs. Network simulators typically come with support for the most popular protocols and networks in use today, such as WLAN,UDP,TCP,IP, WAN, etc.
Most simulators that are available today are based on a GUI application like the NCTUNS while some others incl. NS2 are CLI based. Simulating the network involves configuring the state elements like links, switches, hubs, terminals, etc. and also the events like packet drop rate, delivery status and so on. The most important output of the simulations are the trace files. Trace files log every packet, every event that occurred in the simulation and are used for analysis. Network simulators can also provide other tools to facilitate visual analysis of trends and potential trouble spots. Most of the simulation is performed in discrete time intervals where events that are in the queue are processed one after the other in an order.
Since simulation is a complex task, we cannot guarantee that all the simulators can provide exact or accurate results for all the different type of information. Examples of network simulators are: ns, NCTUNS, NetSim, etc.
ns2 is a name for series of discrete event network simulators like ns-1, ns-2 and ns-3. All of them are discrete-event network simulators, primarily used in research and teaching. ns2 is free software, publicly available under the GNU GPLv2 license for research, development, and use.
This post deals with the installation of "ns2" also called the "network simulator 2" in Ubuntu 14.04.
2 Download and Extract ns2
Download the all in one package for ns2 from here
The package downloaded will be named "ns-allinone-2.35.tar.gz". Copy it to the home folder. Then in a terminal use the following two commands to extract the contents of the package.:
cd ~/
tar -xvzf ns-allinone-2.35.tar.gz
All the files will be extracted into a folder called "ns-allinone-2.35".
3 Building the dependencies
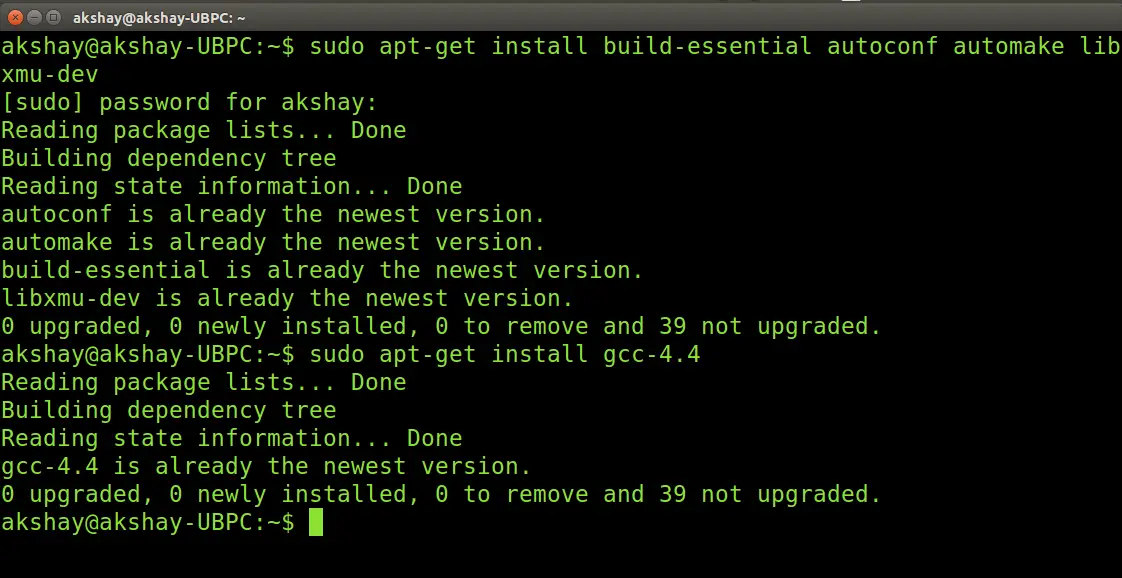
Ns2 requires a few packages to be pre installed. It also requires the GCC- version 4.3 to work correctly. So install all of them by using the following command:
sudo apt-get install build-essential autoconf automake libxmu-dev
One of the dependencies mentioned is the compiler GCC-4.3, which is no longer available, and thus we have to install GCC-4.4 version. The version 4.4 is the oldest we can get. To do that, use the follwoing command:
sudo apt-get install gcc-4.4
The image below shows the output of executing both the above commands. If you have all the dependencies pre-installed, as I did, the output will look like the image below:
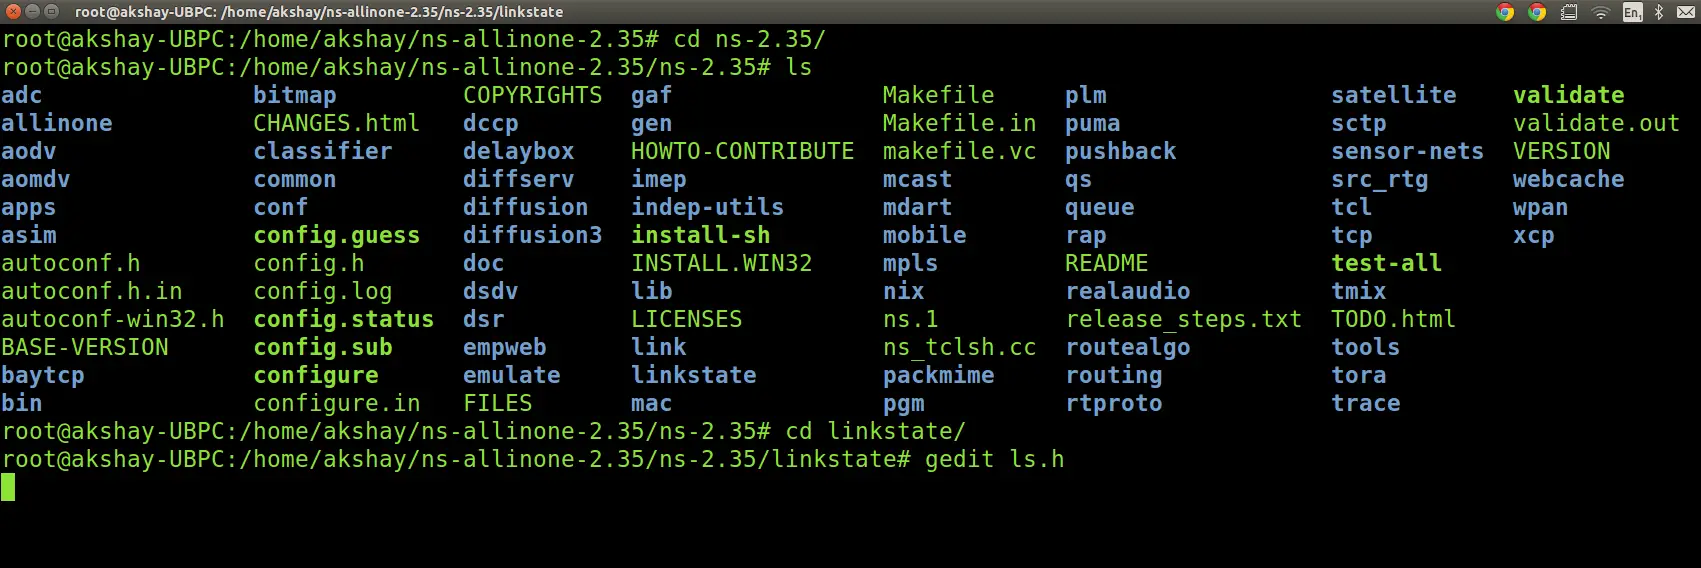
Once the installation is over , we have to make a change in the "ls.h" file. Use the following steps to make the changes:
Navigate to the folder "linkstate", use the following command. Here it is assumed that the ns folder extracted is in the home folder of your system.
cd ~/ns-allinone-2.35/ns-2.35/linkstate
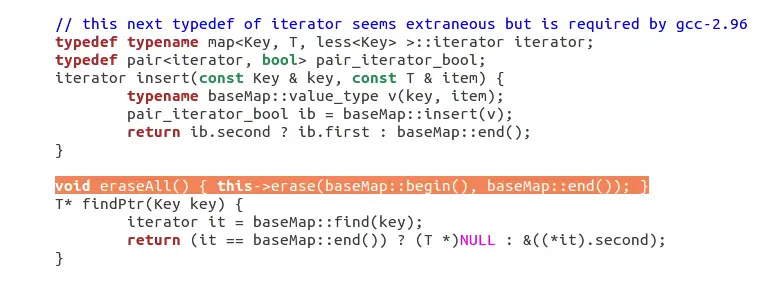
Now open the file named "ls.h" and scroll to the 137th line. In that change the word"error" to "this->error". The image below shows the line 137 (highlighted in the image below) after making the changes to the ls.h file.To open the file use the following command:
gedit ls.h
Save that file and close it.
Now there is one more step that has to be done. We have to tell the ns which version of GCC will be used. To do so, go to your ns folder and type the following command:
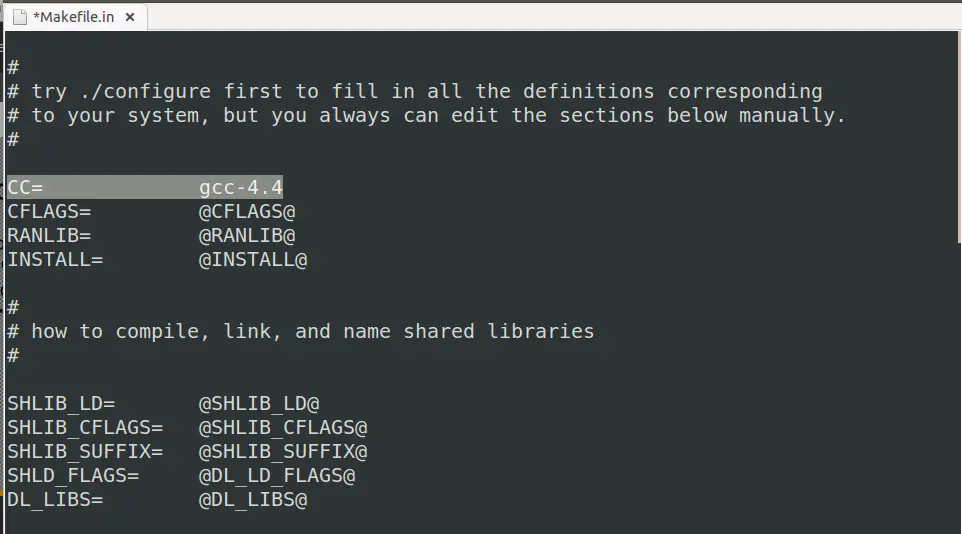
Sudo gedit ns-allinone-2.34/otcl-1.13/Makefile.in
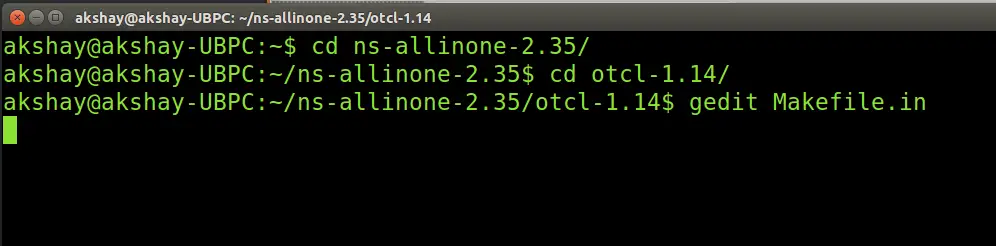
In the file, change Change CC= @CC@ to CC=gcc-4.4, as shown in the image below.
4 Installation
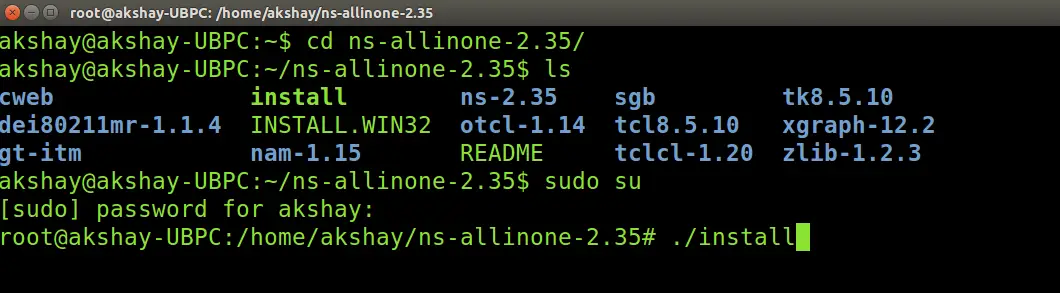
Now we are ready to install ns2. To do so we first require root privileges and then we can run the install script. Use the following two commands:
sudo su cd ~/ns-allinone-2.35/./install
The following is a snap of these commands:
The image below shows how it looks upon successful execution
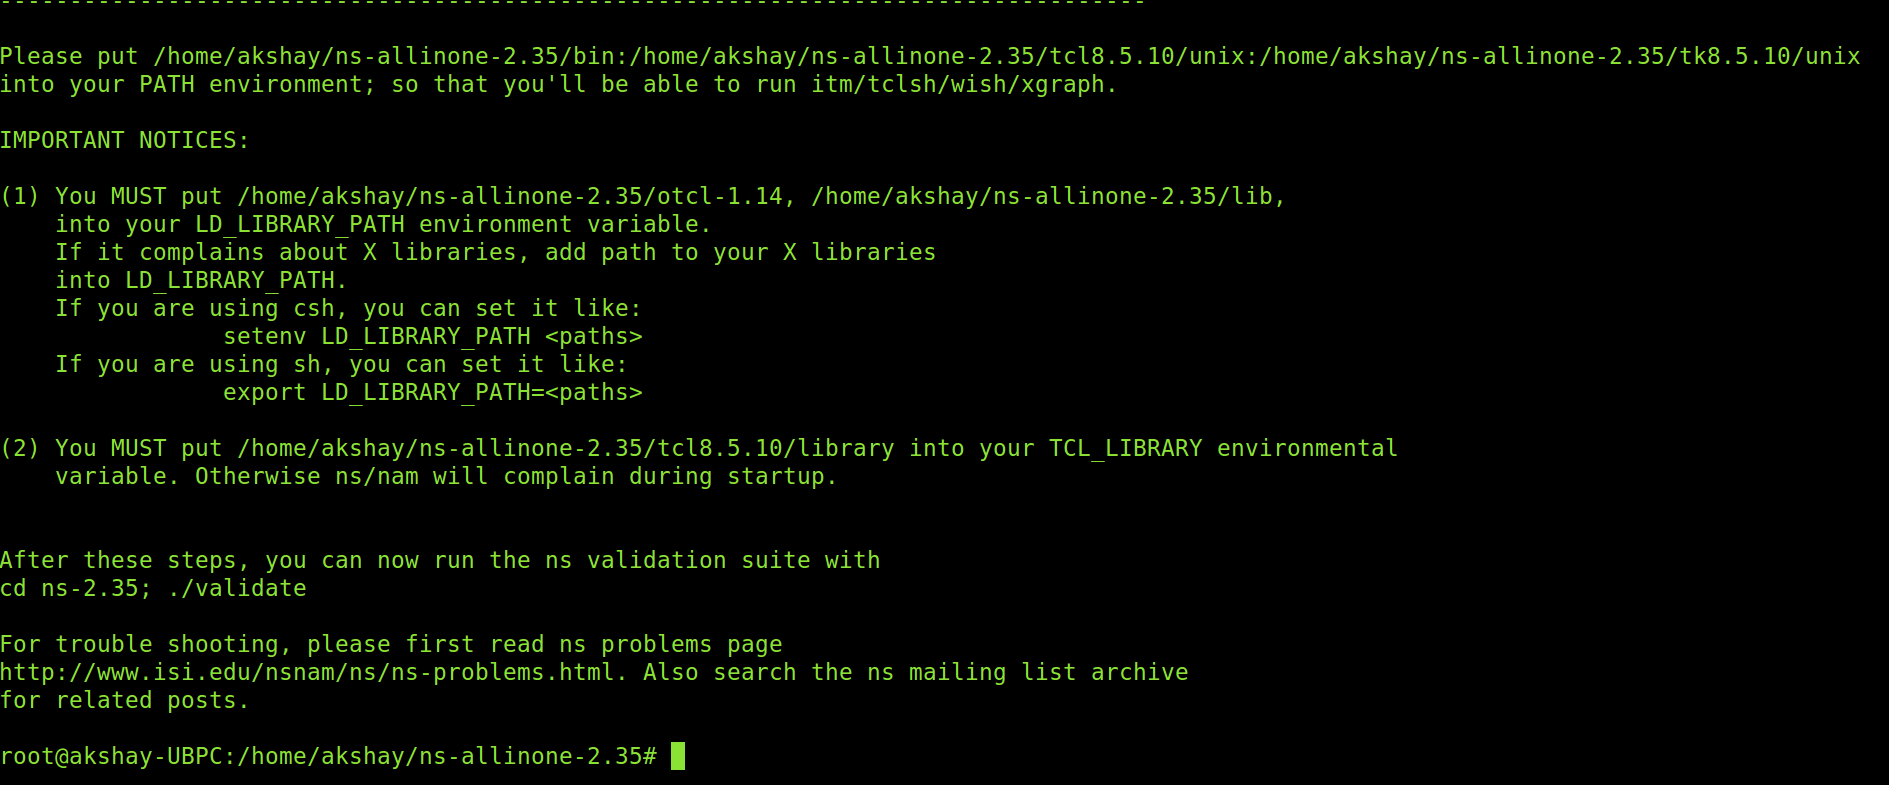
It took almost 6 minutes to build and install ns2 on my system. But before we run it, we need to add the build path to the environment path.
5 Setting the Environment Path
The final step is to tell the system, where the files for ns2 are installed or present. To do that, we have to set the environment path using the ".bashrc" file. In that file, we need to add a few lines at the bottom. The things to be added are given below. But for the path indicated below, many of those lines have "/home/akshay/ns-allinone-2.35/...." , but that is where I have my extracted folder. Make sure you replace them with your path. For example, if you have installed it in a folder"/home/abc", then replace "/home/akshay/ns-allinone-2.35/otcl-1.14" with"/home/abc/ns-allinone-2.35/otcl-1.14".
Do this for all the required lines.
sudo gedit ~/.bashrc
Lines to be added:
# LD_LIBRARY_PATH
OTCL_LIB=/home/akshay/ns-allinone-2.35/otcl-1.14
NS2_LIB=/home/akshay/ns-allinone-2.35/lib
X11_LIB=/usr/X11R6/lib
USR_LOCAL_LIB=/usr/local/lib
export LD_LIBRARY_PATH=$LD_LIBRARY_PATH:$OTCL_LIB:$NS2_LIB:$X11_LIB:$USR_LOCAL_LIB
# TCL_LIBRARY
TCL_LIB=/home/akshay/ns-allinone-2.35/tcl8.5.10/library
USR_LIB=/usr/lib
export TCL_LIBRARY=$TCL_LIB:$USR_LIB
# PATH
XGRAPH=/home/akshay/ns-allinone-2.35/bin:/home/akshay/ns-allinone-2.35/tcl8.5.10/unix:/home/akshay/ns-allinone-2.35/tk8.5.10/unix
#the above two lines beginning from xgraph and ending with unix should come on the same line
NS=/home/akshay/ns-allinone-2.35/ns-2.35/
NAM=/home/akshay/ns-allinone-2.35/nam-1.15/
PATH=$PATH:$XGRAPH:$NS:$NAM
Once the changes have been made, save the file and restart the system.
6 Running ns2
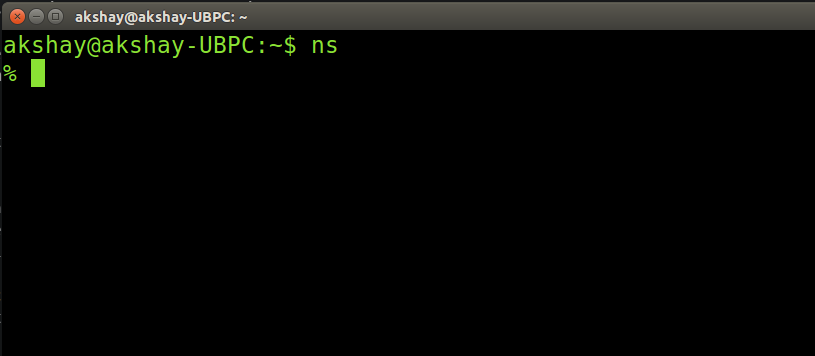
Once the system has restarted, open a terminal and start ns2 by using the following command:
ns
If the installation is correct then the terminal looks like the image below :
7 Links
转自:https://www.howtoforge.com/tutorial/ns2-network-simulator-on-ubuntu-14.04/
看了国内很多安装NS2的博客,都安装失败。
找到一篇文章,亲测,可行!
操作系统:Ubuntu 12.04 LTS 32bit


 1077
1077


 被折叠的 条评论
为什么被折叠?
被折叠的 条评论
为什么被折叠?
 到【灌水乐园】发言


