


为什么我们需要将library提交到jcenter仓库
原因如下:
1.提供单独工具库,分享给大家
2.提供sdk开发
- Bintray区
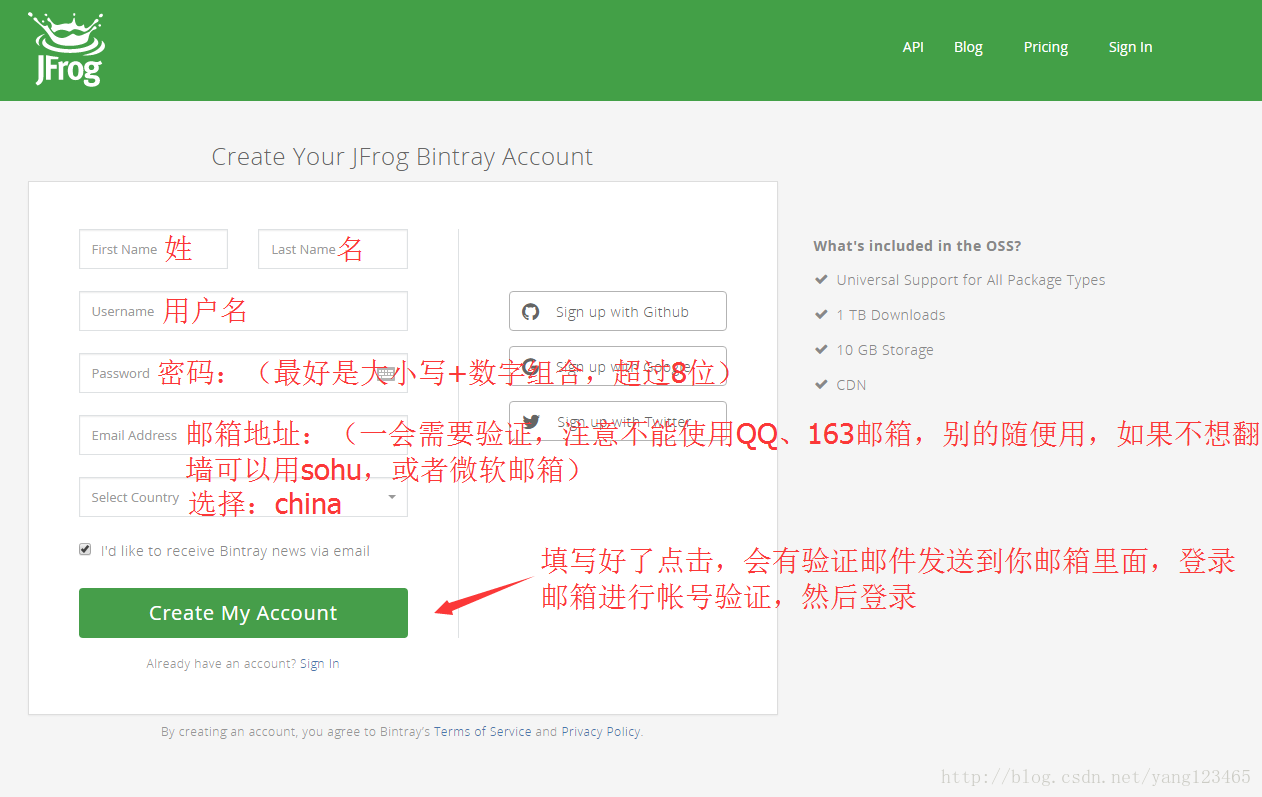
-第一步:注册帐号
注册帐号地址:
https://bintray.com/signup/oss,https://bintray.com/signup/oss,https://bintray.com/signup/oss(重要的事情说三遍,不要自己在百度搜bintrary官网注册,不听劝者,后果自负,(对,没错,这就是我遇到的最后一个坑,我现在拿到第一步来说))
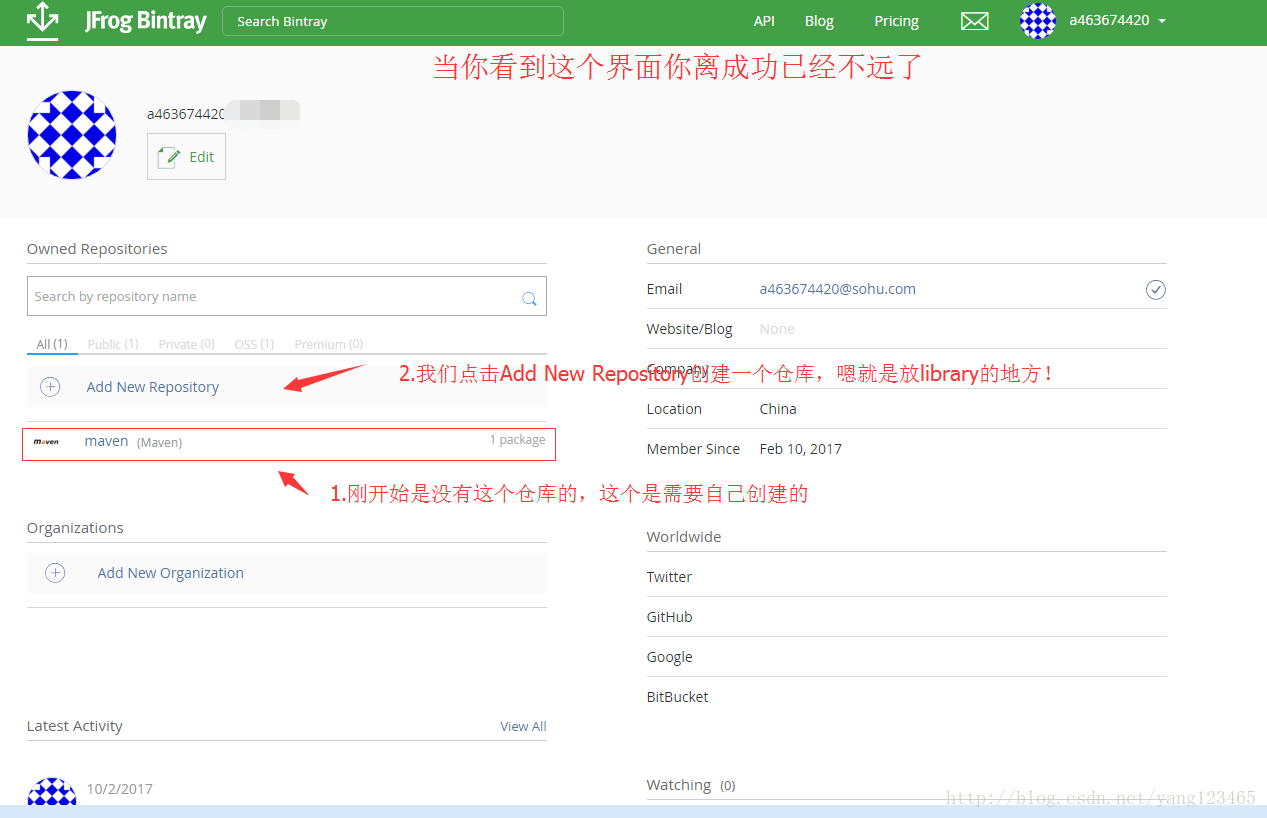
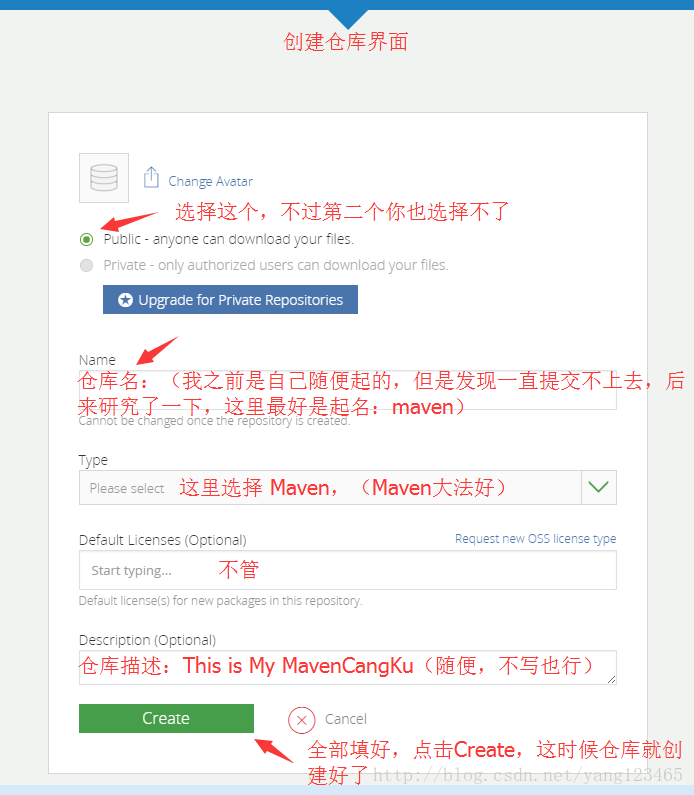
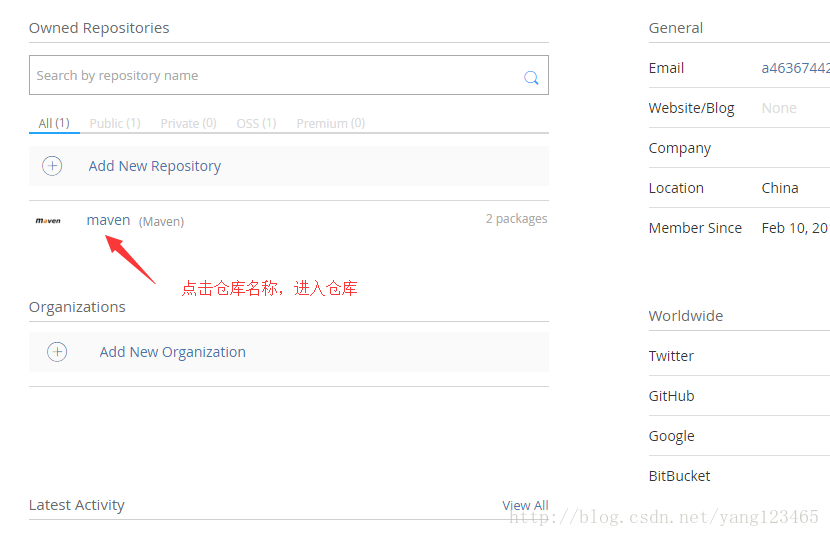
-第二步:创建仓库
当我们成功的注册了帐号并且成功了登录的时候(嗯,你说的没错,我注册帐号花了1个小时,当时死磕QQ163邮箱,平时就用这俩,哈哈)
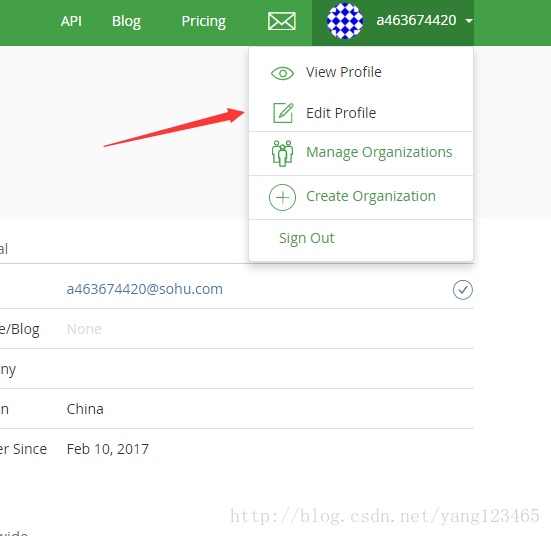
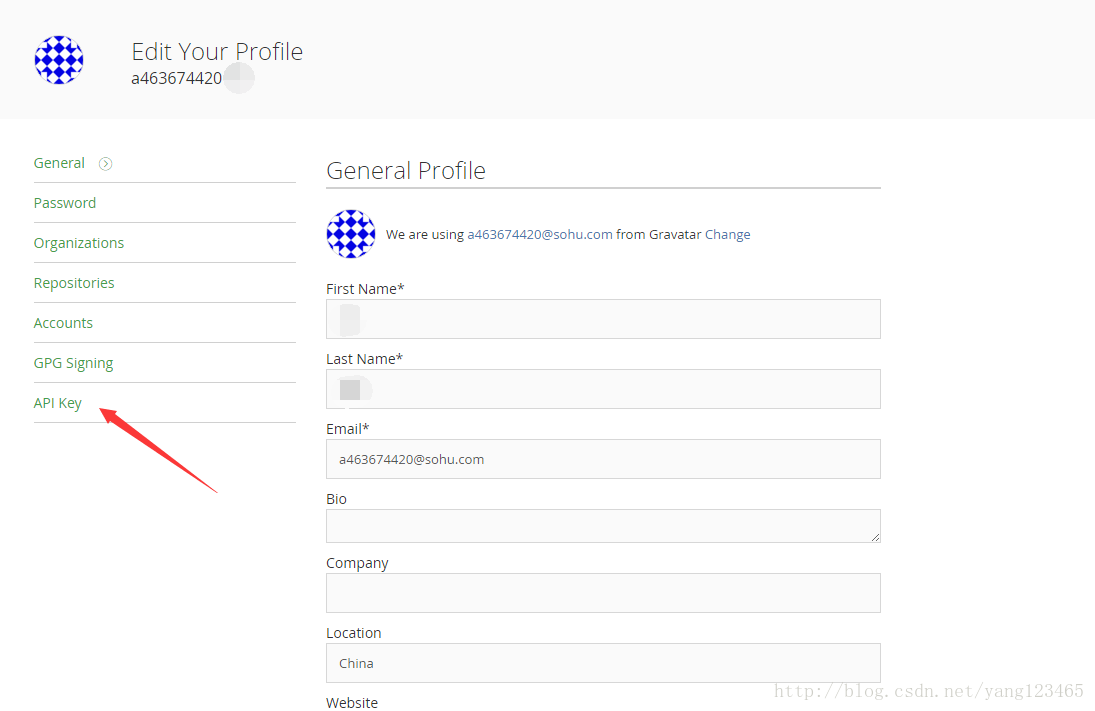
-第三步:获取bintray帐号Key
步骤一:
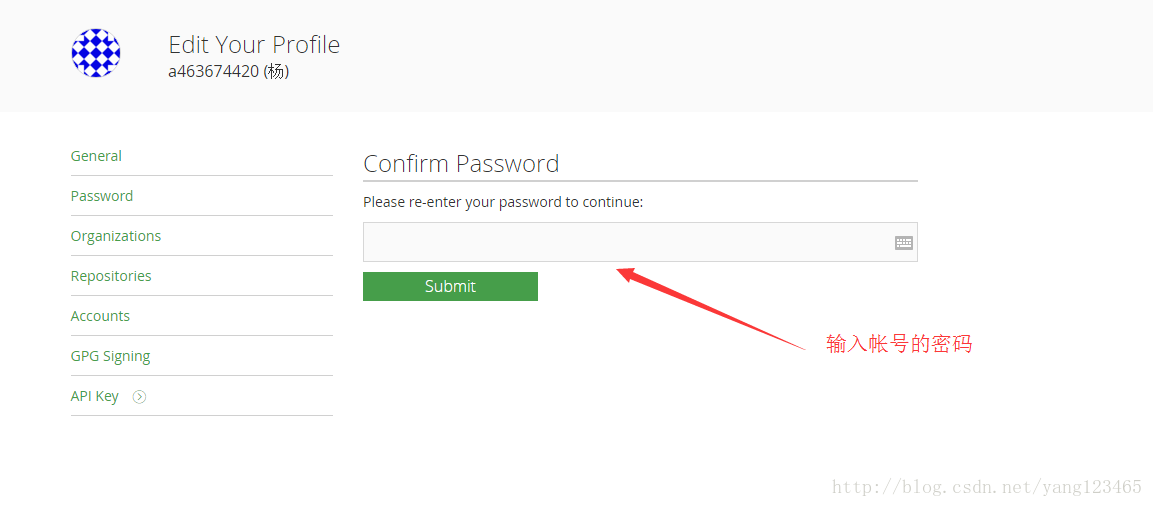
步骤二:
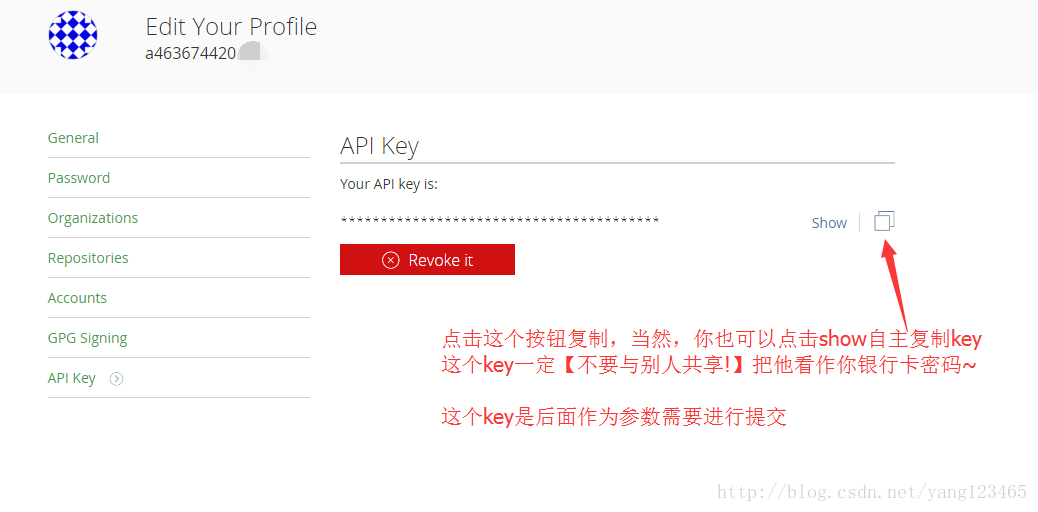
步骤三:
步骤四:
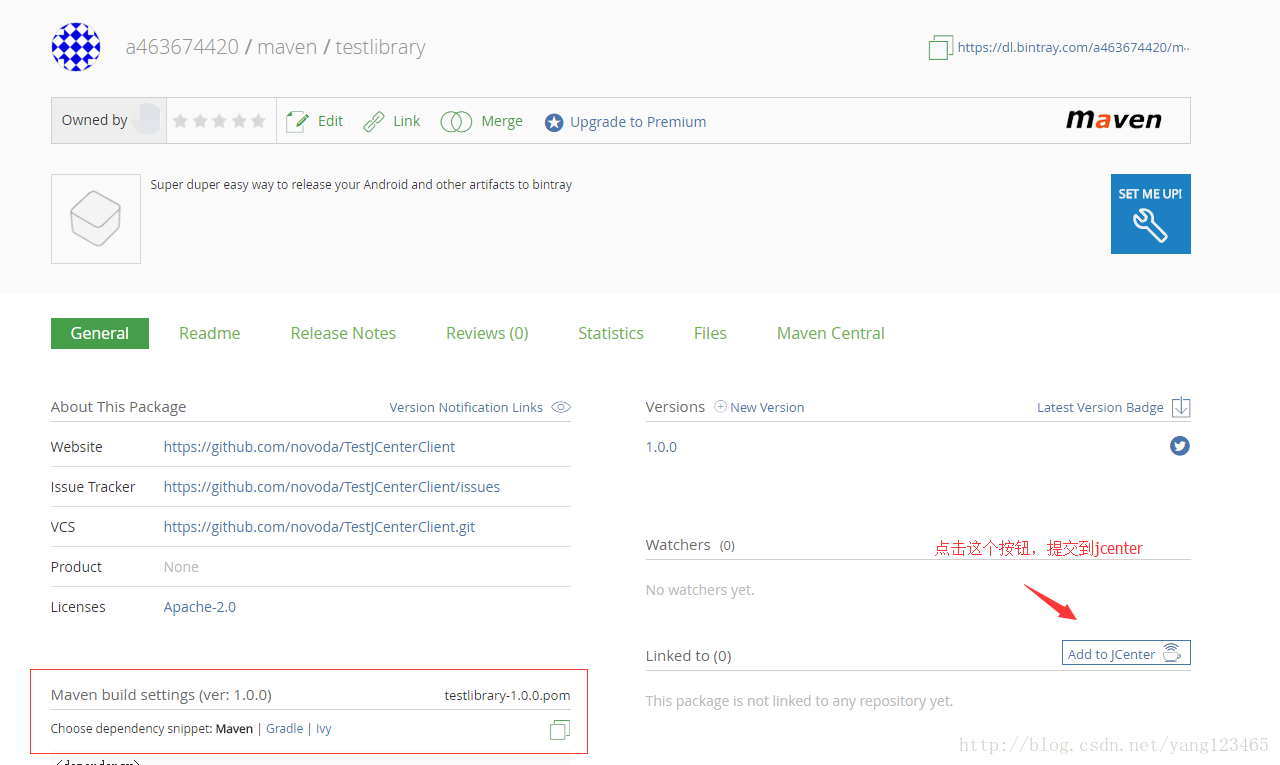
到这里,JCenter线上操作已经完成,接下来我们开始配置AndroidLibrary项目
- AndroidLibrary区
-
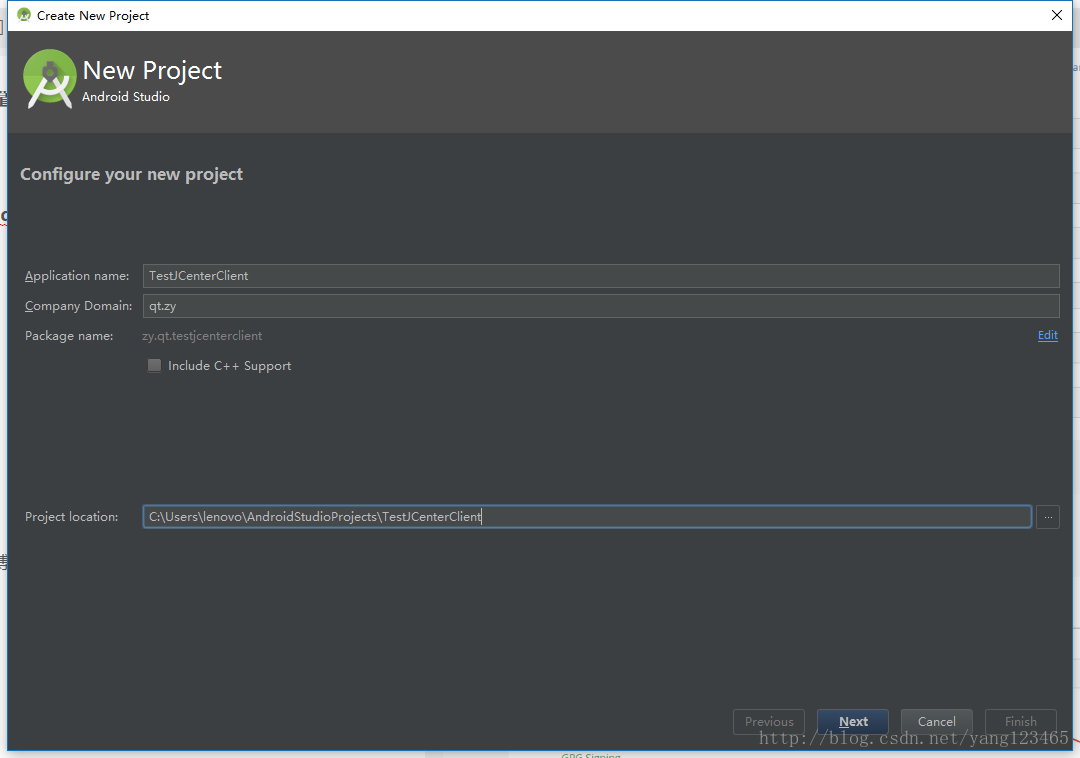
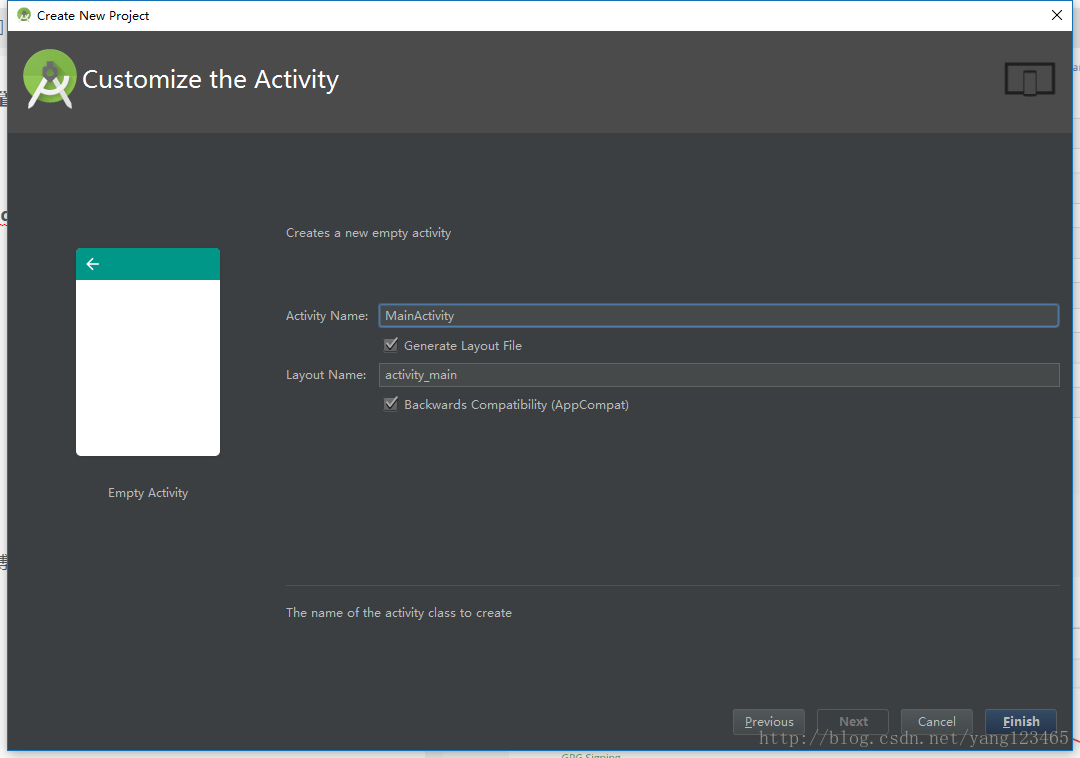
0.创建一个全新的Android项目
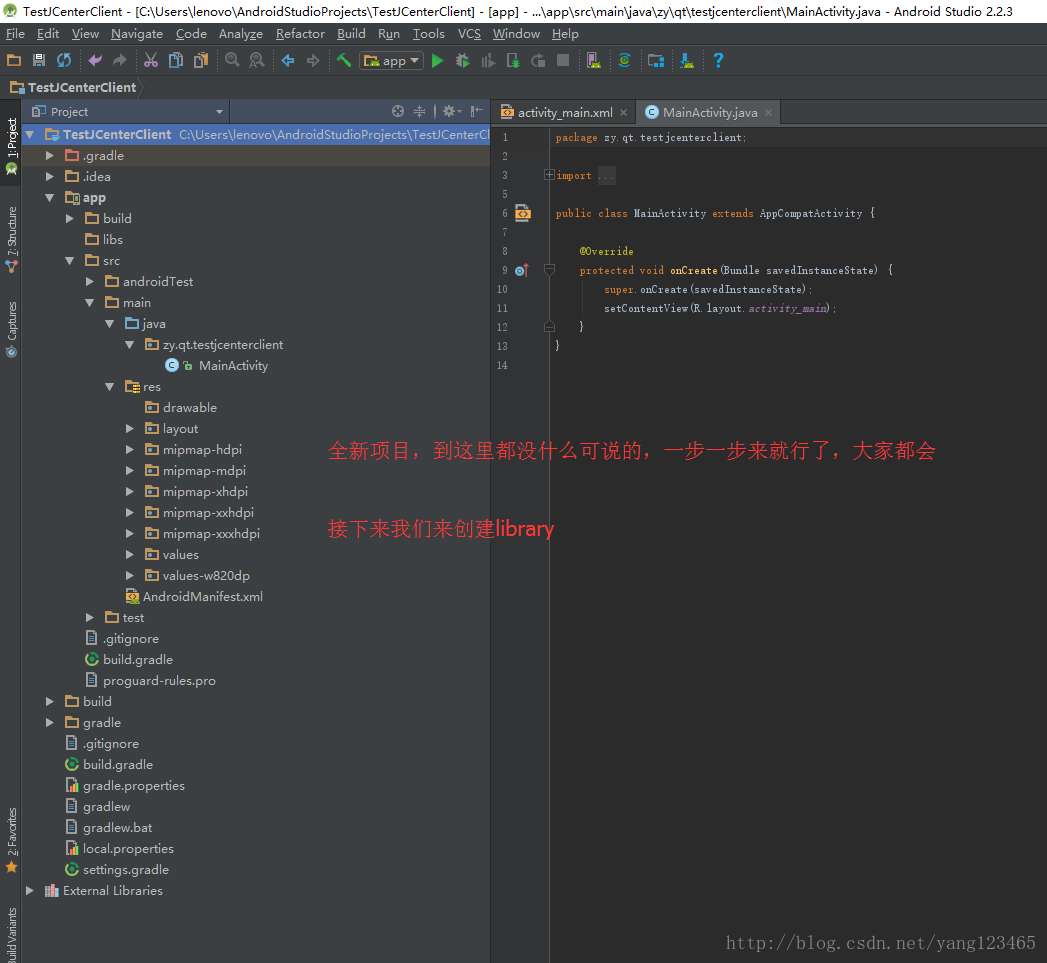
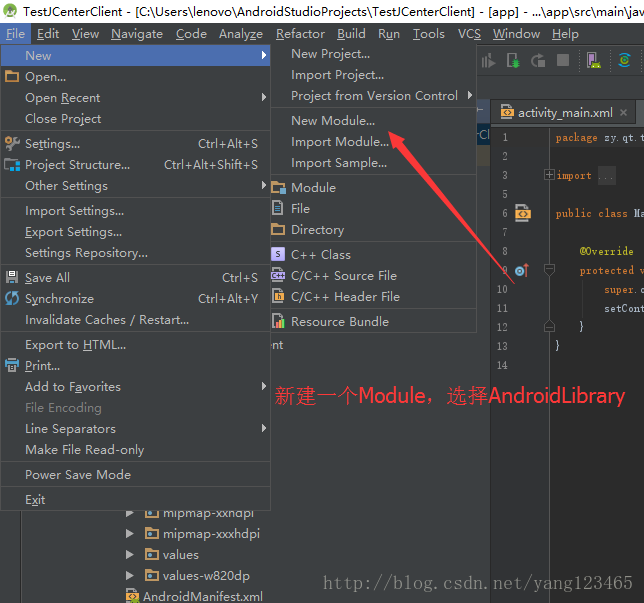
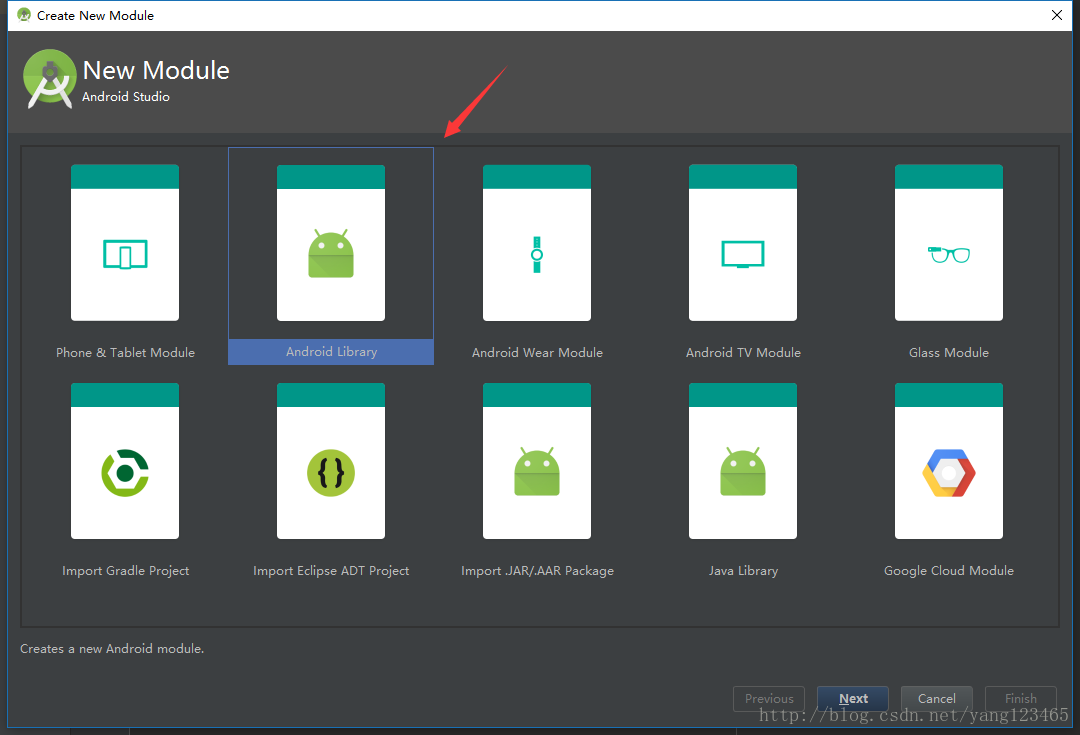
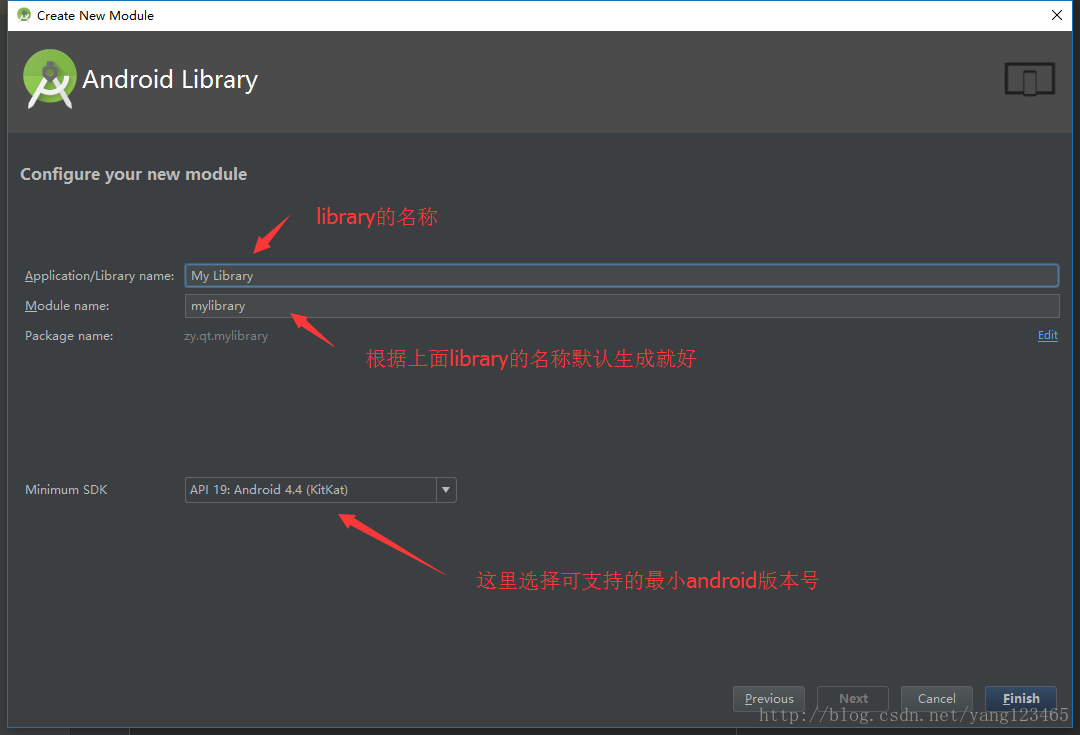
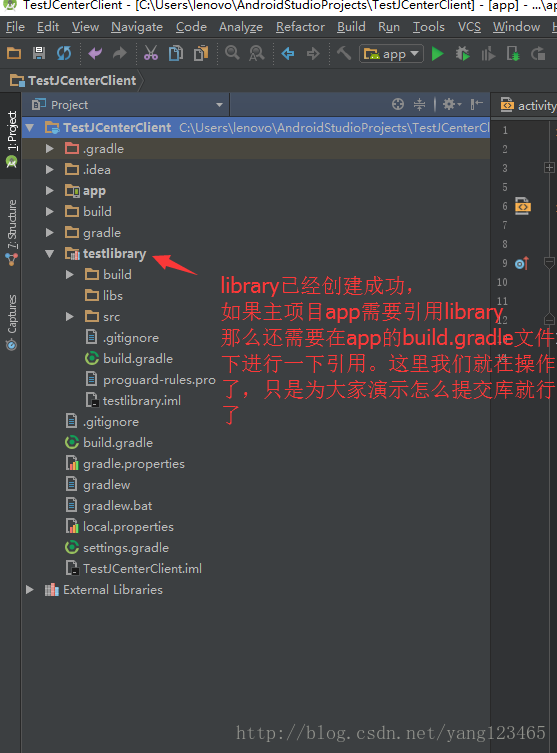
1.创建一个library,(接下来的操作都是在AndroidStudioIDE下完成的,本教程也只适用于AS)
2.配置项目的build.gradle

在
    dependencies {
        classpath 'com.android.tools.build:gradle:2.2.3'

        // NOTE: Do not place your application dependencies here; they belong
        // in the individual module build.gradle files
    }
添加
classpath 'com.novoda:bintray-release:0.3.4'最终结果:
dependencies {
classpath 'com.android.tools.build:gradle:2.2.3'
classpath 'com.novoda:bintray-release:0.3.4'
// NOTE: Do not place your application dependencies here; they belong
// in the individual module build.gradle files
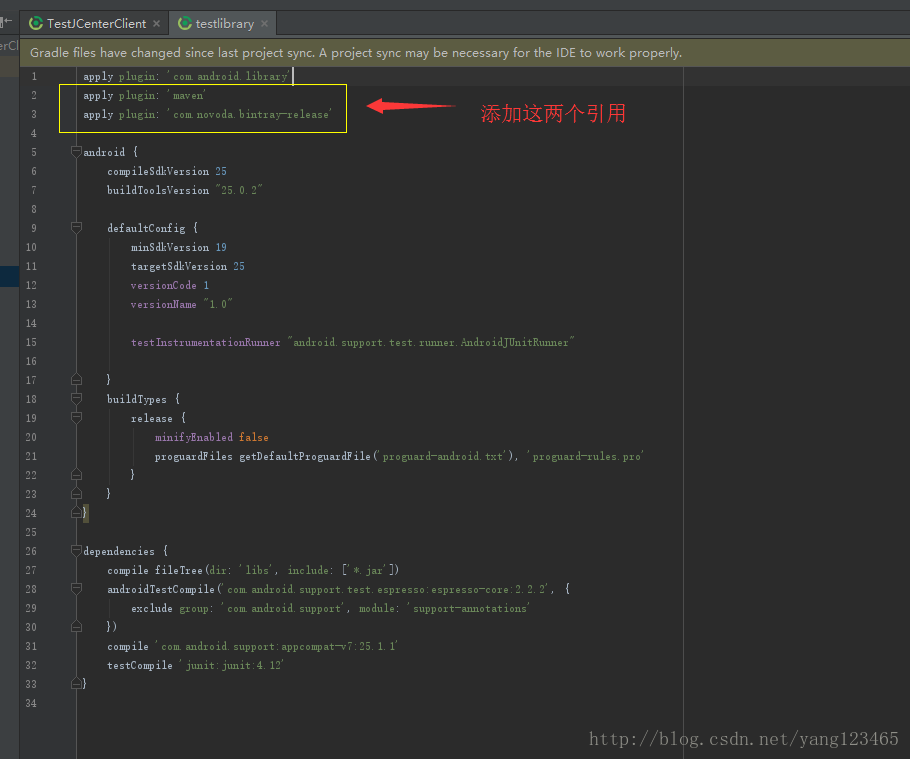
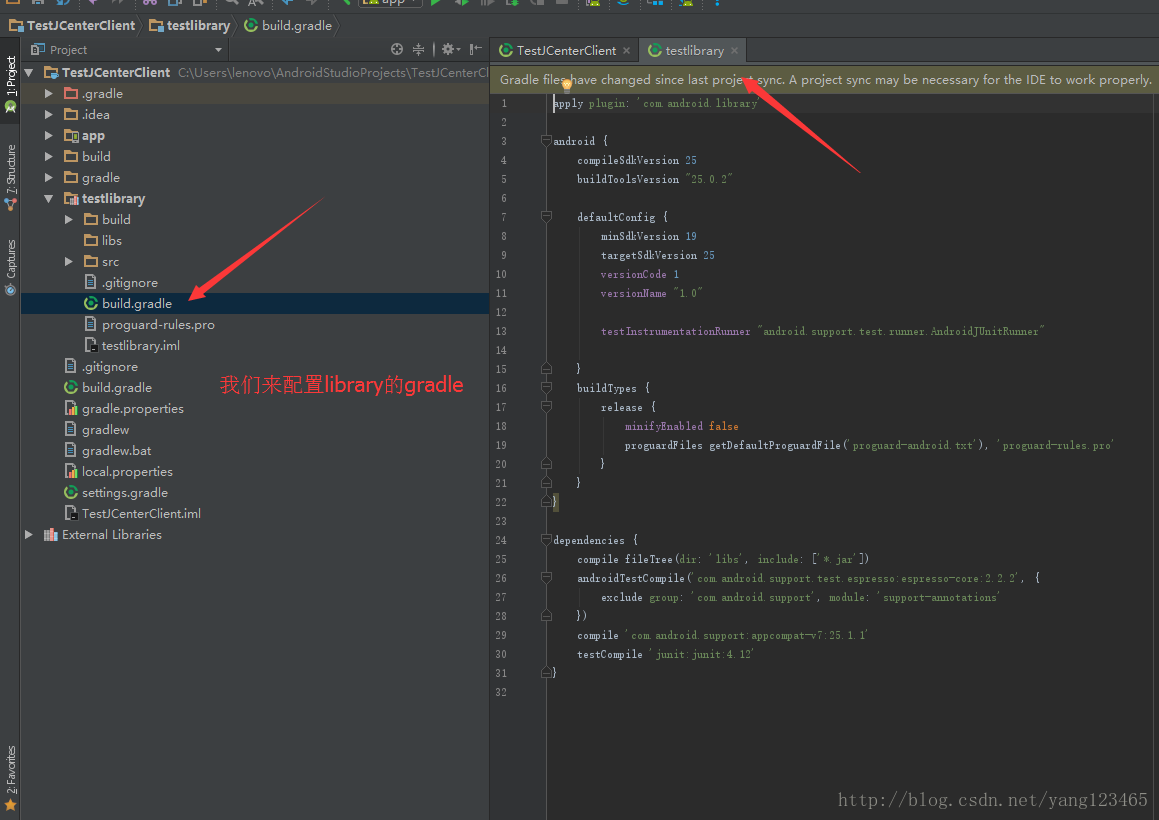
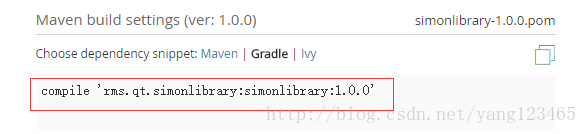
}3.配置Library的build.gradle

在文件顶部添加
apply plugin: 'maven'
apply plugin: 'com.novoda.bintray-release'
最终结果:
apply plugin: 'com.android.library'
apply plugin: 'maven'
apply plugin: 'com.novoda.bintray-release'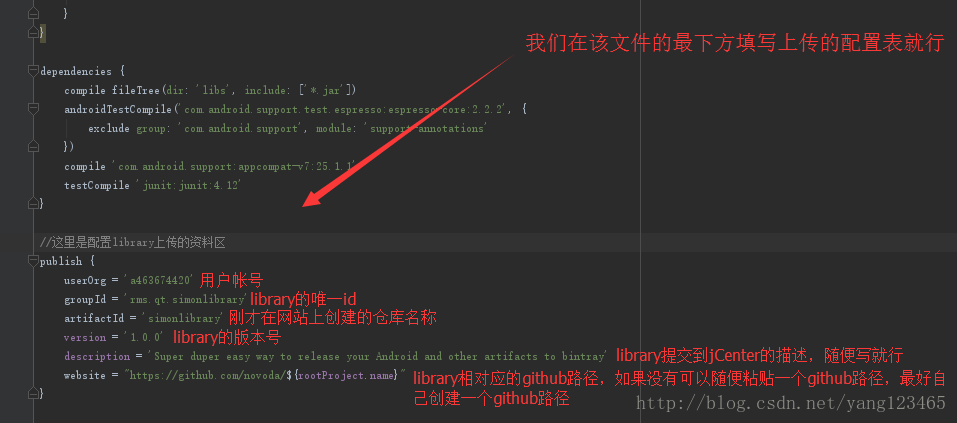
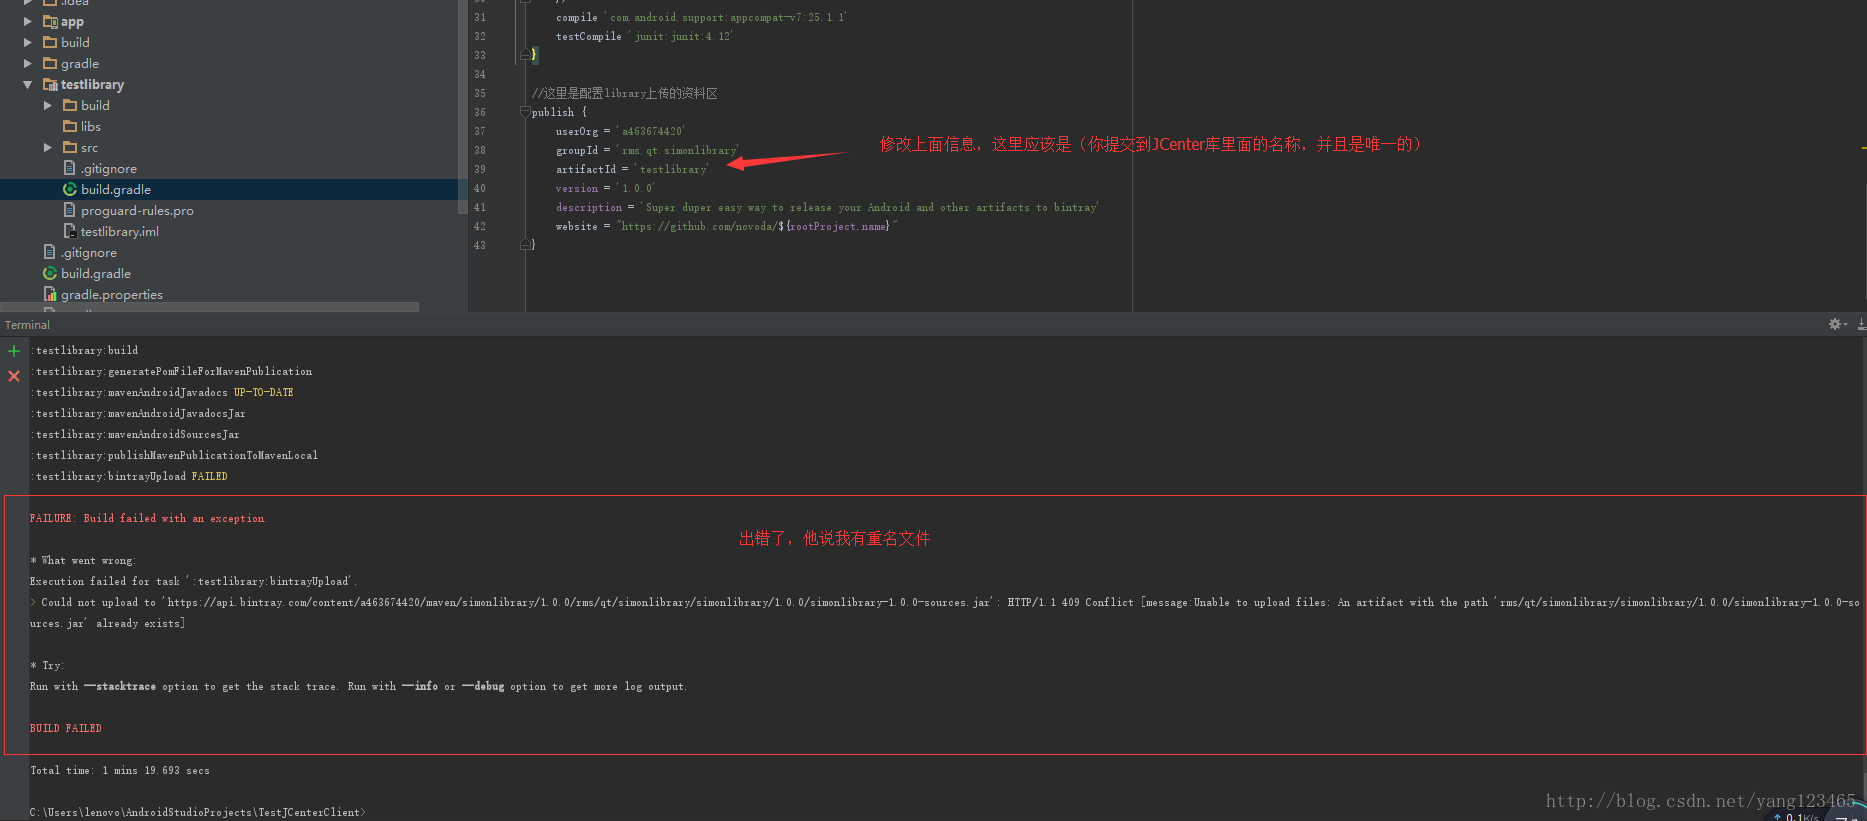
在文件的最下方添加library提交信息的表单:
publish {
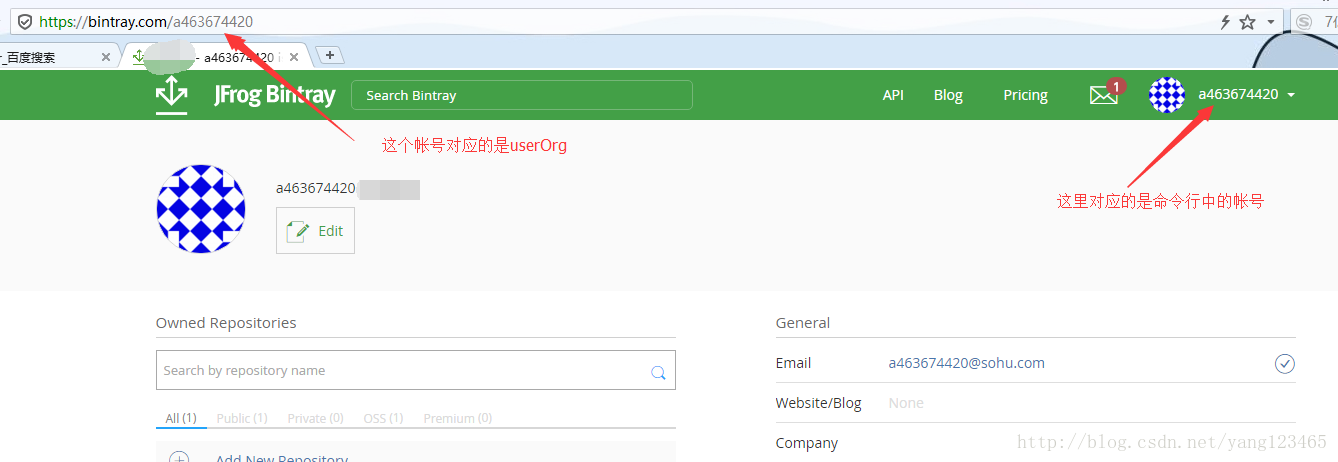
userOrg = 'a463674420'
groupId = 'rms.qt.simonlibrary'
artifactId = 'simonlibrary'
version = '1.0.0'
description = 'Super duper easy way to release your Android and other artifacts to bintray'
website = "https://github.com/novoda/${rootProject.name}"
}
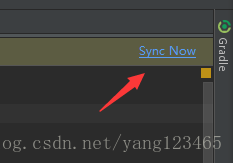
温馨小提示:当我们去配置gradle文件的时候,请点击下图箭头所指位置的按钮,以保证配置生效
4.在命令行下进行提交
1.配置提交命令
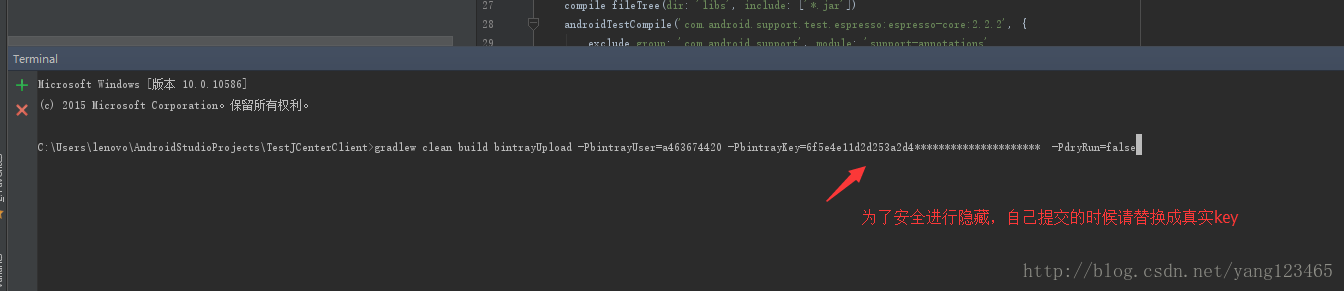
windows下:
gradlew clean build bintrayUpload
-PbintrayUser=a463674420 (这里是网站头像旁边对应的帐号,有可能跟网址上面的不一样,一定要区分好)
-PbintrayKey=6f5e4e11d2d253a2d4************** (这个是上面让大家复制保存下来的key[这里为了安全,我将我key后几位替换成了**])
-PdryRun=false(如果是false那么就会真实提交,如果是true不会去进行真实提交,但是会编译,可以去查看是否编译通过在提交)
macos:
./gradlew clean build bintrayUpload -PbintrayUser=a463674420 -PbintrayKey=6f5e4e11d2d25************************ -PdryRun=false如果在编译的过程中发现错误中断了之后,我们在添加一个 -info命令去查看更多出错信息
命令配置成功之后我们打开as的Terminal命令行工具面板
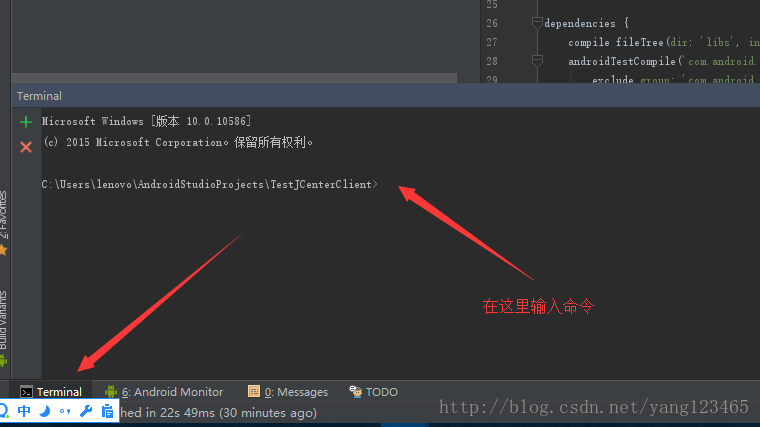
(我使用的是windows系统,粘贴windows命令到这里去)
回车提交(他会先编译项目,然后在检查项目中是否有错误信息,只要有错误它就会中断提交)
错误:
信息修改后的:
//这里是配置library上传的资料区
publish {
    userOrg = 'a463674420'
    groupId = 'zy.qt.testlibrary'
    artifactId = 'testlibrary'
    version = '1.0.0'
    description = 'Super duper easy way to release your Android and other artifacts to bintray'
    website = "https://github.com/novoda/${rootProject.name}"
}
我们再来提交一次。
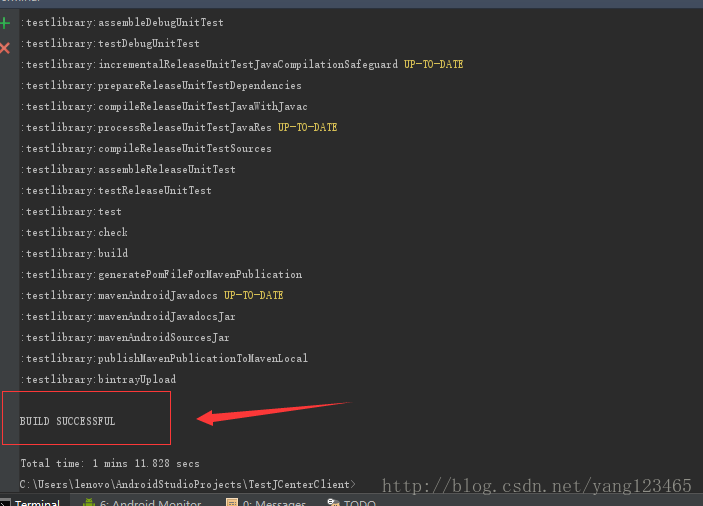
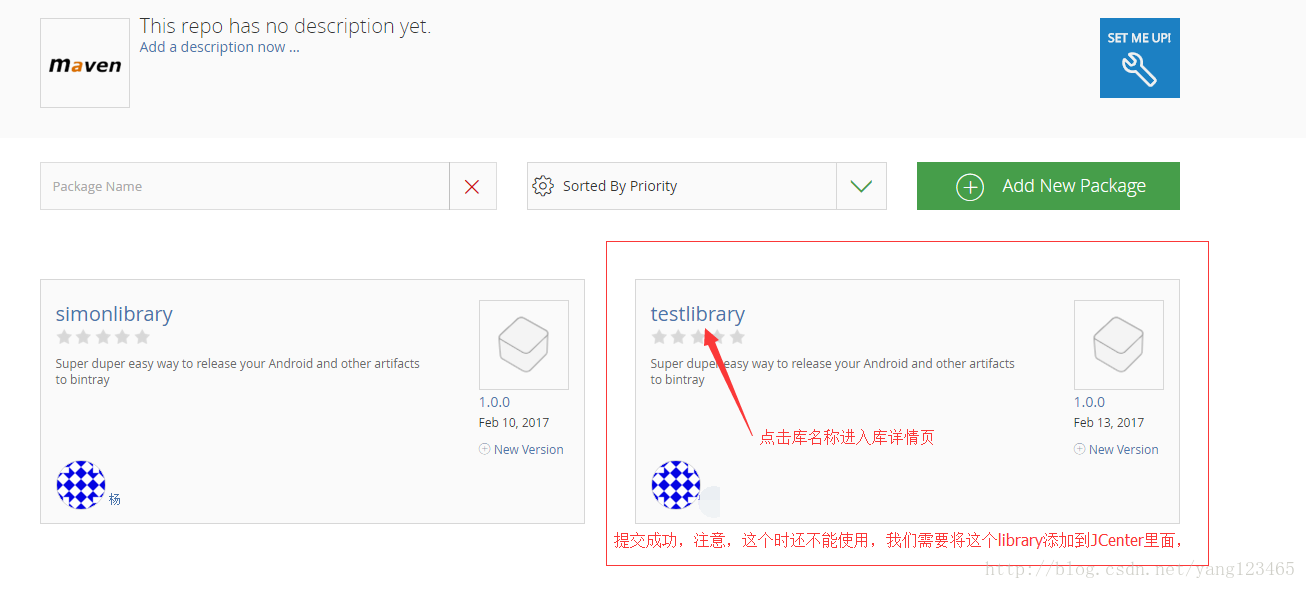
当出现BUILD SUCCESSFUL时,证明成功。
接下来我们在刷新一下网页
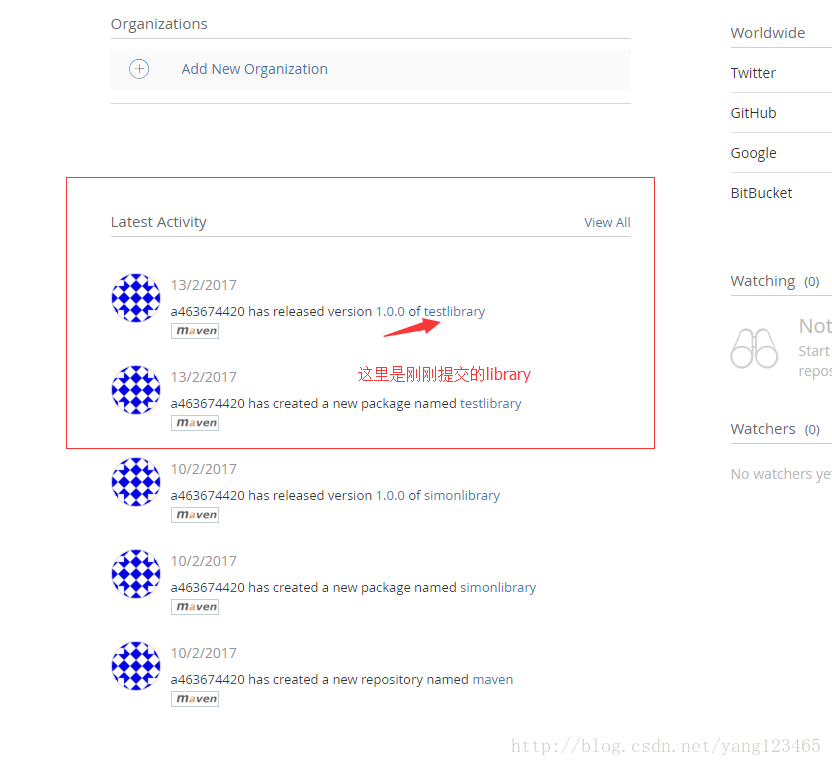
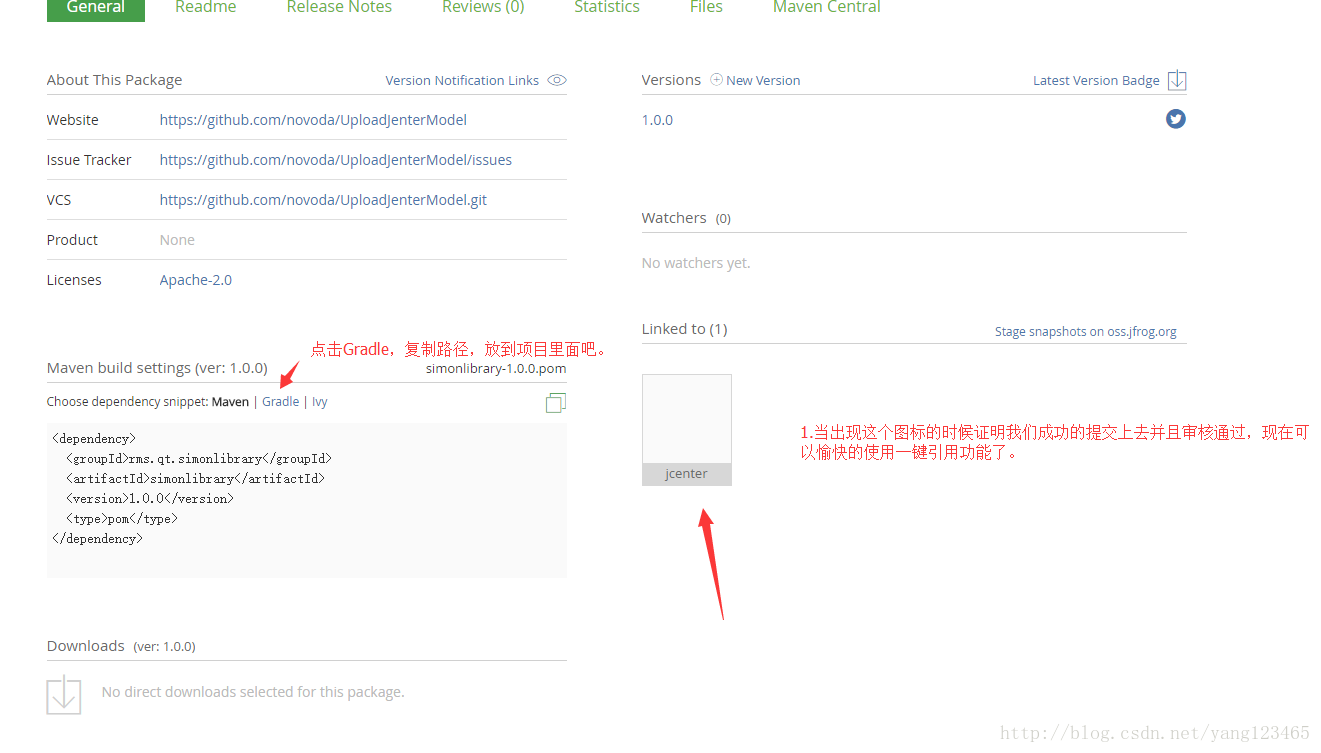
至此我们就成功的完成了一个library从创建到提交到审核到引用的所有阶段。
- 客官别走,接下来是我们的排坑区:
排坑一)
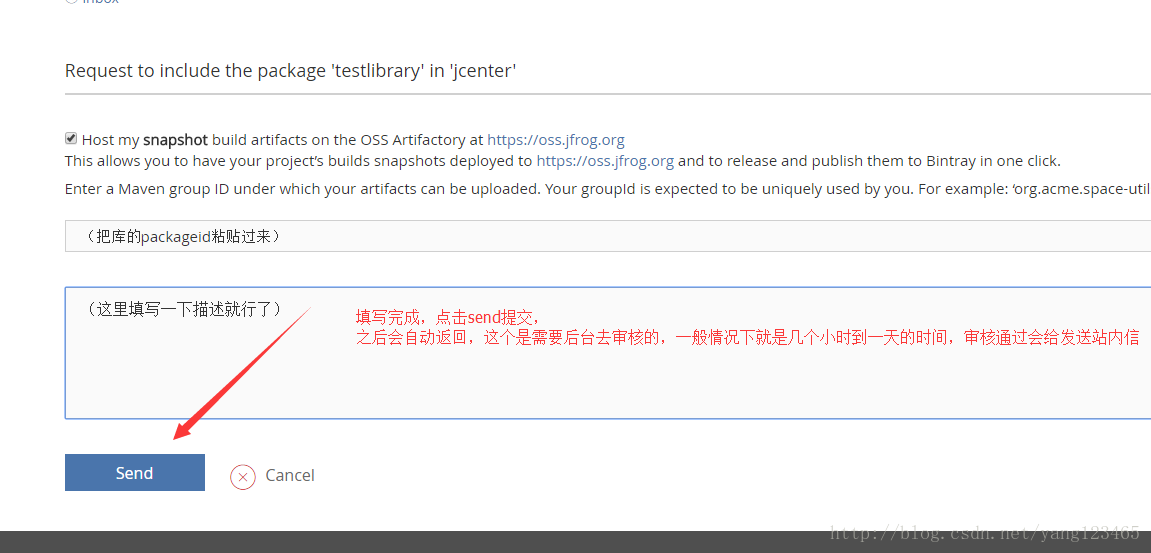
注册帐号网址:https://bintray.com/signup/oss【只有在这里注册才有add jcenter按钮!!!】
排坑二)
忽略lint检查,在提交编译的时候回去检查lint,如果没有配置忽略lint检查,它会报错,
FAILURE: Build failed with an exception.

* What went wrong:
Execution failed for task ':app:lint'.
> Lint found errors in the project; aborting build.

Fix the issues identified by lint, or add the following to your build script to proceed with errors:
...
android {
    lintOptions {
        abortOnError false
    }
}
【需要将所有都添加 忽略lint检查代码,包括app,包括任何一个module】
代码:
lintOptions{
        abortOnError false
    }
将这段代码添加到gradle文件
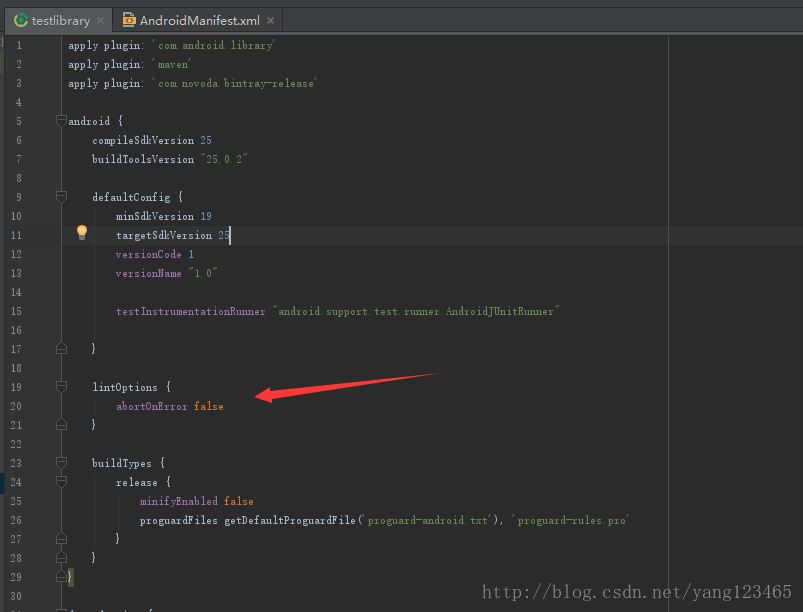
android {
    compileSdkVersion 25
    buildToolsVersion "25.0.2"

    defaultConfig {
        minSdkVersion 19
        targetSdkVersion 25
        versionCode 1
        versionName "1.0"

        testInstrumentationRunner "android.support.test.runner.AndroidJUnitRunner"

    }

    lintOptions {
        abortOnError false
    }

    buildTypes {
        release {
            minifyEnabled false
            proguardFiles getDefaultProguardFile('proguard-android.txt'), 'proguard-rules.pro'
        }
    }
}
排坑三)
如果class里面有中文字体,他会报 编码GBK的不可映射字符
       task javadoc(type: Javadoc) {
           options.encoding "UTF-8"
           options.charSet 'UTF-8'
       }
请配置到gradle文件中
排坑四)
错误: 不允许使用自关闭元素

解决办法:请删除javadoc注释里面所有的含有html标签
排坑五)
错误:程序包android.support.v7.widget不存在
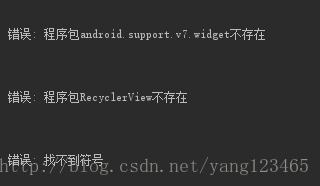
解决办法:在javadoc中加入忽略错误配置
task javadoc(type: Javadoc) {
      failOnError false
  }
排坑六)
错误:Could not create version ‘0.1’: HTTP/1.1 401 Unauthorized [message:This resource requires authentication]
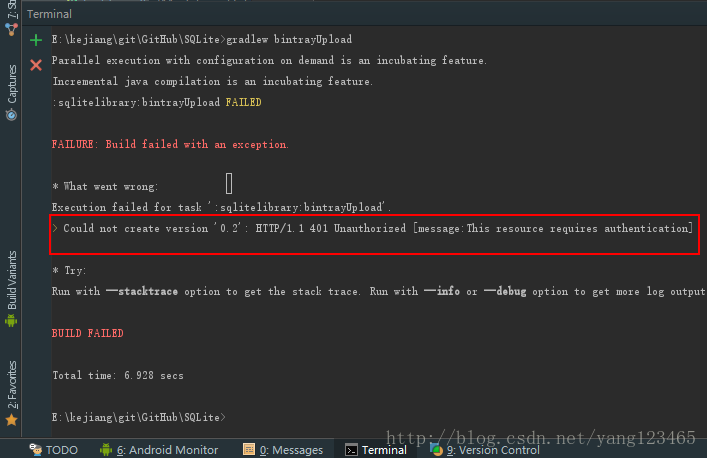
解决办法:没有配置正确的API Key
- 结束语:
至此就全部搞定了,如果还有什么问题,请在下面留言。


 2456
2456


 被折叠的 条评论
为什么被折叠?
被折叠的 条评论
为什么被折叠?
 到【灌水乐园】发言


