


一、PNG++库
PNG++旨在为libpng(PNG参考实现库)提供简单而强大的C ++接口。PNG ++是根据BSD 许可证的修改变体分发的免费软件。
使用C ++中的原始libpng可能会引起严重的挑战,因为必须采取许多预防措施来处理控制结构的初始化/初始化以及正确处理错误。使用png ++,您可以在单行C ++代码中读取或写入PNG图像:
png :: image <png :: rgb_pixel> image(“input.png”);
image.write(“output.png”);
二、Windows下编译zlib和libpng库
开始的时候,走了很多弯路,查找了很多资料进行编译,然后就根据教程直接编译了,但编译完zlib库之后,出来的是静态库zlibstat.lib和动态库zlibwapi.dll/zlibwapi.lib,不是单独就一个zlib.lib,所以我就感觉有点怪怪的,而且还花费了好长的时间去编译。在下篇博客中,我会分享编译zlib库的详细步骤,但是我没有继续编译libpng库,所以没有进行测试,请见谅。好了,开始今天的重点吧,这个方法是测试了的,可以使用,也将会贴出实验效果。
1.准备工作
Zlib下载地址:http://www.zlib.net/fossils/
libpng下载地址:https://sourceforge.net/p/libpng/code/ci/libpng15/tree/
2.编译步骤
Libpng库选择的是最新版本,zlib选择的是zlib-1.2.8(这个是根据libpng库的版本进行选择的,在libpng16\projects\vstudio中有一个zlib.props,可以用文本编辑器打开,查看配套的zlib版本)
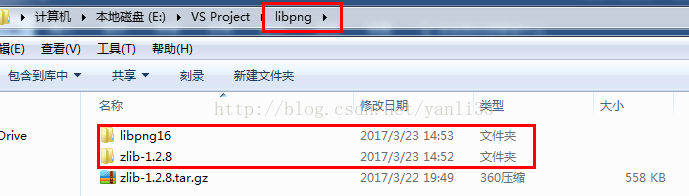
(1)将libpng和zlib的源码解压到相同的文件夹里:
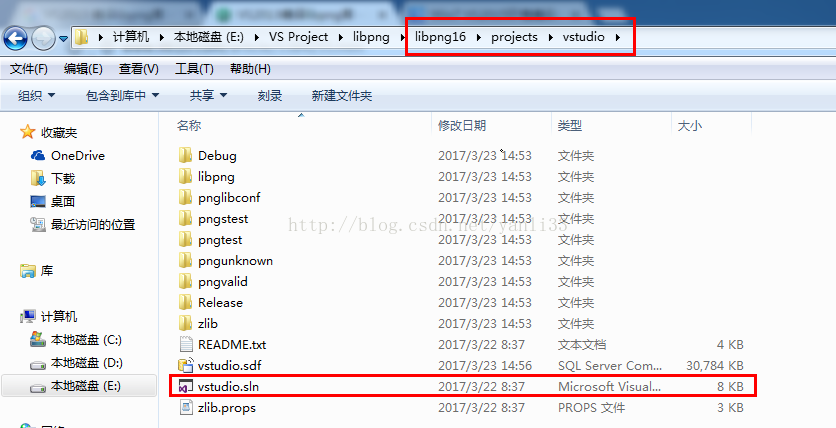
(2)进入libpng16文件夹中,找到projects目录下的vstudio,打开里面的工程文件。
里面包含七个项目文件,如下图:
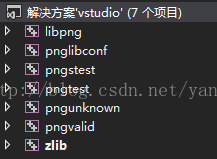
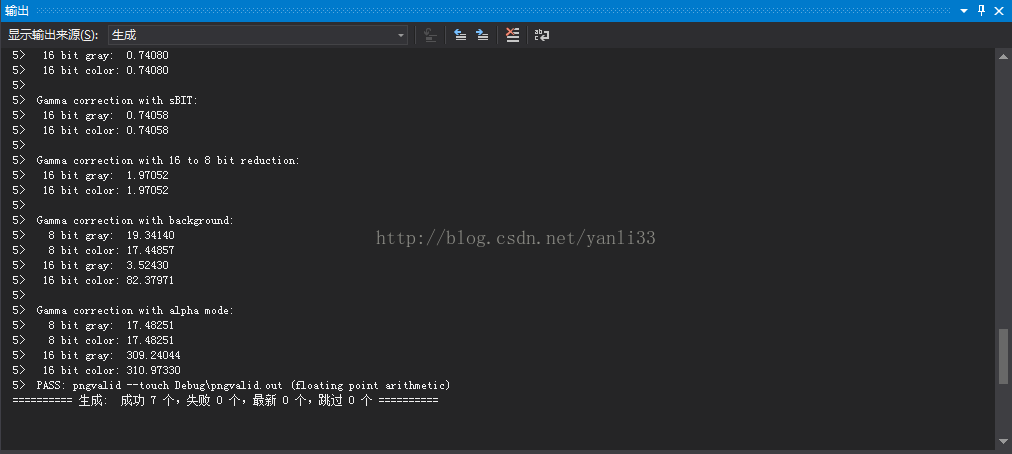
这个可以不用管,直接编译即可,编译结果如下:
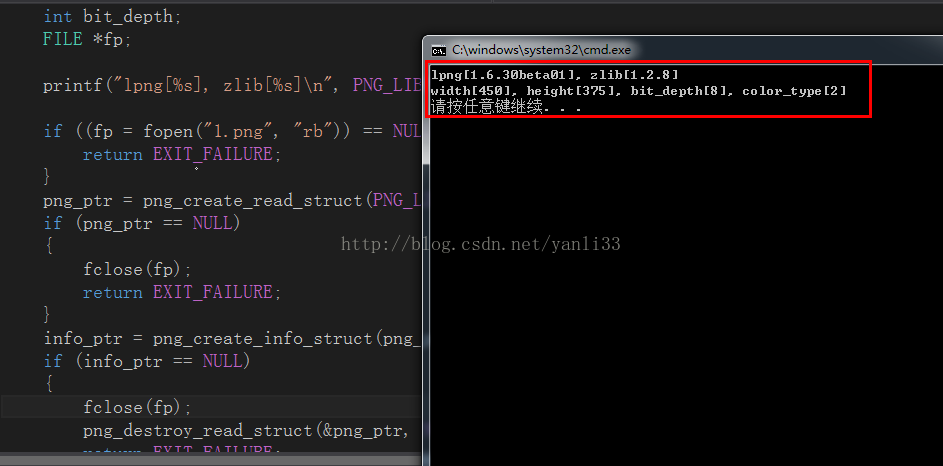
3.测试编译结果
编译成功后,可以测试一下编译好的libpng库,在测试工程的头文件目录中包含libpng和zlib的源码路径;然后连接编译好的libpng库,下面是测试代码:
#include <stdio.h>
#include <stdlib.h>
#include <string>

#include "png.h"
#include "zlib.h"
/* Makes pngtest verbose so we can find problems. */
#ifndef PNG_DEBUG
#  define PNG_DEBUG 2
#endif
#if PNG_DEBUG > 1
#  define pngtest_debug(m)        ((void)fprintf(stderr, m "\n"))
#  define pngtest_debug1(m,p1)    ((void)fprintf(stderr, m "\n", p1))
#  define pngtest_debug2(m,p1,p2) ((void)fprintf(stderr, m "\n", p1, p2))
#else
#  define pngtest_debug(m)        ((void)0)
#  define pngtest_debug1(m,p1)    ((void)0)
#  define pngtest_debug2(m,p1,p2) ((void)0)
#endi
unsigned char* buffer = NULL;
png_uint_32 width, height;
int color_type;

//获取每一行所用的字节数,需要凑足4的倍数
int getRowBytes(int width){
	//刚好是4的倍数
	if ((width * 3) % 4 == 0){
		return width * 3;
	}
	else{
		return ((width * 3) / 4 + 1) * 4;
	}
}

int main(int c, char** v) {

	png_structp png_ptr;
	png_infop info_ptr;
	int bit_depth;
	FILE *fp;

	printf("lpng[%s], zlib[%s]\n", PNG_LIBPNG_VER_STRING, ZLIB_VERSION);

	if ((fp = fopen("1.png", "rb")) == NULL) {
		return EXIT_FAILURE;
	}
	png_ptr = png_create_read_struct(PNG_LIBPNG_VER_STRING, NULL, NULL, NULL);
	if (png_ptr == NULL)
	{
		fclose(fp);
		return EXIT_FAILURE;
	}
	info_ptr = png_create_info_struct(png_ptr);
	if (info_ptr == NULL)
	{
		fclose(fp);
		png_destroy_read_struct(&png_ptr, NULL, NULL);
		return EXIT_FAILURE;
	}
	if (setjmp(png_jmpbuf(png_ptr))) {
		/* Free all of the memory associated with the png_ptr and info_ptr */
		png_destroy_read_struct(&png_ptr, &info_ptr, NULL);
		fclose(fp);
		/* If we get here, we had a problem reading the file */
		return EXIT_FAILURE;
	}
	/* Set up the input control if you are using standard C streams */
	png_init_io(png_ptr, fp);
	//读取png文件
	png_read_png(png_ptr, info_ptr, PNG_TRANSFORM_EXPAND, 0);
	//获取png图片相关信息
	png_get_IHDR(png_ptr, info_ptr, &width, &height, &bit_depth, &color_type, NULL, NULL, NULL);
	printf("width[%d], height[%d], bit_depth[%d], color_type[%d]\n",
		width, height, bit_depth, color_type);

	//获得所有png数据
	png_bytep* row_pointers = png_get_rows(png_ptr, info_ptr);
	//计算buffer大小
	unsigned int bufSize = 0;
	if (color_type == PNG_COLOR_TYPE_RGB) {
		bufSize = getRowBytes(width) * height;
	}
	else if (color_type == PNG_COLOR_TYPE_RGBA) {
		bufSize = width * height * 4;
	}
	else{
		return EXIT_FAILURE;
	}
	//申请堆空间
	buffer = (unsigned char*)malloc(bufSize);
	int i;
	for (i = 0; i < height; i++) {
		//拷贝每行的数据到buffer,
		//opengl原点在下方,拷贝时要倒置一下
		if (color_type == PNG_COLOR_TYPE_RGB){
			memcpy(buffer + getRowBytes(width) * i, row_pointers[height - i - 1], width * 3);
		}
		else if (color_type == PNG_COLOR_TYPE_RGBA){
			memcpy(buffer + i * width * 4, row_pointers[height - i - 1], width * 4);
		}
	}
	png_destroy_read_struct(&png_ptr, &info_ptr, 0);
	fclose(fp);
	return 0;
}
4.可能出现的问题
开始我使用的是libpng1.5.x+zlib1.2.5,但是编译时出现如下错误:

这个问题困扰了我很久都没有解决,最后果断放弃了,然后尝试了最新版本成功了。之后我将15版本的libpng库删除了,然后重头开始重新操作,就成功了,终于知道错在哪儿了。记住,一定要将下载好的zlib库和libpng库的压缩包放在一个文件夹下,然后进行解压,再打开工程编译,就会成功,要不然会出现各种问题。


 1480
1480


 被折叠的 条评论
为什么被折叠?
被折叠的 条评论
为什么被折叠?
 到【灌水乐园】发言


