


工作时候可能会遇到向服务器上传头像,或者从SD卡加载图片到GrideView控件上,又或者是SD卡上的大图显示在listview上,而这时候如果图片是高清大图的话,加载不了几张图片,安卓就会报错,出现OOM异常,这篇文章主要介绍如何把大图变成小图,变成指定分辨率的图,且尽量保持不失真。
先来看一段很简单的代码:
public class MainActivity extends ActionBarActivity {
    private ImageView iv_main;

    @Override
    protected void onCreate(Bundle savedInstanceState) {
        super.onCreate(savedInstanceState);
        setContentView(R.layout.main);
        //ImageView的控件
        iv_main=(ImageView) findViewById(R.id.iv_main);
        //test.jpg在SD卡的路径
        String path=Environment.getExternalStorageDirectory()+"/test.jpg";
        Bitmap bitmap=BitmapFactory.decodeFile(path);
        Log.e("test", bitmap.getByteCount()+"");

        iv_main.setImageBitmap(bitmap);

    }


}
这是模拟器读出来的图片:
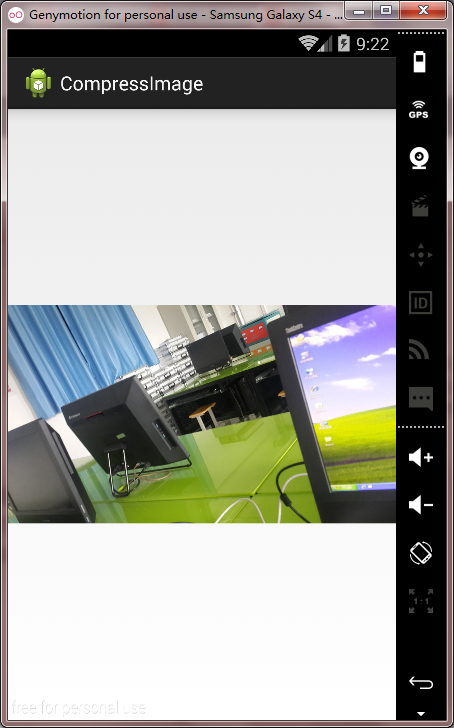
我们的test.jpg在windows下查看属性是2.73MB的jpg图片,把test.jpg导入到SD卡,转换为bitmap对象,然而Log日志打印出来的bitmap所占的字节数居然是38340864字节,换算之后是36.5MB,显然把bitmap读到内存里,这张图占用了更多的字节!!!
那么我们用如下代码来处理:
public class MainActivity extends ActionBarActivity {
    private ImageView iv_main;

    @Override
    protected void onCreate(Bundle savedInstanceState) {
        super.onCreate(savedInstanceState);
        setContentView(R.layout.main);
        //ImageView的控件
        iv_main=(ImageView) findViewById(R.id.iv_main);
        //test.jpg在SD卡的路径
        String path=Environment.getExternalStorageDirectory()+"/test.jpg";
        Bitmap bitmap=getSmallBitmap(path);
        Log.e("test", bitmap.getByteCount()+"");
        iv_main.setImageBitmap(bitmap);

    }

public Bitmap getSmallBitmap(String path){
    //new 出来一个bitmap的参数
    BitmapFactory.Options options=new BitmapFactory.Options();
    //设置为true,不会生成bitmao对象,只是读取尺寸和类型信息
    options.inJustDecodeBounds=true;
    BitmapFactory.decodeFile(path, options);
    //得到这个比例   并赋予option里面的inSampleSize
    options.inSampleSize = calculateInSampleSize(options, 320, 480);
    //设置为false,即将要生成bitmap对象啦
    options.inJustDecodeBounds = false;
    //有了这个option,我们可以生成bitmap对象了
    Bitmap bitmap=BitmapFactory.decodeFile(path, options);

    return bitmap;

}
public int calculateInSampleSize(BitmapFactory.Options options,int reqHeight,int reqWidth){
    //得到原始图片宽高
    int height=options.outHeight;
    int width=options.outWidth;
    //默认设置为1,即不缩放
    int inSampleSize=1;
     //如果图片原始的高大于我们期望的高,或者图片的原始宽大于我们期望的宽,换句话意思就是,我们想让它变小一点
    if (height > reqHeight || width > reqWidth) {
             //原始的高除以期望的高,得到一个比例
             final int heightRatio = Math.round((float) height/ (float) reqHeight);
             //原始的宽除以期望的宽,得到一个比例
             final int widthRatio = Math.round((float) width / (float) reqWidth);
             //取上面两个比例中小的一个,返回这个比例
             inSampleSize = heightRatio < widthRatio ? heightRatio : widthRatio;
    }
        return inSampleSize;

}
}
把高设置为320,宽为480,这是模拟器的截图:
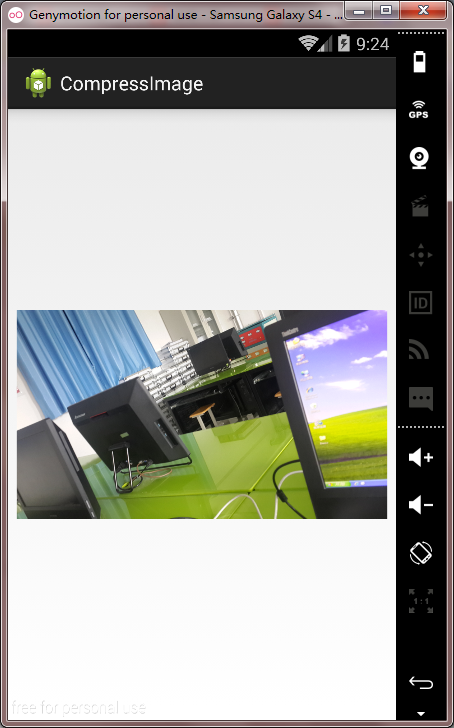
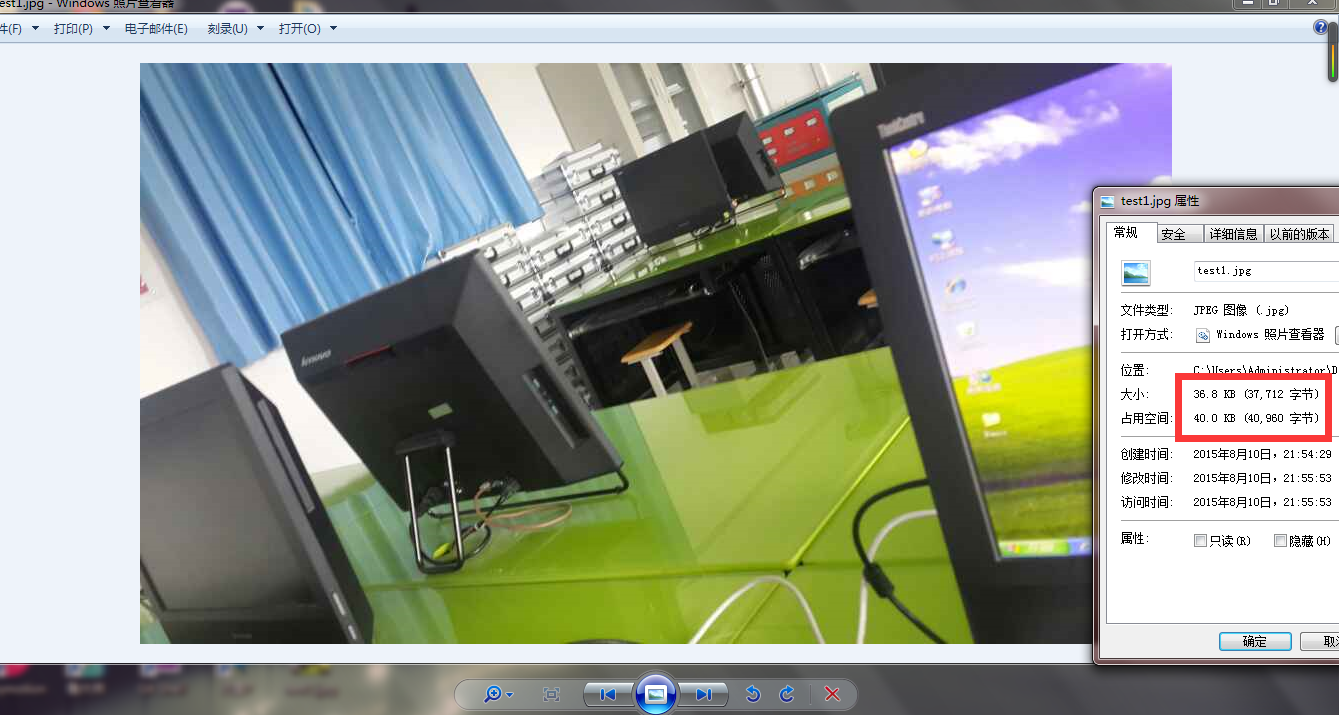
可以看到,模拟器中imageview两次显示的图片都基本一样,Log打印出来的字节数是2398368,相当于2MB,这比之前的占用36MB小了很多,我们再把这个bitmap对象压缩一下,然后写到sd卡上,命名为test1.jpg,把这张图导出到桌面,查看属性,
修改getSmallBitmap方法如下:
public Bitmap getSmallBitmap(String path){
    //new 出来一个bitmap的参数
    BitmapFactory.Options options=new BitmapFactory.Options();
    //设置为true,不会生成bitmao对象,只是读取尺寸和类型信息
    options.inJustDecodeBounds=true;
    BitmapFactory.decodeFile(path, options);
    //得到这个比例   并赋予option里面的inSampleSize
    options.inSampleSize = calculateInSampleSize(options, 320, 480);
    //设置为false,即将要生成bitmap对象啦
    options.inJustDecodeBounds = false;
    //有了这个option,我们可以生成bitmap对象了
    Bitmap bitmap=BitmapFactory.decodeFile(path, options);

    try {
        FileOutputStream fos=new FileOutputStream(new File(Environment.getExternalStorageDirectory()+"/test1.jpg"));
        //把bitmap压缩 一下,放在bos这个对象里,这个40如果是100,代表无损压缩,现在损失了60%,进行压缩
        bitmap.compress(Bitmap.CompressFormat.JPEG, 40, fos);
        fos.close();
    }catch (Exception e) {
        // TODO Auto-generated catch block
        e.printStackTrace();
    }


    return bitmap;

}
这是压缩后test.jpg的属性,大小为37KB,看起来并没有失真


 2717
2717


 被折叠的 条评论
为什么被折叠?
被折叠的 条评论
为什么被折叠?
 到【灌水乐园】发言


