


第一步:申请友盟的账号http://www.umeng.com/(注册)
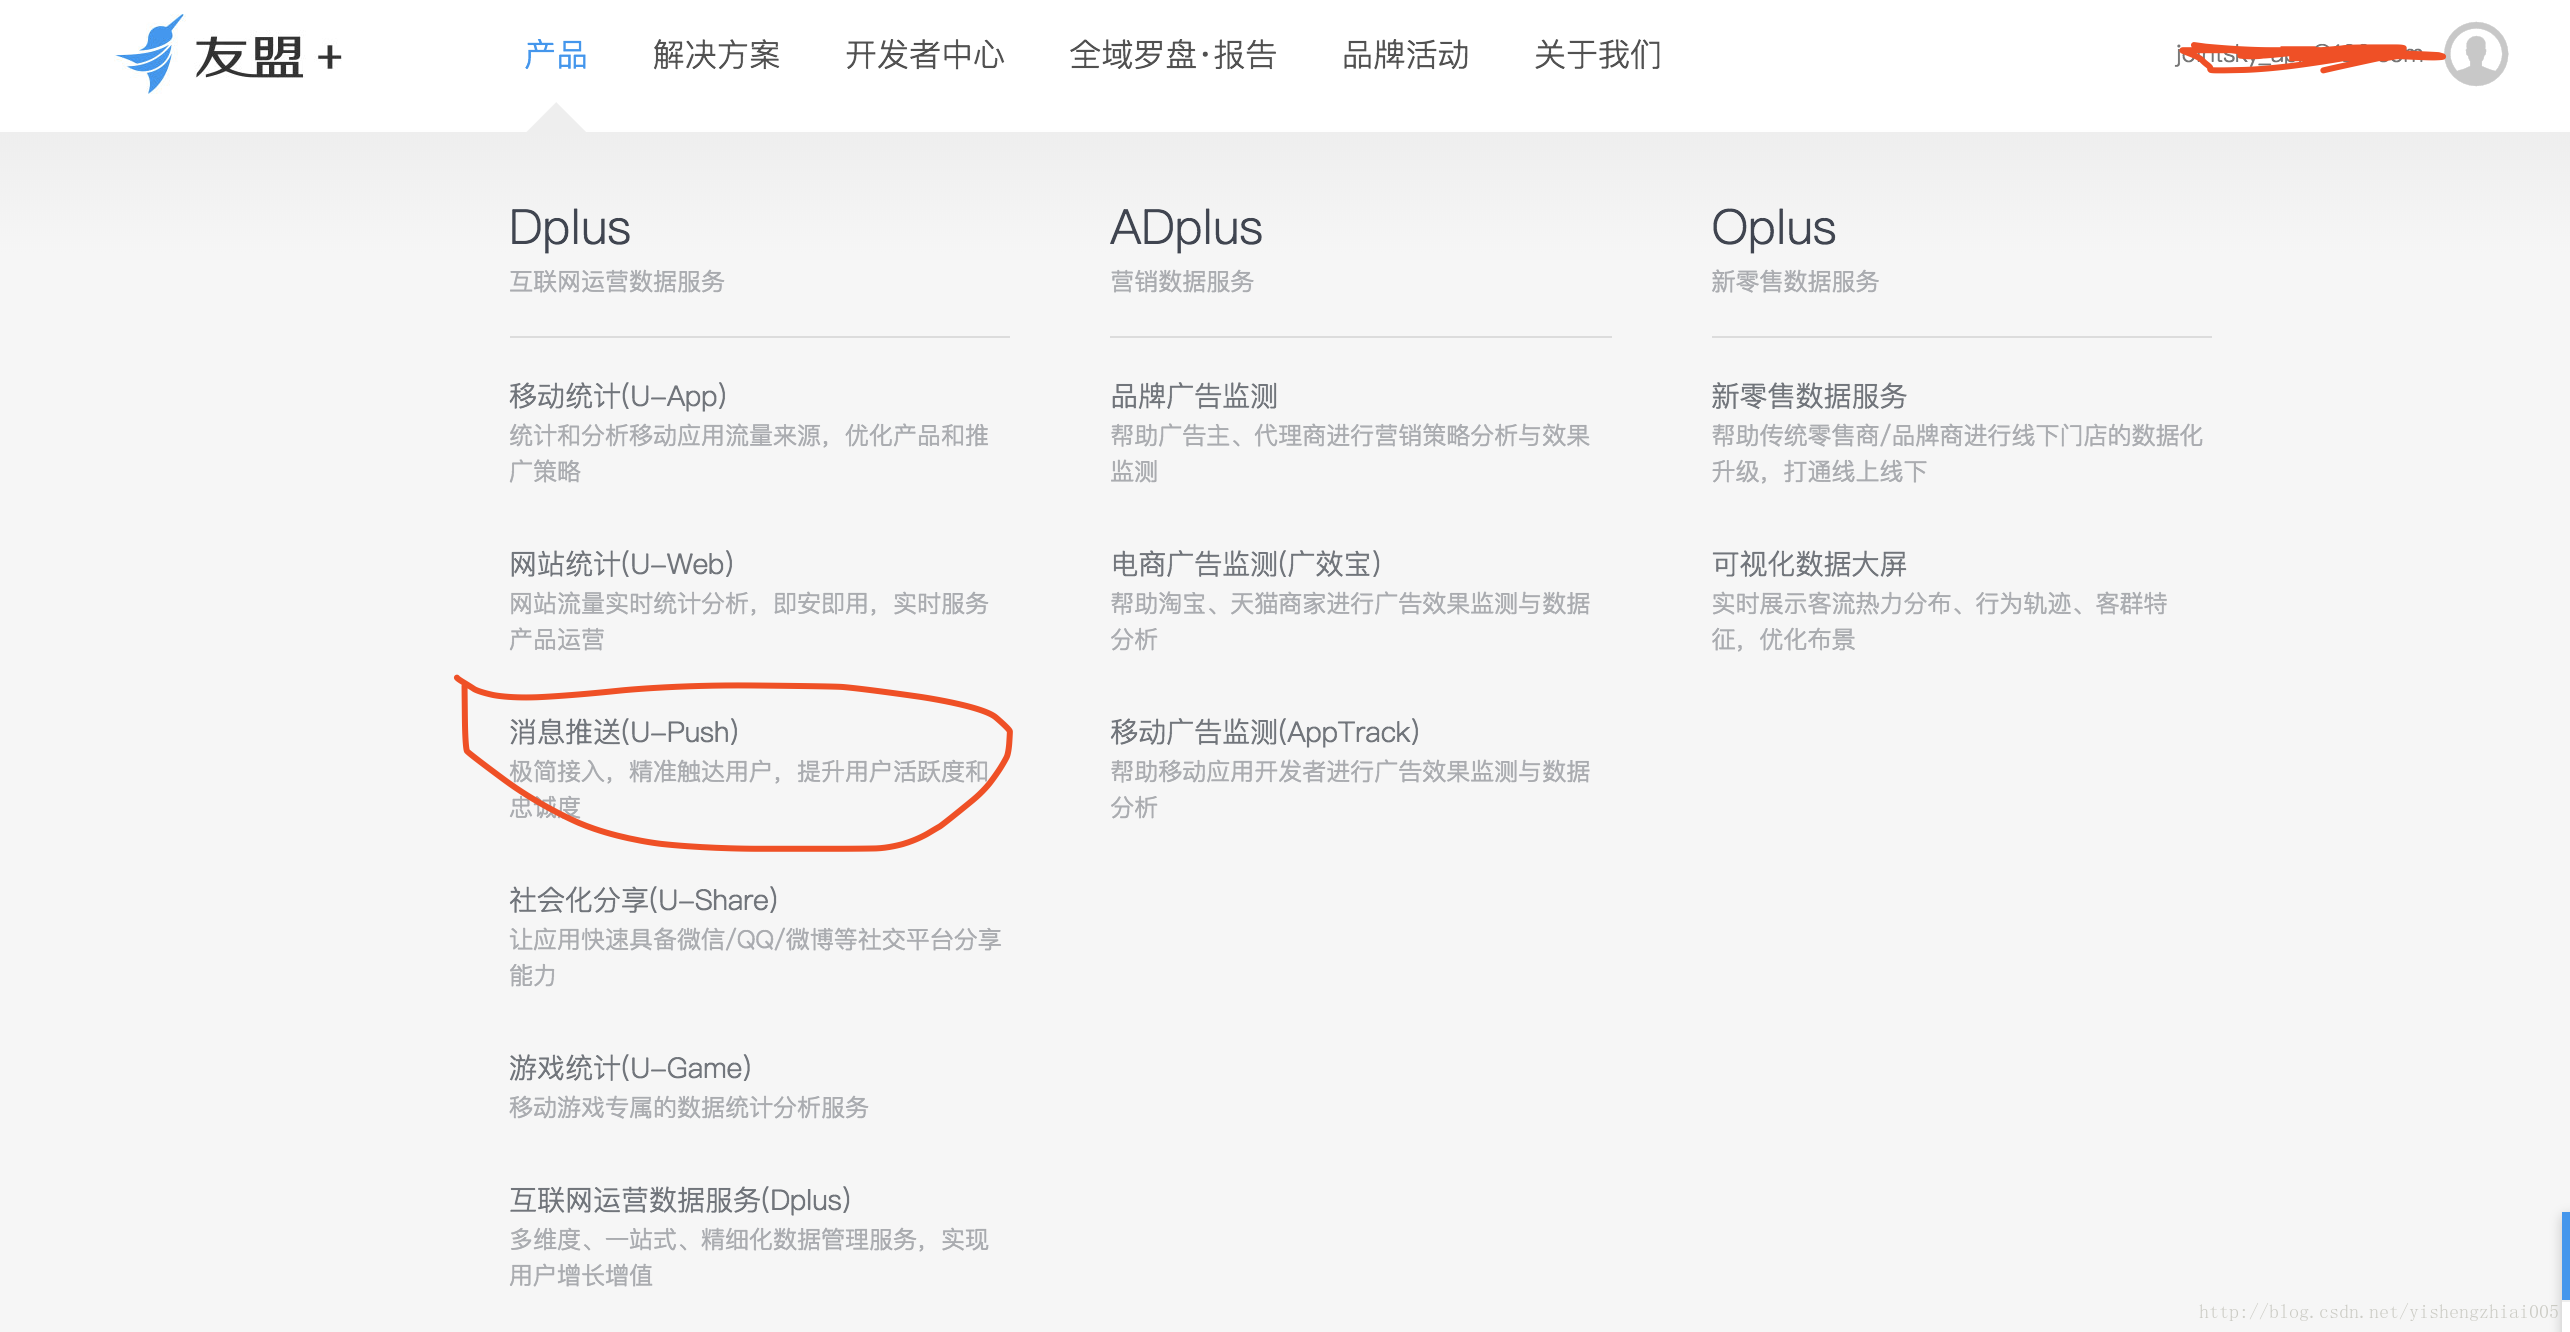
之后在首页中找到消息推送模块
第二步:创建要推送的应用
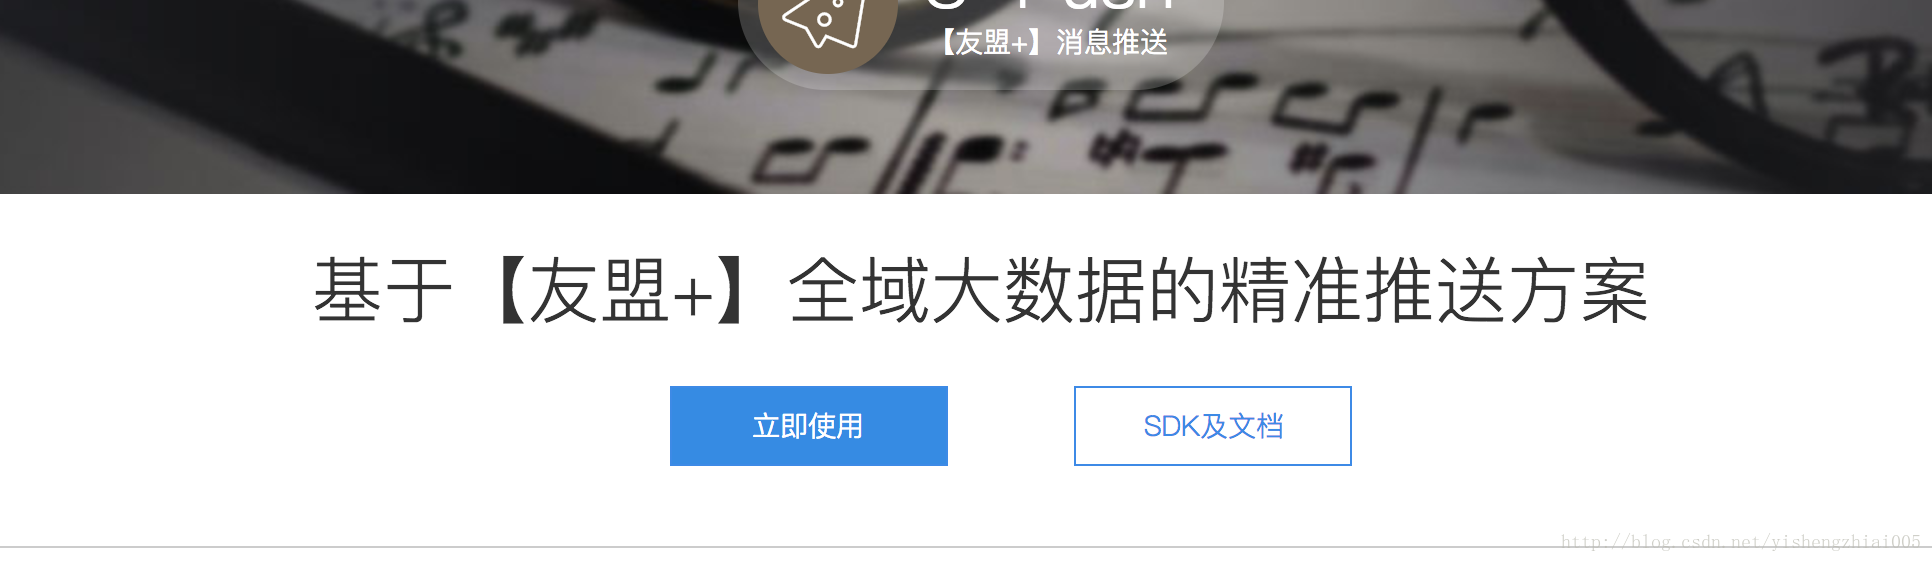
点击立即使用-》然后新建应用,在程序代码中保存对用的App-Key和APP-Secret(后面发现secret没有用到,没有关系)
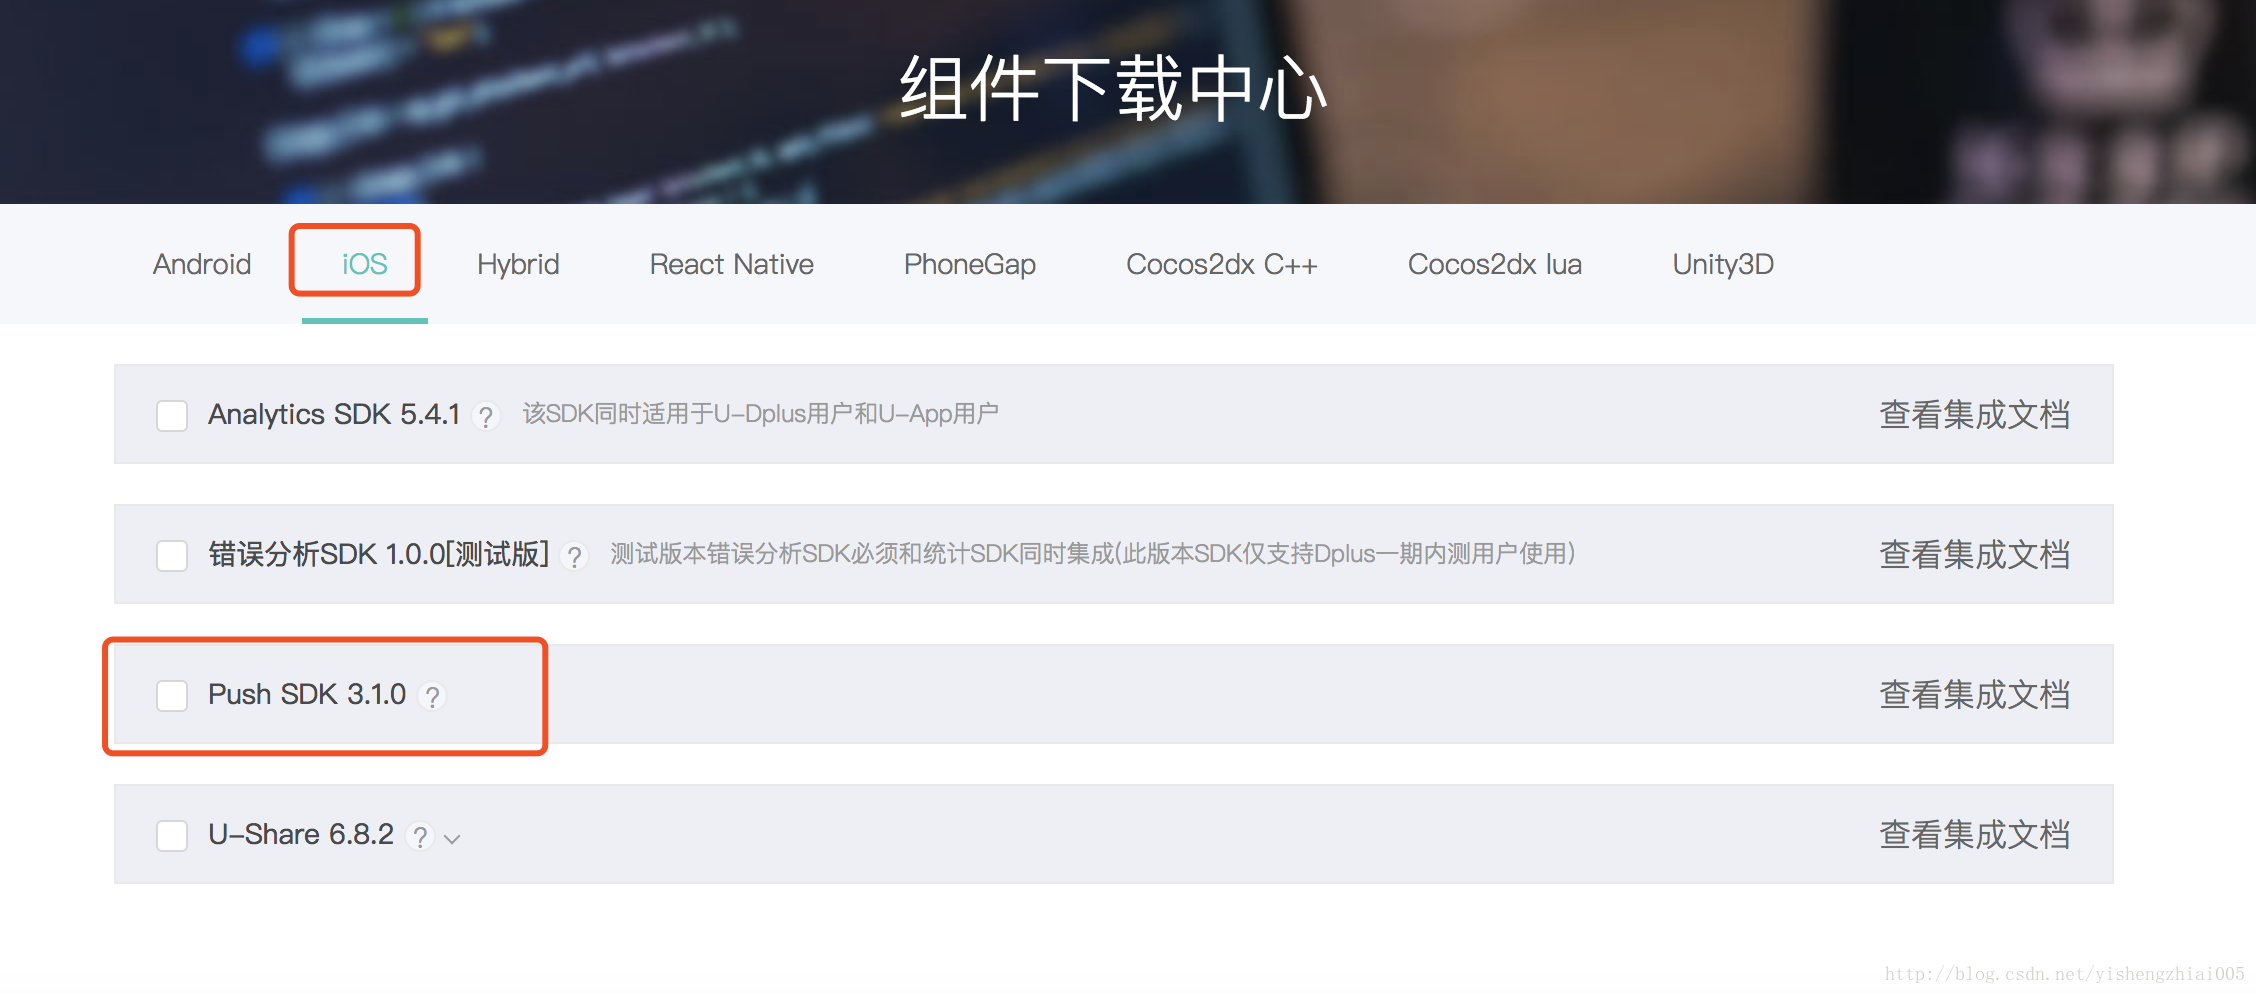
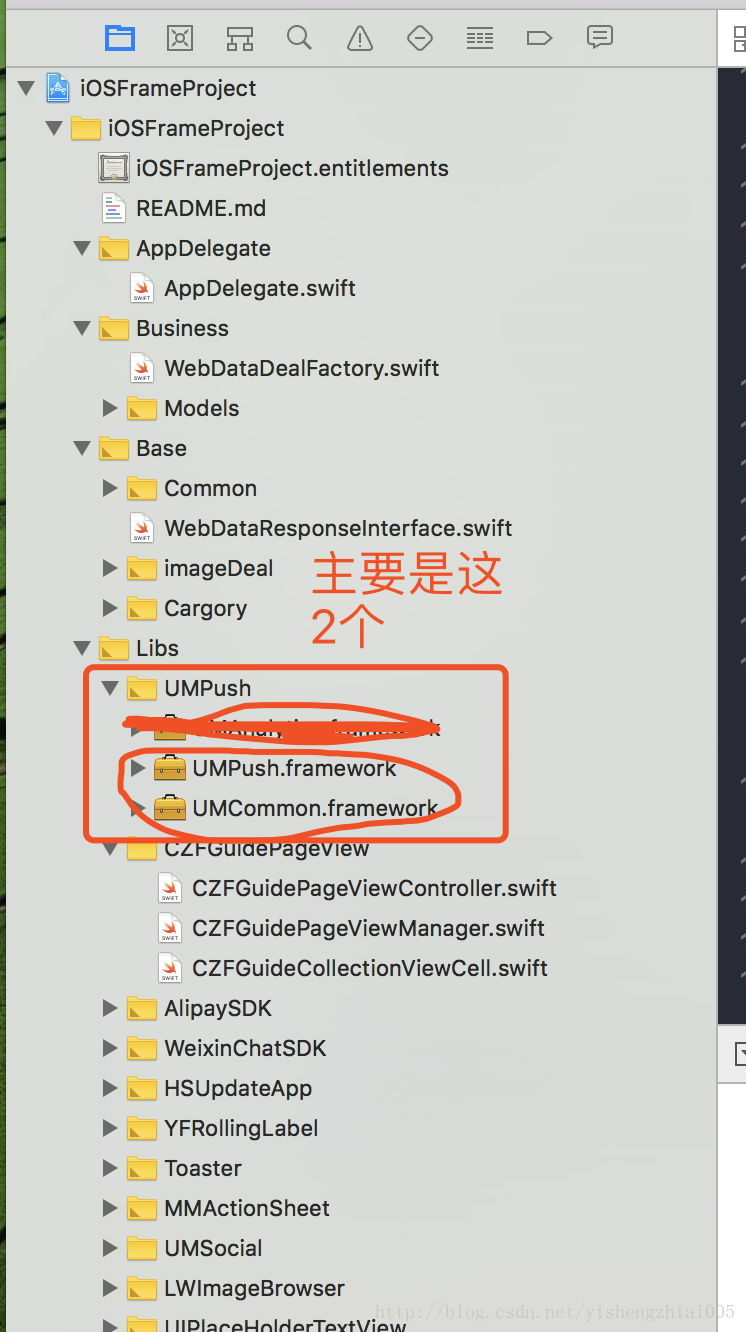
第四步:下载并集成到对应的SDK(也可以参考官方的集成http://mobile.umeng.com/custom_sdk,我这边主要会写出集成过程中遇到的问题)
第五步:申请程序的证书,用的是指定APP包名的证书(参考http://blog.csdn.net/yishengzhiai005/article/details/54572498)
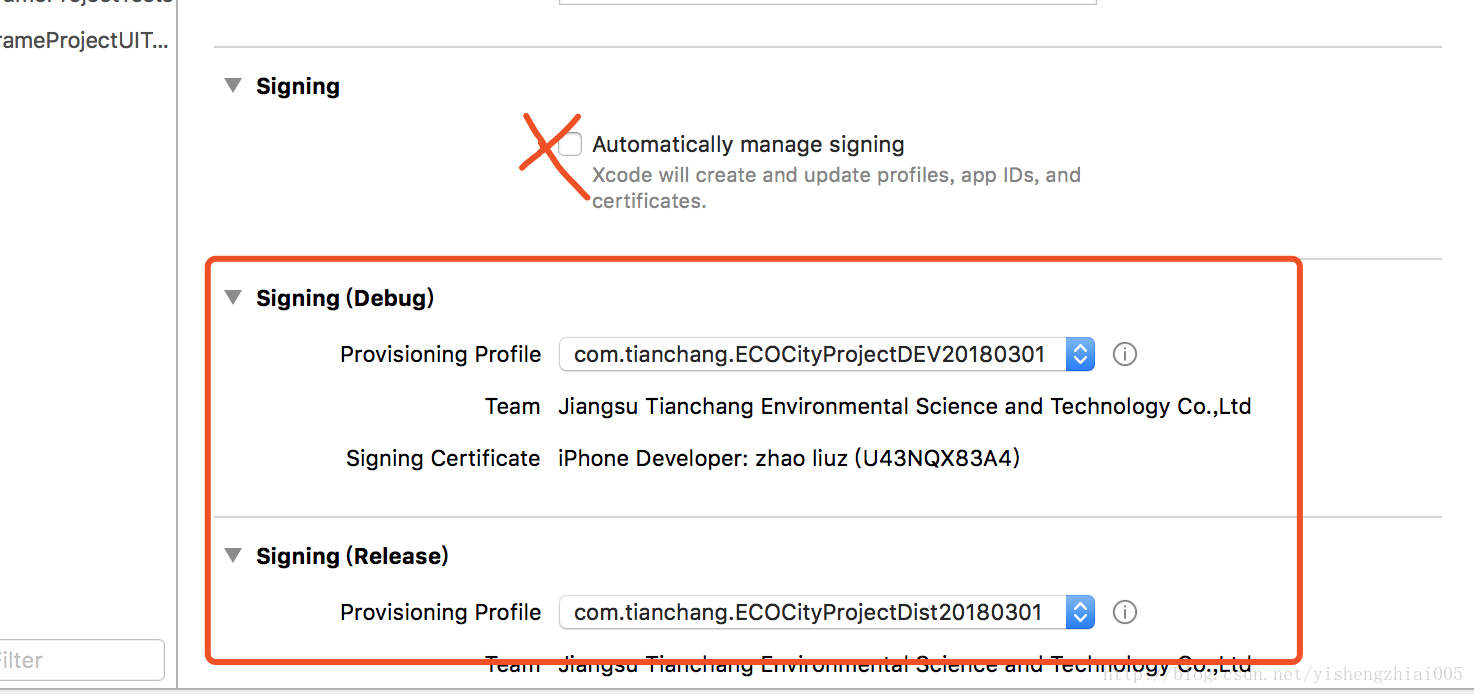
第六步:设置Xcode和设置通知的代码
采用自选证书
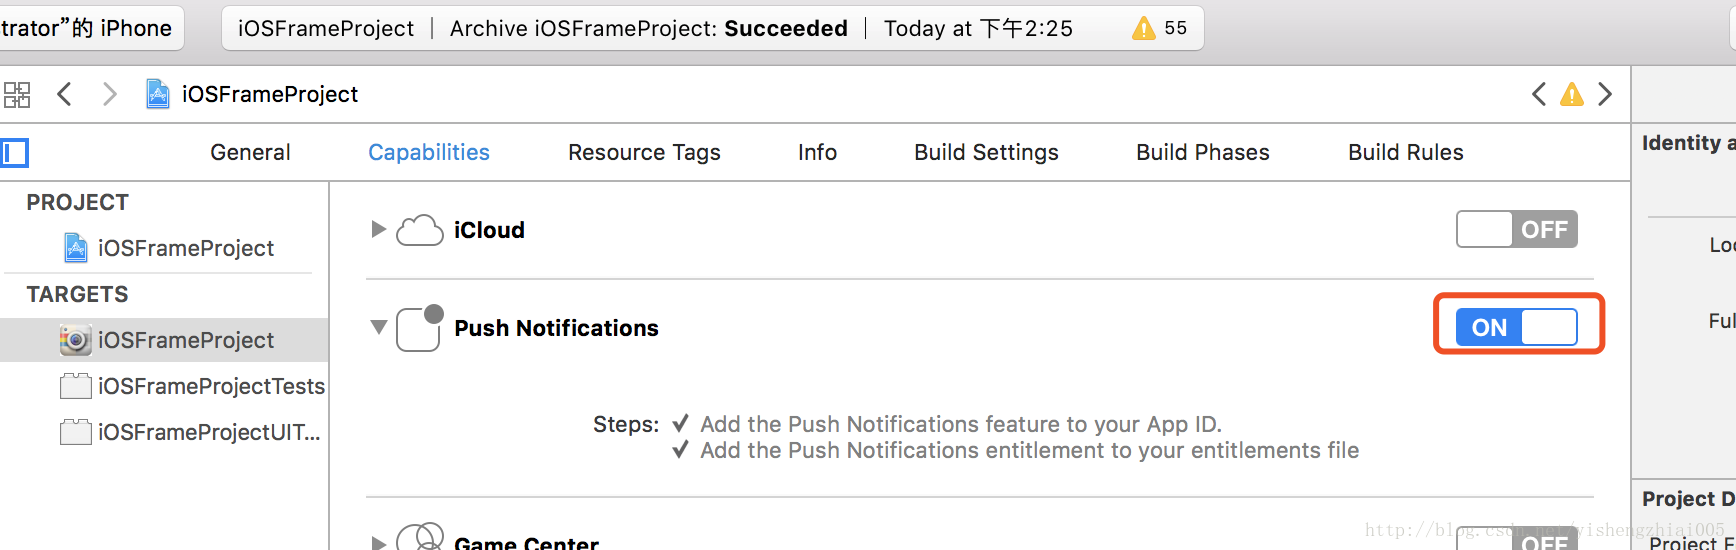
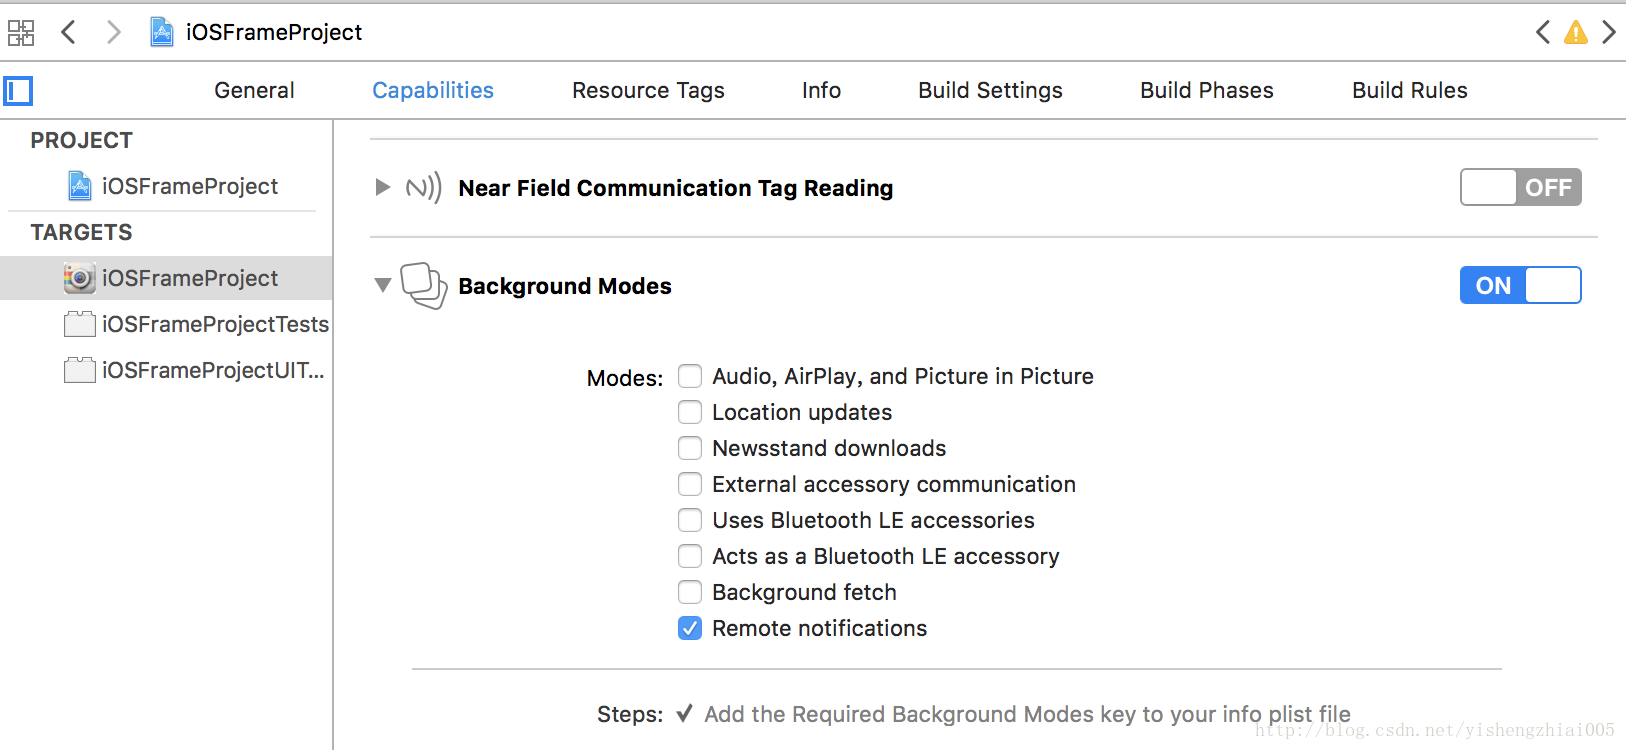
打开程序的推送通知开关(注意:steps中必须两个都是对号才行,如果能确保证书没有问题的情况下,第一步还是错的,请退出Xcode程序,然后重新打开再试)
第七步:在桥接文件中引用头文件(参考桥接文件的生成:http://blog.csdn.net/qq_25639809/article/details/60878785)

第八步:在AppDelegate.swift文件中添加推送代码
// 创建实例变量
// 友盟推送userInfo
var umUserInfo: [AnyHashable : Any]?
// 在didFinishLaunchingWithOptions 方法中添加
// 设置友盟推送
UMConfigure.initWithAppkey(UM_SHARE_APP_KEY, channel: "App Store")
/* appkey: 开发者在友盟后台申请的应用获得(可在统计后台的 “统计分析->设置->应用信息” 页面查看)*/
UMConfigure.setLogEnabled(true)
// 统计组件配置
//MobClick.setScenarioType(.E_UM_NORMAL)
// Push组件基本功能配置
if #available(iOS 10.0, *) {
UNUserNotificationCenter.current().delegate = self
} else {
// Fallback on earlier versions
}
let entity = UMessageRegisterEntity.init()
//type是对推送的几个参数的选择,可以选择一个或者多个。默认是三个全部打开,即:声音,弹窗,角标等
entity.types = Int(UInt8(UMessageAuthorizationOptions.badge.rawValue) | UInt8(UMessageAuthorizationOptions.alert.rawValue))
UMessage.registerForRemoteNotifications(launchOptions: launchOptions, entity: entity) { (granted, error) in
if granted {
// 用户选择了接收Push消息
} else {
// 用户拒绝接收Push消息
myPrint(message: "用户拒绝接收Push消息")
}
}
在增加几个代理方法
//iOS10以下使用这两个方法接收通知,
func application(_ application: UIApplication, didReceiveRemoteNotification userInfo: [AnyHashable : Any], fetchCompletionHandler completionHandler: @escaping (UIBackgroundFetchResult) -> Void) {
//关闭友盟自带的弹出框
UMessage.setAutoAlert(false)
if UIDevice.current.systemVersion < "10" {
UMessage.didReceiveRemoteNotification(userInfo)
self.umUserInfo = userInfo;
//定制自定的的弹出框
if UIApplication.shared.applicationState == UIApplicationState.active {
let alertViewVc = UIAlertController.init(title: "通知标题", message: "Test On ApplicationStateActive", preferredStyle: UIAlertControllerStyle.alert)
alertViewVc.addAction(UIAlertAction.init(title: "确定", style: UIAlertActionStyle.default, handler: { (alertView) in
// sure click
}))
self.window?.rootViewController?.present(alertViewVc, animated: true, completion: nil)
}
completionHandler(UIBackgroundFetchResult.newData)
}
}
//iOS10新增:处理前台收到通知的代理方法
@available(iOS 10.0, *)
func userNotificationCenter(_ center: UNUserNotificationCenter, willPresent notification: UNNotification, withCompletionHandler completionHandler: @escaping (UNNotificationPresentationOptions) -> Void) {
let userInfo = notification.request.content.userInfo
if notification.request.trigger is UNPushNotificationTrigger {
//应用处于前台时的远程推送接受
//关闭友盟自带的弹出框
UMessage.setAutoAlert(false)
//必须加这句代码
UMessage.didReceiveRemoteNotification(userInfo)
} else {
//应用处于后台时的本地推送接受
}
//当应用处于前台时提示设置,需要哪个可以设置哪一个
completionHandler(UNNotificationPresentationOptions(rawValue: UNNotificationPresentationOptions.RawValue(UInt8(UNNotificationPresentationOptions.sound.rawValue) | UInt8(UNNotificationPresentationOptions.badge.rawValue) | UInt8(UNNotificationPresentationOptions.alert.rawValue))))
}
//iOS10新增:处理后台点击通知的代理方法
@available(iOS 10.0, *)
func userNotificationCenter(_ center: UNUserNotificationCenter, didReceive response: UNNotificationResponse, withCompletionHandler completionHandler: @escaping () -> Void) {
let userInfo = response.notification.request.content.userInfo
if response.notification.request.trigger is UNPushNotificationTrigger {
//应用处于前台时的远程推送接受
//关闭友盟自带的弹出框
UMessage.setAutoAlert(false)
//必须加这句代码
UMessage.didReceiveRemoteNotification(userInfo)
} else {
//应用处于后台时的本地推送接受
}
}
func application(_ application: UIApplication, didRegisterForRemoteNotificationsWithDeviceToken deviceToken: Data) {
var token = deviceToken.description.replacingOccurrences(of: "<", with: "")
token = token.replacingOccurrences(of: ">", with: "")
token = token.replacingOccurrences(of: " ", with: "")
myPrint(message: "deviceToken:\(token)")
}
func application(_ application: UIApplication, didFailToRegisterForRemoteNotificationsWithError error: Error) {
myPrint(message: "error:\(error)")
}
第九步:测试是否已经集成成功(只能在真机上测试)
1. 添加测试通知设备的DeviceToken到友盟平台上(http://message.umeng.com/app/577c80b5e0f55a6664002d76/testmode)
(备注:如何获取设备的DeviceToken, 代码中添加UMConfigure.setLogEnabled(true) //打开日志,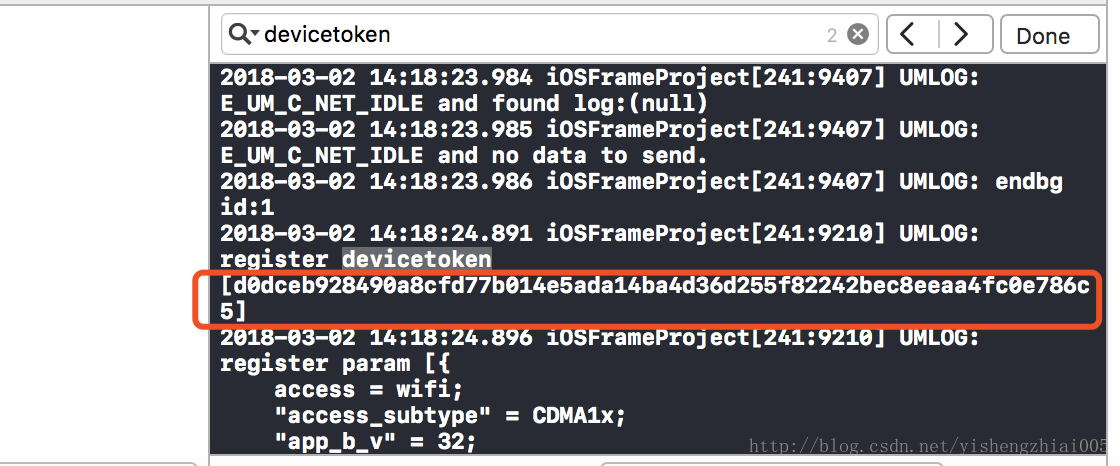
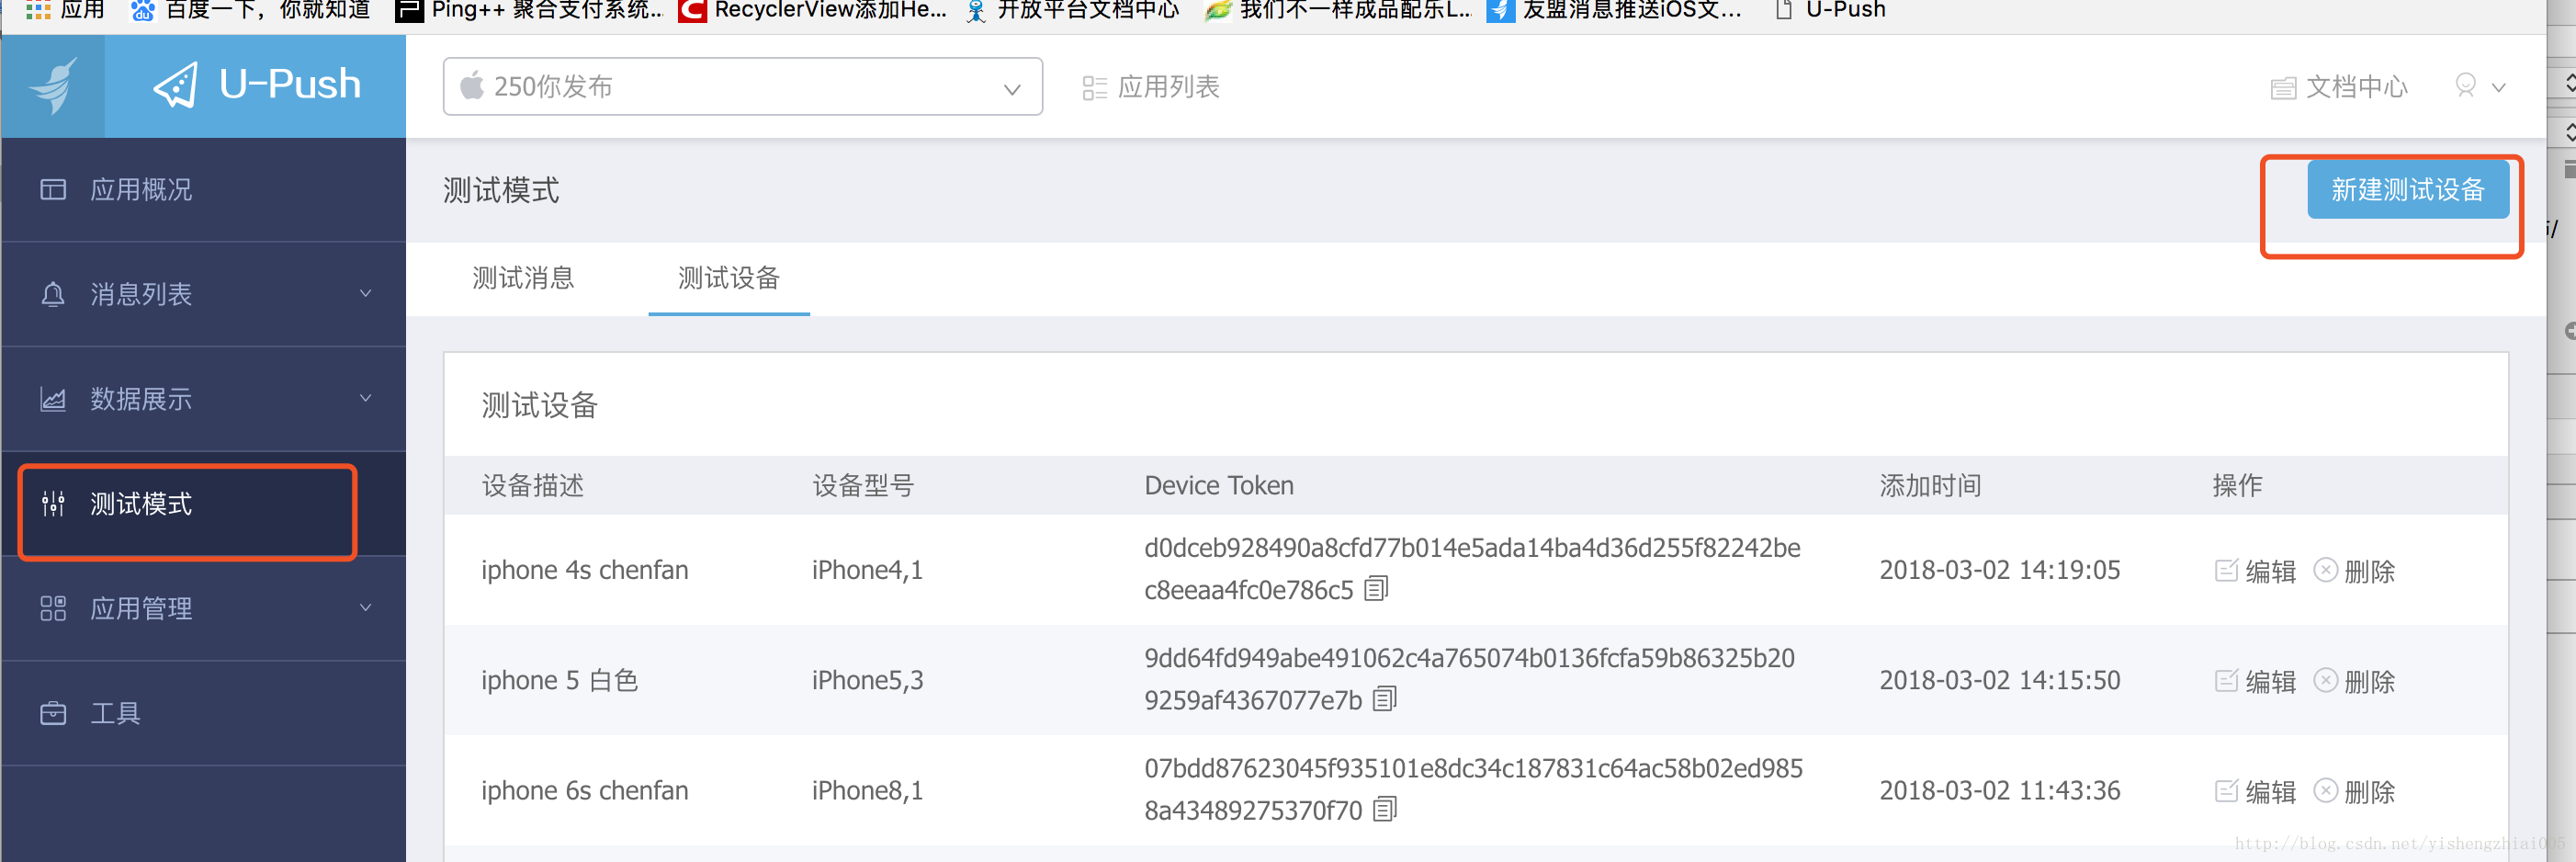
2. 发送测试的消息通知


 592
592


 被折叠的 条评论
为什么被折叠?
被折叠的 条评论
为什么被折叠?
 到【灌水乐园】发言


