


本篇博客是关于UITableViewCell的几种创建和加载方式的,我相信有一大部分人对这个都是懵懵懂懂的,所以我今天就写一篇博客来说一下我个人的理解,如果有错误的地方请指正!
说到UITableViewCell就不得不说一说重用机制,为了提高程序的运行效率和优化资源的占用率,OC中对于UITableViewCell有一种重用机制,目的就是不让系统去重复的创建cell,节省系统资源,提高运行效率,废话不多少直接上代码。
第一种
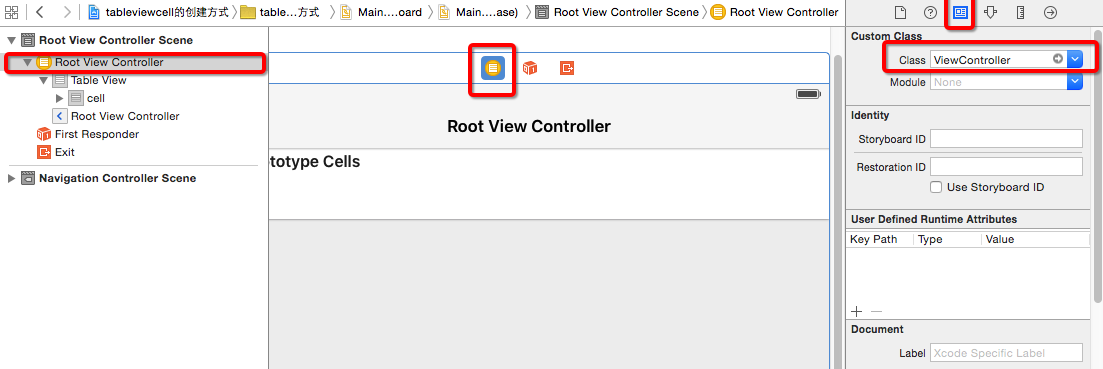
首先在StoryBoard中拖入一个UITableViewController,然后绑定ViewController这个类
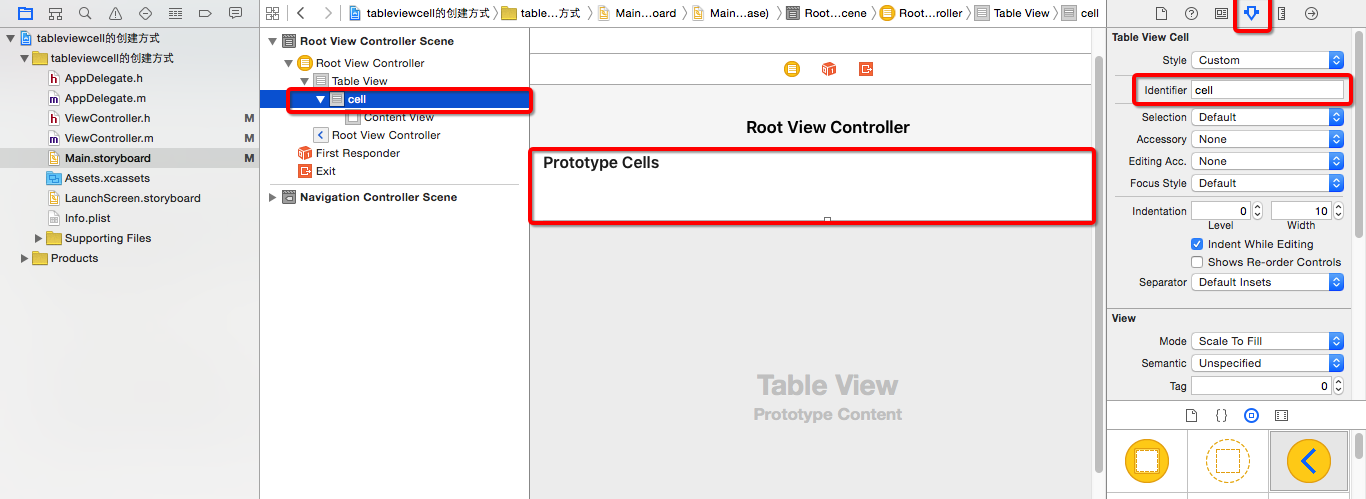
然后选中cell,给cell绑定一个标识符
接下来在ViewController中实现tableview的方法
#import "ViewController.h"
@interface ViewController ()
@end
@implementation ViewController
- (void)viewDidLoad {
[super viewDidLoad];
// Do any additional setup after loading the view, typically from a nib.
}
//返回多少行
-(NSInteger)tableView:(UITableView *)tableView numberOfRowsInSection:(NSInteger)section{
return 10;
}
//返回怎样的cell
- (UITableViewCell *)tableView:(UITableView *)tableView cellForRowAtIndexPath:(NSIndexPath *)indexPath{
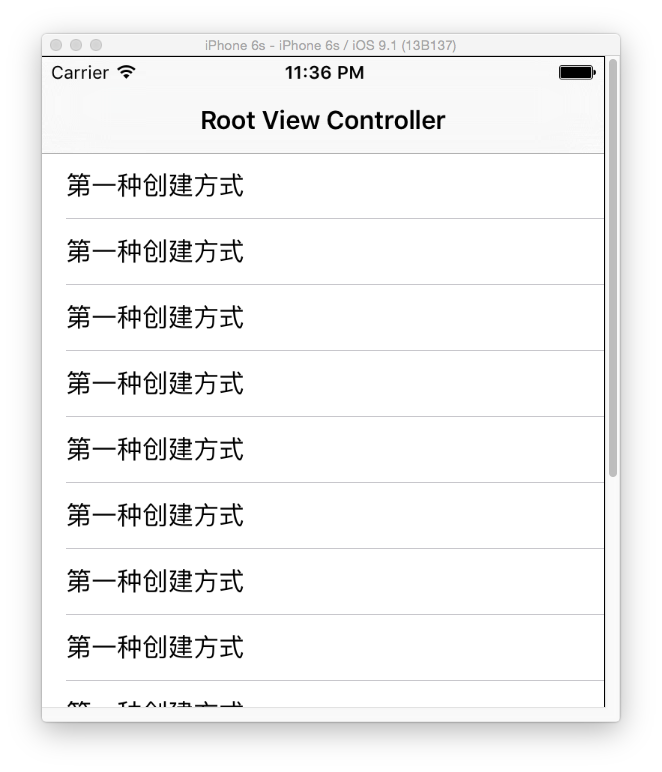
UITableViewCell *cell = [tableView dequeueReusableCellWithIdentifier:@"cell"];
cell.textLabel.text = @"第一种创建方式";
return cell;
}结果如下
这个例子中的cell绑定了标识符,所以当程序执行到返回怎样的cell这个方法时,直接就会通过标识符去寻找,如果StoryBoard中的cell没有绑定标识符,那么程序执行到这个方法的时候直接就崩了。解决的办法就是在方法中添加一个if语句进行判断
//返回怎样的cell
- (UITableViewCell *)tableView:(UITableView *)tableView cellForRowAtIndexPath:(NSIndexPath *)indexPath{


    UITableViewCell *cell = [tableView dequeueReusableCellWithIdentifier:@"cell"];

    if (cell == nil) {
        cell = [[UITableViewCell alloc]initWithStyle:UITableViewCellStyleDefault reuseIdentifier:@"cell"];
    }

    cell.textLabel.text = @"第一种创建方式";

    return cell;
}
这样问题就解决了
第二种
第一步都是一样的,需要绑定标识符,唯一不同的地方就是在方法内部创建cell的时候
//返回怎样的cell
- (UITableViewCell *)tableView:(UITableView *)tableView cellForRowAtIndexPath:(NSIndexPath *)indexPath{
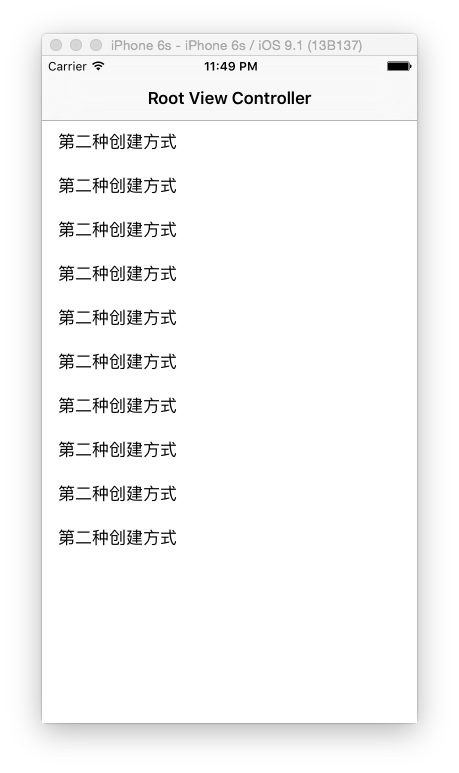
UITableViewCell *cell = [tableView dequeueReusableCellWithIdentifier:@"cell" forIndexPath:indexPath];
cell.textLabel.text = @"第二种创建方式";
return cell;
}
这个例子中的
UITableViewCell *cell = [tableView dequeueReusableCellWithIdentifier:@"cell" forIndexPath:indexPath];这行代码比第一种方法后边多了一个forIndexPath:indexPath,这种方法就是程序执行的时候先在缓存池中找,缓存池没有就去StoryBoard中找有没有和标识符一致的cell,没有的话程序就会崩。
第三种
这种方法是在viewDidLoad中注册一个cell
#import "ViewController.h"

@interface ViewController ()

@end

@implementation ViewController

- (void)viewDidLoad {
    [super viewDidLoad];

    [self.tableView registerClass:[UITableViewCell class] forCellReuseIdentifier:@"cell"];
}

//返回多少行
-(NSInteger)tableView:(UITableView *)tableView numberOfRowsInSection:(NSInteger)section{

    return 10;
}

//返回怎样的cell
- (UITableViewCell *)tableView:(UITableView *)tableView cellForRowAtIndexPath:(NSIndexPath *)indexPath{


    UITableViewCell *cell = [tableView dequeueReusableCellWithIdentifier:@"cell" forIndexPath:indexPath];

    cell.textLabel.text = @"第三种创建方式";

    return cell;
}
这种方法不需要在StoryBoard中对cell绑定标识符,当程序执行的时候,先去缓存池找,再去StoryBoard中找,都没找到就去看看有没有注册,如果都没有找到就程序就会崩掉。
还有第四种就是通过XIB来加载cell了,跟上边的方法差不多,不过在注册的时候需要用到的方法不一样,在viewDidLoad中调用[self.tableView registerNib:<#(nullable UINib )#> forCellReuseIdentifier:<#(nonnull NSString )#>];这个方法,这样就可以加载XIB创建的cell了。
自己总结的如果有错误的地方请帮我指正,谢谢!


 1021
1021


 被折叠的 条评论
为什么被折叠?
被折叠的 条评论
为什么被折叠?
 到【灌水乐园】发言


