


转载请声明:http://blog.csdn.net/yoyo_newbie/article/details/51959154
注入规则:
条件:某View中如含方法:setXXX, 参数唯一,类型为T
注入步骤:在ViewModel中,添加 T 类型成员引用t
注入方法:在对应的xml,的根元素layout, 添加
xmlns:app="http://schemas.android.com/apk/res-auto
然后,找到某View , 添加app:xxxx="@{model.t}" ,就可以完成注入。
关说不干,不懂啥意思,让我们来实战。
需求三:
将《Android Databinding 从入门到转行(二)添加点击事件》需求中的Button 改为 SwipeRefreshLayout实现,通过下拉将数据刷新出来。
UI效果图:
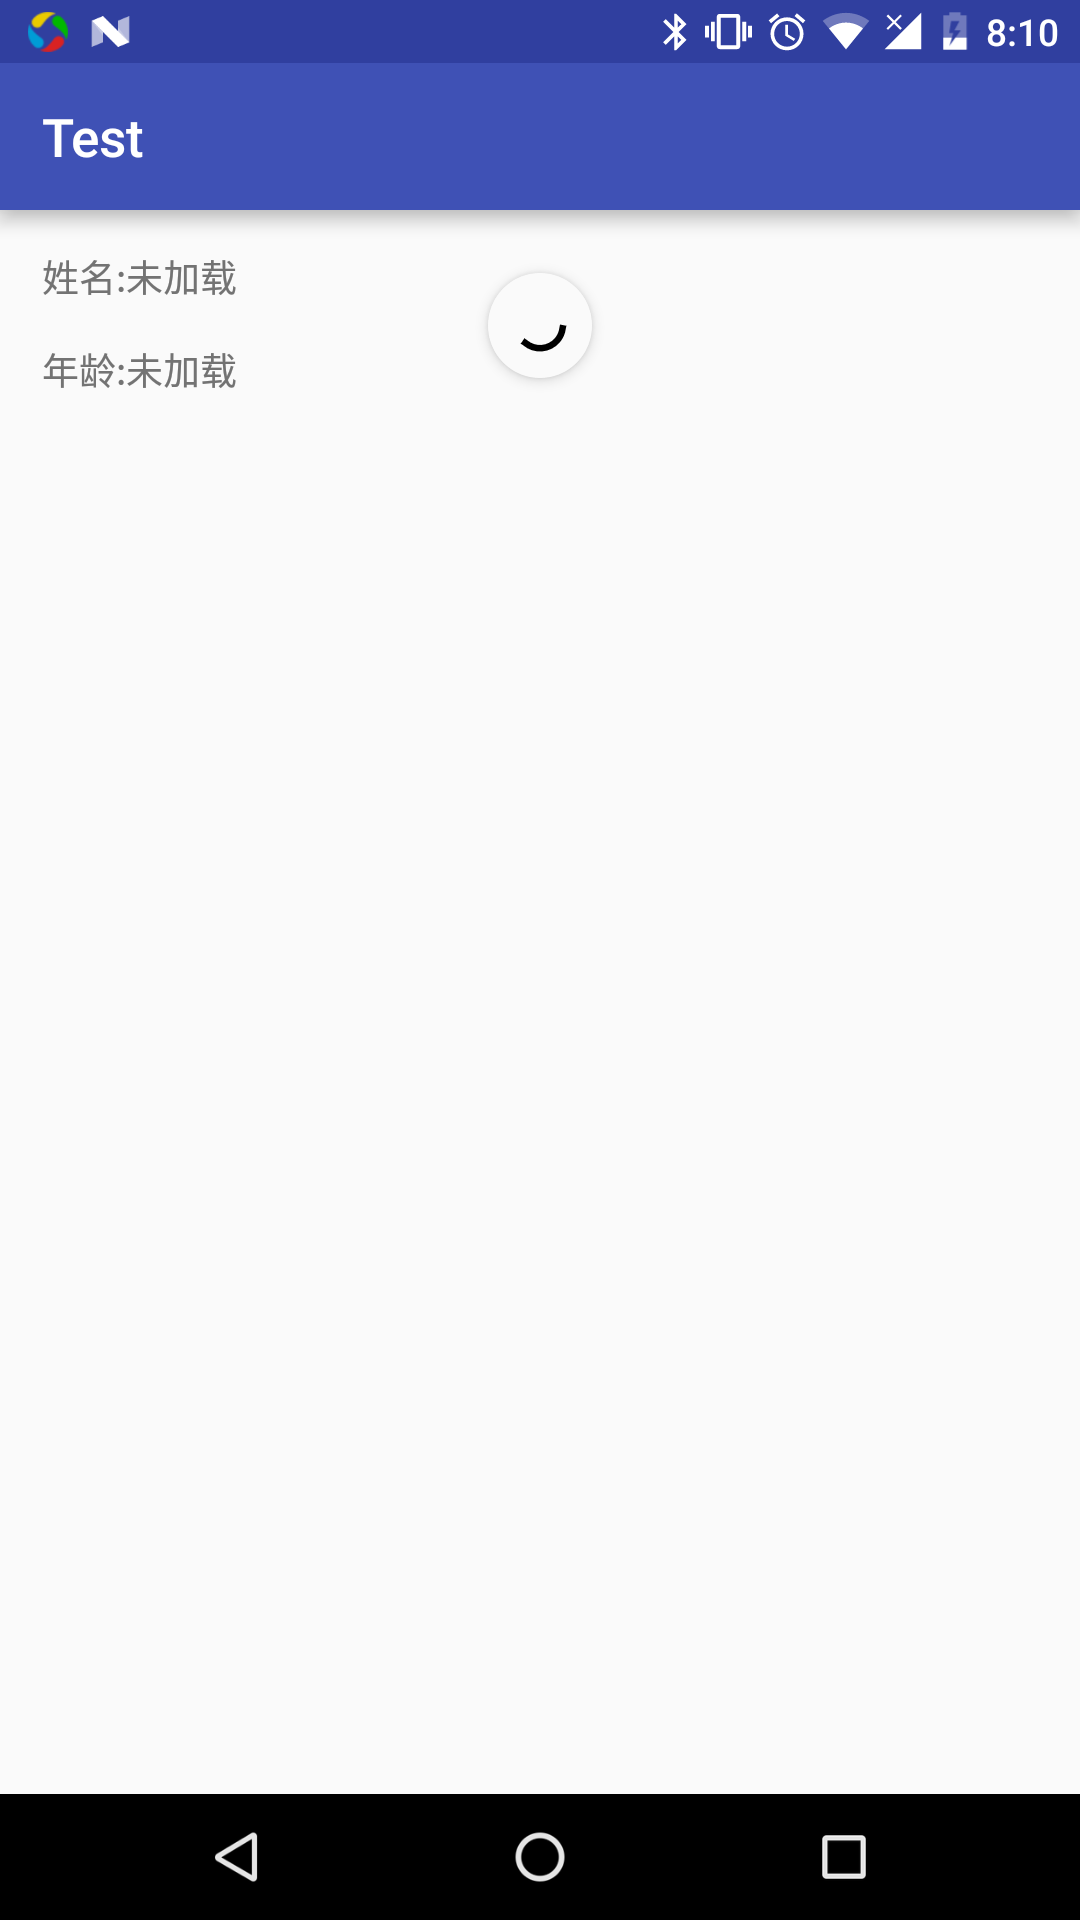
第一步:实现UI
<?xml version="1.0" encoding="utf-8"?>
<layout xmlns:android="http://schemas.android.com/apk/res/android"
    xmlns:app="http://schemas.android.com/apk/res-auto">

    <data>
        <variable
            name="userModel"
            type="com.yoyonewbie.mvvm.vm.UserModel" />
    </data>

    <android.support.v4.widget.SwipeRefreshLayout
        android:layout_width="match_parent"
        android:layout_height="match_parent"

        >

        <ScrollView
            android:layout_width="match_parent"
            android:layout_height="match_parent">

            <LinearLayout
                android:layout_width="match_parent"
                android:layout_height="match_parent"
                android:orientation="vertical"
                android:padding="16dp">


                <LinearLayout
                    android:layout_width="wrap_content"
                    android:layout_height="wrap_content"
                    android:orientation="horizontal">

                    <TextView
                        android:layout_width="wrap_content"
                        android:layout_height="wrap_content"
                        android:text="姓名:" />

                    <TextView
                        android:layout_width="wrap_content"
                        android:layout_height="wrap_content"
                        android:text="@{userModel.name}" />
                </LinearLayout>


                <LinearLayout
                    android:layout_width="wrap_content"
                    android:layout_height="wrap_content"
                    android:layout_marginTop="@dimen/activity_vertical_margin"
                    android:orientation="horizontal">

                    <TextView
                        android:layout_width="wrap_content"
                        android:layout_height="wrap_content"
                        android:text="年龄:" />

                    <TextView
                        android:layout_width="wrap_content"
                        android:layout_height="wrap_content"
                        android:text="@{userModel.age}" />
                </LinearLayout>


            </LinearLayout>
        </ScrollView>
    </android.support.v4.widget.SwipeRefreshLayout>
</layout>
那么在databinding中下拉事件回调是怎么实现的呢?
按正常来实现,就是在MainActivity里面,通过findViewById加载出实例,再设置事件回调.如下
swipeRefreshLayout.setOnRefreshListener(new SwipeRefreshLayout.OnRefreshListener() {
    @Override
    public void onRefresh() {

    }
});
那么,我们观察setOnRefreshListener这个方法,setXXX(唯一参数),那么满足viewmodel的成员可 在view的xml编写注入变量的需求。
那么我们就可以填空:
条件:SwipeRefreshLayout含方法:setOnRefreshListener, 参数唯一,类型为SwipeRefreshLayout.OnRefreshListener
注入步骤:在UserModel 中,添加 SwipeRefreshLayout.OnRefreshListener 类型成员引用onRefreshListener
注入方法:在对应的xml,的根元素layout, 添加
xmlns:app="http://schemas.android.com/apk/res-auto
然后,找到SwipeRefreshLayout , 添加app:onRefreshListener="@{userModel.onRefreshListener}" ,就可以完成注入。
实现代码:
package com.yoyonewbie.mvvm.vm;


import android.databinding.Observable;
import android.databinding.ObservableBoolean;
import android.databinding.ObservableField;
import android.databinding.ObservableInt;
import android.support.v4.widget.SwipeRefreshLayout;
import android.view.View;

public class UserModel {


    public ObservableField<String> name=  new ObservableField<String>();

    public   ObservableField<String>  age=new ObservableField<String>();

    public void init()
    {
        name.set("未加载") ;
        age.set("未加载");
    }


    /**
     * 是刷新用户数据
     */
    public void freshUserInfo()
    {
        name.set("Sam") ;
        age.set("25");
    }

    public SwipeRefreshLayout.OnRefreshListener onRefreshListener = new SwipeRefreshLayout.OnRefreshListener() {
        @Override
        public void onRefresh() {
            freshUserInfo();
        }
    };


}
<?xml version="1.0" encoding="utf-8"?>
<layout xmlns:android="http://schemas.android.com/apk/res/android"
    xmlns:app="http://schemas.android.com/apk/res-auto">

    <data>
        <variable
            name="userModel"
            type="com.yoyonewbie.mvvm.vm.UserModel" />
    </data>

    <android.support.v4.widget.SwipeRefreshLayout
        android:layout_width="match_parent"
        android:layout_height="match_parent"
        app:onRefreshListener="@{userModel.onRefreshListener}"
        >

        <ScrollView
            android:layout_width="match_parent"
            android:layout_height="match_parent">

            <LinearLayout
                android:layout_width="match_parent"
                android:layout_height="match_parent"
                android:orientation="vertical"
                android:padding="16dp">


                <LinearLayout
                    android:layout_width="wrap_content"
                    android:layout_height="wrap_content"
                    android:orientation="horizontal">

                    <TextView
                        android:layout_width="wrap_content"
                        android:layout_height="wrap_content"
                        android:text="姓名:" />

                    <TextView
                        android:layout_width="wrap_content"
                        android:layout_height="wrap_content"
                        android:text="@{userModel.name}" />
                </LinearLayout>


                <LinearLayout
                    android:layout_width="wrap_content"
                    android:layout_height="wrap_content"
                    android:layout_marginTop="@dimen/activity_vertical_margin"
                    android:orientation="horizontal">

                    <TextView
                        android:layout_width="wrap_content"
                        android:layout_height="wrap_content"
                        android:text="年龄:" />

                    <TextView
                        android:layout_width="wrap_content"
                        android:layout_height="wrap_content"
                        android:text="@{userModel.age}" />
                </LinearLayout>


            </LinearLayout>
        </ScrollView>
    </android.support.v4.widget.SwipeRefreshLayout>
</layout>
package com.yoyonewbie.mvvm.view.activity;

import android.databinding.DataBindingUtil;
import android.support.v7.app.AppCompatActivity;
import android.os.Bundle;

import com.yoyonewbie.mvvm.vm.UserModel;
import com.yoyonewbie.test.R;
import com.yoyonewbie.test.databinding.MainActivityBinding;

public class MainActivity extends AppCompatActivity {

    @Override
    protected void onCreate(Bundle savedInstanceState) {
        super.onCreate(savedInstanceState);
        MainActivityBinding mainActivityBinding = DataBindingUtil.setContentView(this, R.layout.main_activity);
        UserModel user = new UserModel();
        user.init();
        mainActivityBinding.setUserModel(user);
    }


}
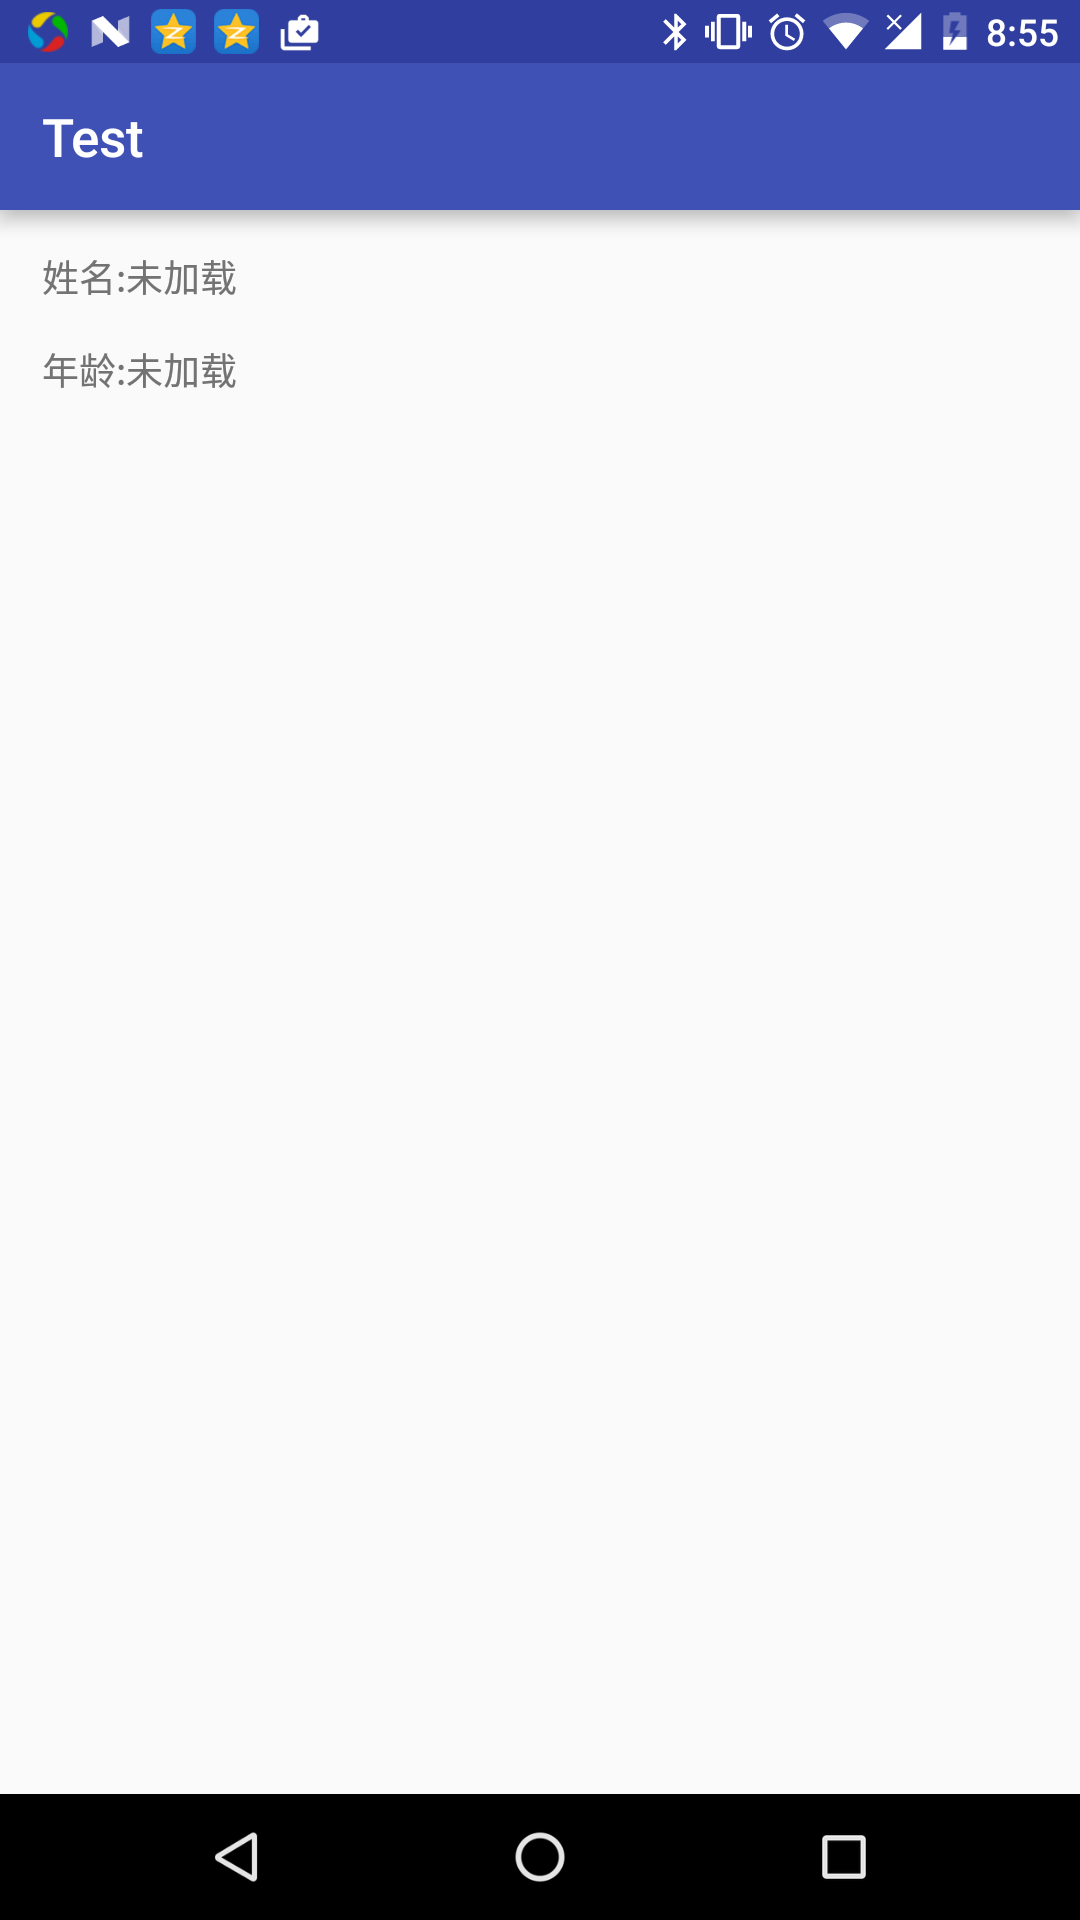
效果:
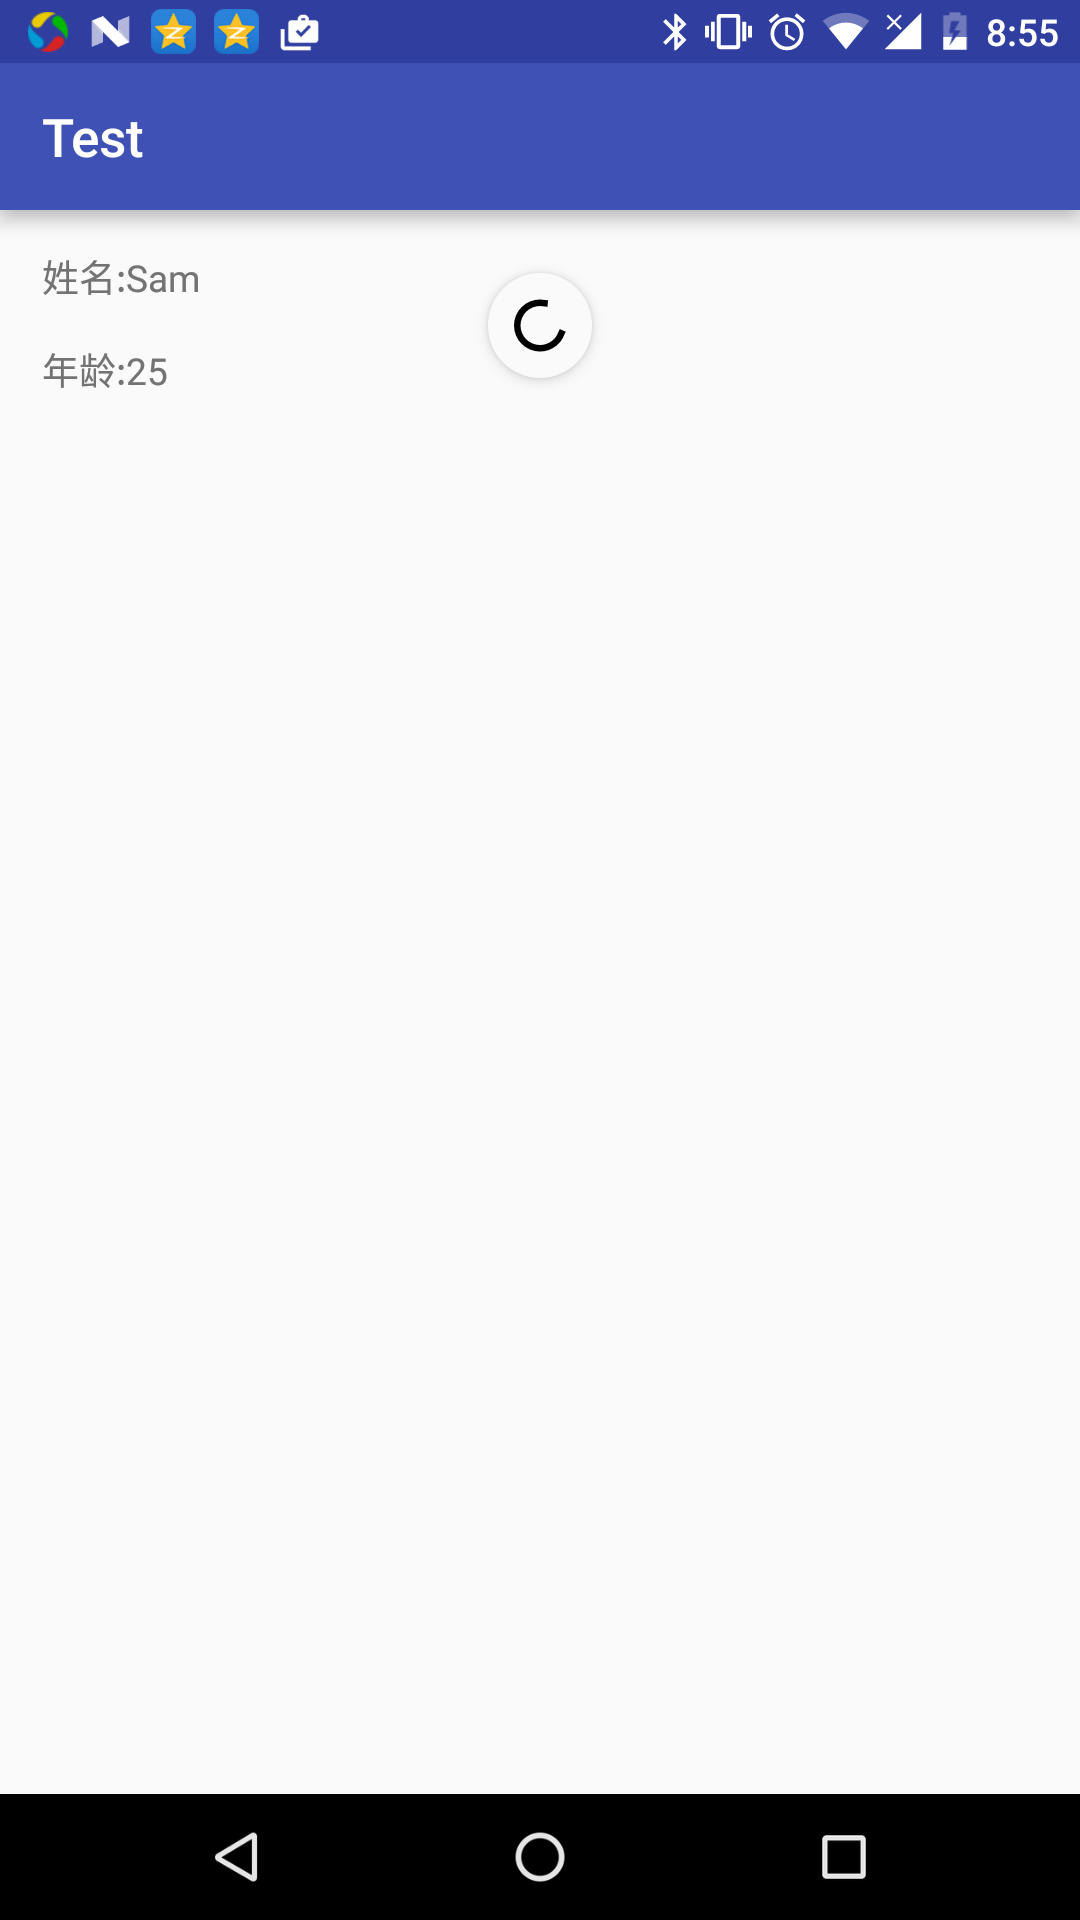
下拉后:
这时候,我想改变下拉状态怎么办 ?
改变下拉状态,需要调用setRefreshing(boolean)方法。
观察下,这个方法也满足注入的条件是不是?走一下思路!!!!
条件:SwipeRefreshLayout含方法:setRefreshing, 参数唯一,类型为boolean
注入步骤:在UserModel 中,添加 ObserverBoolean(因为操作超过2次不用boolean)类型成员引用isRefreshing
注入方法:在对应的xml,的根元素layout, 添加
xmlns:app="http://schemas.android.com/apk/res-auto
然后,找到SwipeRefreshLayout , 添加app:refreshing="@{userModel.isRefreshing}" ,就可以完成注入。
补全代码:
package com.yoyonewbie.mvvm.vm;


import android.databinding.Observable;
import android.databinding.ObservableBoolean;
import android.databinding.ObservableField;
import android.databinding.ObservableInt;
import android.os.Handler;
import android.support.v4.widget.SwipeRefreshLayout;
import android.view.View;

public class UserModel {


    public ObservableField<String> name=  new ObservableField<String>();

    public   ObservableField<String>  age=new ObservableField<String>();

    public  ObservableBoolean isRefreshing = new ObservableBoolean();


    public void init()
    {
        name.set("未加载") ;
        age.set("未加载");
    }


    /**
     * 是刷新用户数据
     */
    public void freshUserInfo()
    {
        name.set("Sam") ;
        age.set("25");
    }

    public SwipeRefreshLayout.OnRefreshListener onRefreshListener = new SwipeRefreshLayout.OnRefreshListener() {
        @Override
        public void onRefresh() {
            isRefreshing.set(true);
            freshUserInfo();
            new Handler().postDelayed(new Runnable() {
                @Override
                public void run() {
                    isRefreshing.set(false);
                }
            }, 1000);
        }
    };


}
<?xml version="1.0" encoding="utf-8"?>
<layout xmlns:android="http://schemas.android.com/apk/res/android"
    xmlns:app="http://schemas.android.com/apk/res-auto">

    <data>
        <variable
            name="userModel"
            type="com.yoyonewbie.mvvm.vm.UserModel" />
    </data>

    <android.support.v4.widget.SwipeRefreshLayout
        android:layout_width="match_parent"
        android:layout_height="match_parent"
        app:onRefreshListener="@{userModel.onRefreshListener}"
        app:refreshing ="@{userModel.isRefreshing}"
        >

        <ScrollView
            android:layout_width="match_parent"
            android:layout_height="match_parent">

            <LinearLayout
                android:layout_width="match_parent"
                android:layout_height="match_parent"
                android:orientation="vertical"
                android:padding="16dp">


                <LinearLayout
                    android:layout_width="wrap_content"
                    android:layout_height="wrap_content"
                    android:orientation="horizontal">

                    <TextView
                        android:layout_width="wrap_content"
                        android:layout_height="wrap_content"
                        android:text="姓名:" />

                    <TextView
                        android:layout_width="wrap_content"
                        android:layout_height="wrap_content"
                        android:text="@{userModel.name}" />
                </LinearLayout>


                <LinearLayout
                    android:layout_width="wrap_content"
                    android:layout_height="wrap_content"
                    android:layout_marginTop="@dimen/activity_vertical_margin"
                    android:orientation="horizontal">

                    <TextView
                        android:layout_width="wrap_content"
                        android:layout_height="wrap_content"
                        android:text="年龄:" />

                    <TextView
                        android:layout_width="wrap_content"
                        android:layout_height="wrap_content"
                        android:text="@{userModel.age}" />
                </LinearLayout>


            </LinearLayout>
        </ScrollView>
    </android.support.v4.widget.SwipeRefreshLayout>
</layout>


 950
950


 被折叠的 条评论
为什么被折叠?
被折叠的 条评论
为什么被折叠?
 到【灌水乐园】发言


