


1、下载solr4.8.1,上传至/home/hadoop
2、解压,重命名为solr
<span style="font-family:SimSun;font-size:18px;">unzip apache-solr-4.8.1.zip
mv apache-solr-4.8.1 solr</span>
3、把solr文件夹dist目录下面的solr-4.8.1.war,重命名为solr.war,然后复制到/usr/tomcat/webapps子目录下
<span style="font-family:SimSun;font-size:18px;">mv apache-solr-4.8.1.war solr.war
cp solr.war /usr/tomcat/webapps</span>修改前:
<span style="font-family:SimSun;font-size:18px;"> <Connector port="8080" protocol="HTTP/1.1"
               connectionTimeout="20000"
redirectPort="8443" /></span><span style="font-family:SimSun;font-size:18px;"> <Connector port="8080" protocol="HTTP/1.1"
connectionTimeout="20000"
redirectPort="8443" maxHttpHeaderSize="8192"
maxThreads="150" minSpareThreads="25" maxSpareThreds="25"
enableLookups="false" acceptCount="100" disableUploadTimeout="true"
URIEncoding="UTF-8" useBodyEncodingForURI="true" /></span><span style="font-family:SimSun;font-size:18px;">cp /home/hadoop/solr/example/solr /usr/tomcat</span><span style="font-family:SimSun;font-size:18px;"><?xml version="1.0" encoding="UTF-8"?>
<Context docBase="/usr/tomcat/webapps/solr.war" debug="0" crossContext="true" >
<Environment name="solr/home" type="java.lang.String" value="/usr/tomcat/solr" override="true" />
</Context></span>8、配置nutch代理名称,/home/hadoop/nutch/conf文件夹下的nutch-site.xml,增加如下内容:
<configuration>
 <property>
  <name>http.agent.name</name>
  <value>*</value>
 </property>
</configuration>
mkdir urls
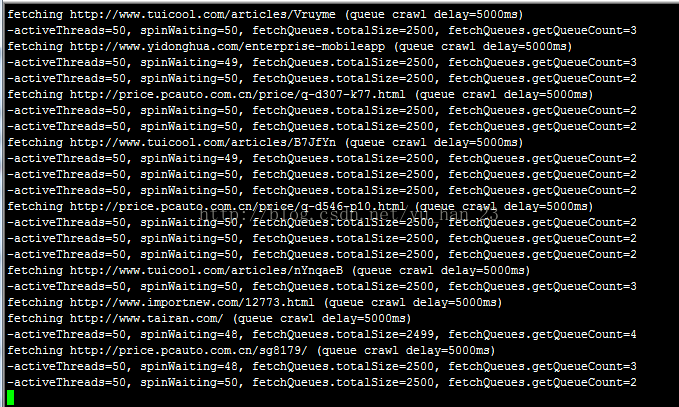
http://www.tuicool.com/topics/11020000
http://news.baidu.com
http://www.qq.com
http://guodo.net
http://www.pcauto.com.cn/
http://www.xcar.com.cn/
http://auto.sina.com.cn<field name="_version_" type="long" indexed="true" stored="true"/> <field name="_version_" type="long" indexed="true" stored="true"/>
</fields>
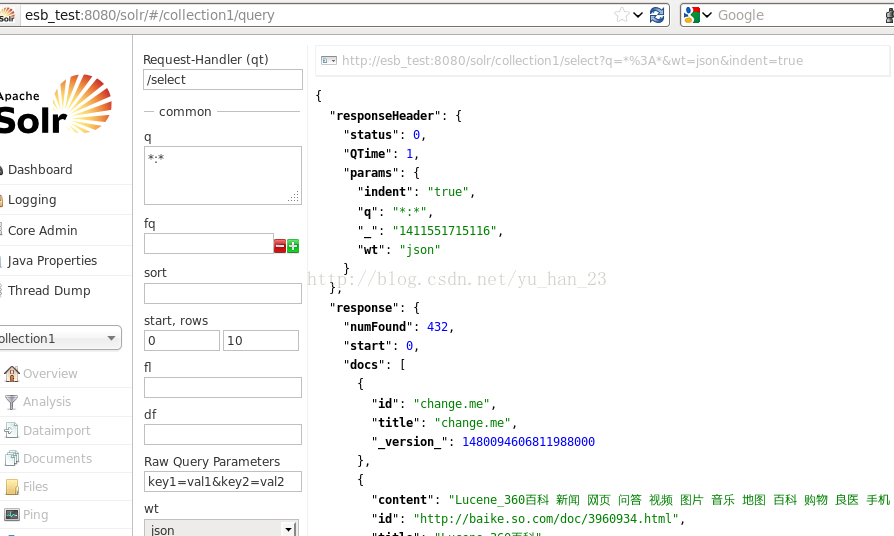
<uniqueKey>id</uniqueKey>原来
# accept anything else
# +.
# accept anything else
+^


 228
228


 被折叠的 条评论
为什么被折叠?
被折叠的 条评论
为什么被折叠?
 到【灌水乐园】发言


