


《Android大图片之变换缩略图,以及对原始大图片按照指定宽、高裁剪成缩略图》
在Android的ImageView加载图像资源过程中,出于性能和内存开销的需要,有时候需要把一个原始的超大图片按照一定比例等比例缩放成较小的缩略图,或者需要把原始的超大图片,裁剪成指定宽高值的较小图片,针对这种开发需求,可以使用Android SDK自身提供的工具类:ThumbnailUtils完成。
ThumbnailUtils的在Android官方的开发文档链接地址:
http://developer.android.com/reference/android/media/ThumbnailUtils.html
下面以一个超大图片为例,使用ThumbnailUtils等比例缩放成缩略图和按照指定的宽高裁剪成满足需要的缩略图。
测试用的MainActivity.java :
package zhangphil.thumbnail;

import android.app.Activity;
import android.graphics.Bitmap;
import android.graphics.BitmapFactory;
import android.media.ThumbnailUtils;
import android.os.Bundle;
import android.widget.ImageView;

public class MainActivity extends Activity {

	@Override
	protected void onCreate(Bundle savedInstanceState) {
		super.onCreate(savedInstanceState);
		setContentView(R.layout.activity_main);

		ImageView imageView0 = (ImageView) findViewById(R.id.imageView0);
		// 对原始资源图片不做任何处理和调整,直接加载到ImageView。
		imageView0.setImageResource(R.drawable.image);

		Bitmap sourceBitmap = BitmapFactory.decodeResource(this.getResources(),
				R.drawable.image);

		// 把原始bitmap截取成一个 MIN_SIZE * MIN_SIZE 的正方形缩略图。注意:默认是以中心为原点截取成缩略图。
		int MIN_SIZE = 300;
		ImageView imageView1 = (ImageView) findViewById(R.id.imageView1);
		Bitmap bmp1 = ThumbnailUtils.extractThumbnail(sourceBitmap, MIN_SIZE,
				MIN_SIZE);
		imageView1.setImageBitmap(bmp1);


		// 获得原始bitmap的高和宽,下面将对原始Bitmap等比例缩放成缩略图加载。
		int h = sourceBitmap.getHeight();
		int w = sourceBitmap.getWidth();

		// 缩略图缩放的比例尺
		int THUMB_SIZE;

		THUMB_SIZE = 5;
		// 对原始图片Bitmap等比例缩小5倍的缩略图
		ImageView imageView2 = (ImageView) findViewById(R.id.imageView2);
		Bitmap bmp2 = ThumbnailUtils.extractThumbnail(sourceBitmap, w / THUMB_SIZE, h
				/ THUMB_SIZE);
		imageView2.setImageBitmap(bmp2);

		// 对原始图片Bitmap等比例缩小10倍的缩略图。
		THUMB_SIZE = 10;
		ImageView imageView3 = (ImageView) findViewById(R.id.imageView3);
		Bitmap bmp3 = ThumbnailUtils.extractThumbnail(sourceBitmap, w / THUMB_SIZE, h
				/ THUMB_SIZE);
		imageView3.setImageBitmap(bmp3);
	}
}
MainActivity.java需要的布局文件activity_main.xml :
<ScrollView xmlns:android="http://schemas.android.com/apk/res/android"
    android:layout_width="match_parent"
    android:layout_height="match_parent" >

    <LinearLayout
        android:layout_width="match_parent"
        android:layout_height="match_parent"
        android:orientation="vertical" >

        <ImageView
            android:id="@+id/imageView0"
            android:layout_width="wrap_content"
            android:layout_height="wrap_content" />

        <ImageView
            android:id="@+id/imageView1"
            android:layout_width="wrap_content"
            android:layout_height="wrap_content" />

        <ImageView
            android:id="@+id/imageView2"
            android:layout_width="wrap_content"
            android:layout_height="wrap_content" />

        <ImageView
            android:id="@+id/imageView3"
            android:layout_width="wrap_content"
            android:layout_height="wrap_content" />
    </LinearLayout>

</ScrollView>
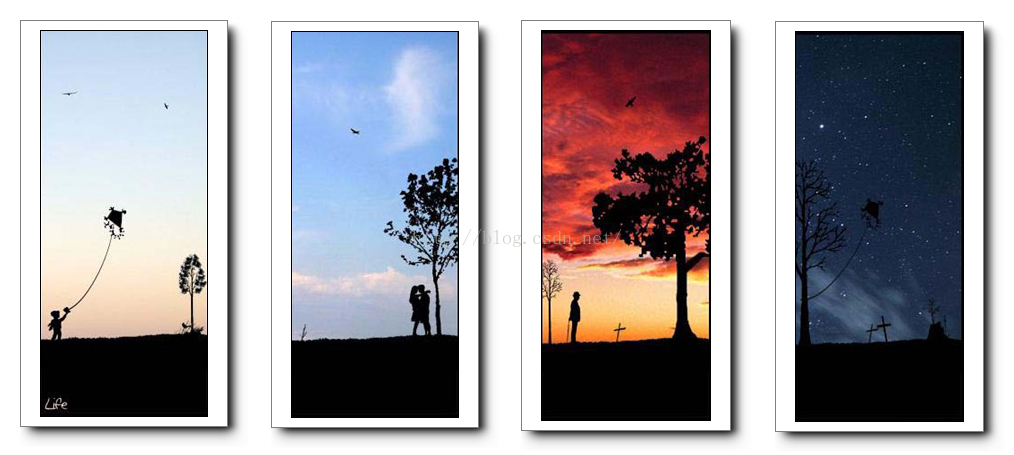
需要处理的目标的大图,原始大图资源:
代码运行处理结果如图所示:
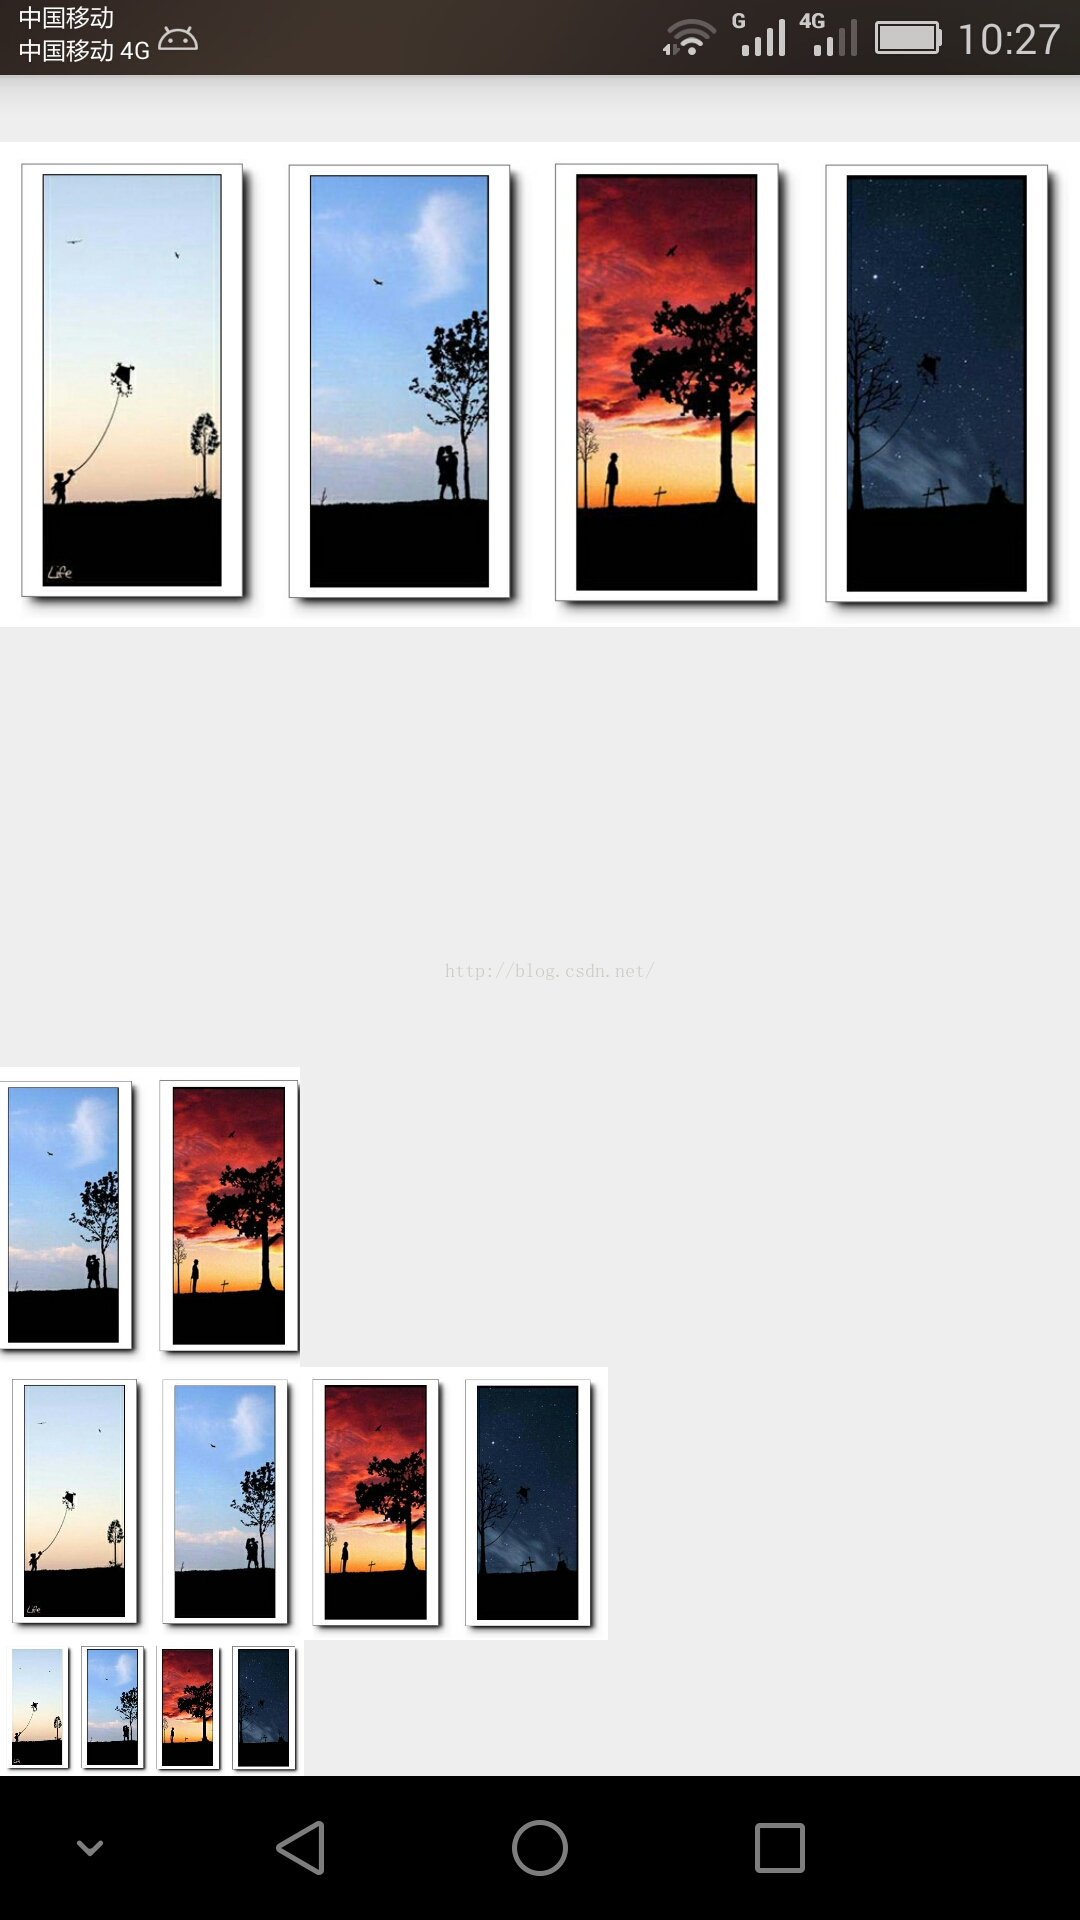


 1240
1240


 被折叠的 条评论
为什么被折叠?
被折叠的 条评论
为什么被折叠?
 到【灌水乐园】发言


