


Android若干条并排RecyclerView滑动实时联动
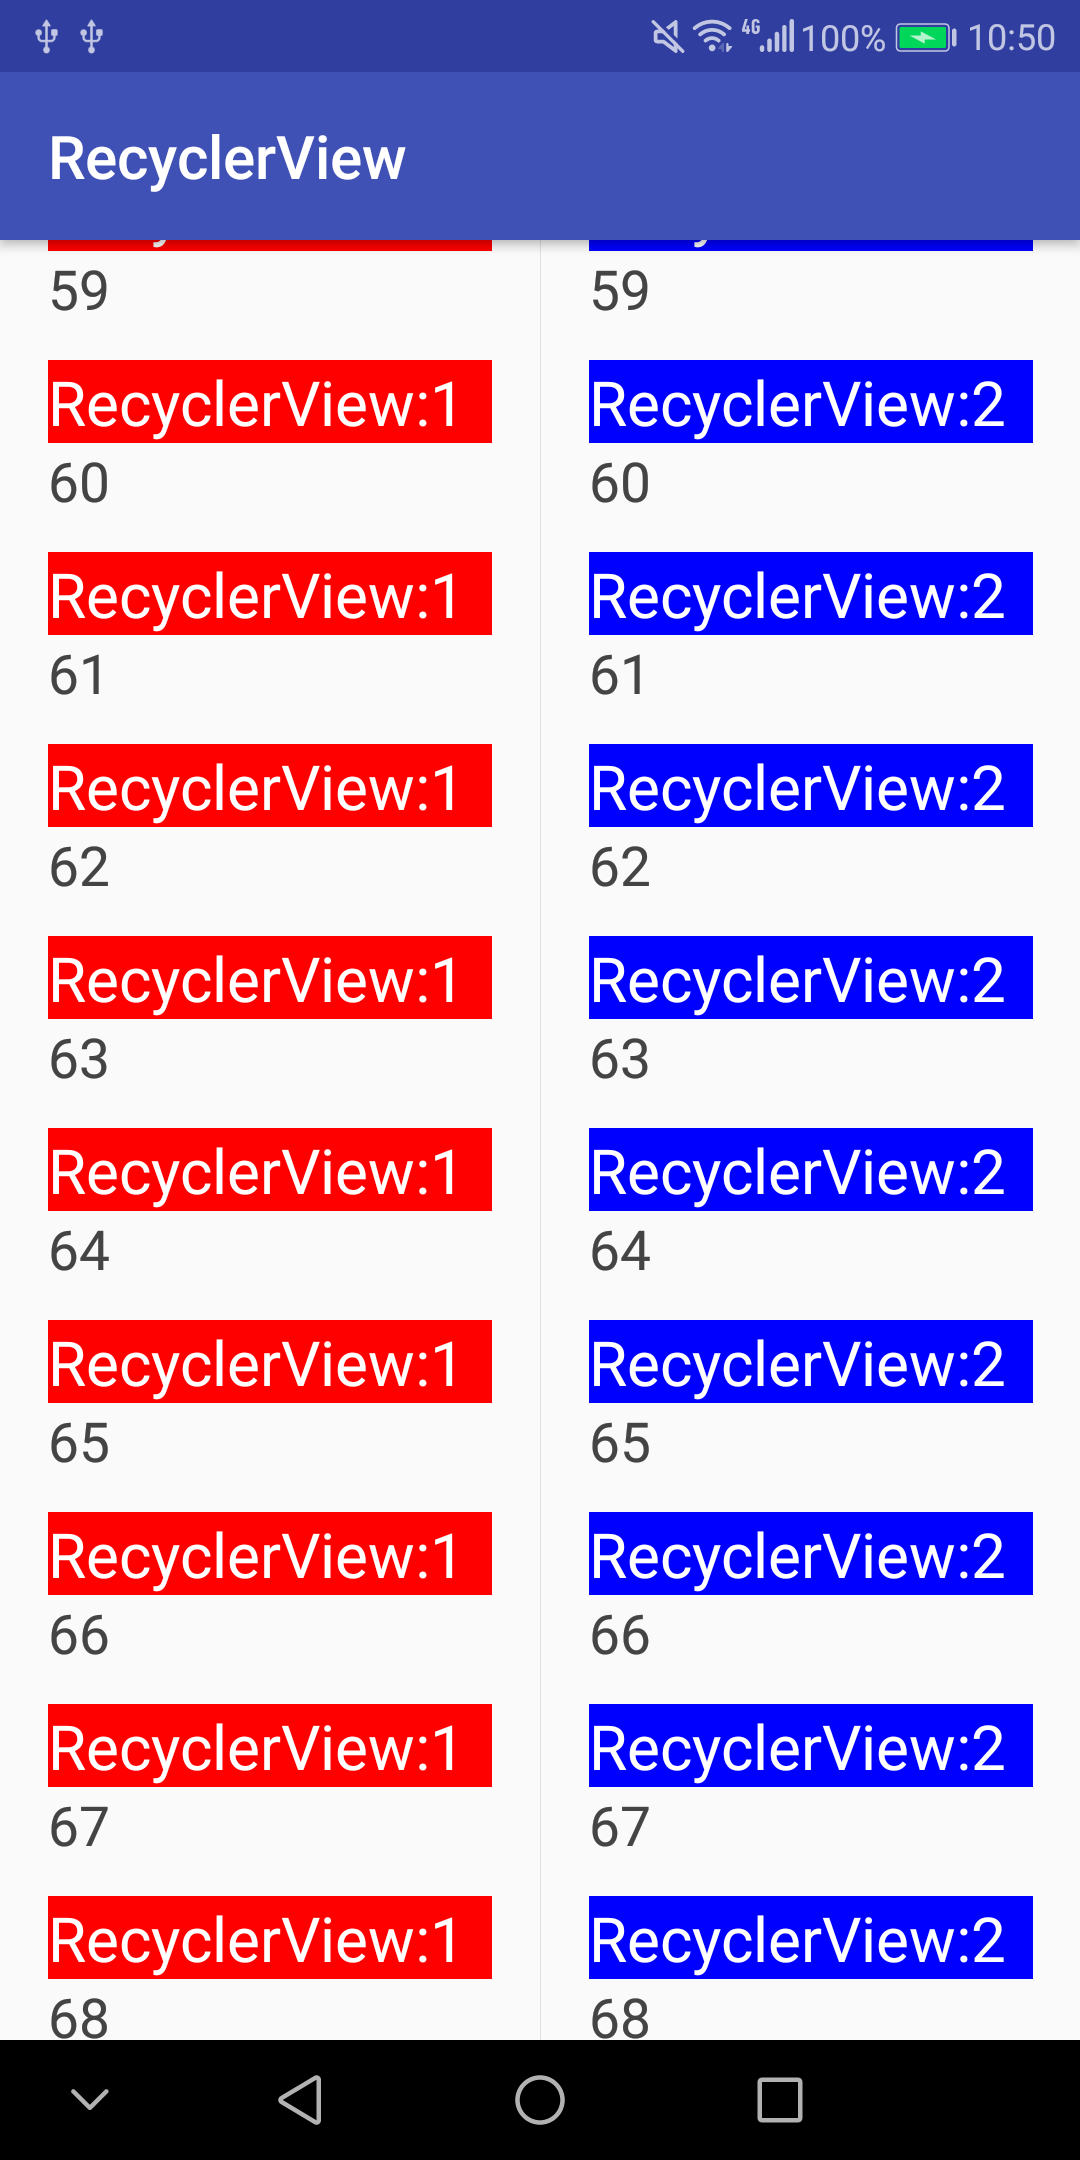
以水平方向并排排列的两条RecyclerView为例,实现一个简单的功能:这两个RecyclerView要实时联合滚动,即其中任意一个RecyclerView,将触发其余所有RecyclerView同时滚动相同。
写布局:
<?xml version="1.0" encoding="utf-8"?>
<LinearLayout xmlns:android="http://schemas.android.com/apk/res/android"
    android:layout_width="match_parent"
    android:layout_height="match_parent"
    android:orientation="horizontal">

    <android.support.v7.widget.RecyclerView
        android:id="@+id/recycler_view_1"
        android:layout_width="180dp"
        android:layout_height="match_parent" />

    <View
        android:layout_width="1px"
        android:layout_height="match_parent"
        android:background="#e0e0e0" />

    <android.support.v7.widget.RecyclerView
        android:id="@+id/recycler_view_2"
        android:layout_width="180dp"
        android:layout_height="match_parent" />
</LinearLayout>
代码:
package zhangphil.recyclerview;

import android.graphics.Color;
import android.os.Bundle;
import android.support.annotation.NonNull;
import android.support.annotation.Nullable;
import android.support.v7.app.AppCompatActivity;
import android.support.v7.widget.LinearLayoutManager;
import android.support.v7.widget.RecyclerView;
import android.view.LayoutInflater;
import android.view.View;
import android.view.ViewGroup;
import android.widget.TextView;

import java.util.ArrayList;

public class RecyclerViewActivity extends AppCompatActivity {
    private RecyclerView mRecyclerView1;
    private RecyclerView mRecyclerView2;

    private ArrayList<Integer> mItems;

    @Override
    protected void onCreate(@Nullable Bundle savedInstanceState) {
        super.onCreate(savedInstanceState);
        setContentView(R.layout.recycler_view_activity);

        mItems = new ArrayList<>();
        for (int i = 0; i < 100; i++) {
            mItems.add(i);
        }

        initRecyclerView1();
        initRecyclerView2();

        mRecyclerView1.addOnScrollListener(new RecyclerView.OnScrollListener() {
            @Override
            public void onScrolled(RecyclerView recyclerView, int dx, int dy) {
                if (recyclerView.getScrollState() != RecyclerView.SCROLL_STATE_IDLE) {
                    mRecyclerView2.scrollBy(dx, dy);
                }
            }
        });

        mRecyclerView2.addOnScrollListener(new RecyclerView.OnScrollListener() {
            @Override
            public void onScrolled(RecyclerView recyclerView, int dx, int dy) {
                if (recyclerView.getScrollState() != RecyclerView.SCROLL_STATE_IDLE) {
                    mRecyclerView1.scrollBy(dx, dy);
                }
            }
        });
    }

    private void initRecyclerView1() {
        mRecyclerView1 = findViewById(R.id.recycler_view_1);
        LinearLayoutManager layoutManager = new LinearLayoutManager(this);
        layoutManager.setOrientation(LinearLayoutManager.VERTICAL);
        mRecyclerView1.setLayoutManager(layoutManager);

        RecyclerViewAdapter mAdapter = new RecyclerViewAdapter(1);
        mRecyclerView1.setAdapter(mAdapter);
    }

    private void initRecyclerView2() {
        mRecyclerView2 = findViewById(R.id.recycler_view_2);
        LinearLayoutManager layoutManager = new LinearLayoutManager(this);
        layoutManager.setOrientation(LinearLayoutManager.VERTICAL);
        mRecyclerView2.setLayoutManager(layoutManager);

        RecyclerViewAdapter mAdapter = new RecyclerViewAdapter(2);
        mRecyclerView2.setAdapter(mAdapter);
    }

    private class RecyclerViewAdapter extends RecyclerView.Adapter<MyVH> {
        private int id;

        public RecyclerViewAdapter(int id) {
            this.id = id;
        }

        @NonNull
        @Override
        public MyVH onCreateViewHolder(@NonNull ViewGroup parent, int viewType) {
            View view = LayoutInflater.from(getApplicationContext()).inflate(android.R.layout.simple_list_item_2, parent, false);
            return new MyVH(view);
        }

        @Override
        public void onBindViewHolder(@NonNull MyVH holder, int position) {
            holder.text1.setText("RecyclerView:" + id);
            holder.text2.setText(mItems.get(position) + "");

            switch (id) {
                case 1:
                    holder.text1.setBackgroundColor(Color.RED);
                    break;

                case 2:
                    holder.text1.setBackgroundColor(Color.BLUE);
                    break;
            }
        }

        @Override
        public int getItemCount() {
            return mItems.size();
        }
    }

    private class MyVH extends RecyclerView.ViewHolder {
        public TextView text1;
        public TextView text2;

        public MyVH(View itemView) {
            super(itemView);
            text1 = itemView.findViewById(android.R.id.text1);
            text1.setTextColor(Color.WHITE);
            text2 = itemView.findViewById(android.R.id.text2);
            text2.setTextColor(Color.DKGRAY);
        }
    }
}
同时滑动其中一条,然后第二条也实时联合滚动


 1019
1019


 被折叠的 条评论
为什么被折叠?
被折叠的 条评论
为什么被折叠?
 到【灌水乐园】发言


