


准备移植视觉程序到树莓派上运行,所以需要先在树莓派上搭建运行环境。本文将记录首次使用树莓派的基本过程,也是必经之路。
因为树莓派买回来的时候就自己带了一张光碟,里面有安装系统需要的工具和系统。
需要用到的工具,附下载地址:
Panasonic_SDFormatter(格式化SD卡)
下载地址:http://download.csdn.net/detail/zx3517288/9553381
Win32DiskImager(系统烧录软件)
下载地址:http://download.csdn.net/detail/zx3517288/9553383
putty(SSH远程控制软件)
下载地址:http://download.csdn.net/detail/zx3517288/9553380
TightVNC(远程控制软件)
下载地址:http://download.csdn.net/detail/zx3517288/9553414
一、安装系统
1、格式化SD卡
2、打开Win32DiskImager,选择需要烧录的系统。系统也可以到raspberry官网下载 https://www.raspberrypi.org/
3、通电,将树莓派有线连接路由器
4、登录路由器或者打开cmd,输入arp -a,查看树莓派IP地址(我的IP地址是192.168.1.168)
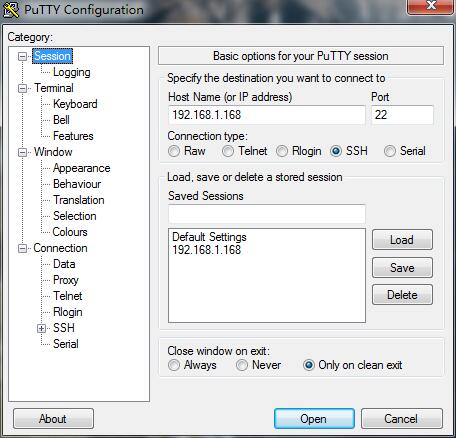
5、打开putty->输入IP地址->open(树莓派默认是开启SSH的,即使没有显示屏,也可以通过putty远程登录)
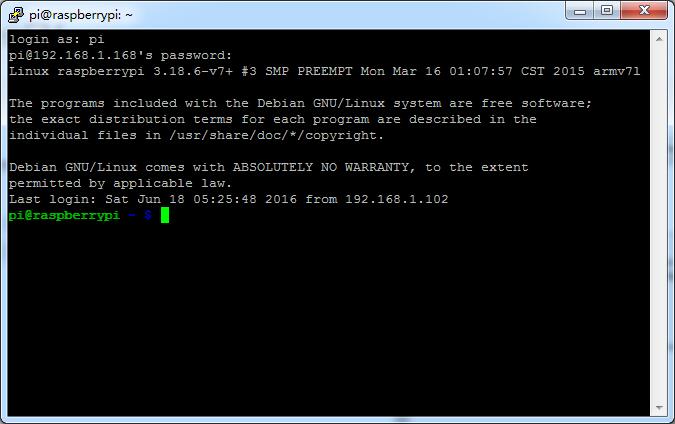
6、登录树莓派(默认用户名:pi 密码:raspberry)
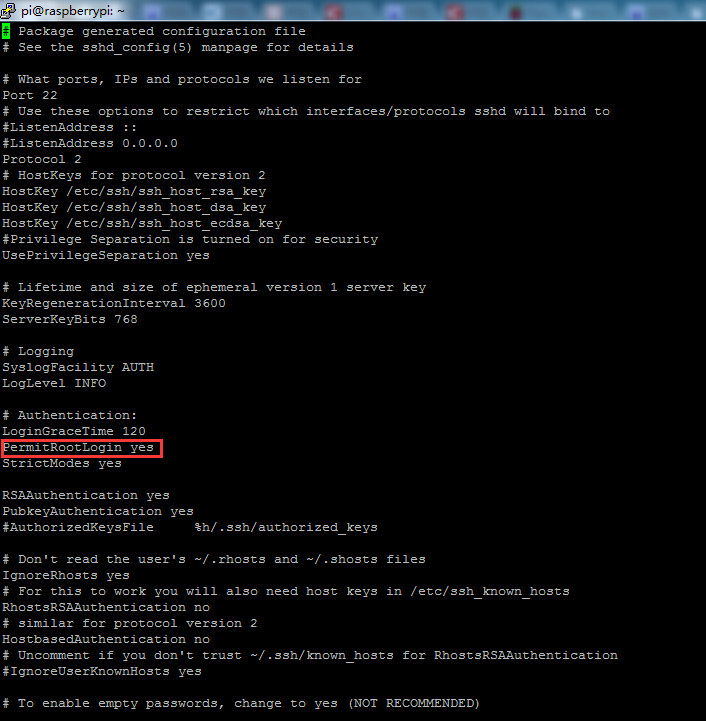
7、树莓派默认是允许root用户ssh登录,为了安全,建议关闭root用户ssh登录,方法为
- 1
- 1
将 PermitRootLogin yes 改为 PermitRootLogin no
重启ssh服务: service ssh restart
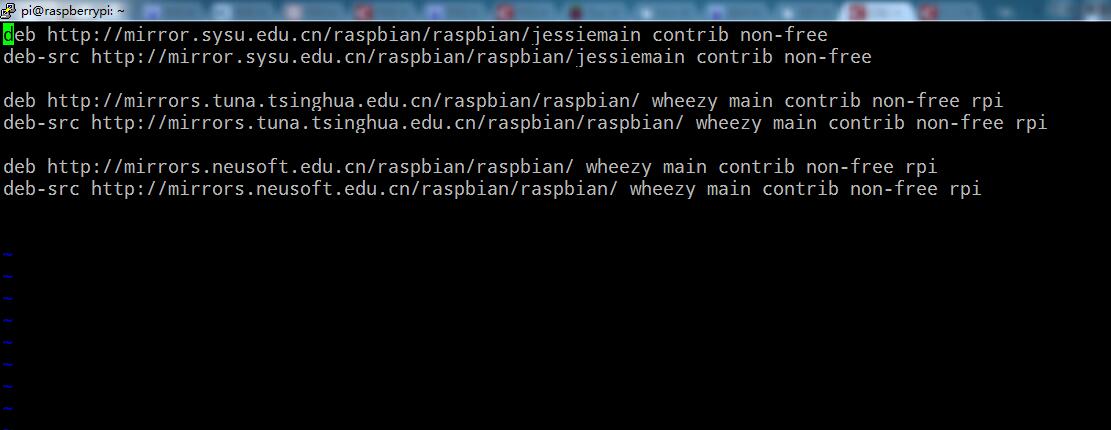
8、登录上树莓派的第一件事就是更新软件源
- 1
- 1
粘贴替换原来的网址:
deb http://mirrors.tuna.tsinghua.edu.cn/raspbian/raspbian/ wheezy main contrib non-free rpi
deb-src http://mirrors.tuna.tsinghua.edu.cn/raspbian/raspbian/ wheezy main contrib non-free rpi
deb http://mirrors.neusoft.edu.cn/raspbian/raspbian/ wheezy main contrib non-free rpi
deb-src http://mirrors.neusoft.edu.cn/raspbian/raspbian/ wheezy main contrib non-free rpi
deb http://mirrors.ustc.edu.cn/raspbian/raspbian/ wheezy main contrib non-free rpi
deb-src http://mirrors.ustc.edu.cn/raspbian/raspbian/ wheezy main contrib non-free rpi
- 1
- 2
- 1
- 2
9、为了后续安装软件时不会出现空间不够用的情况,将根分区扩展到整张SD卡。具体操作如下
- 1
- 1
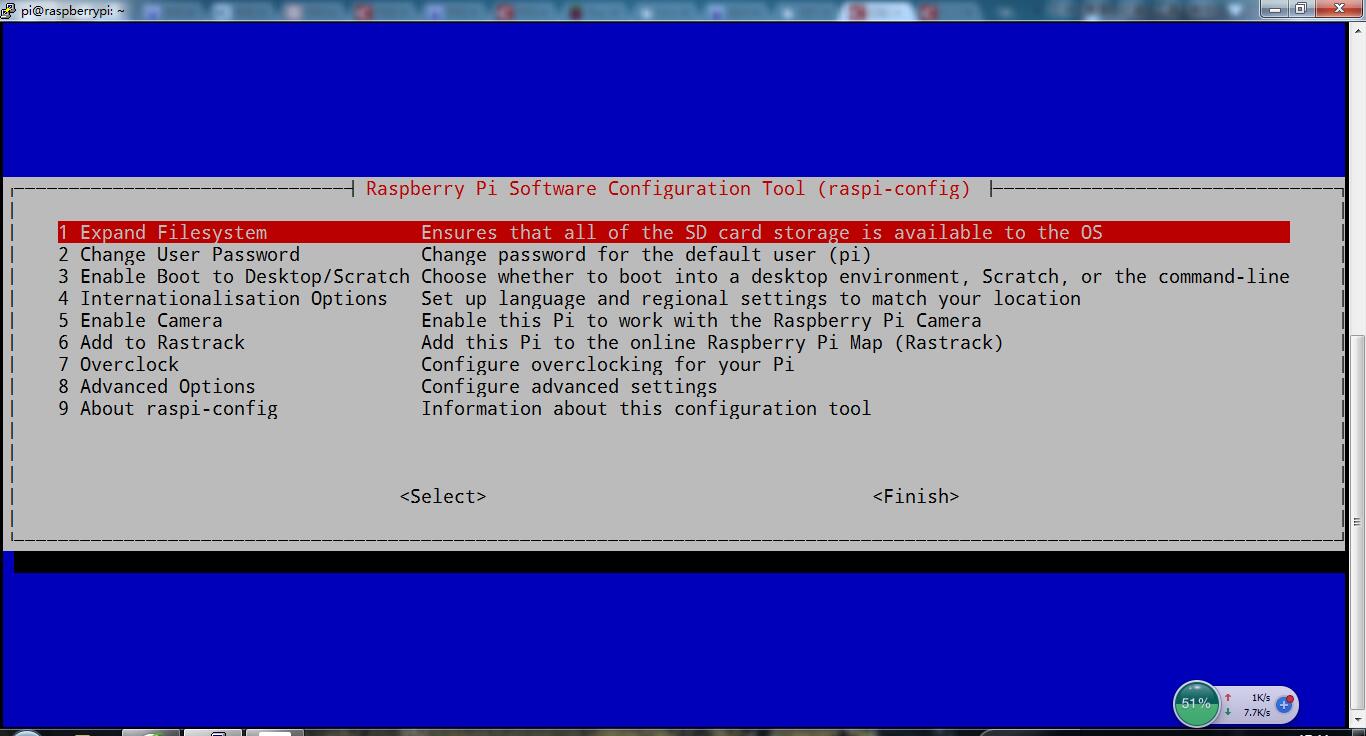
选择第一个Expand_Filesystem – 将根分区扩展到整张SD卡;设置完成后,选择Finish,会提示是否重启,选择Yes
二、设置安装VNC
1、在树莓派上安装tightvncserver
- 1
- 1
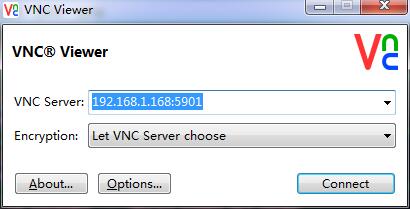
2、在Windows-PC上安装
3、SSH终端里执行vncpasswd,修改vnc密码。按照提示输入两遍密码。
- 1
- 1
4、创建vnc-server配置文件:sudo vi /etc/init.d/tightvncserver ,在这个文件里输入如下内容:
- 1
- 2
- 3
- 4
- 5
- 6
- 7
- 8
- 9
- 10
- 11
- 12
- 13
- 14
- 15
- 16
- 17
- 18
- 19
- 20
- 21
- 22
- 23
- 24
- 25
- 26
- 27
- 28
- 29
- 30
- 31
- 32
- 33
- 34
- 1
- 2
- 3
- 4
- 5
- 6
- 7
- 8
- 9
- 10
- 11
- 12
- 13
- 14
- 15
- 16
- 17
- 18
- 19
- 20
- 21
- 22
- 23
- 24
- 25
- 26
- 27
- 28
- 29
- 30
- 31
- 32
- 33
- 34
5、然后给增加执行权限,并启动服务:
- 1
- 2
- 3
- 1
- 2
- 3
安装chkconfig, 并将vnc服务设为开机启动:
- 1
- 2
- 3
- 1
- 2
- 3
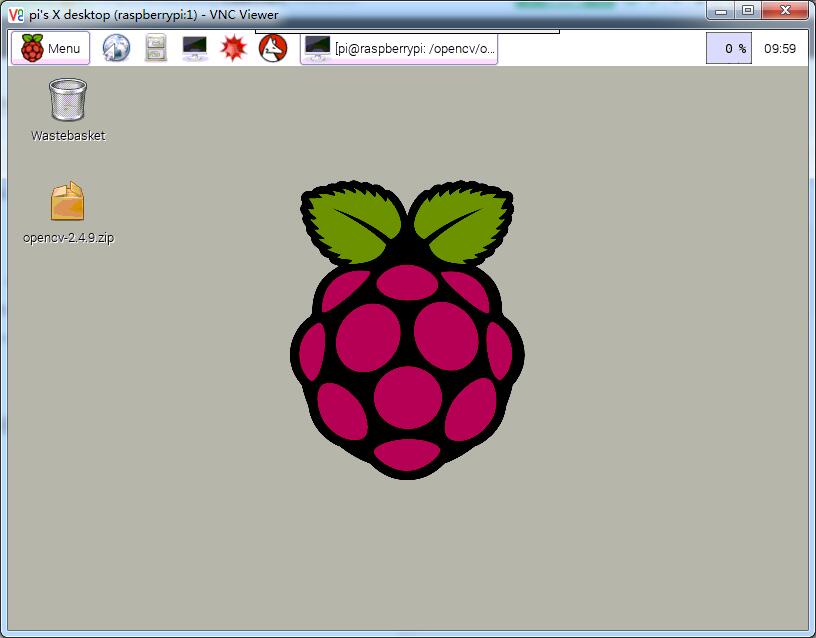
6、打开VNC Viewer,连接树莓派,VNC默认端口号为5901
三、无线网络配置
1、如果有USB无线网卡,可以插入USB接口
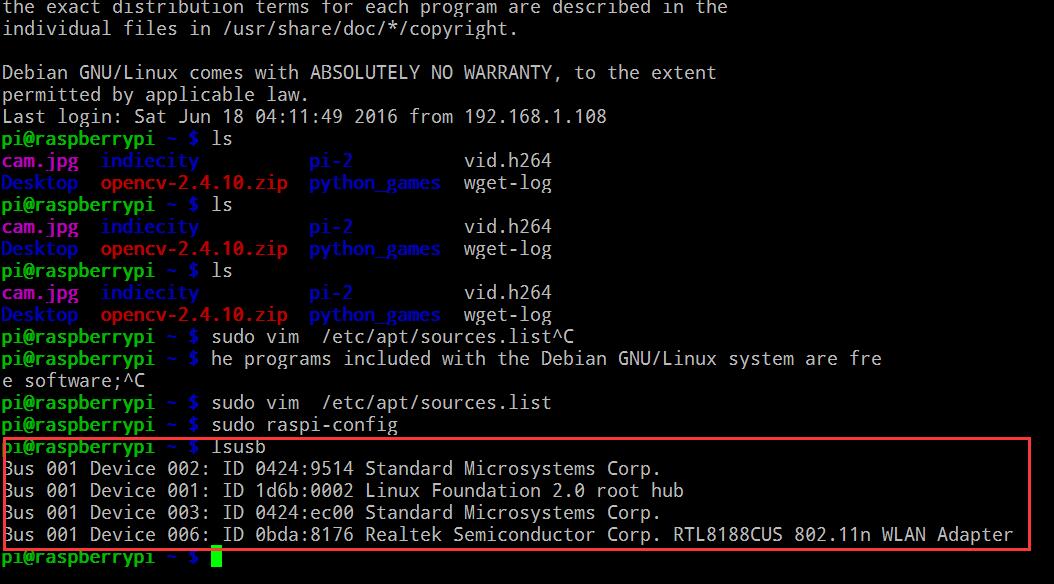
2、用lsusb命令,可以USB设备信息:
3、确定识别无线设备后,通过ifconfig查看网卡信息
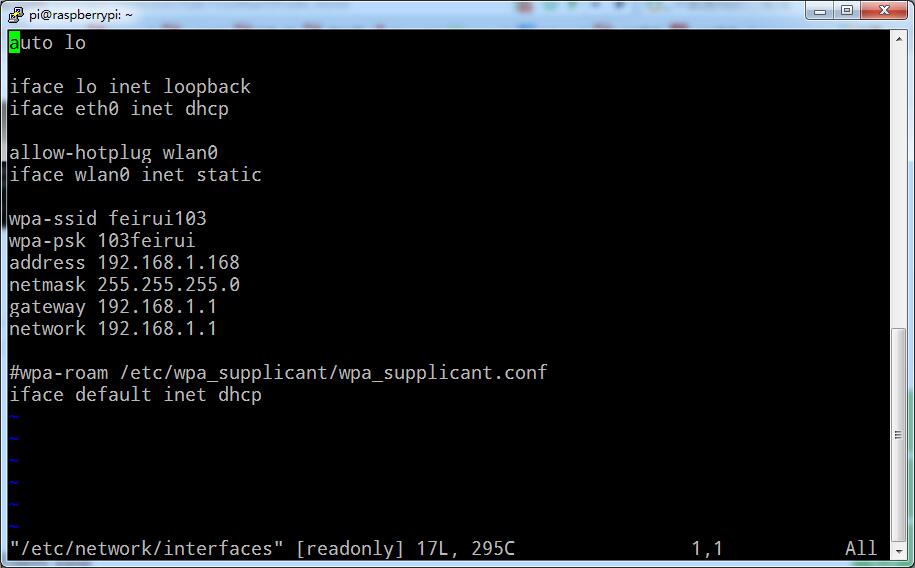
4、配置无线连接,修改/etc/network/interfaces文件
- 1
- 1
修改内容如下:
5、reboot重启树莓派
参考博客:
http://www.jianshu.com/p/a011d01bdf51
http://blog.csdn.net/zx3517288/article/details/47335585
-
顶
- 0


 3684
3684


 被折叠的 条评论
为什么被折叠?
被折叠的 条评论
为什么被折叠?
 到【灌水乐园】发言


