


1. 环境准备
首先确认当前实验环境的操作系统版本
[root@book ~]# uname -a
Linux book 2.6.18-164.el5 #1 SMP Thu Sep 3 02:16:47 EDT 2009 i686 i686 i386 GNU/Linux
可见本机的系统内核是2.6.18-164.el5
接下来去Oracle的官方网站
http://www.oracle.com/technetwork/topics/linux/asmlib/index-101839.html
下载对应的ASMLIB包。为什么要下载ASMLIB包呢?因为Linux系统在读取磁盘的时候,同一个磁盘每次标记的磁盘盘符未必会相同,利用ASMLIB包可以对磁盘添加标记为一个ASM磁盘并且给它一个唯一的标识名,这样在建立ASM实例以及ASM磁盘组的时候可以方便的识别。
下载好对应的包
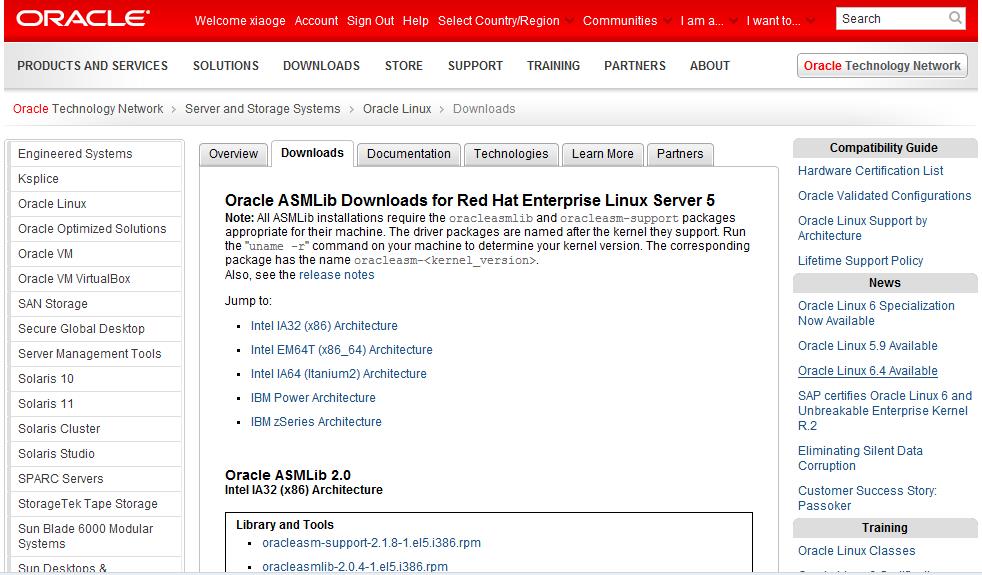
我们只需要下载oracleasm-support、oracleasmlib和oracleasm这三个包即可。下载完成后上传至实验环境
2. 安装ASMLIB包
[root@book lib]# rpm -ivh oracleasm-support-2.1.8-1.el5.i386.rpm
warning: oracleasm-support-2.1.8-1.el5.i386.rpm: Header V3 DSA signature: NOKEY, key ID 1e5e0159
Preparing... ########################################### [100%]
1:oracleasm-support ########################################### [100%]
[root@book lib]# rpm -ivh oracleasm-2.6.18-164.el5-2.0.5-1.el5.i686.rpm
warning: oracleasm-2.6.18-164.el5-2.0.5-1.el5.i686.rpm: Header V3 DSA signature: NOKEY, key ID 1e5e0159
Preparing... ########################################### [100%]
1:oracleasm-2.6.18-164.el########################################### [100%]
[root@book lib]# rpm -ivh oracleasmlib-2.0.4-1.el5.i386.rpm
warning: oracleasmlib-2.0.4-1.el5.i386.rpm: Header V3 DSA signature: NOKEY, key ID 1e5e0159
Preparing... ########################################### [100%]
1:oracleasmlib ########################################### [100%]
3.执行ASM配置
以root用户登录,执行如下配置
[root@book ~]# /etc/init.d/oracleasm configure
Configuring the Oracle ASM library driver.
This will configure the on-boot properties of the Oracle ASM library
driver. The following questions will determine whether the driver is
loaded on boot and what permissions it will have. The current values
will be shown in brackets ('[]'). Hitting <ENTER> without typing an
answer will keep that current value. Ctrl-C will abort.
Default user to own the driver interface []: oracle
Default group to own the driver interface []: oinstall
Start Oracle ASM library driver on boot (y/n) [n]: y
Scan for Oracle ASM disks on boot (y/n) [y]: y
Writing Oracle ASM library driver configuration: done
Initializing the Oracle ASMLib driver: [ OK ]
Scanning the system for Oracle ASMLib disks:
[ OK ]
4. 磁盘分区
首先查看本机的磁盘环境
[root@book ~]# fdisk -l
Disk /dev/sda: 10.7 GB, 10737418240 bytes
255 heads, 63 sectors/track, 1305 cylinders
Units = cylinders of 16065 * 512 = 8225280 bytes
Device Boot Start End Blocks Id System
/dev/sda1 * 1 13 104391 83 Linux
/dev/sda2 14 1305 10377990 8e Linux LVM
Disk /dev/sdb: 21.4 GB, 21474836480 bytes
255 heads, 63 sectors/track, 2610 cylinders
Units = cylinders of 16065 * 512 = 8225280 bytes
Device Boot Start End Blocks Id System
/dev/sdb1 1 2610 20964793+ 83 Linux
Disk /dev/sdc: 2684 MB, 2684354560 bytes
255 heads, 63 sectors/track, 326 cylinders
Units = cylinders of 16065 * 512 = 8225280 bytes
Device Boot Start End Blocks Id System
/dev/sdc1 1 326 2618563+ 83 Linux
Disk /dev/sdd: 536 MB, 536870912 bytes
64 heads, 32 sectors/track, 512 cylinders
Units = cylinders of 2048 * 512 = 1048576 bytes
Disk /dev/sdd doesn't contain a valid partition table
Disk /dev/sde: 536 MB, 536870912 bytes
64 heads, 32 sectors/track, 512 cylinders
Units = cylinders of 2048 * 512 = 1048576 bytes
Disk /dev/sde doesn't contain a valid partition table
Disk /dev/sdf: 536 MB, 536870912 bytes
64 heads, 32 sectors/track, 512 cylinders
Units = cylinders of 2048 * 512 = 1048576 bytes
Disk /dev/sdf doesn't contain a valid partition table
Disk /dev/sdg: 536 MB, 536870912 bytes
64 heads, 32 sectors/track, 512 cylinders
Units = cylinders of 2048 * 512 = 1048576 bytes
Disk /dev/sdg doesn't contain a valid partition table
Disk /dev/sdh: 536 MB, 536870912 bytes
64 heads, 32 sectors/track, 512 cylinders
Units = cylinders of 2048 * 512 = 1048576 bytes
Disk /dev/sdh doesn't contain a valid partition table
Disk /dev/sdi: 536 MB, 536870912 bytes
64 heads, 32 sectors/track, 512 cylinders
Units = cylinders of 2048 * 512 = 1048576 bytes
Disk /dev/sdi doesn't contain a valid partition table
Disk /dev/sdj: 2147 MB, 2147483648 bytes
255 heads, 63 sectors/track, 261 cylinders
Units = cylinders of 16065 * 512 = 8225280 bytes
Disk /dev/sdj doesn't contain a valid partition table
磁盘/dev/sdcyi已经进行了磁盘分区,我们接下来再对磁盘/dev/sdd /dev/sde进行分区,每个划分为一个分区。
[root@book ~]# fdisk /dev/sdd
Device contains neither a valid DOS partition table, nor Sun, SGI or OSF disklabel
Building a new DOS disklabel. Changes will remain in memory only,
until you decide to write them. After that, of course, the previous
content won't be recoverable.
Warning: invalid flag 0x0000 of partition table 4 will be corrected by w(rite)
Command (m for help): n
Command action
e extended
p primary partition (1-4)
p
Partition number (1-4): 1
First cylinder (1-512, default 1):
Using default value 1
Last cylinder or +size or +sizeM or +sizeK (1-512, default 512):
Using default value 512
Command (m for help): w
The partition table has been altered!
Calling ioctl() to re-read partition table.
Syncing disks.
[root@book ~]# fdisk /dev/sde
Device contains neither a valid DOS partition table, nor Sun, SGI or OSF disklabel
Building a new DOS disklabel. Changes will remain in memory only,
until you decide to write them. After that, of course, the previous
content won't be recoverable.
Warning: invalid flag 0x0000 of partition table 4 will be corrected by w(rite)
Command (m for help): n
Command action
e extended
p primary partition (1-4)
p
Partition number (1-4): 1
First cylinder (1-512, default 1):
Using default value 1
Last cylinder or +size or +sizeM or +sizeK (1-512, default 512):
Using default value 512
Command (m for help): w
The partition table has been altered!
Calling ioctl() to re-read partition table.
Syncing disks.
查看分区后的磁盘环境
Disk /dev/sdc: 2684 MB, 2684354560 bytes
255 heads, 63 sectors/track, 326 cylinders
Units = cylinders of 16065 * 512 = 8225280 bytes
Device Boot Start End Blocks Id System
/dev/sdc1 1 326 2618563+ 83 Linux
Disk /dev/sdd: 536 MB, 536870912 bytes
64 heads, 32 sectors/track, 512 cylinders
Units = cylinders of 2048 * 512 = 1048576 bytes
Device Boot Start End Blocks Id System
/dev/sdd1 1 512 524272 83 Linux
Disk /dev/sde: 536 MB, 536870912 bytes
64 heads, 32 sectors/track, 512 cylinders
Units = cylinders of 2048 * 512 = 1048576 bytes
Device Boot Start End Blocks Id System
/dev/sde1 1 512 524272 83 Linux
我们计划利用三个磁盘来建立一个测试ASM数据库实例
5. 利用asmlib建立asm磁盘
[root@book ~]# /etc/init.d/oracleasm createdisk disk01 /dev/sdc1
Marking disk "disk01" as an ASM disk: [ OK ]
[root@book ~]# /etc/init.d/oracleasm createdisk disk02 /dev/sdd1
Marking disk "disk02" as an ASM disk: [ OK ]
[root@book ~]# /etc/init.d/oracleasm createdisk disk03 /dev/sde1
Marking disk "disk03" as an ASM disk: [ OK ]
[root@book ~]# /etc/init.d/oracleasm listdisks
DISK01
DISK02
DISK03
6. 使用DBCA建立ASM实例以及磁盘组
在实验服务器上的命令行脚本中输入dbca命令,会出现如下界面
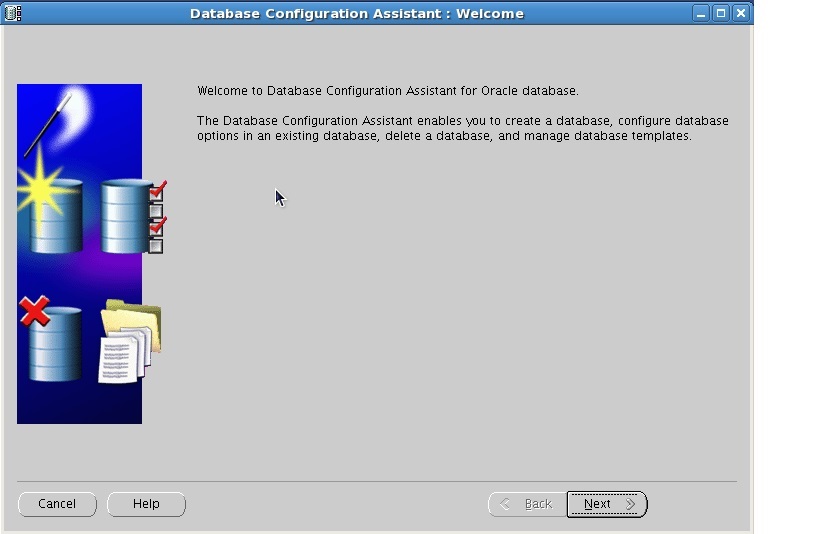
选择下一步
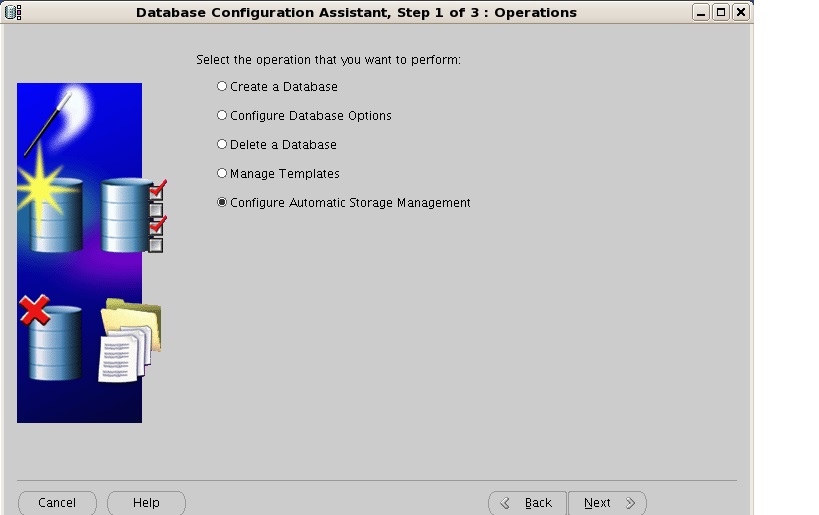
选择“Configure Automatic Storage Management”选项
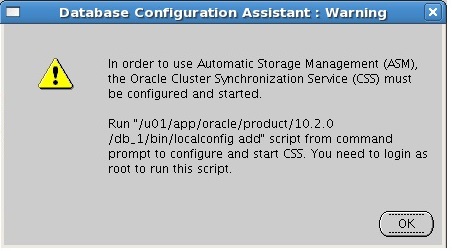
这里提示,为了使用ASM,必须首先配置和启动CSS服务,我们以root用户登录,执行提示的语句。
[root@book ~]# /u01/app/oracle/product/10.2.0/db_1/bin/localconfig add
/etc/oracle does not exist. Creating it now.
Successfully accumulated necessary OCR keys.
Creating OCR keys for user 'root', privgrp 'root'..
Operation successful.
Configuration for local CSS has been initialized
Adding to inittab
Startup will be queued to init within 90 seconds.
Checking the status of new Oracle init process...
Expecting the CRS daemons to be up within 600 seconds.
CSS is active on these nodes.
book
CSS is active on all nodes.
Oracle CSS service is installed and running under init(1M)
点击OK确认,再点击下一步,出现如下界面

在这一步创建一个ASM实例,要求输入ASM实例的管理员密码。点击下一步
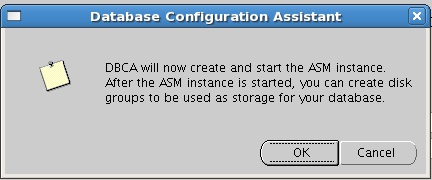
提示DBCA现在要创建并启动一个ASM实例,在实例创建成功以后,就可以创建ASM磁盘组来存储数据库。点击OK确认。
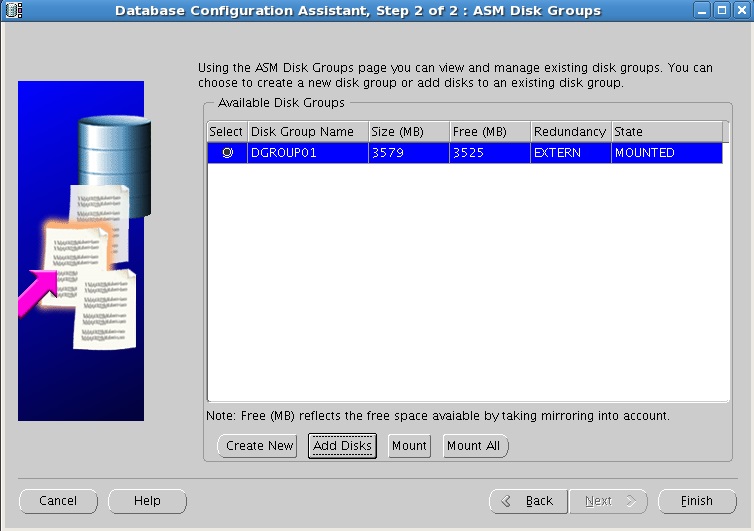
开始创建ASM实例。之后出现要求创建ASM磁盘组的界面:
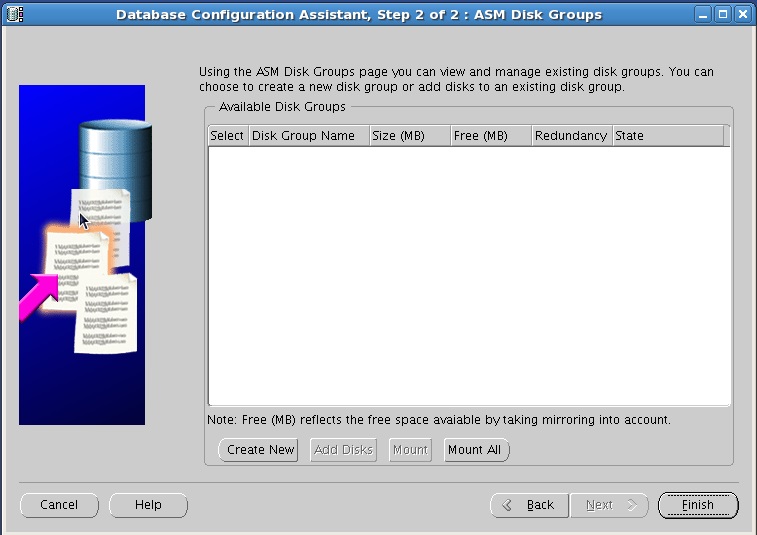
选择create now。
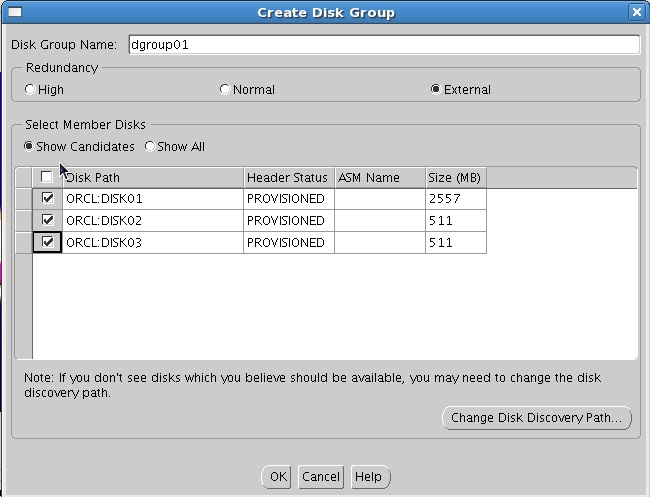
输入磁盘组的名称,选择对应的磁盘冗余策略以及磁盘组的磁盘即可。这里要说明一下磁盘组的冗余策略,我们选择外部冗余(External),不提供ASM镜像保护。如果选择Normal,ASM要求该磁盘组至少要拥有两个failure磁盘组,即提供双倍镜像保护,对于同一份数据将有主从两份镜像,并且ASM通过算法来自动确保主、从镜像不会存在于同一份failure磁盘组,这样就保障了就算整个failure磁盘组都损坏,数据也不会丢失。如果选择High,至少需要三个failure磁盘组,相对来说更安全。
配置好之后,点击OK,开始创建ASM磁盘组
点击Finish,ASM实例以及磁盘组的配置结束。
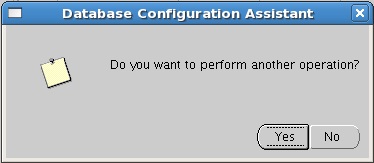
选择Yes开始进入创建数据库的界面。也可以选择No,然后再输入dbca来创建数据库。
7. 利用DBCA创建数据库
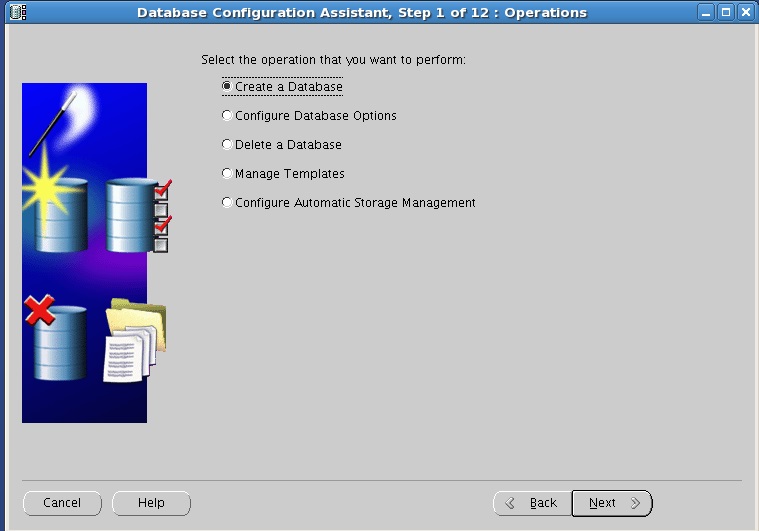
选择Create a Database
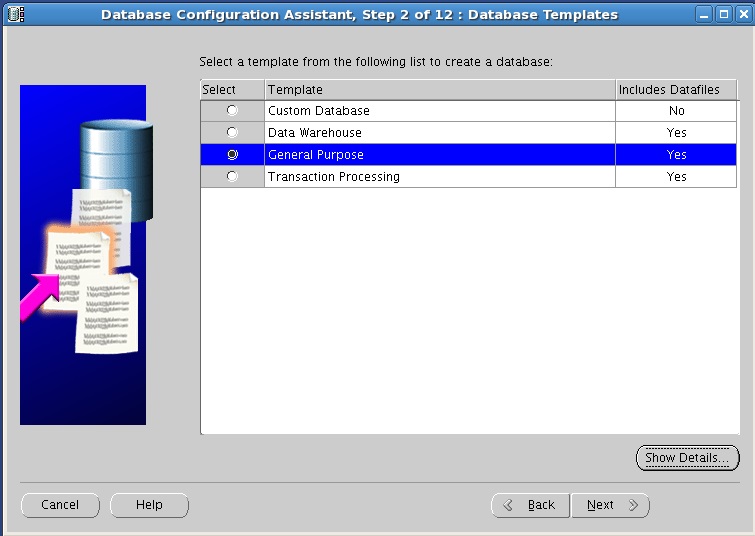
选择General Purpose,通用模板。Transaction Processing适合于OLTP系统,Data Warehouse适合于OLAP系统,Custom Database是自定义数据库。

输入数据库的SID:ASMDB01。
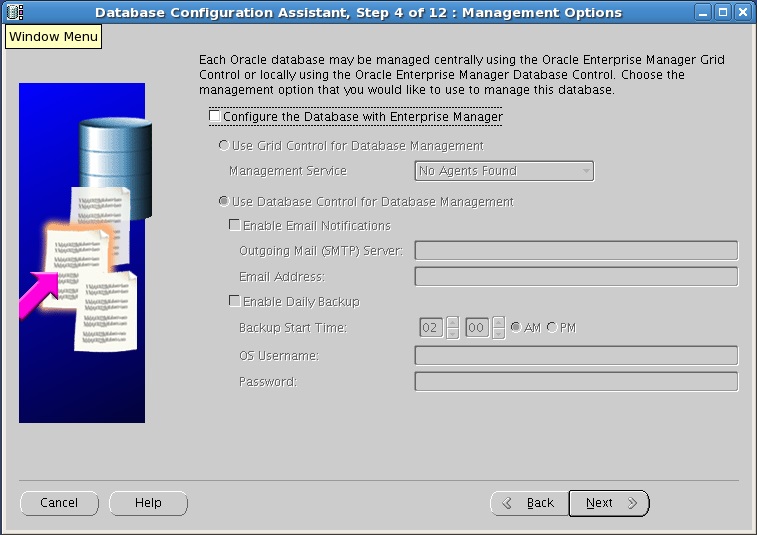
这一步配置是否需要EM,我这里选择不需要。
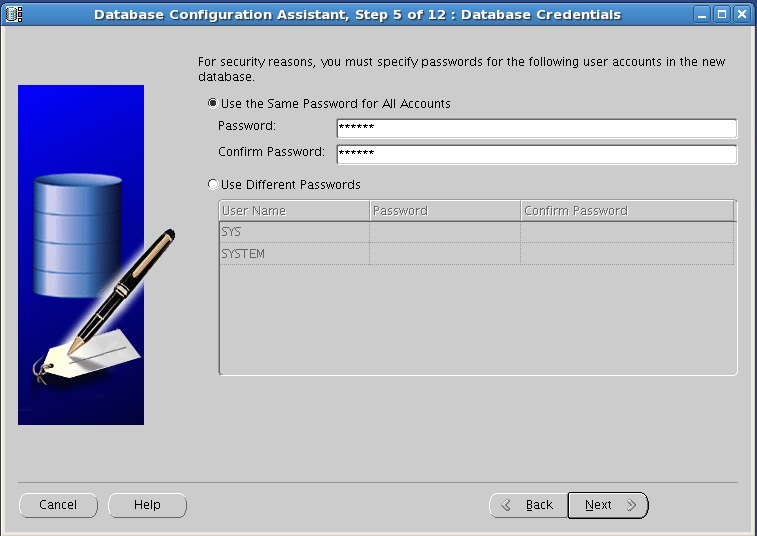
输入用户的密码
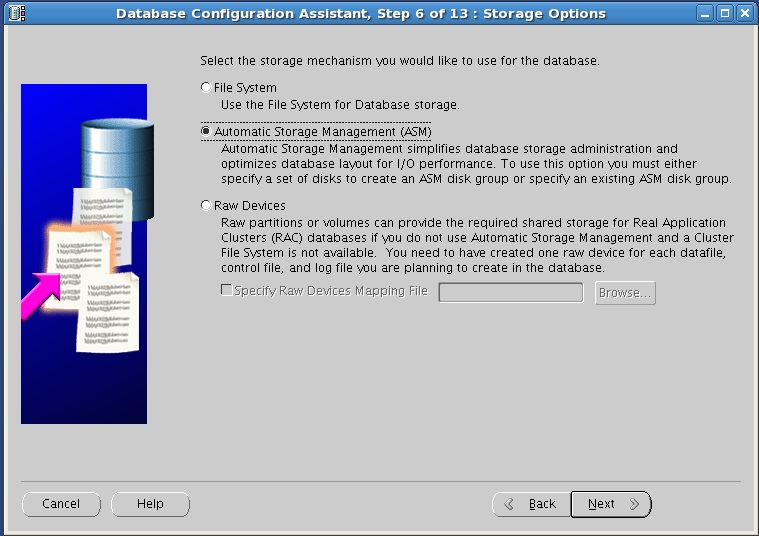
选择ASM
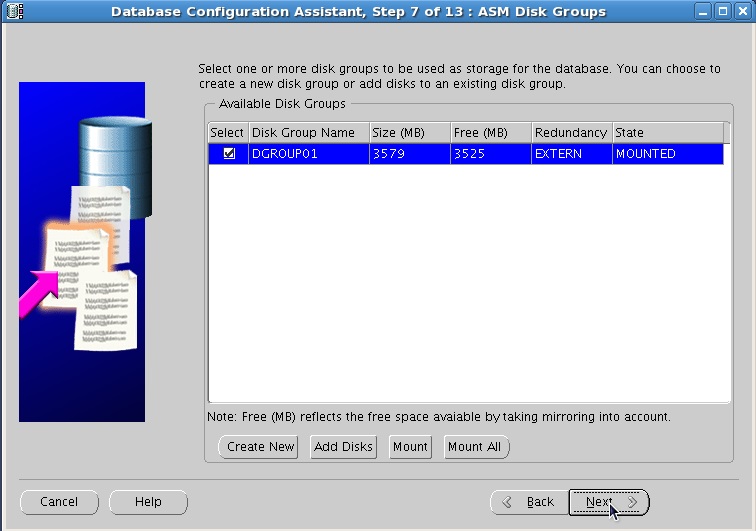
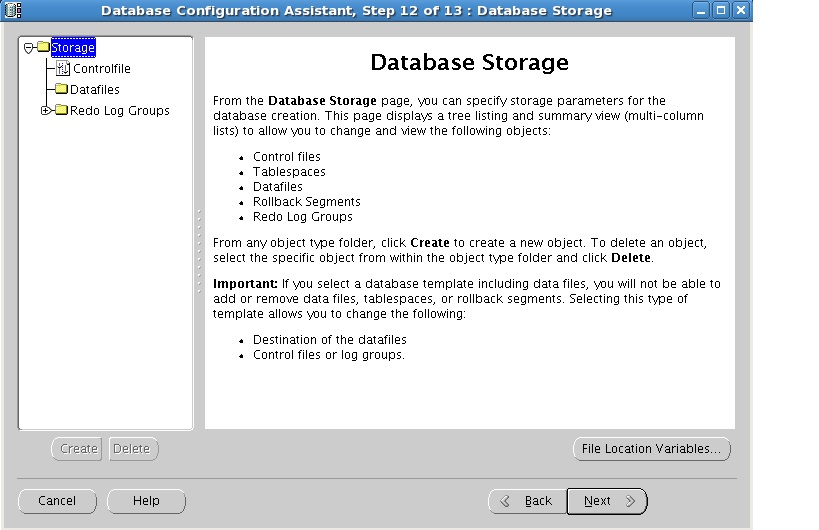
选择存放数据库的磁盘组,如果没有的话,可以创建。
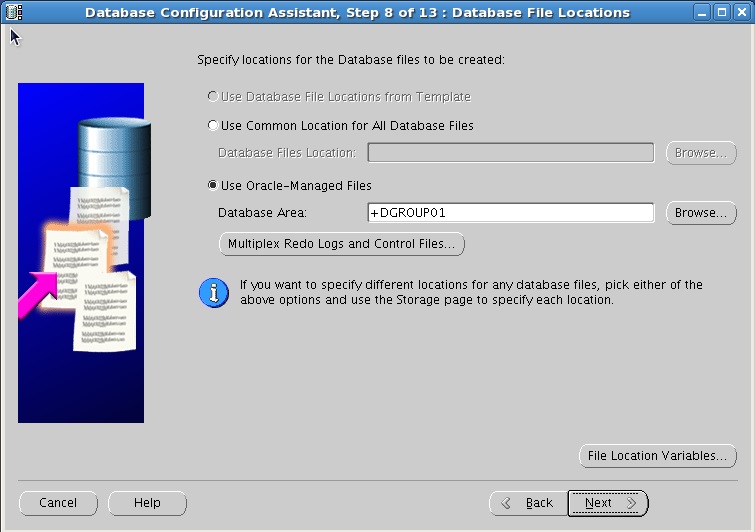
选择OMF方式来管理数据库

取消闪回恢复区和归档
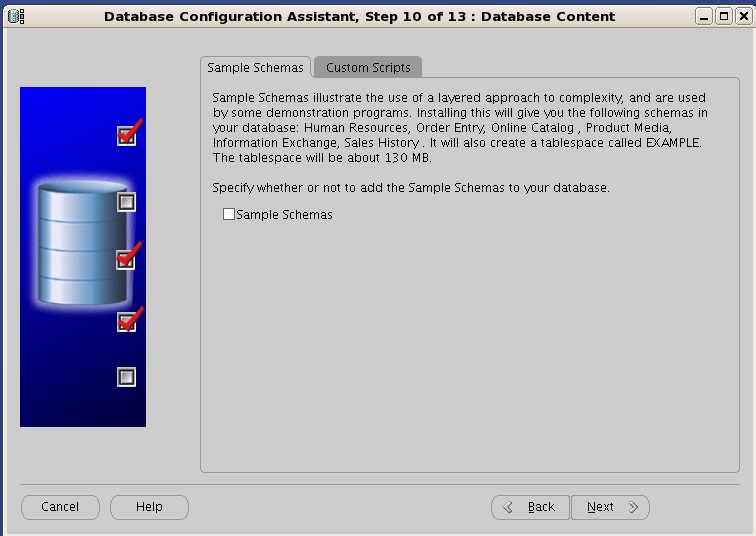
不建立示例用户
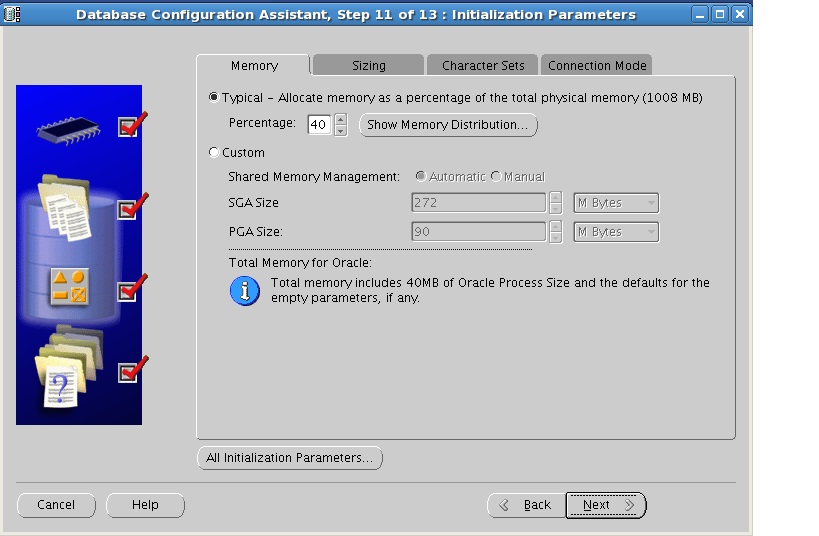
使用默认设置
点击Next
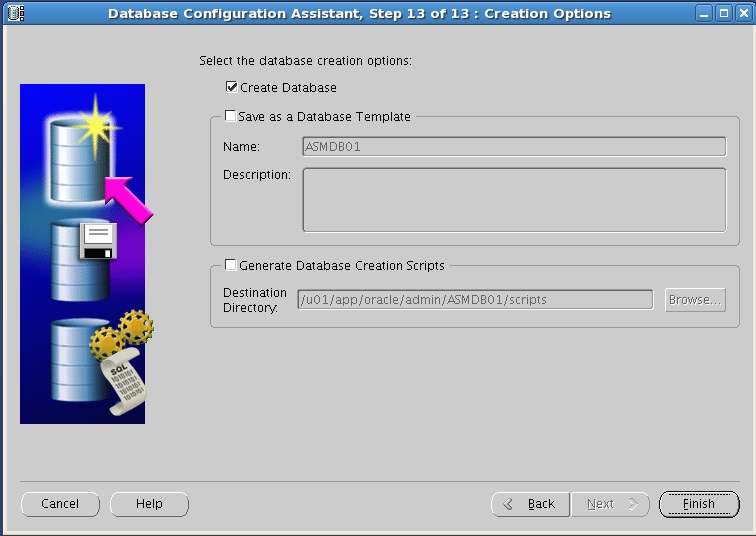
点击Finish,开始创建数据库。
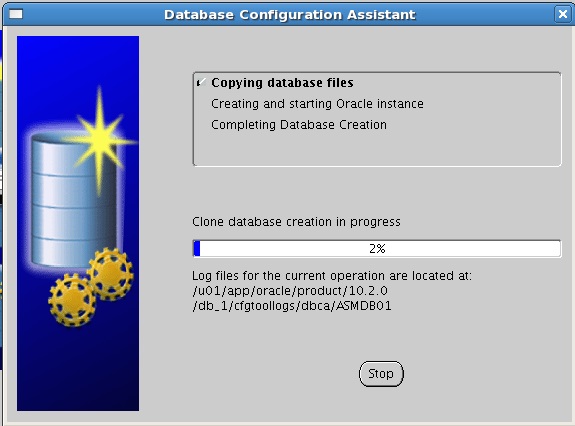
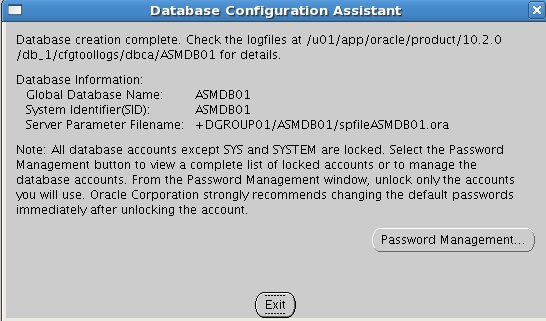
点击Exit,退出安装。
8. 检验安装情况
安装完成以后,数据库自动处于启动状态。我们可以通过SQLPLUS连接进去
[oracle@book ~]$ export ORACLE_SID=ASMDB01
[oracle@book ~]$ echo $ORACLE_SID
ASMDB01
[oracle@book ~]$ sqlplus / as sysdba
SQL*Plus: Release 10.2.0.1.0 - Production on Sun Feb 3 21:30:32 2013
Copyright (c) 1982, 2005, Oracle. All rights reserved.
Connected to:
Oracle Database 10g Enterprise Edition Release 10.2.0.1.0 - Production
With the Partitioning, OLAP and Data Mining options
SQL> select name from v$datafile;
NAME
--------------------------------------------------------------------------------
+DGROUP01/asmdb01/datafile/system.256.806448009
+DGROUP01/asmdb01/datafile/undotbs1.258.806448015
+DGROUP01/asmdb01/datafile/sysaux.257.806448011
+DGROUP01/asmdb01/datafile/users.259.806448015
SQL> select member from v$logfile;
MEMBER
--------------------------------------------------------------------------------
+DGROUP01/asmdb01/onlinelog/group_3.263.806448143
+DGROUP01/asmdb01/onlinelog/group_2.262.806448139
+DGROUP01/asmdb01/onlinelog/group_1.261.806448137
SQL> select name from v$controlfile;
NAME
--------------------------------------------------------------------------------
+DGROUP01/asmdb01/controlfile/current.260.806448133
SQL> select name from v$tempfile;
NAME
--------------------------------------------------------------------------------
+DGROUP01/asmdb01/tempfile/temp.264.806448193
我们再连接至ASM实例查看文件的存放情况
[oracle@book ~]$ export ORACLE_SID=+ASM
[oracle@book ~]$ echo $ORACLE_SID
+ASM
[oracle@book ~]$ asmcmd
ASMCMD> ls
DGROUP01/
ASMCMD> cd DGROUP01
ASMCMD> ls
ASMDB01/
ASMCMD> cd ASMDB01
ASMCMD> ls
CONTROLFILE/
DATAFILE/
ONLINELOG/
PARAMETERFILE/
TEMPFILE/
spfileASMDB01.ora
ASMCMD> pwd
+DGROUP01/ASMDB01
ASMCMD> ls
CONTROLFILE/
DATAFILE/
ONLINELOG/
PARAMETERFILE/
TEMPFILE/
spfileASMDB01.ora
ASMCMD> cd DATAFILE
ASMCMD> ls
SYSAUX.257.806448011
SYSTEM.256.806448009
UNDOTBS1.258.806448015
USERS.259.806448015
ASMCMD> cd ../CONTROLFILE
ASMCMD> ls
Current.260.806448133
ASMCMD> exit
[oracle@book ~]$
至此,ASM实例安装完成。


 1万+
1万+


 被折叠的 条评论
为什么被折叠?
被折叠的 条评论
为什么被折叠?
 到【灌水乐园】发言


