


我的电脑自带一个摄像头,另为我又插了一个摄像头,在这实现两个摄像头的同时播放,实现代码如下
#include <iostream>
#include <opencv/cv.h>
#include <opencv/highgui.h>

using namespace std;
using namespace cv;

#define ESC 27

struct FrameInfo
{
    friend ostream& operator<<(ostream& out_, const FrameInfo& frameInfo_)
    {
        out_ << "Height: " << frameInfo_.m_height
             << " wight: " << frameInfo_.m_width << endl;
        return out_;
    }

    int m_height;
    int m_width;
};

CvCapture* g_camera0 = NULL;
CvCapture* g_camera1 = NULL;

FrameInfo g_camera0Info;
FrameInfo g_camera1Info;

int main()
{
    g_camera0 = cvCreateCameraCapture(0);
    if (g_camera0 != NULL)
    {
        g_camera0Info.m_height = cvGetCaptureProperty(g_camera0, CV_CAP_PROP_FRAME_HEIGHT);
        g_camera0Info.m_width = cvGetCaptureProperty(g_camera0, CV_CAP_PROP_FRAME_WIDTH);
        cout << g_camera0Info;
    }
    g_camera1 = cvCreateCameraCapture(1);
    if (g_camera1 != NULL)
    {
        g_camera1Info.m_height = cvGetCaptureProperty(g_camera1, CV_CAP_PROP_FRAME_HEIGHT);
        g_camera1Info.m_width = cvGetCaptureProperty(g_camera1, CV_CAP_PROP_FRAME_WIDTH);
        cout << g_camera1Info;
    }

    IplImage* _parentIamge = cvCreateImage(cvSize(g_camera0Info.m_width + g_camera1Info.m_width,
                                                  g_camera0Info.m_height + g_camera1Info.m_height),
                                           IPL_DEPTH_8U, 3);
    IplImage* _camera0Image = cvCreateImageHeader(cvSize(g_camera0Info.m_width, g_camera0Info.m_height),
                                                  IPL_DEPTH_8U, 3);
    _camera0Image->widthStep = _parentIamge->widthStep;
    _camera0Image->imageData = _parentIamge->imageData;

    IplImage* _camera1Image = cvCreateImageHeader(cvSize(g_camera1Info.m_width, g_camera1Info.m_height),
                                                  IPL_DEPTH_8U, 3);

    //关键所在
    _camera1Image->widthStep = _parentIamge->widthStep;
    _camera1Image->imageData = (_parentIamge->imageData
                                + ((_parentIamge->height - g_camera1Info.m_height) * _parentIamge->widthStep))
            + ((_parentIamge->width - g_camera1Info.m_width) * _parentIamge->nChannels);


    cvNamedWindow("ShowWidget");
    cvMoveWindow("ShowWidget", 100 ,100);

    while(1)
    {
        cvCopy(cvQueryFrame(g_camera0), _camera0Image);
        cvCopy(cvQueryFrame(g_camera1), _camera1Image);

        cvShowImage("ShowWidget", _parentIamge);

        if (waitKey(1000 / 25) == ESC)
        {
            break;
        }

    }

    cvDestroyWindow("ShowWidget");
    cvReleaseImage(&_parentIamge);
    cvReleaseCapture(&g_camera0);
    cvReleaseCapture(&g_camera1);


    return 0;
}
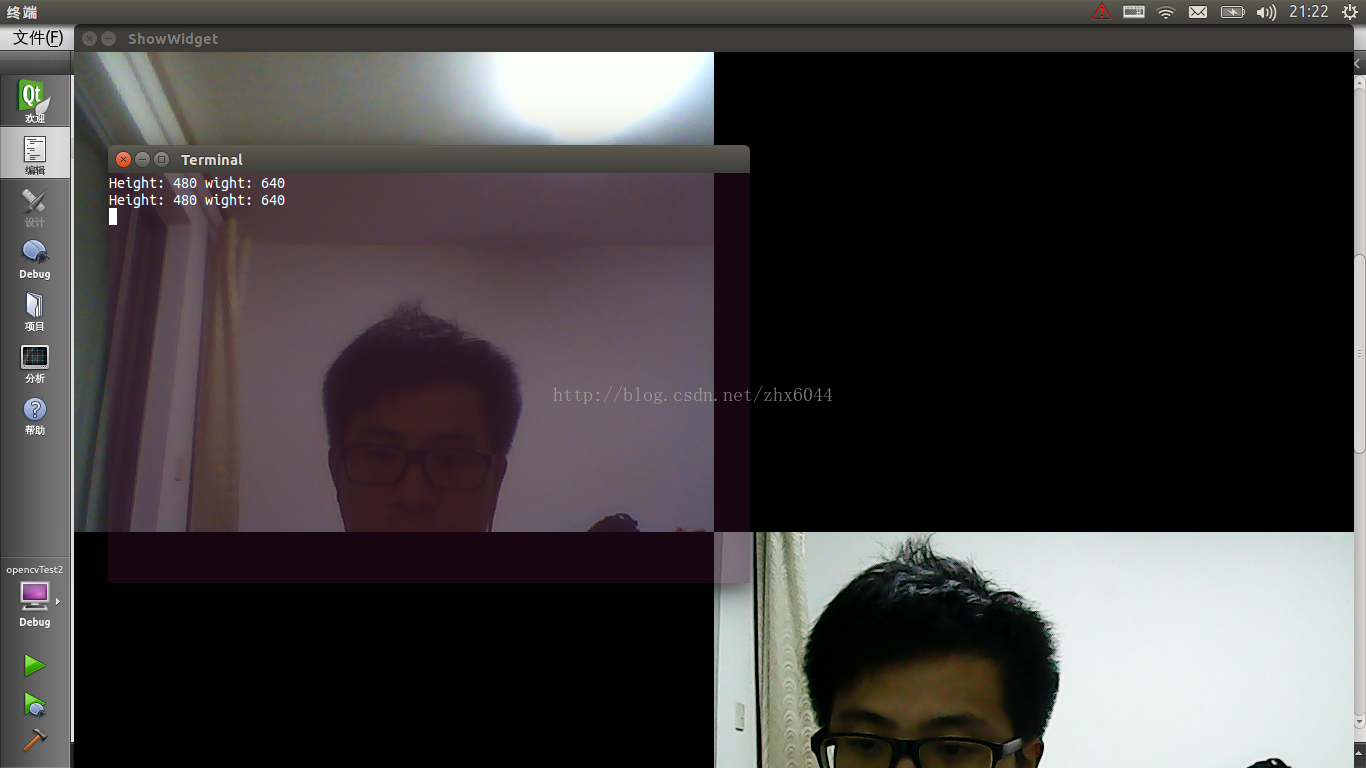
实现的原理就是使用一个大的IplImage,在其中填补相应的块就ok,关键在块的选中,由图可知,我使用了1和4区域,对于输入帧长宽不等的摄像头,使用1和4或者2和3,对于相同的那就没有什么特殊的区别。
我们的区域我使用了两个cvCreateImageHeader,就是这个是空的,然后我们将其绑定带大的IplImage的数据区,对两个块区域的操作就是对大的IplImage中部分的操作,然后我们将大的IplImage显示,那么就可以同时播放了。我们的关键代码就是对两个块的指针的赋值,如下
_camera0Image->widthStep = _parentIamge->widthStep;
_camera0Image->imageData = _parentIamge->imageData;
_camera1Image->widthStep = _parentIamge->widthStep;
_camera1Image->imageData = (_parentIamge->imageData
+ ((_parentIamge->height - g_camera1Info.m_height) * _parentIamge->widthStep))
+ ((_parentIamge->width - g_camera1Info.m_width) * _parentIamge->nChannels);
第一个我们选择是1区域,那么其imageData就是大区的imageData,widthStep参数的设定很重要,需然我们直接操作的是小区,但是直接体现在大区上,所以一行的字节数还是大区的。如图所示
####@@@@
####@@@@
####@@@@
@@@@####
@@@@####
@@@@####
#是两个小区,整个为大区,我们虽然局部写,但是我们需要的是大换行,这样才能将数据写到我们期望的地方,而不是写到@的地方,比如小区自身的为4,当height为1是,还是写在第一行。
现在你也可以做一个多路监控了,或者多屏播放了。


 2365
2365


 被折叠的 条评论
为什么被折叠?
被折叠的 条评论
为什么被折叠?
 到【灌水乐园】发言


