


(1)Python所有方向的学习路线(新版)
这是我花了几天的时间去把Python所有方向的技术点做的整理,形成各个领域的知识点汇总,它的用处就在于,你可以按照上面的知识点去找对应的学习资源,保证自己学得较为全面。
最近我才对这些路线做了一下新的更新,知识体系更全面了。

(2)Python学习视频
包含了Python入门、爬虫、数据分析和web开发的学习视频,总共100多个,虽然没有那么全面,但是对于入门来说是没问题的,学完这些之后,你可以按照我上面的学习路线去网上找其他的知识资源进行进阶。

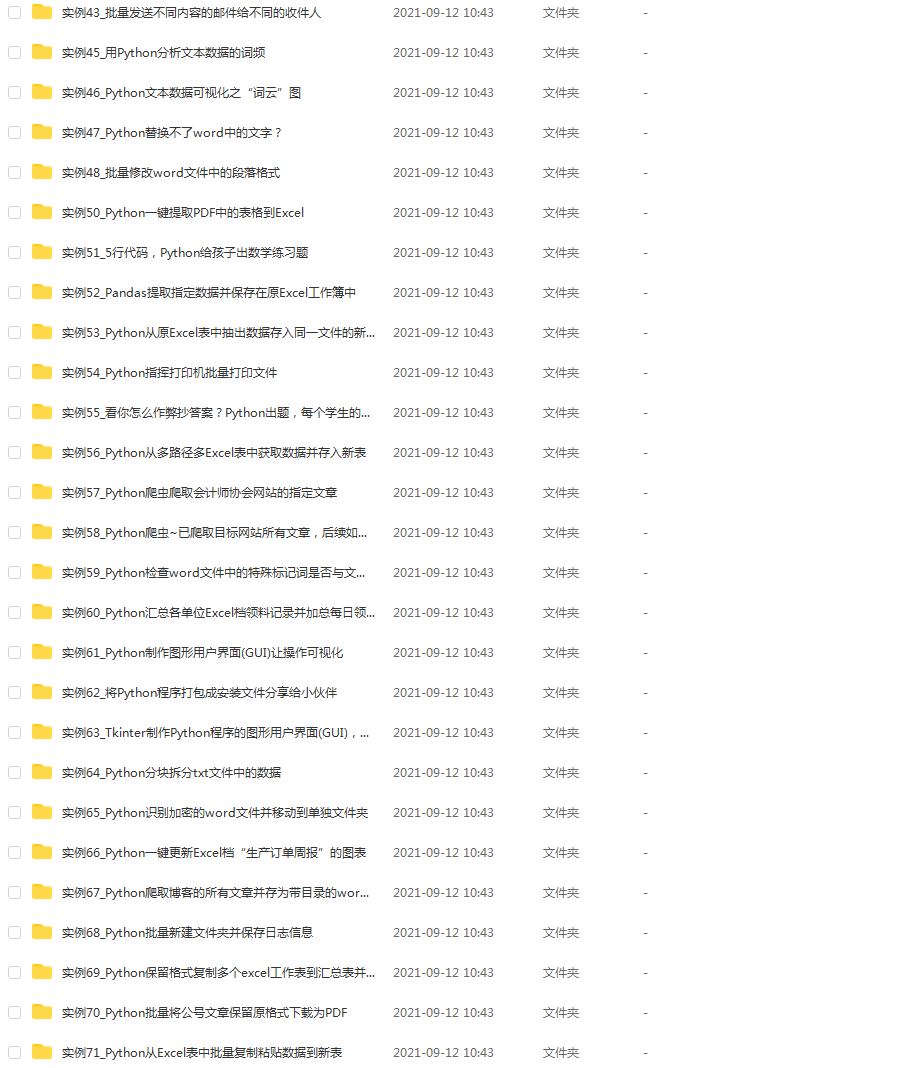
(3)100多个练手项目
我们在看视频学习的时候,不能光动眼动脑不动手,比较科学的学习方法是在理解之后运用它们,这时候练手项目就很适合了,只是里面的项目比较多,水平也是参差不齐,大家可以挑自己能做的项目去练练。

网上学习资料一大堆,但如果学到的知识不成体系,遇到问题时只是浅尝辄止,不再深入研究,那么很难做到真正的技术提升。
一个人可以走的很快,但一群人才能走的更远!不论你是正从事IT行业的老鸟或是对IT行业感兴趣的新人,都欢迎加入我们的的圈子(技术交流、学习资源、职场吐槽、大厂内推、面试辅导),让我们一起学习成长!
nj = (cs - cs.min()) * 255
N = cs.max() - cs.min()
re-normalize the cumsum
cs = nj / N
cast it back to uint8 since we can’t use floating point values in images
cs = cs.astype(‘uint8’)
get the value from cumulative sum for every index in flat, and set that as img_new
img_new = cs[flat]
put array back into original shape since we flattened it
img_new = np.reshape(img_new, img.shape)
set up side-by-side image display
fig = plt.figure()
fig.set_figheight(15)
fig.set_figwidth(15)
display the real image
fig.add_subplot(1, 2, 1)
plt.imshow(img, cmap=‘gray’)
plt.title(“Image ‘Before’ Contrast Adjustment”)
display the new image
fig.add_subplot(1, 2, 2)
plt.imshow(img_new, cmap=‘gray’)
plt.title(“Image ‘After’ Contrast Adjustment”)
filename = os.path.basename(img_path)
plt.savefig(“E:\” + filename)
plt.show()
### 2、将文件批量压缩,使用zipfile库
import os
import zipfile
from random import randrange
def zip_dir(path, zip_handler):
for root, dirs, files in os.walk(path):
for file in files:
zip_handler.write(os.path.join(root, file))
if name == ‘__main__’:
to_zip = input(“”"
Enter the name of the folder you want to zip
(N.B.: The folder name should not contain blank spaces)
“”")
to_zip = to_zip.strip() + “/”
zip_file_name = f’zip{randrange(0,10000)}.zip’
zip_file = zipfile.ZipFile(zip_file_name, ‘w’, zipfile.ZIP_DEFLATED)
zip_dir(to_zip, zip_file)
zip_file.close()
print(f’File Saved as {zip_file_name}')
### 3、使用tkinter制作计算器GUI
tkinter是python自带的GUI库,适合初学者练手创建小软件

import tkinter as tk
root = tk.Tk() # Main box window
root.title(“Standard Calculator”) # Title shown at the title bar
root.resizable(0, 0) # disabling the resizeing of the window
Creating an entry field:
e = tk.Entry(root,
width=35,
bg=‘#f0ffff’,
fg=‘black’,
borderwidth=5,
justify=‘right’,
font=‘Calibri 15’)
e.grid(row=0, column=0, columnspan=3, padx=12, pady=12)
def buttonClick(num): # function for clicking
temp = e.get(
) # temporary varibale to store the current input in the screen
e.delete(0, tk.END) # clearing the screen from index 0 to END
e.insert(0, temp + num) # inserting the incoming number input
def buttonClear(): # function for clearing
e.delete(0, tk.END)
代码过长,部分略
### 4、PDF转换为Word文件


使用pdf2docx库,可以将PDF文件转为Word格式
from pdf2docx import Converter
import os
import sys
Take PDF’s path as input
pdf = input("Enter the path to your file: ")
assert os.path.exists(pdf), "File not found at, "+str(pdf)
f = open(pdf,‘r+’)
#Ask for custom name for the word doc
doc_name_choice = input(“Do you want to give a custom name to your file ?(Y/N)”)
if(doc_name_choice == ‘Y’ or doc_name_choice == ‘y’):
# User input
doc_name = input(“Enter the custom name : “)+”.docx”
else:
# Use the same name as pdf
# Get the file name from the path provided by the user
pdf_name = os.path.basename(pdf)
# Get the name without the extension .pdf
doc_name = os.path.splitext(pdf_name)[0] + “.docx”
Convert PDF to Word
cv = Converter(pdf)
#Path to the directory
path = os.path.dirname(pdf)
cv.convert(os.path.join(path, “”, doc_name) , start=0, end=None)
print(“Word doc created!”)
cv.close()
### 5、Python自动发送邮件


使用smtplib和email库可以实现脚本发送邮件
import smtplib
import email
负责构造文本
from email.mime.text import MIMEText
负责构造图片
from email.mime.image import MIMEImage
负责将多个对象集合起来
from email.mime.multipart import MIMEMultipart
from email.header import Header
SMTP服务器,这里使用163邮箱
mail_host = “smtp.163.com”
发件人邮箱
mail_sender = “******@163.com”
邮箱授权码,注意这里不是邮箱密码,如何获取邮箱授权码,请看本文最后教程
mail_license = “********”
收件人邮箱,可以为多个收件人
mail_receivers = [“******@qq.com”,“******@outlook.com”]
mm = MIMEMultipart(‘related’)
邮件主题
subject_content = “”“Python邮件测试”“”
设置发送者,注意严格遵守格式,里面邮箱为发件人邮箱
mm[“From”] = “sender_name<******@163.com>”
设置接受者,注意严格遵守格式,里面邮箱为接受者邮箱
mm[“To”] = “receiver_1_name<******@qq.com>,receiver_2_name<******@outlook.com>”
设置邮件主题
mm[“Subject”] = Header(subject_content,‘utf-8’)
邮件正文内容
body_content = “”“你好,这是一个测试邮件!”“”
构造文本,参数1:正文内容,参数2:文本格式,参数3:编码方式
message_text = MIMEText(body_content,“plain”,“utf-8”)
向MIMEMultipart对象中添加文本对象
mm.attach(message_text)
二进制读取图片
image_data = open(‘a.jpg’,‘rb’)
设置读取获取的二进制数据
message_image = MIMEImage(image_data.read())
关闭刚才打开的文件
image_data.close()
添加图片文件到邮件信息当中去
mm.attach(message_image)
构造附件
atta = MIMEText(open(‘sample.xlsx’, ‘rb’).read(), ‘base64’, ‘utf-8’)
设置附件信息
atta[“Content-Disposition”] = ‘attachment; filename=“sample.xlsx”’
添加附件到邮件信息当中去
mm.attach(atta)
创建SMTP对象
stp = smtplib.SMTP()
设置发件人邮箱的域名和端口,端口地址为25
stp.connect(mail_host, 25)
set_debuglevel(1)可以打印出和SMTP服务器交互的所有信息
stp.set_debuglevel(1)
登录邮箱,传递参数1:邮箱地址,参数2:邮箱授权码
stp.login(mail_sender,mail_license)
发送邮件,传递参数1:发件人邮箱地址,参数2:收件人邮箱地址,参数3:把邮件内容格式改为str
stp.sendmail(mail_sender, mail_receivers, mm.as_string())
print(“邮件发送成功”)
关闭SMTP对象
stp.quit()
### 小结
Python还有很多好玩的小脚本,你可以根据自己的场景来编写,也可以使用现成的第三方库。
## 关于Python学习指南
学好 Python 不论是就业还是做副业赚钱都不错,但要学会 Python 还是要有一个学习规划。最后给大家分享一份全套的 Python 学习资料,给那些想学习 Python 的小伙伴们一点帮助!
包括:Python激活码+安装包、Python web开发,Python爬虫,Python数据分析,人工智能、自动化办公等学习教程。带你从零基础系统性的学好Python!
#### 👉Python所有方向的学习路线👈
Python所有方向路线就是把Python常用的技术点做整理,形成各个领域的知识点汇总,它的用处就在于,你可以按照上面的知识点去找对应的学习资源,保证自己学得较为全面。**(全套教程文末领取)**
如果你也是看准了Python,想自学Python,在这里为大家准备了丰厚的免费**学习**大礼包,带大家一起学习,给大家剖析Python兼职、就业行情前景的这些事儿。
### 一、Python所有方向的学习路线
Python所有方向路线就是把Python常用的技术点做整理,形成各个领域的知识点汇总,它的用处就在于,你可以按照上面的知识点去找对应的学习资源,保证自己学得较为全面。

### 二、学习软件
工欲善其必先利其器。学习Python常用的开发软件都在这里了,给大家节省了很多时间。
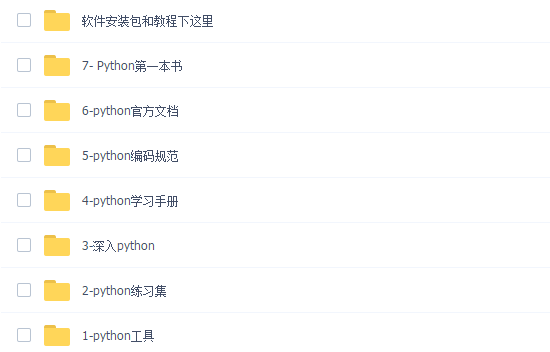
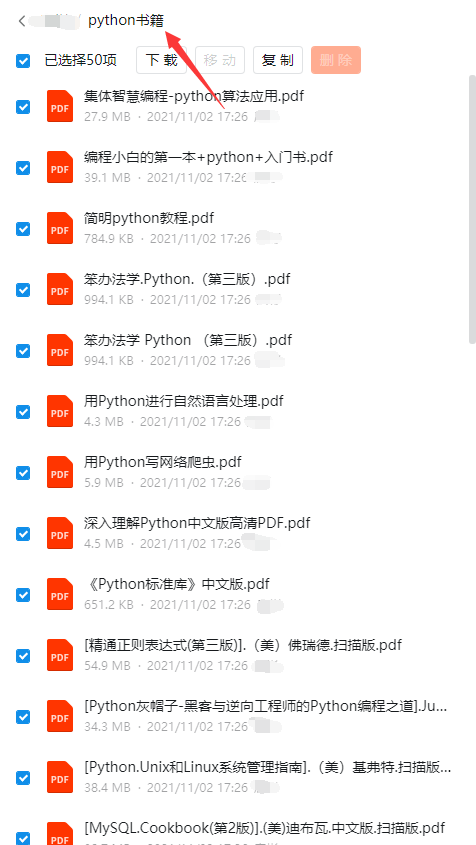
### 三、全套PDF电子书
书籍的好处就在于权威和体系健全,刚开始学习的时候你可以只看视频或者听某个人讲课,但等你学完之后,你觉得你掌握了,这时候建议还是得去看一下书籍,看权威技术书籍也是每个程序员必经之路。
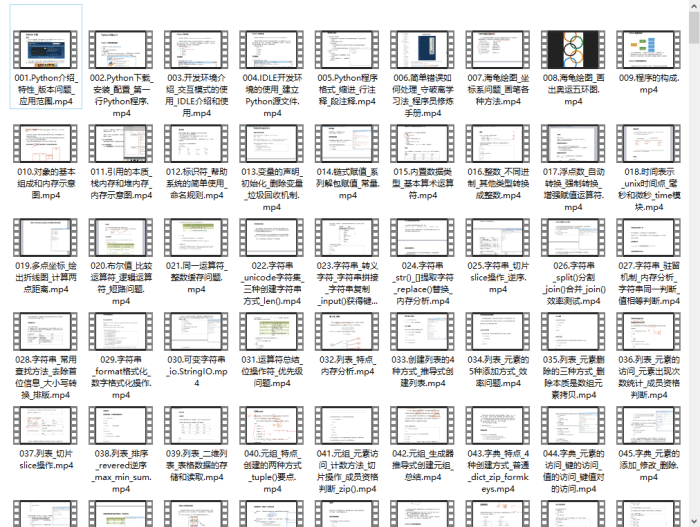
### 四、入门学习视频
我们在看视频学习的时候,不能光动眼动脑不动手,比较科学的学习方法是在理解之后运用它们,这时候练手项目就很适合了。
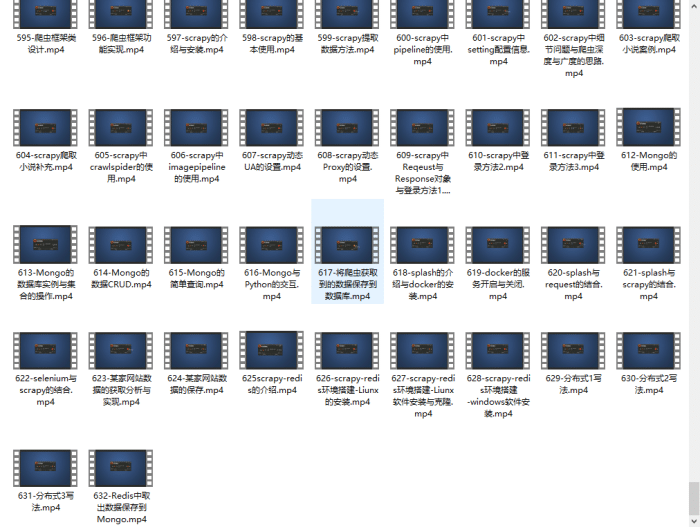
### 四、实战案例
光学理论是没用的,要学会跟着一起敲,要动手实操,才能将自己的所学运用到实际当中去,这时候可以搞点实战案例来学习。
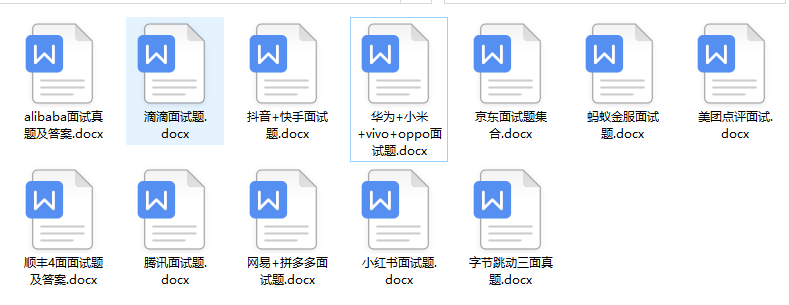
### 五、面试资料
我们学习Python必然是为了找到高薪的工作,下面这些面试题是来自阿里、腾讯、字节等一线互联网大厂最新的面试资料,并且有阿里大佬给出了权威的解答,刷完这一套面试资料相信大家都能找到满意的工作。
成为一个Python程序员专家或许需要花费数年时间,但是打下坚实的基础只要几周就可以,如果你按照我提供的学习路线以及资料有意识地去实践,你就有很大可能成功!
最后祝你好运!!!
**网上学习资料一大堆,但如果学到的知识不成体系,遇到问题时只是浅尝辄止,不再深入研究,那么很难做到真正的技术提升。**
**[需要这份系统化学习资料的朋友,可以戳这里获取](https://bbs.csdn.net/topics/618317507)**
**一个人可以走的很快,但一群人才能走的更远!不论你是正从事IT行业的老鸟或是对IT行业感兴趣的新人,都欢迎加入我们的的圈子(技术交流、学习资源、职场吐槽、大厂内推、面试辅导),让我们一起学习成长!**


 383
383

 被折叠的 条评论
为什么被折叠?
被折叠的 条评论
为什么被折叠?
 到【灌水乐园】发言


