


5、创建实体类Customer
public class Customer {
private Long cust_id;
private String cust_name;
private String cust_source;
private String cust_industry;
private String cust_level;
private String cust_phone;
private String cust_mobile;
public Long getCust_id() {
return cust_id;
}
public void setCust_id(Long cust_id) {
this.cust_id = cust_id;
}
public String getCust_name() {
return cust_name;
}
public void setCust_name(String cust_name) {
this.cust_name = cust_name;
}
public String getCust_source() {
return cust_source;
}
public void setCust_source(String cust_source) {
this.cust_source = cust_source;
}
public String getCust_industry() {
return cust_industry;
}
public void setCust_industry(String cust_industry) {
this.cust_industry = cust_industry;
}
public String getCust_level() {
return cust_level;
}
public void setCust_level(String cust_level) {
this.cust_level = cust_level;
}
public String getCust_phone() {
return cust_phone;
}
public void setCust_phone(String cust_phone) {
this.cust_phone = cust_phone;
}
public String getCust_mobile() {
return cust_mobile;
}
public void setCust_mobile(String cust_mobile) {
this.cust_mobile = cust_mobile;
}
public Customer() {
// TODO Auto-generated constructor stub
}
public Customer(Long cust_id, String cust_name, String cust_source, String cust_industry, String cust_level,
String cust_phone, String cust_mobile) {
super();
this.cust_id = cust_id;
this.cust_name = cust_name;
this.cust_source = cust_source;
this.cust_industry = cust_industry;
this.cust_level = cust_level;
this.cust_phone = cust_phone;
this.cust_mobile = cust_mobile;
}
@Override
public String toString() {
return “Customer [cust_id=” + cust_id + “, cust_name=” + cust_name + “, cust_source=” + cust_source
-
“, cust_industry=” + cust_industry + “, cust_level=” + cust_level + “, cust_phone=” + cust_phone
-
“, cust_mobile=” + cust_mobile + “]”;
}
}
6、创建映射
映射需要通过XML配置文件来完成,这个配置文件可以任意命名。尽量统一命名规范(类名.hbm.xml)
复制该头,引入jar当中的配置
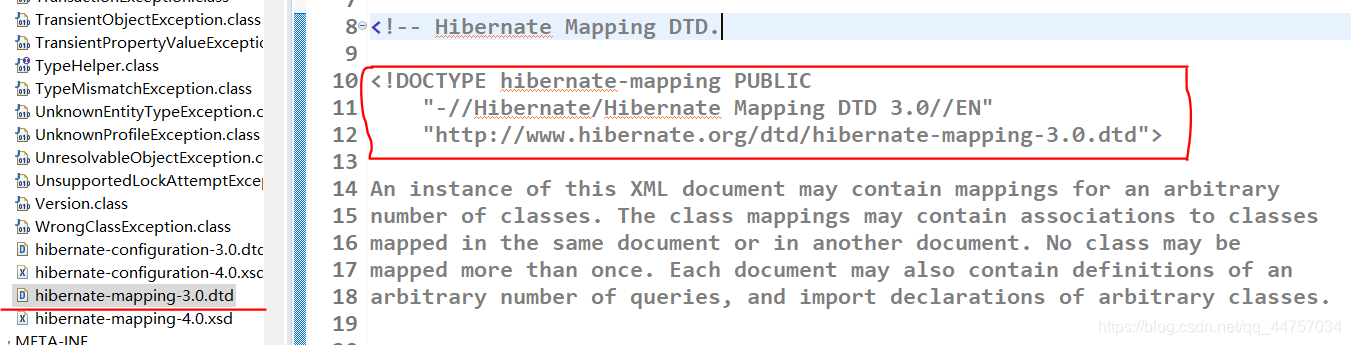
7、创建Customer.hbm.xml文件*
<?xml version="1.0" encoding="UTF-8"?><class name=“com.itzheng.hibernate.demo01.Customer”
table=“cst_customer”>
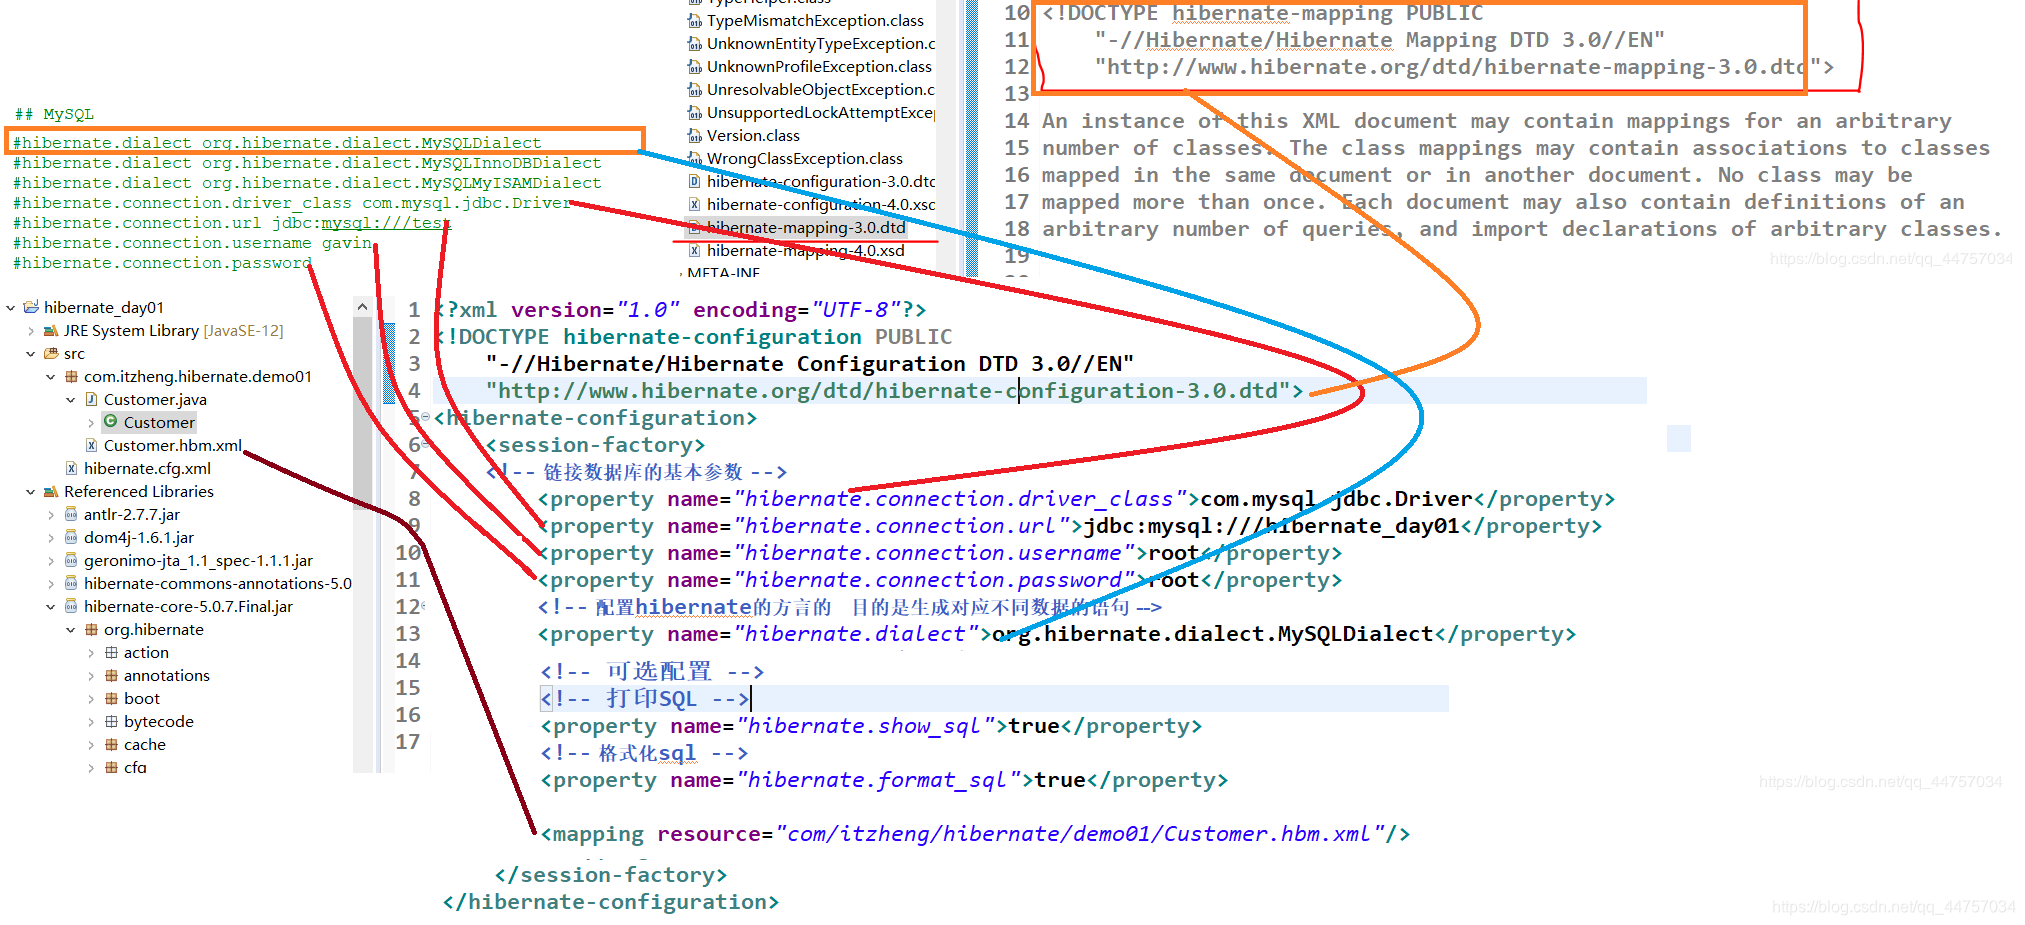
8、创建hibernate的核心配置文件*
hibernate核心配置文件的名称:hibernate.cfg.xml

创建hibernate.cfg.xml文件
<?xml version="1.0" encoding="UTF-8"?>com.mysql.jdbc.Driver
jdbc:mysql:///hibernate_day01
root
root
org.hibernate.dialect.MySQLDialect
true
true
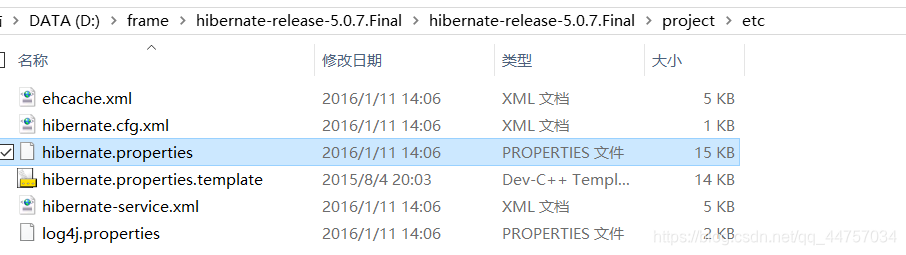
配置文件与hibernate提供资料的联系
9、编写测试代码
在这里可能会遇到jdk新版本和hibernate不兼容的问题
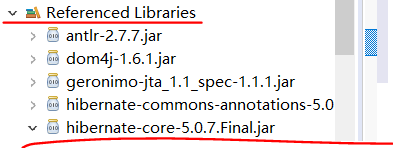
手动加入这些依赖Jar包
要解决这个问题,我导入了下面这四个Jar包修复成功。
public class HibernateDemo01 {
@Test
// 保存客户的案例
public void demo01() {
// 1、加载Hibernate核心配置文件
Configuration configuration = new Configuration().configure();// 该方法加载了Customer.hbm.xml
// 2、创建SessionFactory对象:类似于JDBC中的链接池
SessionFactory sessionFactory = configuration.buildSessionFactory();// sessionFactory工厂
// 3、通过SessionFactory获取到Session对象:类似于我们JDBC中的Connection
Session session = sessionFactory.openSession();// Hibernate以及和mysql数据库建立起链接
// 4、手动开启事务:
Transaction transaction = session.beginTransaction();
// 5、编写代码
Customer customer = new Customer();
customer.setCust_name(“张三”);
session.save(customer);
// 6、事务提交
transaction.commit();


 被折叠的 条评论
为什么被折叠?
被折叠的 条评论
为什么被折叠?
 到【灌水乐园】发言


