


Zend Studio与Zend Server集成并允许您在云端无缝地开发应用程序。本教程将演示如何轻松地在云端从Zend Studio部署到Zend Server,同时还能使用Zend Server的创新型新技术--Z-Ray进行调试。
教程内容
在本教程中,您将学习:
- 在Zend Studio中定义AWS Zend服务器
- 创建一个新的Zend Framework项目
- 将新项目部署到AWS上的Zend Server
- 打开SSH Tunnel
- 在Zend -Studio中从Z-Ray打开调试会话
先决条件
- 从Zend Server下载页下载Zend Studio 11.0或更高版本
- AWS账户 - 要创建一个新的AWS账户,请访问https://aws.amazon.com/
- Zend Server 7.x Developer Edition AMI
Step 1: 将Zend Server AMI添加到Zend Studio
在本教程中的第一步是将Zend Server Developer Edition AMI添加到Zend Studio。
9. 单击Next,将显示Configure SSH Tunneling对话框。
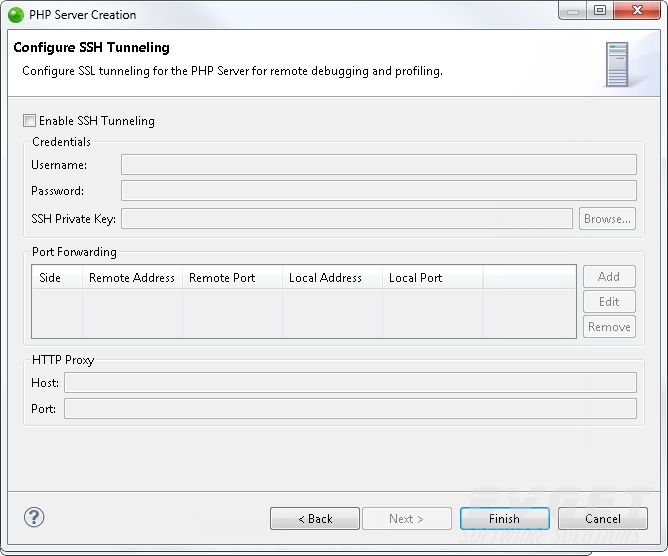
10. 选择Enable SSH Tunneling复选框。
11. 在Username字段中,输入SSH连接用户名(对于Ubuntu AMI上的Zend Server 7.x Developer Edition,为“ubuntu”)。
12. 在SSH Private Key字段中,单击Browse来找到您的SSH私钥。
注意:您选择的密钥必须与启动Zend Server AMI时使用的密钥相同。
13. 在Port Forwarding部分中,选择Add,将会显示Create Port Forwarding对话框。
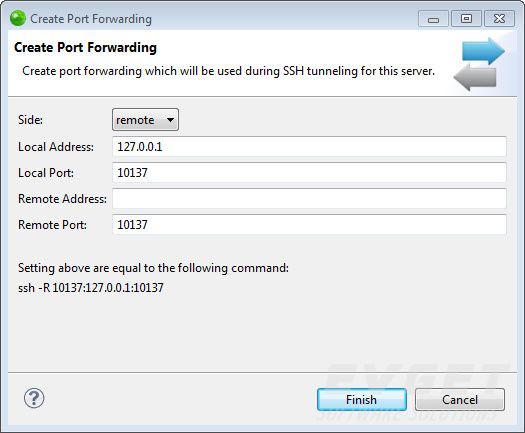
14. 输入以下详细信息:
- Side - 单击下拉菜单,然后选择Remote。
- Local Address - 127.0.0.1。
- Local Port - 10137。
- Remote Address - 留空。
- Remote Port - 10137。
您应该看到以下命令:
ssh -R 10137:127.0.0.1:10137
15. 单击Finish。
16. 返回到Configure SSH Tunneling对话框,然后单击Finish。Zend Studio验证新的远程Zend Server,并将其添加到PHP Servers视图中。

有兴趣的朋友可以点击查看更多相关资讯>>


 90
90

 被折叠的 条评论
为什么被折叠?
被折叠的 条评论
为什么被折叠?
 到【灌水乐园】发言


